

- GitHub Actions documentation (especially the Quick Start and Reference pages)
- GitHub Marketplace to explore available actions
- The example tutorial for setting up a CI/CD pipeline for a Python application, which inspired this workflow
Creating the Workflow Directory
As detailed in the GitHub Actions documentation, you need to create a specific folder structure in your project. This structure includes a.github folder that contains a workflows subfolder, where all your YAML workflow files reside.
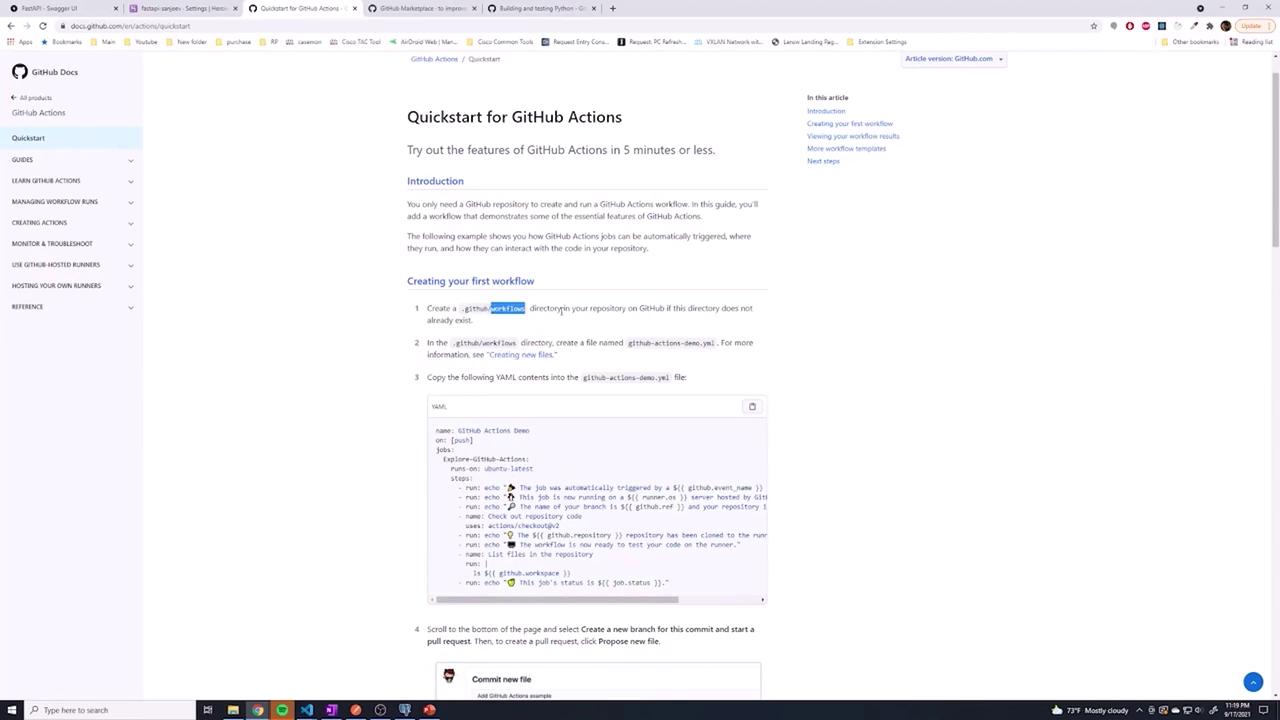
- Create a folder named
.github. - Inside
.github, create another folder calledworkflows.
A Quick Overview of Pytest Fixtures
Here is an example of a Pytest fixture used in our testing setup. Duplicate occurrences of this code block have been removed to avoid redundancy:The Pytest fixture shown above resets the database before running tests, ensuring a clean state for each test session.
Creating a Simple GitHub Actions Workflow
GitHub Actions workflows are defined using YAML. Below are two examples that demonstrate basic workflow configurations.Basic Workflow Example
Running One-Line and Multi-Line Scripts
build-deploy.yaml inside your .github/workflows folder and paste your configuration there. While the file name is arbitrary, remember to specify the workflow’s name within the YAML file using the name key.
Configuring Workflow Triggers
Workflow triggers define when your workflow will run. For example, to run on both push events and pull requests across all branches, use: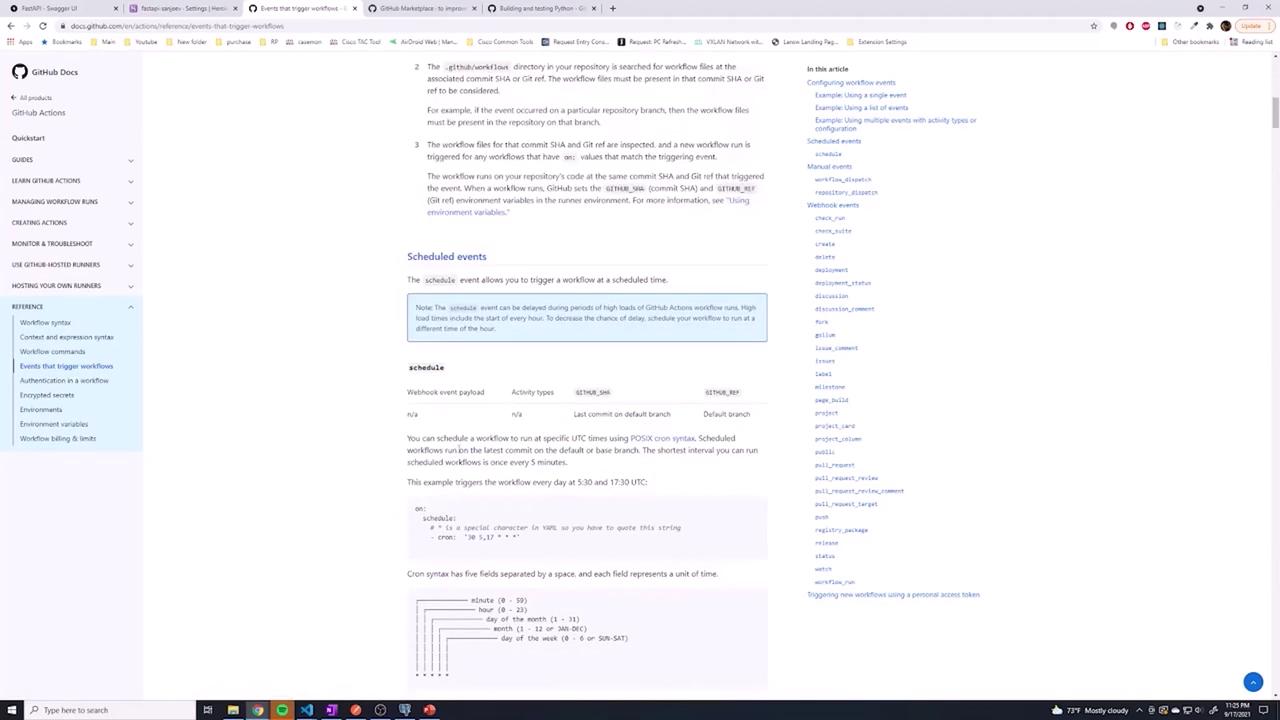
Defining Jobs and Steps
In GitHub Actions, a job represents a series of steps executed on a runner (a virtual machine). The workflow below breaks down a simple job configuration:- Specify the operating system for the runner with the
runs-onfield (e.g.,ubuntu-latest). - Define the steps to execute, each with a descriptive name.
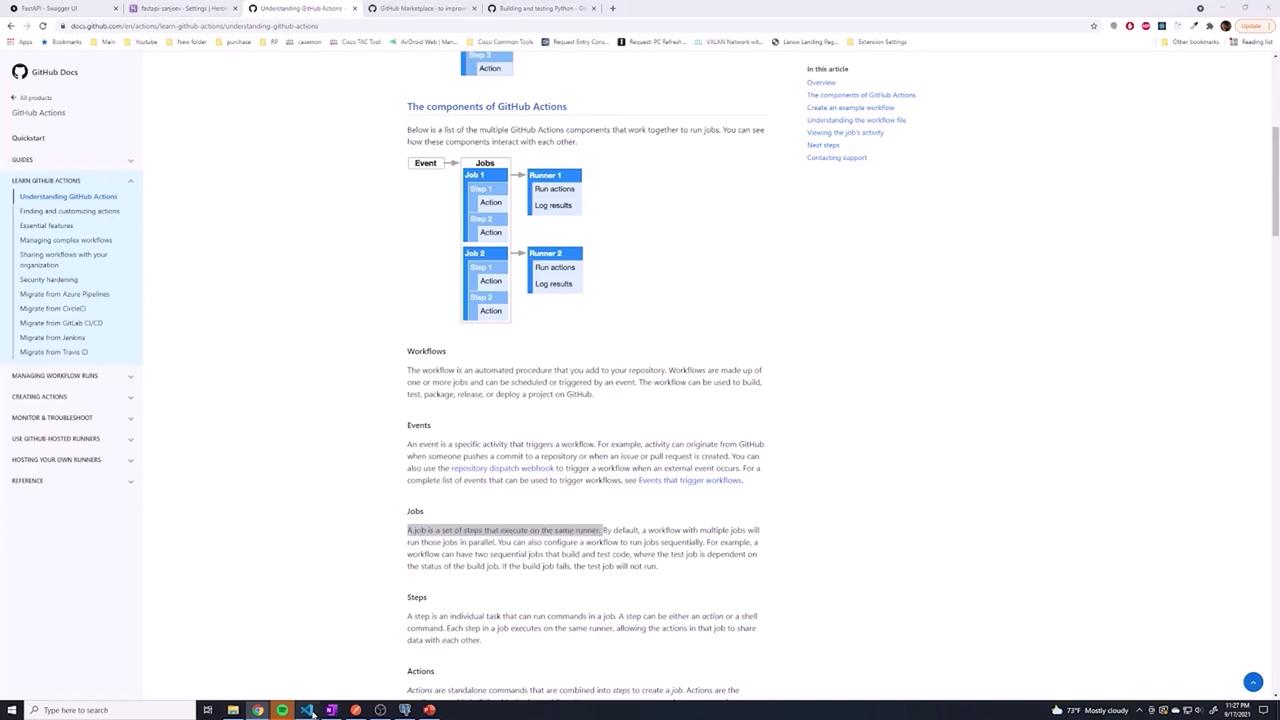
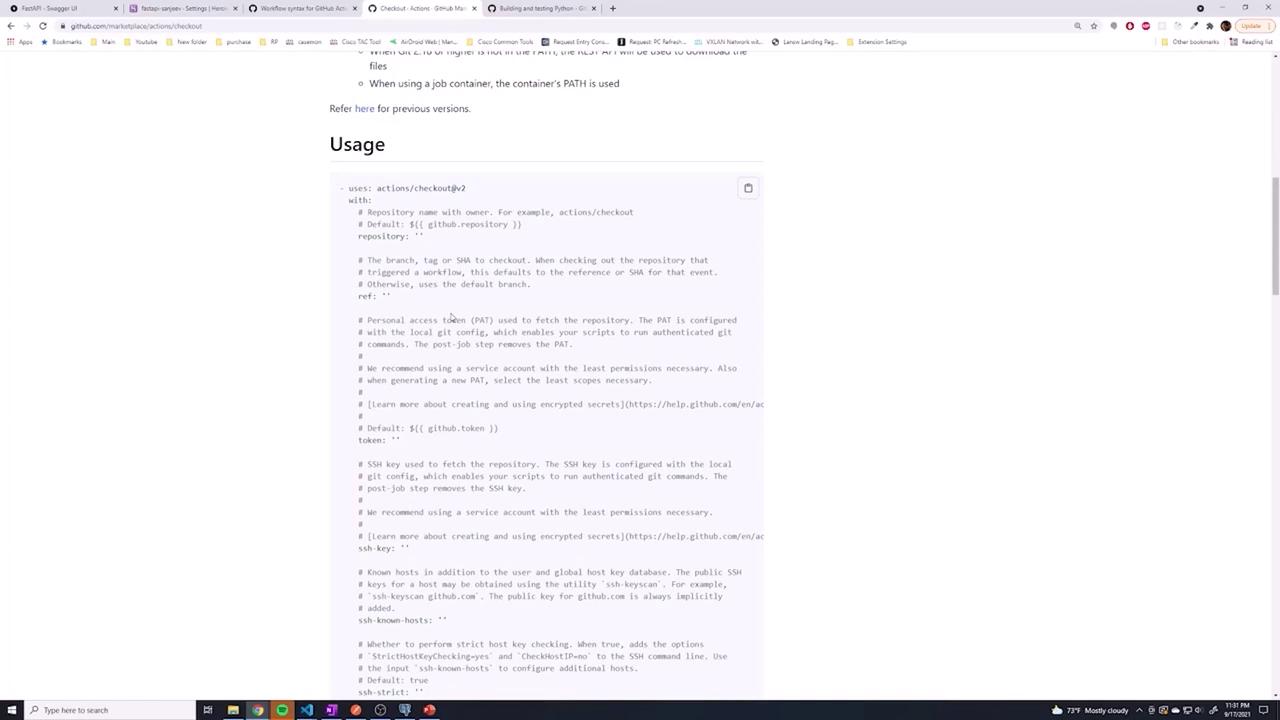
- The first step checks out the repository using a pre-built action available on the GitHub Marketplace.
- The second step executes an echo command on the Linux runner.
Committing and Viewing Your Workflow
After saving your workflow file (for example,build-deploy.yaml) in the .github/workflows directory, commit your changes to your Git repository using these commands:
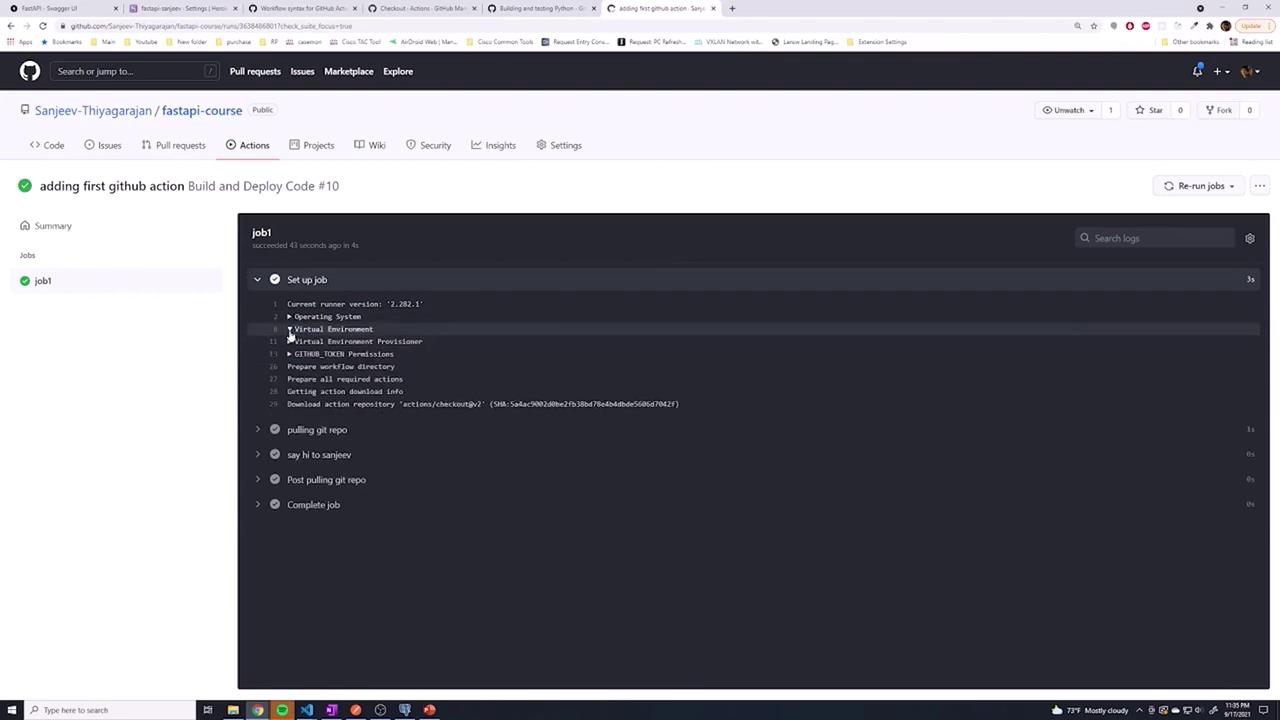
- Launching a runner (a virtual machine) with the specified operating system.
- Checking out the repository using the configured action.
- Executing a custom echo command to validate the step.
Final Thoughts
This simple CI/CD pipeline demonstrates how GitHub Actions can automate tasks such as checking out code, running tests, and executing custom commands on a Linux runner. While GitHub Actions offers free build minutes on their hosted solution, you might consider self-hosted runners if your usage needs increase.By now, you should have a clear understanding of how to configure your first GitHub Actions workflow and trigger it using pushes or pull requests. Feel free to customize and extend this setup to match your project requirements.