

Always sign and verify an image by its immutable digest (for example,
registry.example.com/app@sha256:...) rather than a mutable tag. This ensures the signature cryptographically covers the exact image bytes.Quick checklist
- Use the image digest (not a tag) when signing and verifying.
- Provision keys/certificates securely in production (see warning below).
- Notation stores signatures in the registry as Notary v2 signature artifacts associated with the image digest.
Set the image variable and check for existing signatures
Start by pointing to the image’s immutable digest and list any existing signatures. For a freshly built image,notation ls should return nothing.
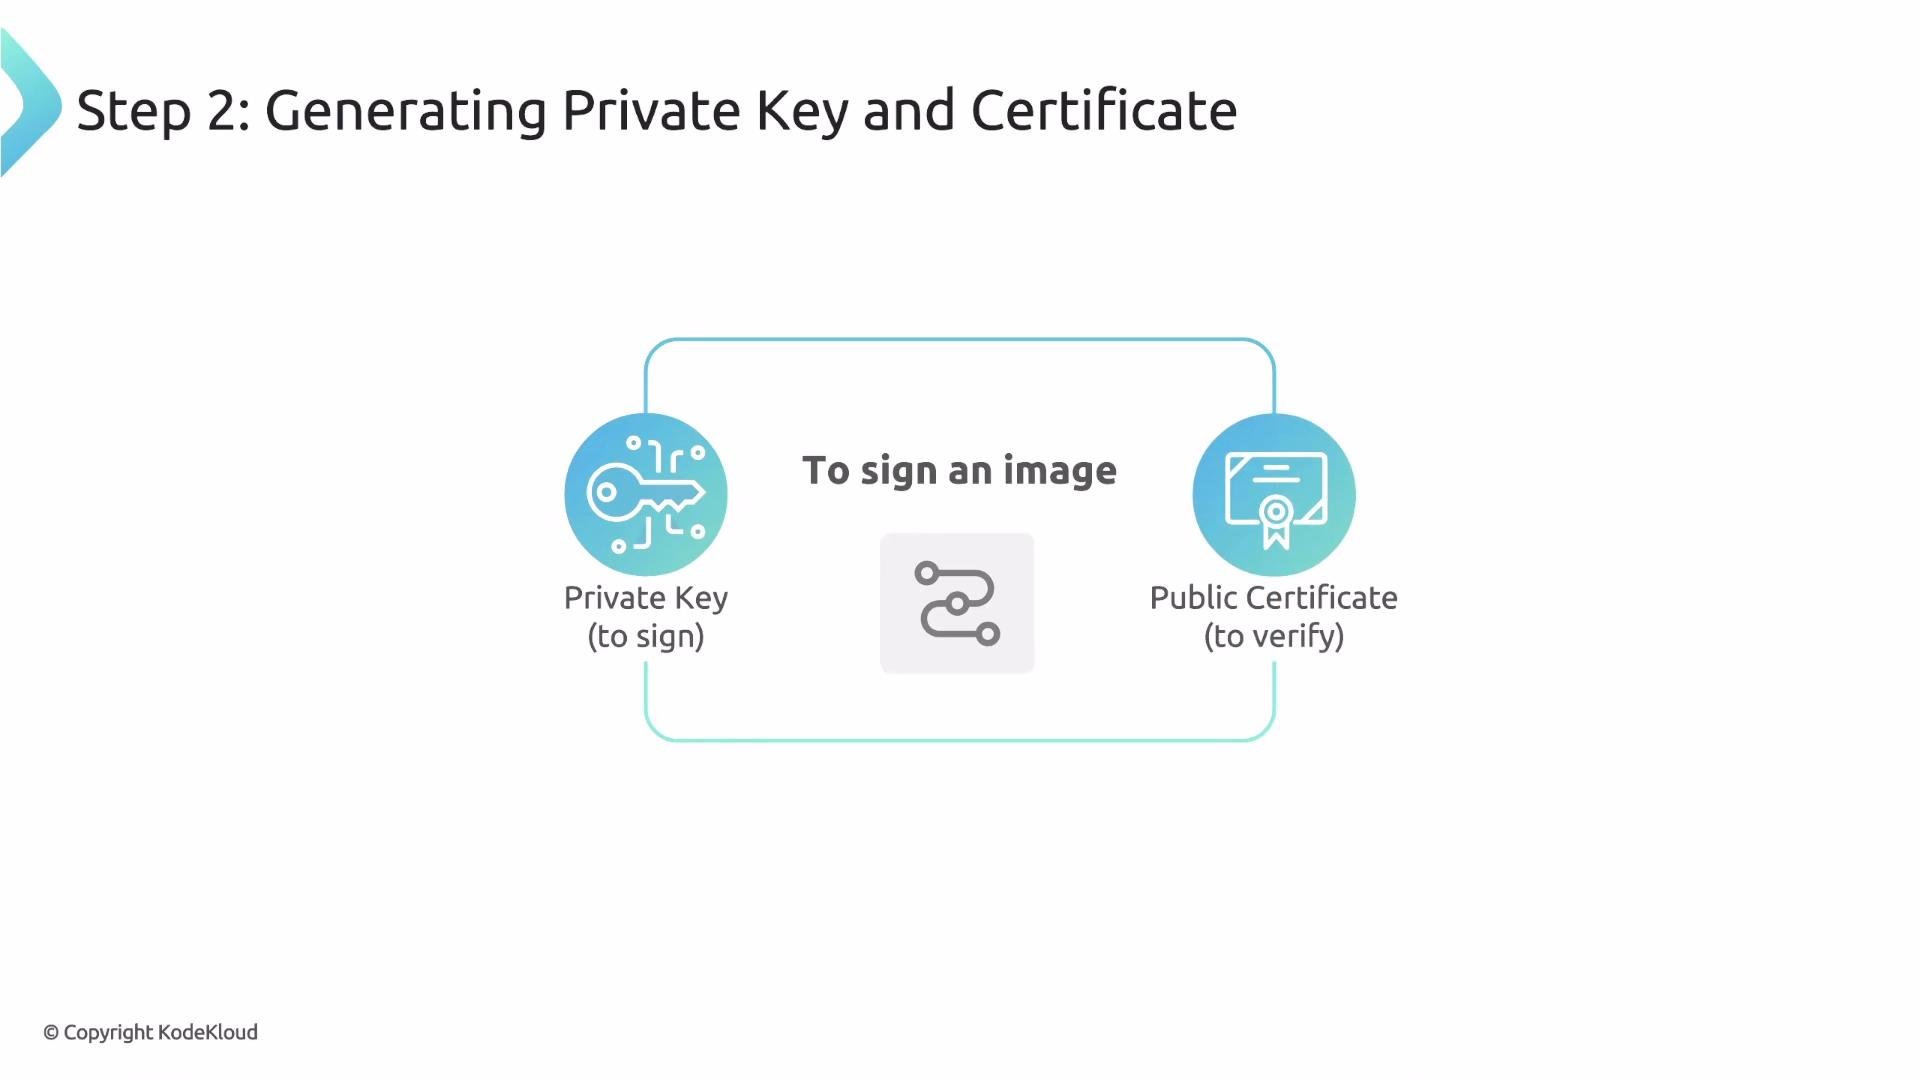
Generate test keys and certificate (development/demo)
Notation can generate a test RSA key and a self-signed certificate for demonstrations:- Creates an RSA private key.
- Generates a self-signed certificate (CN=wabbit-networks.io).
- Sets the new key as Notation’s default signing key.
- Adds the public certificate to a local trust store used by Notation.
The
generate-test command is intended for development and demos only. In production, provision signing keys and certificates securely (for example, using an internal CA, hardware-backed keys, or a cloud KMS). Restrict access and audit usage.Sign the image
Notation signs the image manifest (the immutable digest) with the configured private key and pushes a signature artifact to the registry.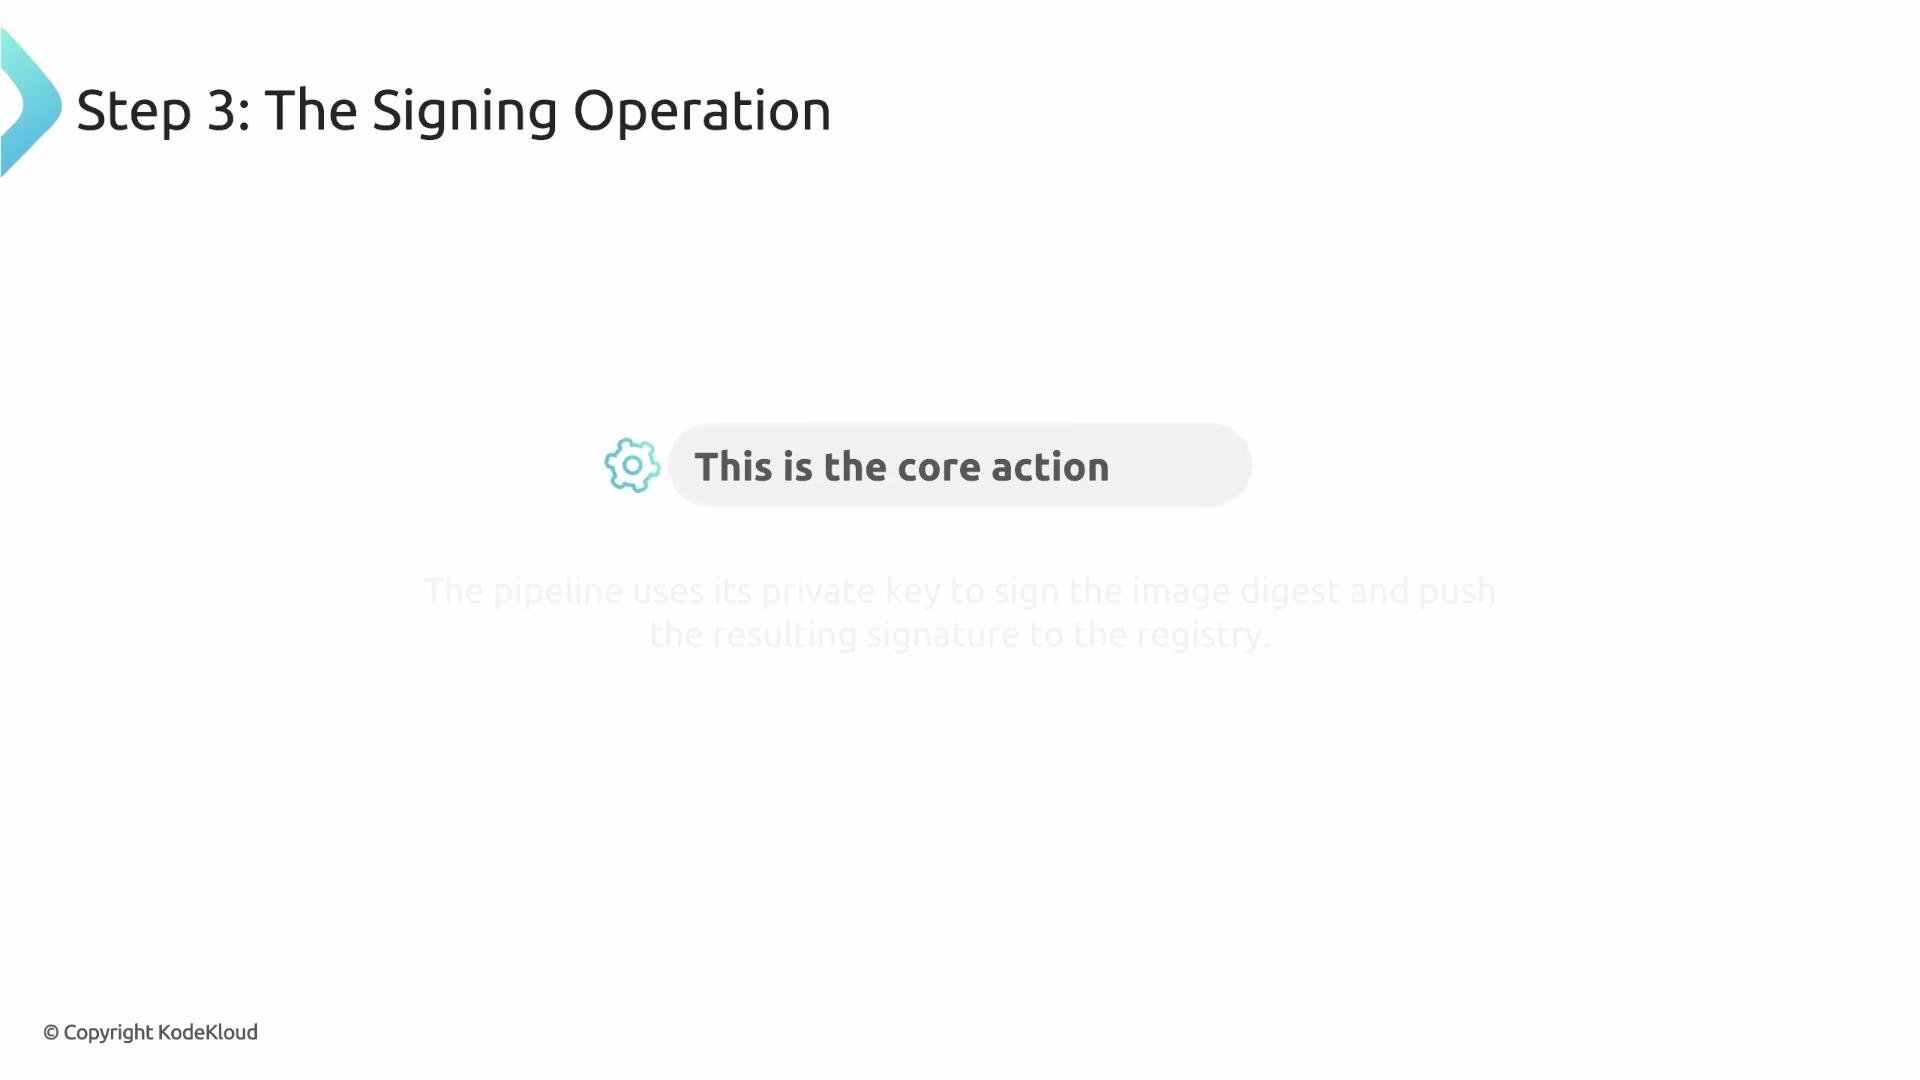
generate-test):
- Notation fetches the image manifest from the registry.
- It computes a digital signature over the manifest’s digest using the private key.
- It pushes the signature artifact (Notary v2 media type) to the registry and associates it with the image digest.
Confirm and inspect the signature
After signing, list the artifacts to confirm a Notation signature exists and inspect the signature metadata.- The signature algorithm.
- The certificate used to sign (subject CN).
- The image digest covered by the signature — the cryptographic link that guarantees integrity.
Verify the signature
Notation can perform verification locally; Kyverno automates this verification inside the cluster using trusted certificates configured in its policy. Verification steps (what a verifier does):- Fetch the image and the signature artifact from the registry.
- Locate a trusted public certificate that can validate the signature.
- Perform the cryptographic verification: ensure the signature is valid for the image digest.
Commands and purpose
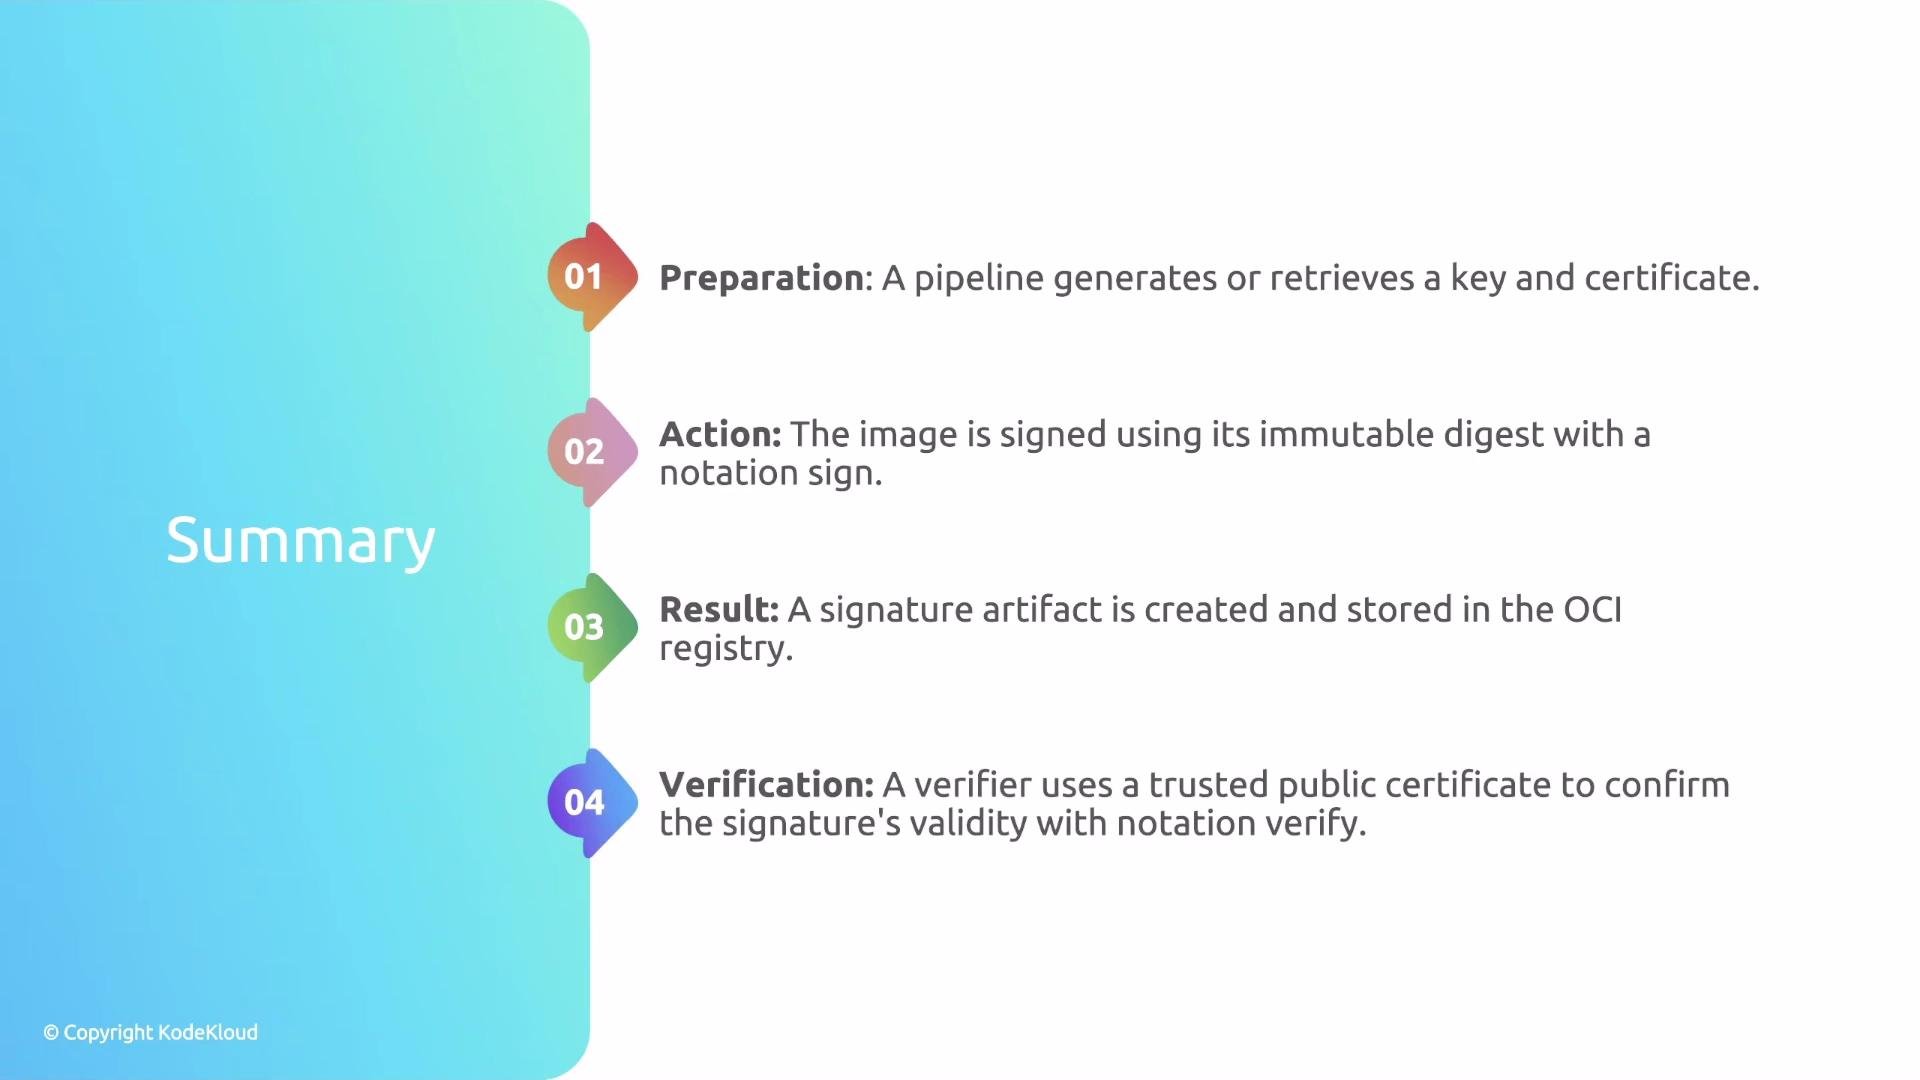
Summary — Signing workflow
- Preparation — Obtain or generate signing key material and the public certificate (trust material).
- Action — Run
notation signto sign the image digest and push the signature to the registry. - Result — The registry stores the Notation signature artifact associated with the image digest; use
notation lsandnotation inspectto examine it. - Verification — A verifier (for example, Kyverno inside the cluster) validates the signature against configured trusted certificates (
notation verifydemonstrates this manually).
Links and references
- Notation (Notary v2): https://notaryproject.dev/notation/
- Kyverno: https://kyverno.io/
- Notation documentation: https://github.com/notaryproject/notation