

- Nodes run the container runtime, kubelet, and host services that, if compromised, can provide broad access to workloads and secrets.
- Limiting node access prevents lateral movement and reduces the blast radius of a compromised credential or host account.
- A layered approach (network controls + host controls + account controls) is more resilient than any single control.
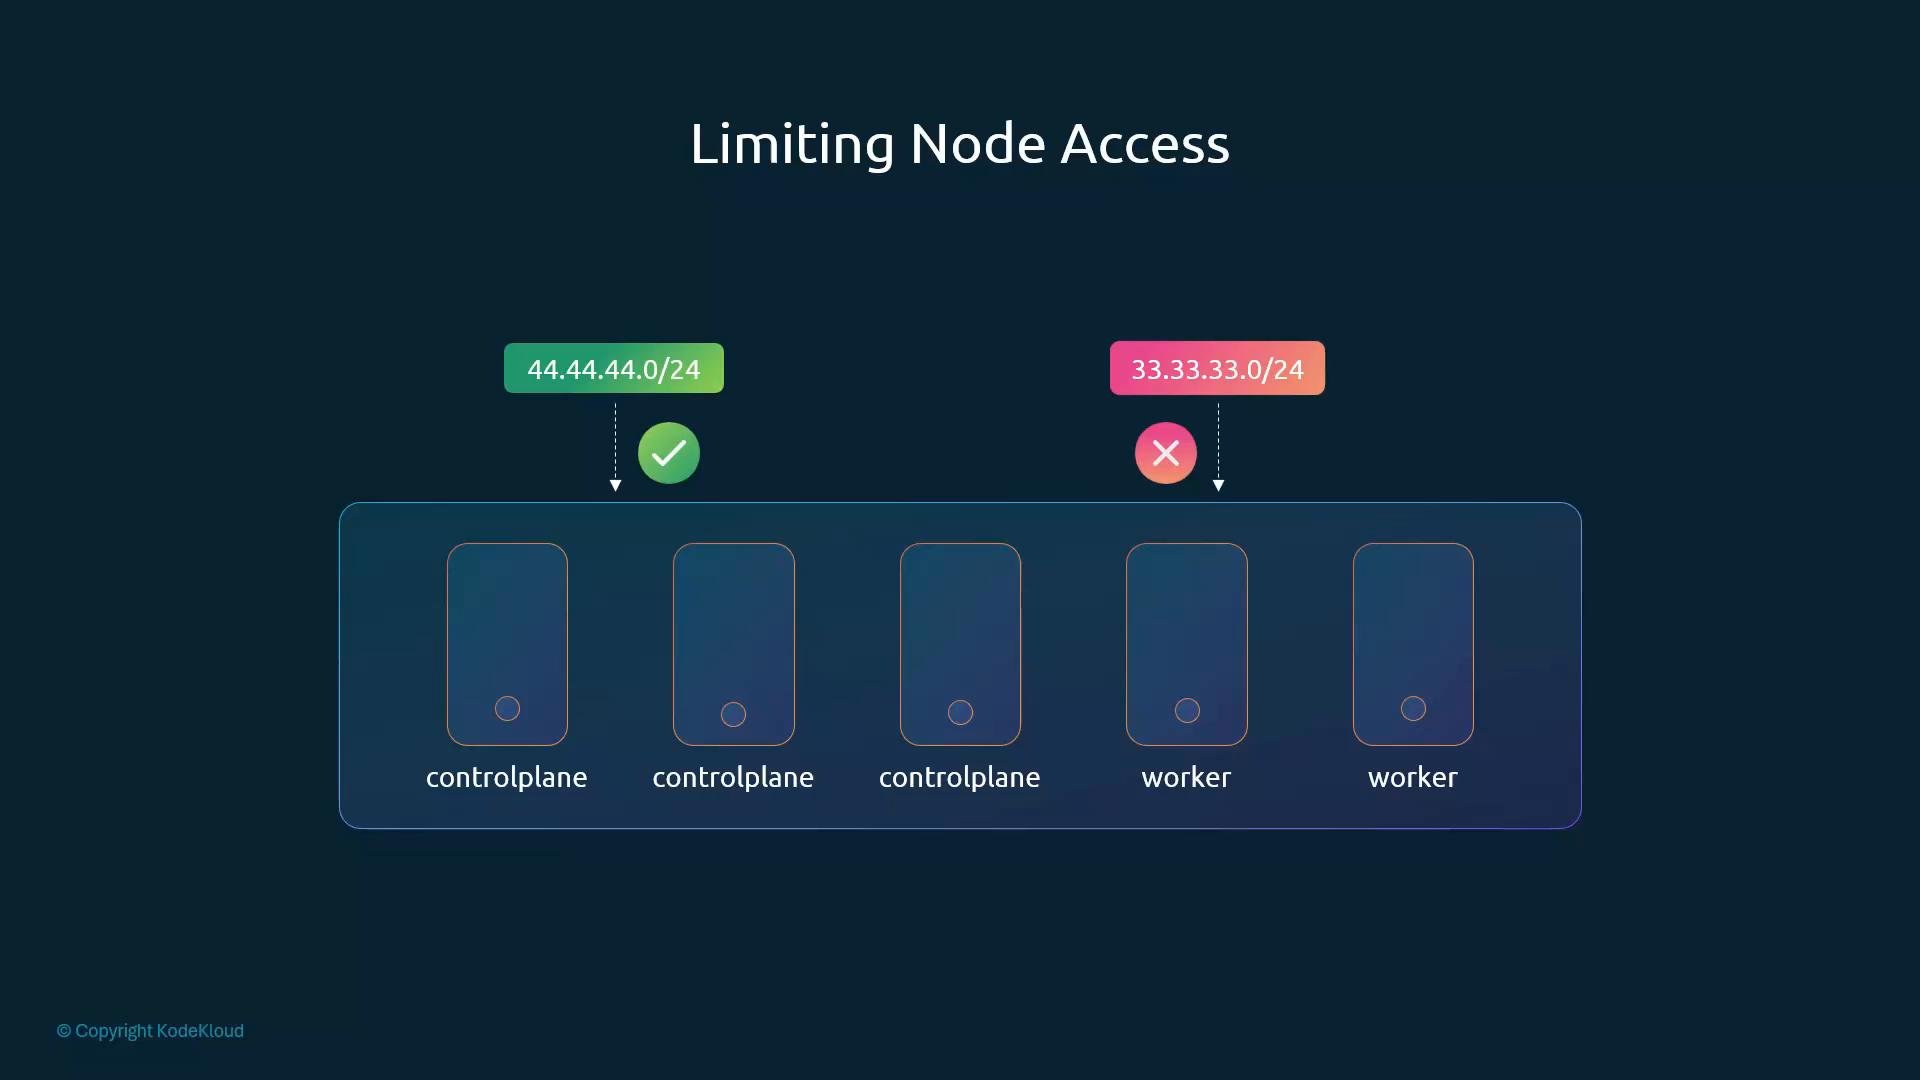
- Provision nodes in private networks when possible so they are not reachable from the public internet.
- Use a VPN into the private network to allow secure admin access.
- If VPNs are not possible, restrict source IPs with authorized networks (infrastructure-level firewall rules) to limit which IP ranges can reach node ports (e.g., SSH).
- Implement host-level firewalling (iptables, nftables, ufw, firewalld) to restrict traffic directly on each node.
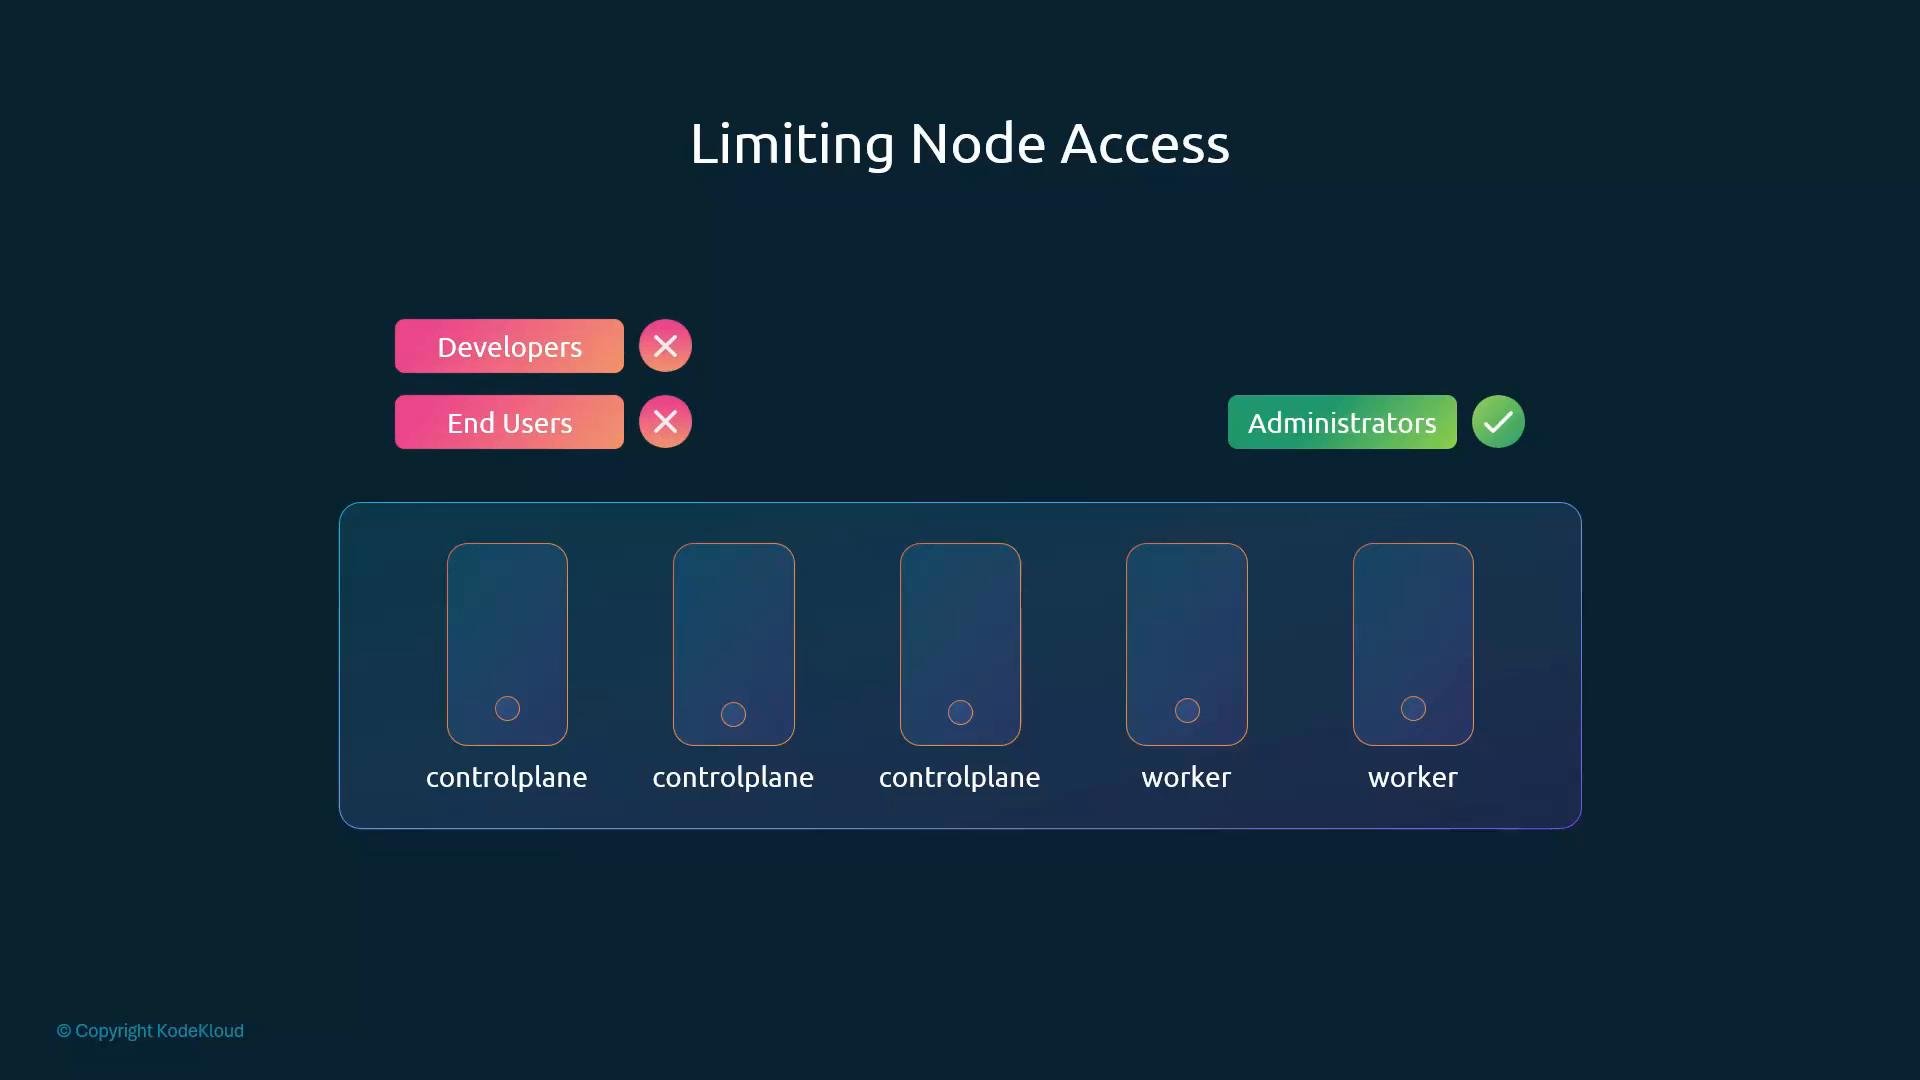
- System administrators and platform engineers who need to manage, upgrade, patch, and troubleshoot nodes.
- Avoid granting SSH or shell access to developers for production clusters unless there is an explicit, auditable reason.
Developers should generally not have SSH access to production nodes. Grant node access only on a strict need-to-know basis and follow the principle of least privilege.
Audit who is accessing a host
Examples:
/etc/passwd— basic user info (username, UID, GID, home, shell). Does not contain password hashes./etc/shadow— password hashes and account metadata (root-readable only)./etc/group— group definitions and member lists. Use these files together with the audit commands to identify unused or over-privileged accounts.
- Prevent interactive login by setting a no-login shell:
- Remove an account (and its home directory and mail spool):
- Remove a user from a group (Debian/Ubuntu example):
- Use private networks + VPN or authorized network rules to prevent public exposure of control plane and nodes.
- Enforce host-level firewalling as an additional layer.
- Limit SSH and interactive access to a small set of administrators; follow least privilege and role-based assignment.
- Audit accounts and logins regularly; disable or remove unused accounts.
- Prefer centralized identity and just-in-time access controls where applicable.
Restrict node access at multiple layers: infrastructure firewall rules, VPN or authorized networks, and host-level account/firewall policies. Defense in depth reduces the risk of unauthorized node access.
- Kubernetes Architecture Overview
- Kubernetes Security Best Practices
- Using firewalls (iptables, nftables) on Linux
- VPN concepts and best practices