Documentation Index

Fetch the complete documentation index at: https://notes.kodekloud.com/llms.txt

Use this file to discover all available pages before exploring further.

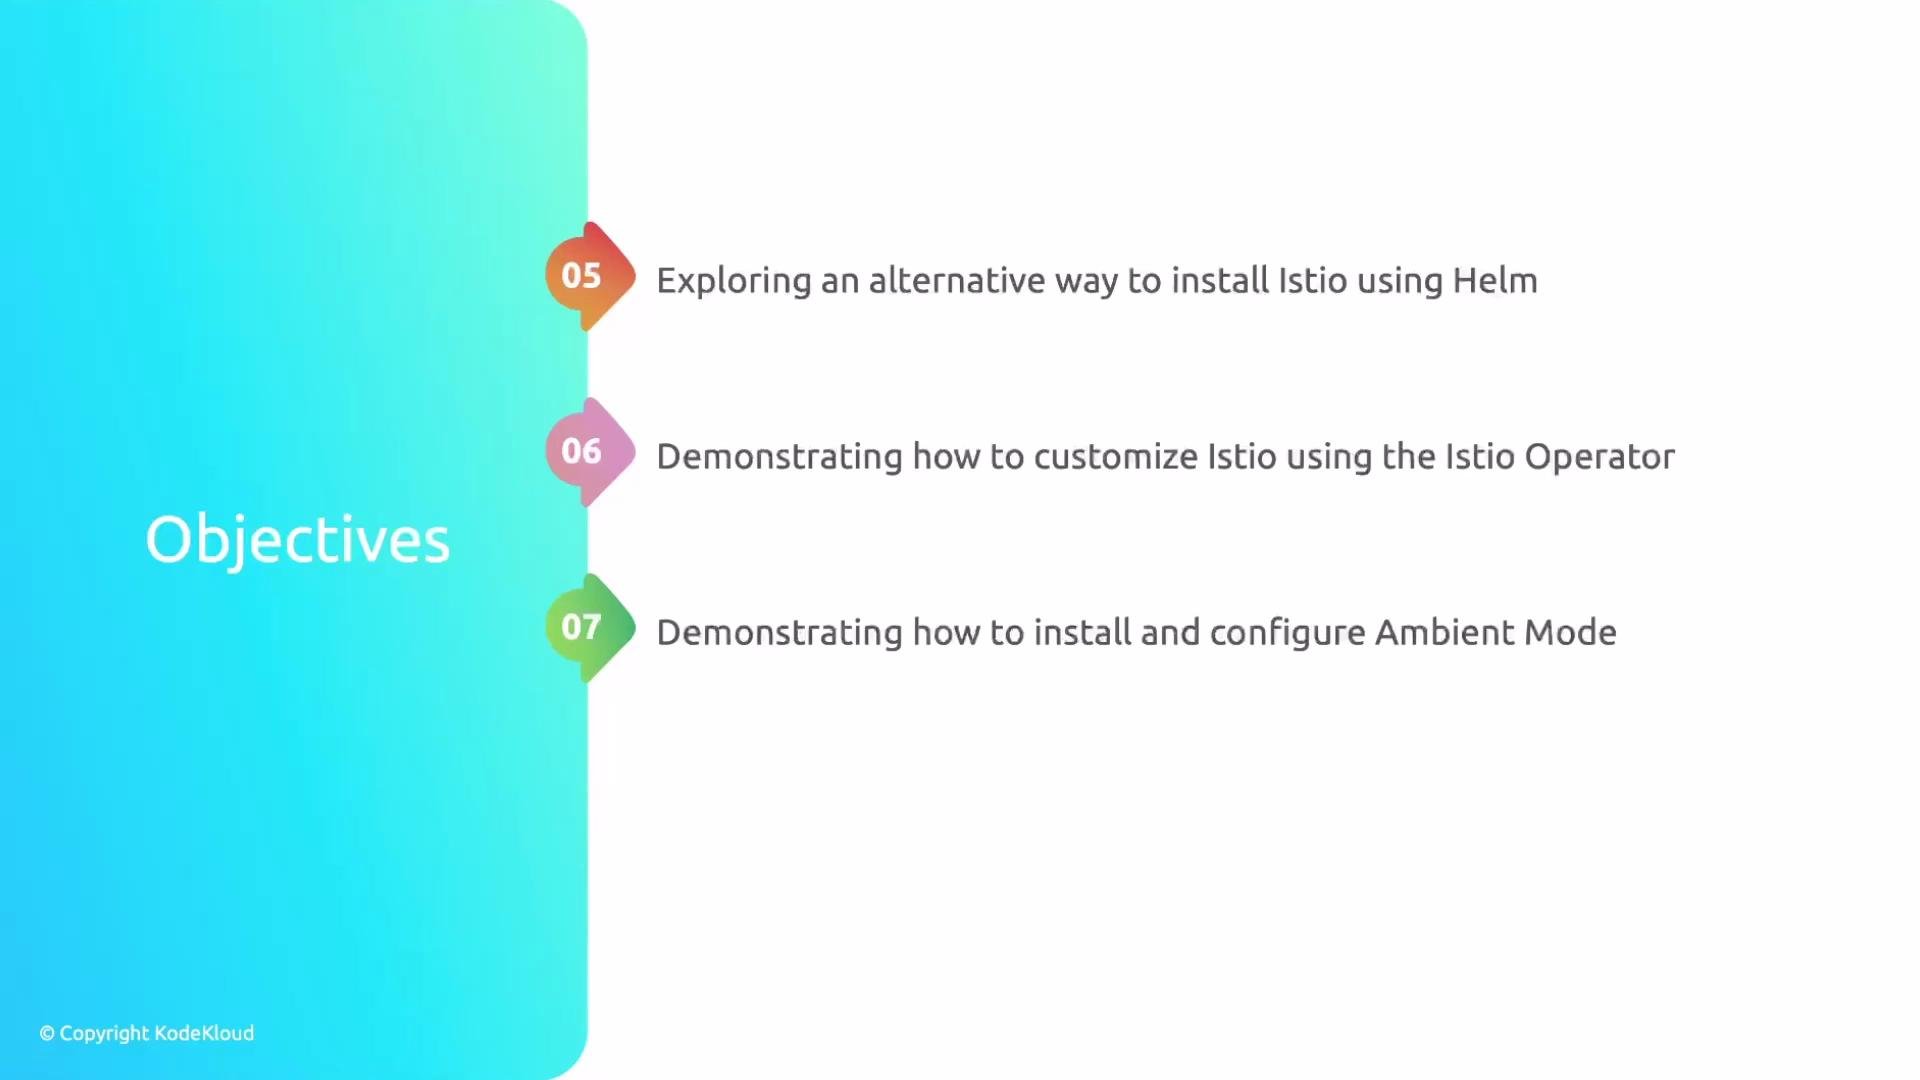
This lesson explains how to install, configure, and manage Istio on Kubernetes. It follows a practical sequence from prerequisites through installation options, customization with the Istio Operator, Ambient mode deployment, and safe upgrade/uninstall patterns. The module sequence:
  1. Prerequisites and requirements
    • A Kubernetes cluster and kubectl access are required before installing Istio.
  2. Installing istioctl and using it to install and enable Istio
    • How to download istioctl, run the installer, and enable features after installation.
  3. Istio installation profiles, including Ambient mode
    • Review built-in profiles and when to choose Ambient mode.
  4. Installing Istio with Helm
    • An alternative installation method and when to prefer Helm.
  5. Customizing Istio via the Istio Operator
    • Use the Operator to manage configuration and lifecycle (important for the exam).
  6. Deploying Ambient mode and using the ztunnel
    • How to enable Ambient mode and start the ztunnel-based dataplane.
  7. Upgrading and uninstalling Istio using canary upgrades
    • Use canary-style upgrades for safer version transitions (also exam-relevant).
Before proceeding, ensure you have a working Kubernetes cluster and kubectl configured to talk to it. Many installation steps assume cluster-admin privileges.
The Istio Operator and Ambient mode topics are frequently covered on exams—pay close attention to customization and upgrade procedures.

1. Prerequisites and requirements

Minimum items needed before installing Istio:
  • A Kubernetes cluster (managed or self-hosted). For labs, kind, minikube, or a cloud cluster are common choices.
  • kubectl configured and able to reach the cluster: kubectl get nodes
  • Sufficient cluster permissions (cluster-admin role may be required for some operations)
  • Basic familiarity with Kubernetes objects (Namespaces, Deployments, Services)
Helpful commands:
# Verify kubectl connectivity
kubectl version --short
kubectl get nodes

# Create a namespace
kubectl create namespace istio-system

2. Installing istioctl and installing Istio

Istio’s recommended CLI is istioctl. It provides a convenient installer, validation, and management helpers. Download and install istioctl (example using the official release page):
# Example (replace with specific version)
curl -L https://istio.io/downloadIstio | ISTIO_VERSION=1.18.0 sh -
export PATH="$PATH:$(pwd)/istio-1.18.0/bin"
istioctl version --remote
Install Istio using istioctl:
# Default profile installation into istio-system namespace
istioctl install --set profile=default -y
Enable or verify features after installation:
# Check installed components
kubectl -n istio-system get pods

# Enable automatic sidecar injection in a namespace
kubectl label namespace default istio-injection=enabled --overwrite
Useful istioctl commands:
  • istioctl install — install/upgrade Istio
  • istioctl dashboard — access Grafana/Prometheus/Kiali/UIs
  • istioctl analyze — validate configuration and detect common problems
References: Istio Installation Docs

3. Istio installation profiles (including Ambient mode)

Istio provides several built-in installation profiles optimized for different use cases:
ProfileUse CaseNotes
defaultGeneral-purpose productionBalanced set of features and telemetry
minimalLightweight installationsFewer components, lower resource usage
demoLocal testing / demosIncludes sample apps and verbose telemetry
remote / primaryMulti-cluster topologiesFor control-plane / remote-plane separation
ambientSidecar-free dataplane using ztunnelUse when you prefer ambient proxy model over sidecars
Choosing Ambient mode:
  • Ambient mode replaces sidecar proxies with an overlay dataplane (ztunnel + Ambient Gateway).
  • It simplifies application deployment (no sidecar injection) but requires careful network policy and security configuration.
When to use which profile:
  • Use default for most production clusters.
  • Use minimal for constrained environments.
  • Consider ambient when sidecar complexity is a concern and your environment supports ztunnel.

4. Installing Istio with Helm

Helm offers an alternative installation path, useful when integrating with existing Helm-driven workflows or templating requirements. Example Helm steps:
# Add Istio helm repo
helm repo add istio https://istio-release.storage.googleapis.com/charts
helm repo update

# Install Istio base and control plane (example)
helm install istio-base istio/base -n istio-system --create-namespace
helm install istiod istio/istiod -n istio-system
When to prefer Helm:
  • You need to embed Istio installation in CI/CD as Helm charts.
  • You require finer templating control or integration with other Helm-based infrastructure.
Compare installation methods:
MethodProsCons
istioctlSimple, opinionated, built-in validationsLess templating flexibility
HelmIntegrates with Helm-based workflowsMore manual wiring; more moving parts
Istio OperatorDeclarative lifecycle managementBest for large-scale or production operations

5. Customizing Istio via the Istio Operator

The Istio Operator enables declarative, repeatable management of Istio control plane configuration and lifecycle. Basic Operator workflow:
  1. Install the Operator into the cluster (Operator Lifecycle Manager or Helm).
  2. Create an IstioOperator custom resource to define desired configuration.
  3. The Operator reconciles the control plane to the declared state.
Example IstioOperator snippet (use a file like istio-operator.yaml):
apiVersion: install.istio.io/v1alpha1
kind: IstioOperator
metadata:
  namespace: istio-system
  name: example-operator
spec:
  profile: default
  components:
    pilot:
      k8s:
        hpaSpec:
          minReplicas: 2
Benefits:
  • Centralized configuration, upgrades, and custom component tuning.
  • Suitable for production and is frequently covered in certification exams.

6. Deploying Ambient mode and using the ztunnel

Ambient mode provides a sidecar-free dataplane using the ztunnel and ambient gateway. Key steps:
  1. Choose or create an Ambient profile.
  2. Install Istio with Ambient components enabled (via istioctl or IstioOperator).
  3. Deploy ztunnel agents and Ambient Gateway where required.
Example for enabling Ambient (conceptual):
# Example using IstioOperator; configure spec.profile=ambient
istioctl install -f ambient-operator-config.yaml
Post-install checks:
# Verify Ambient pods (ztunnel)
kubectl -n istio-system get pods -l app=ztunnel
Ambient mode reduces the operational overhead of sidecars but requires testing—verify traffic flow, mTLS behavior, and observability in a staging environment before production rollout.

7. Upgrading and uninstalling Istio using canary upgrades

Safe upgrades are essential. Istio supports canary-style upgrades to move traffic gradually from an old control plane to a new one. Canary upgrade pattern (high-level):
  1. Install the new control plane alongside the existing one (different revision or namespace).
  2. Apply Pod/Deployment annotations or Sidecar/Service tweaks to direct a subset of workloads to the new control plane.
  3. Monitor telemetry and application health using istioctl analyze, Prometheus, and logs.
  4. Gradually increase the percentage of workloads using the new control plane.
  5. Remove the old control plane after verification.
Example of installing a revision for a canary:
# Install new revision (e.g., 1-18-0) without overwriting existing control plane
istioctl install --set revision=1-18-0 -y

# Inject workloads to use the new revision (namespace label)
kubectl label namespace default istio.io/rev=1-18-0 --overwrite
Uninstalling Istio:
# Remove Istio installation using istioctl
istioctl x uninstall --purge -y

# Remove CRDs (if required)
kubectl delete crd -l operator.istio.io/component=
Always back up configuration (CRs, IstioOperator manifests, and custom resource definitions) before upgrading or uninstalling. Canary upgrades reduce risk—avoid large-scale switches without staged verification.

Quick Reference — Commands

ActionCommand
Download istioctlcurl -L https://istio.io/downloadIstio | ISTIO_VERSION=<version> sh -
Install Istio (default)istioctl install --set profile=default -y
Install with revisionistioctl install --set revision=<rev> -y
Check control plane podskubectl -n istio-system get pods
Label namespace for injectionkubectl label namespace default istio-injection=enabled --overwrite
Uninstall Istioistioctl x uninstall --purge -y

Use these pages for the latest release notes and detailed configuration options.

Watch Video