

- Enforcing mTLS cluster-wide (PeerAuthentication)
- Creating AuthorizationPolicy resources to ALLOW or DENY traffic
- How rule scope (namespace, selector, methods, paths) affects behavior
- The precedence of DENY over ALLOW
istio-system installed and working control plane.
1. Deploy example workloads
Apply the httpbin sample used throughout this lesson:test namespace and enable automatic Envoy sidecar injection:
test namespace — the Istio sidecar will be injected:
test pod, verify connectivity to httpbin (no policies yet):
2. Enforce mTLS cluster-wide
Create a PeerAuthentication in theistio-system namespace to enforce strict mTLS:
peer_auth_global.yaml
3. Basic ALLOW policy — namespace-based, method-scoped
Create an AuthorizationPolicy that ALLOWs only GET requests from namespacetest to the workload(s) in the policy scope.
auth_policy_allow_test.yaml
curl --head issues an HTTP HEAD request, not GET. Because this policy allows only GET, HEAD requests will be denied.
Tip: When testing method-based policies, use
curl --request GET or a plain curl (defaults to GET). If you prefer HEAD behavior, include HEAD in the policy (e.g., methods: ["GET", "HEAD"]).test.
4. Namespace scoping — allow only selected namespaces
Create another namespaceapp, enable injection, and run a test client there:
app:
app will be denied by the policy that allows only test:
test and app, include both namespaces in from.source.namespaces:
5. DENY specific paths and the DENY warning
Create a DENY policy that blocks requests to the/delay path:
auth_policy_deny.yaml
Warning: A DENY rule that uses only HTTP attributes (methods, paths) can impact TCP traffic under its scope unless you explicitly specify
ports. Istio will warn when you apply such a rule. To avoid unintended TCP denial, scope the policy by ports, selector, or namespace.http://httpbin.default.svc:8000/delay will now be denied, even if an ALLOW policy also matches — see DENY precedence below.
6. Scoping ALLOW policies by selector, path, and methods
For precise allow rules (e.g., allow only GET/HEAD to/get from clients in app and only for the httpbin workload), use a selector and explicit paths:
/get from a pod running in app.
7. DENY-all pattern and rule precedence
A deny-all policy example: auth_deny_all.yaml- DENY policies are evaluated before ALLOW policies. If a DENY matches, the request is rejected even if an ALLOW would also match.
- A broad deny-all in the same scope will block traffic unless you remove it or more specifically scope other policies.
Per-workload deny example (target productpage only)
Instead of denying cluster-wide, target a specific workload viaselector:
auth_deny_product.yaml
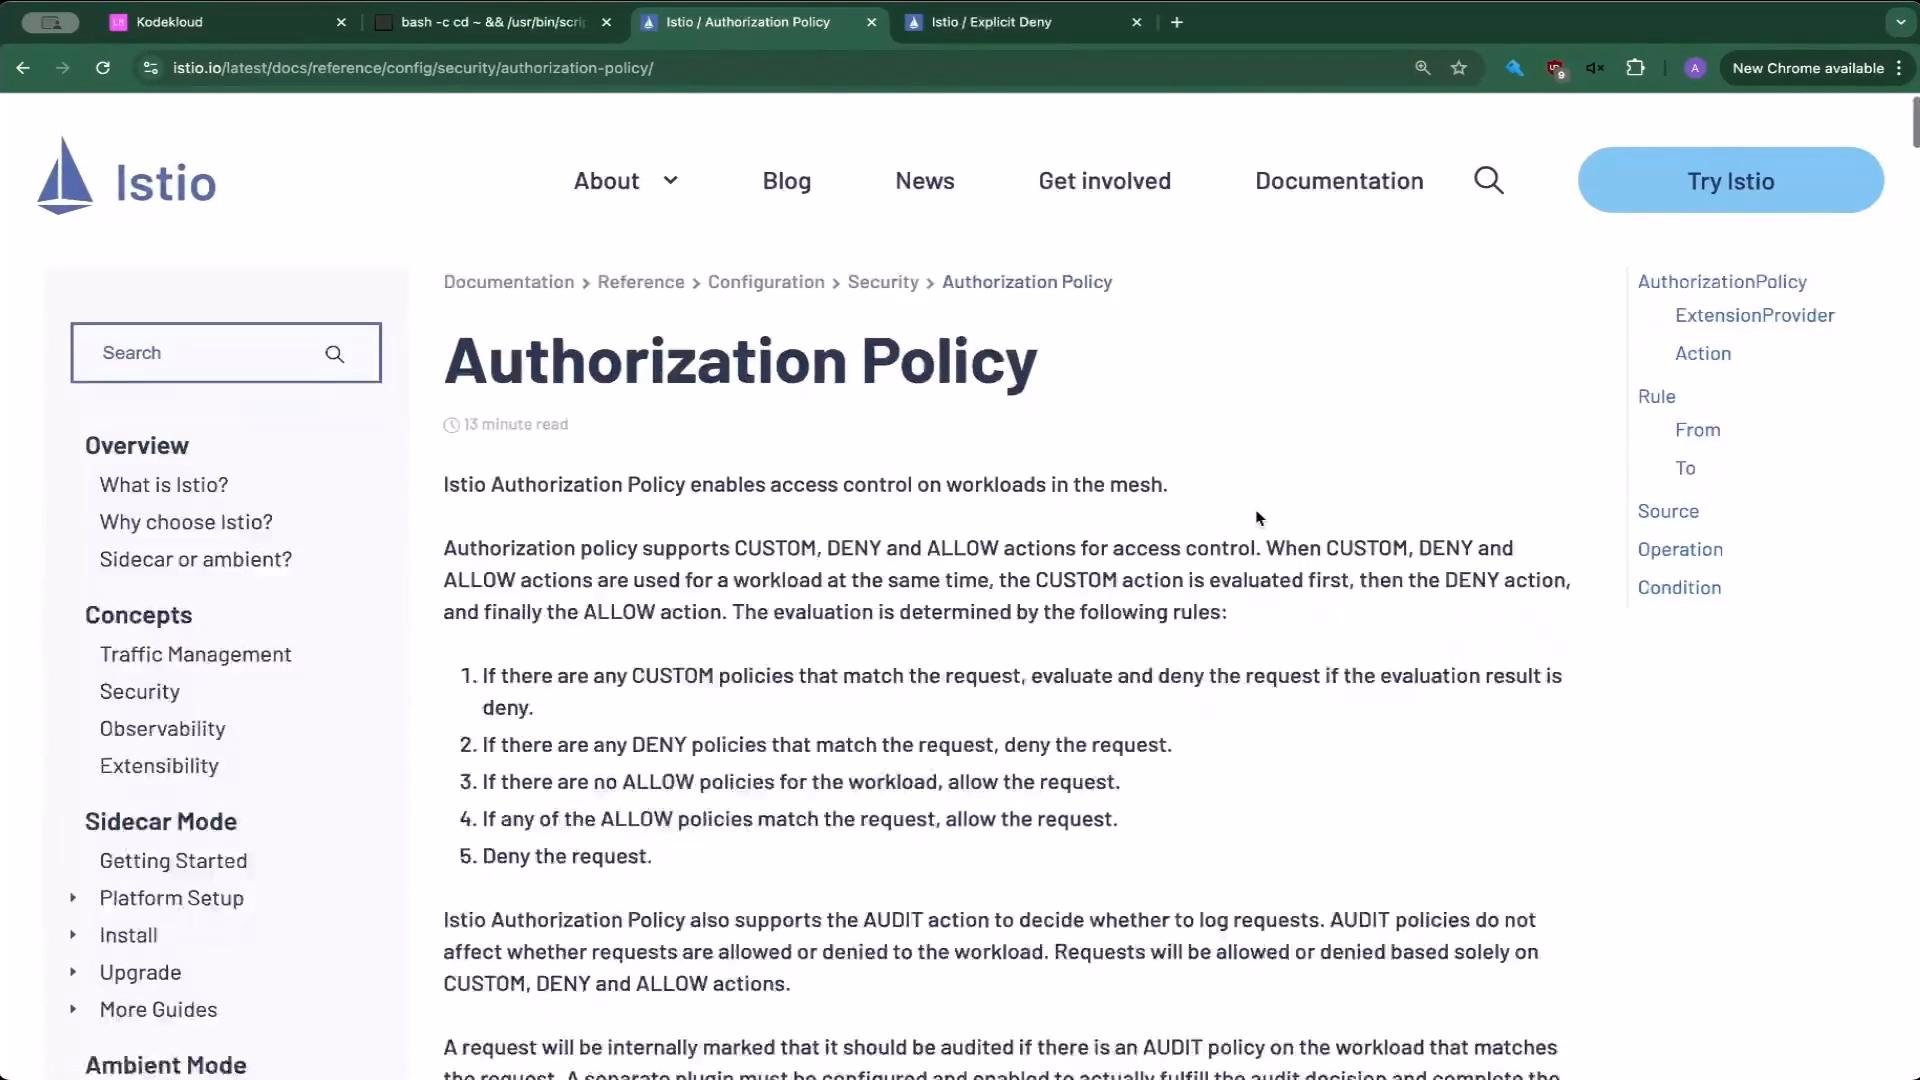
Deny rules are evaluated before allow rules. If both DENY and ALLOW match a request, the DENY takes precedence. Use targeted DENY rules (by selector, namespace, port, or path) rather than a broad deny-all unless you intend to explicitly allow everything else.
Summary table — useful Istio security resources
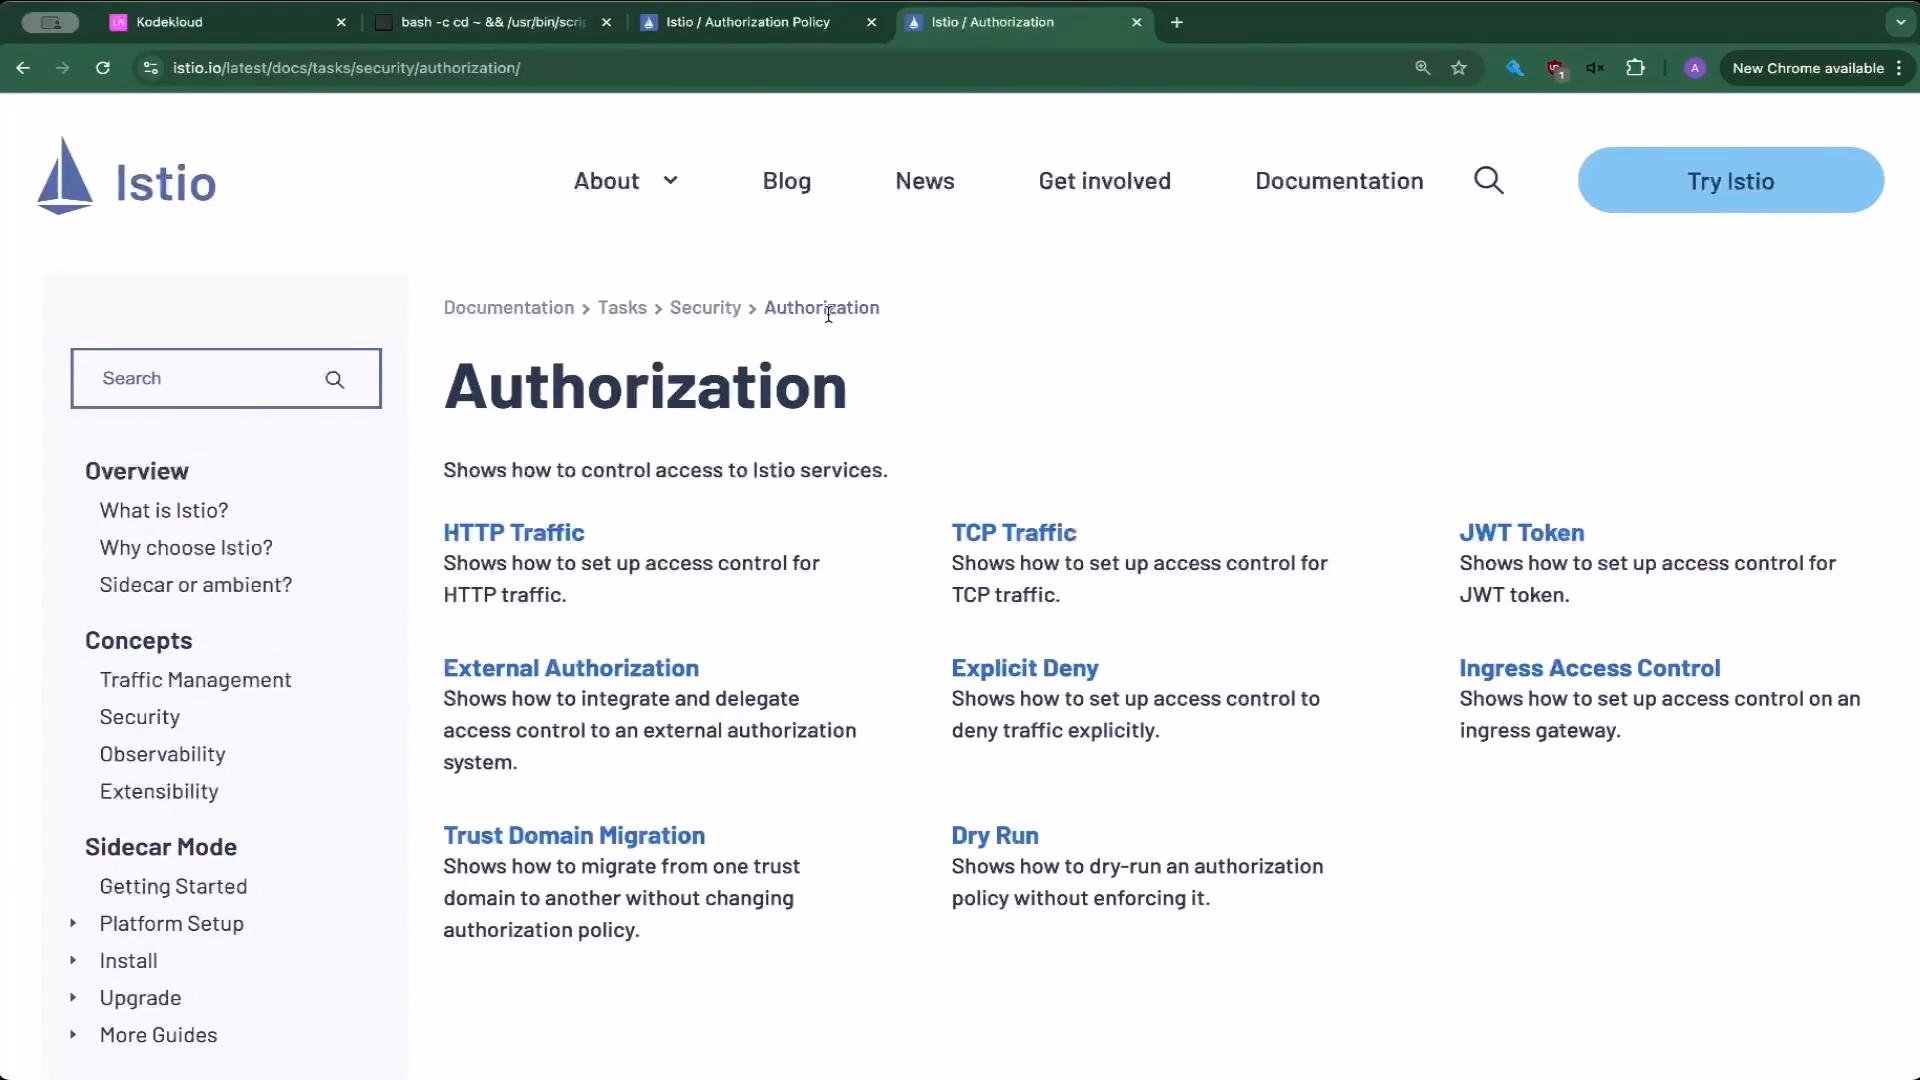
Reference and additional resources
- Scoping by workload (
selector.matchLabels) from(source: namespaces, principals, service accounts)to(operation: methods, paths, ports)when(conditions based on request attributes, JWT claims)- Actions:
ALLOW,DENY,AUDIT,CUSTOM(ALLOWandDENYare most commonly used)
Key takeaways
- Authentication (mTLS) establishes identity; authorization decides what that identity may do.
- AuthorizationPolicy is powerful but can be subtle. Pay attention to:
- Rule scope (namespace-level vs workload
selector) - Verb vs method differences (e.g.,
GETvsHEAD) DENYprecedence overALLOW- Warnings about
DENYrules with only HTTP attributes and their potential effect on TCP traffic
- Rule scope (namespace-level vs workload
- Practice common patterns: allow-by-namespace, allow-by-service-account, deny-by-path, and per-workload deny to build confidence for production and certification scenarios.