This guide demonstrates how to authenticate to HashiCorp Vault using the Vault UI. You’ll learn how to log in with your preferred method, retrieve your client token, and switch to the CLI.

Prerequisites

Ensure the following authentication methods are enabled in your Vault cluster:

Step 1: Access the Vault UI

Open your browser and navigate to:
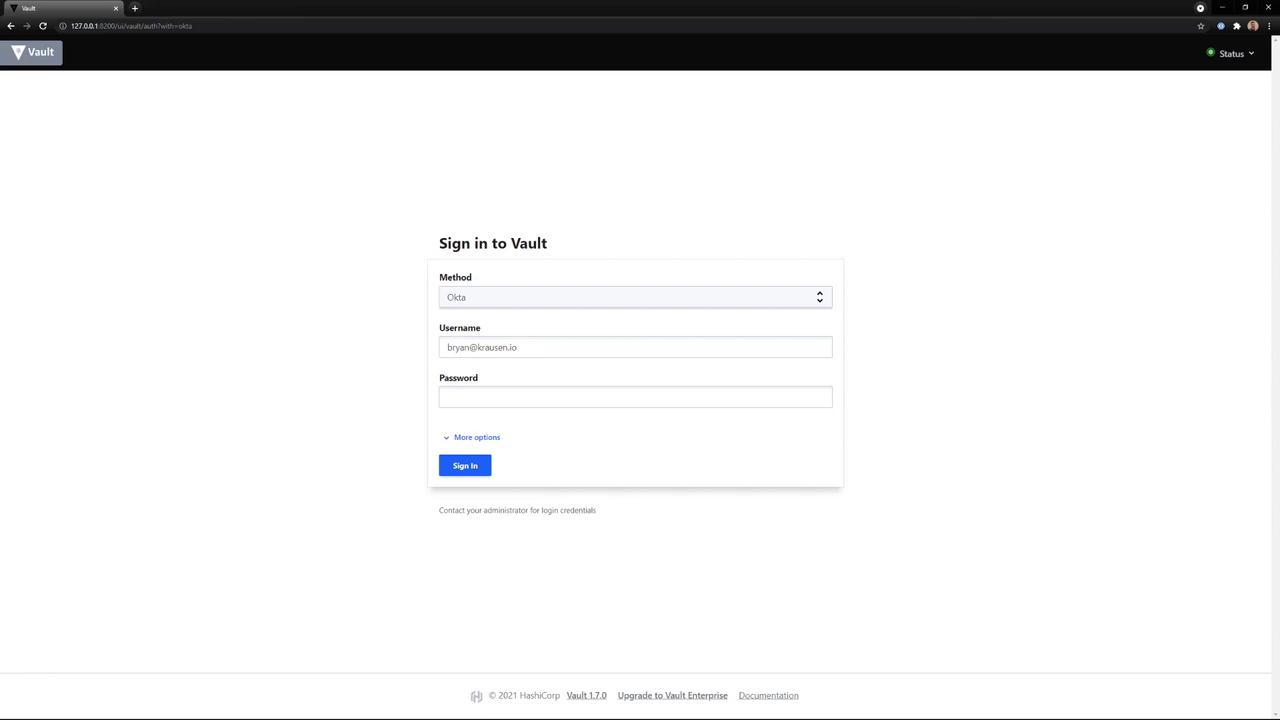
You will see the login screen where only the enabled methods appear in the dropdown.
Only methods enabled on your Vault server will show up in the dropdown. Contact your administrator if you need a new auth method enabled.

Step 2: Select and Authenticate

  1. From the dropdown, choose Okta (or any enabled method).
  2. Enter your Username and Password.
  3. Click Sign In.
The image shows a login page for "Vault" with fields for method, username, and password, and a "Sign In" button. The method selected is "Okta," and there are options for more settings.
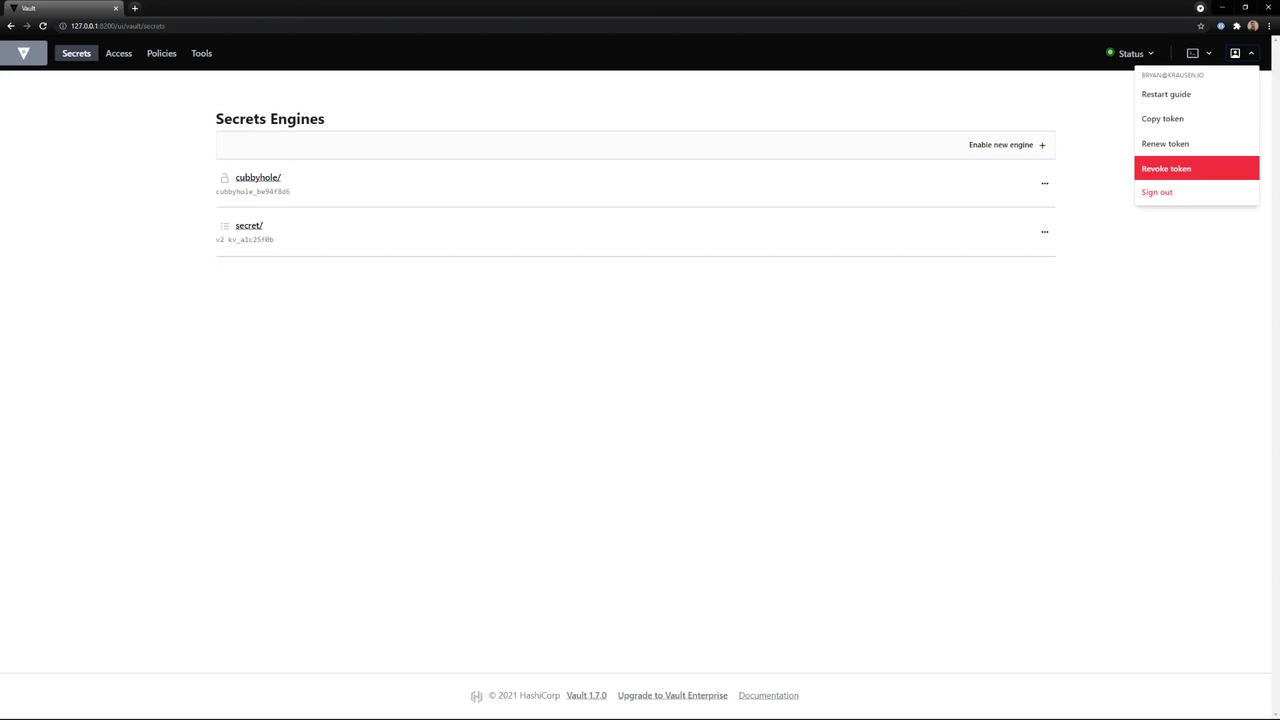
After successful authentication, Vault redirects you to its home screen.

Step 3: Explore the Vault Home Screen

On the UI home screen, you can:
  • Browse Secret Engines (e.g., cubbyhole, secret)
  • View and manage Tokens
  • Configure Policies
Click the user menu in the top-right corner to copy the client token issued during login.
The image shows a web interface for HashiCorp Vault, displaying a list of secret engines, including "cubbyhole" and "secret." The interface includes options for managing tokens and adding new engines.

Step 4: Use Your Token in the CLI

Once you have your token, you can authenticate the Vault CLI:
After exporting VAULT_TOKEN, all subsequent Vault CLI commands will use this token automatically. Consider adding this line to your shell profile for convenience.
Switching from the UI to the CLI lets you leverage commands not yet available in the interface.

References

Watch Video