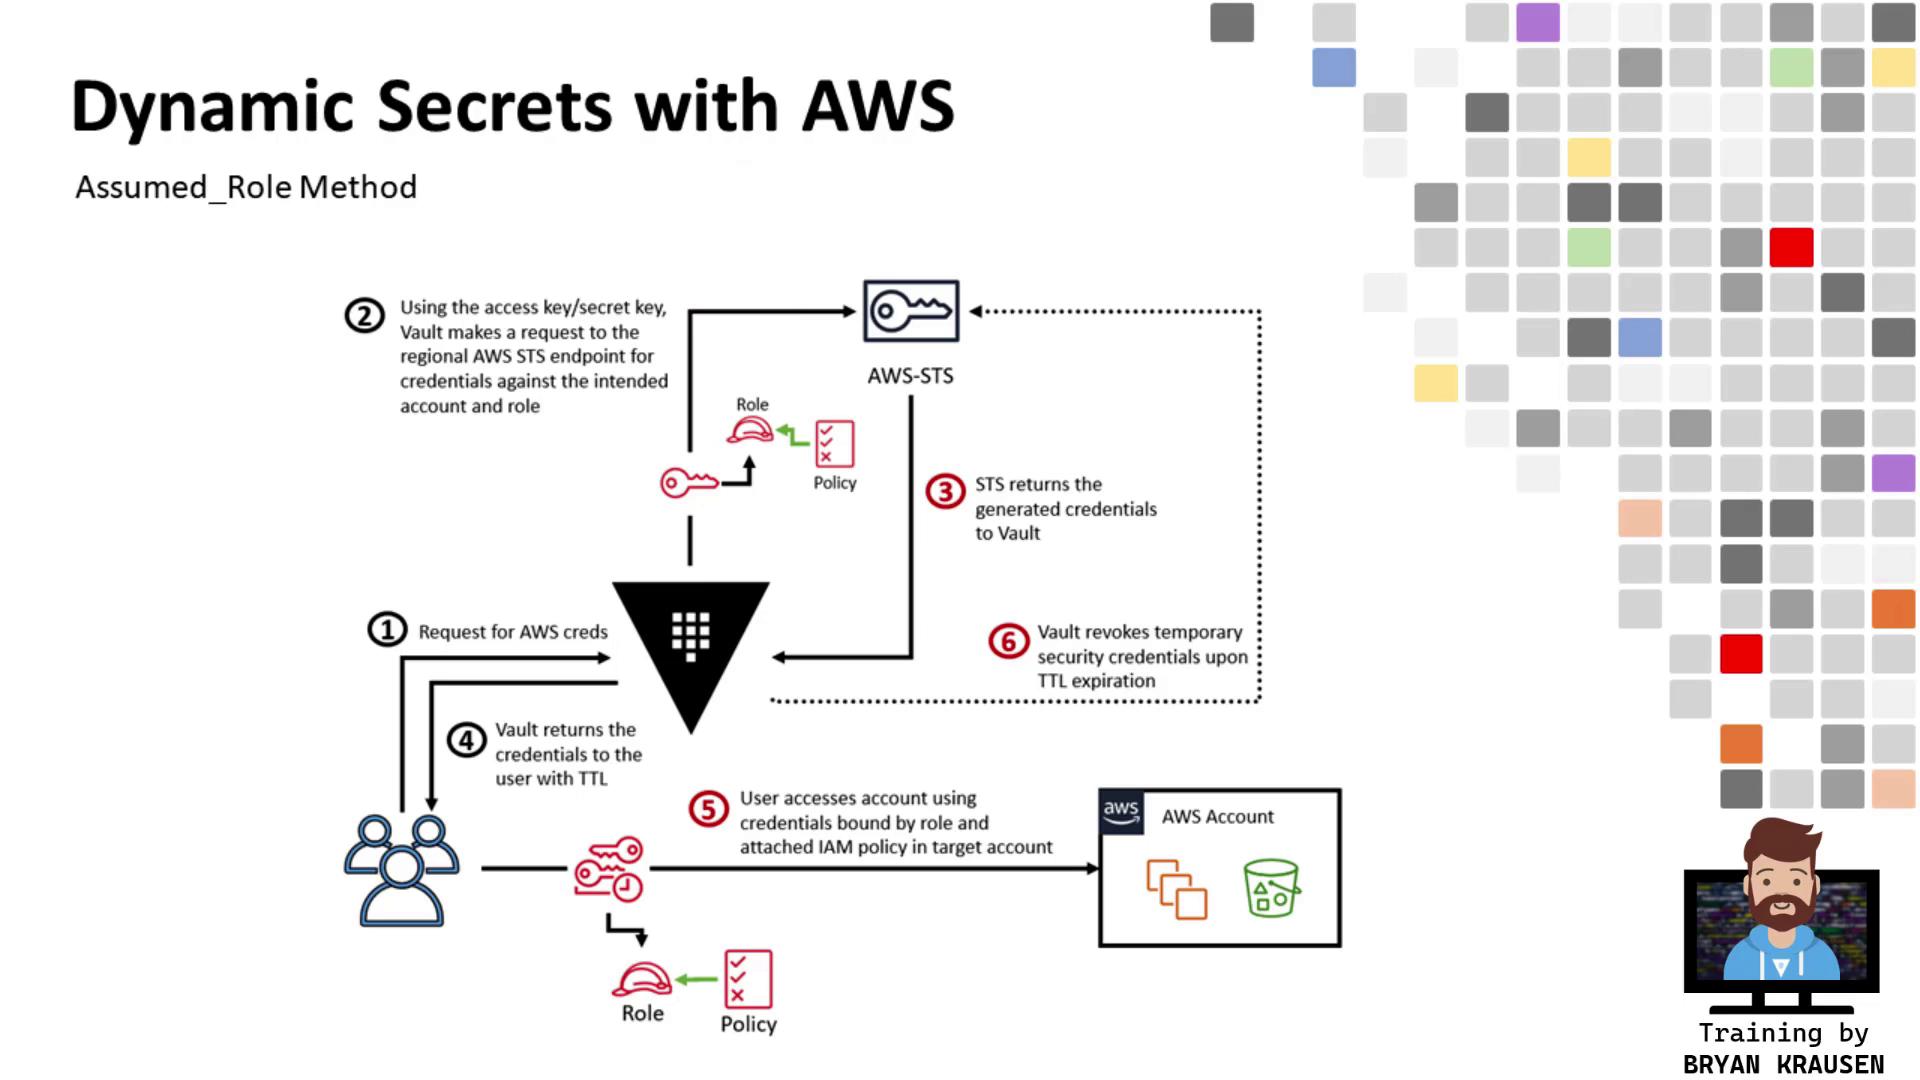
assumed_role credential type to obtain temporary, cross-account AWS credentials. Vault runs in Account A (ID ending in 6147) and will assume a role in Account B (ID ending in 2126) to generate scoped credentials.
Table of Contents
- Verify Vault Cluster Health
- Prepare Target AWS Account (Account B)
2.1 Inspect Existing Role (Optional)
2.2 Create a Customer-Managed Policy
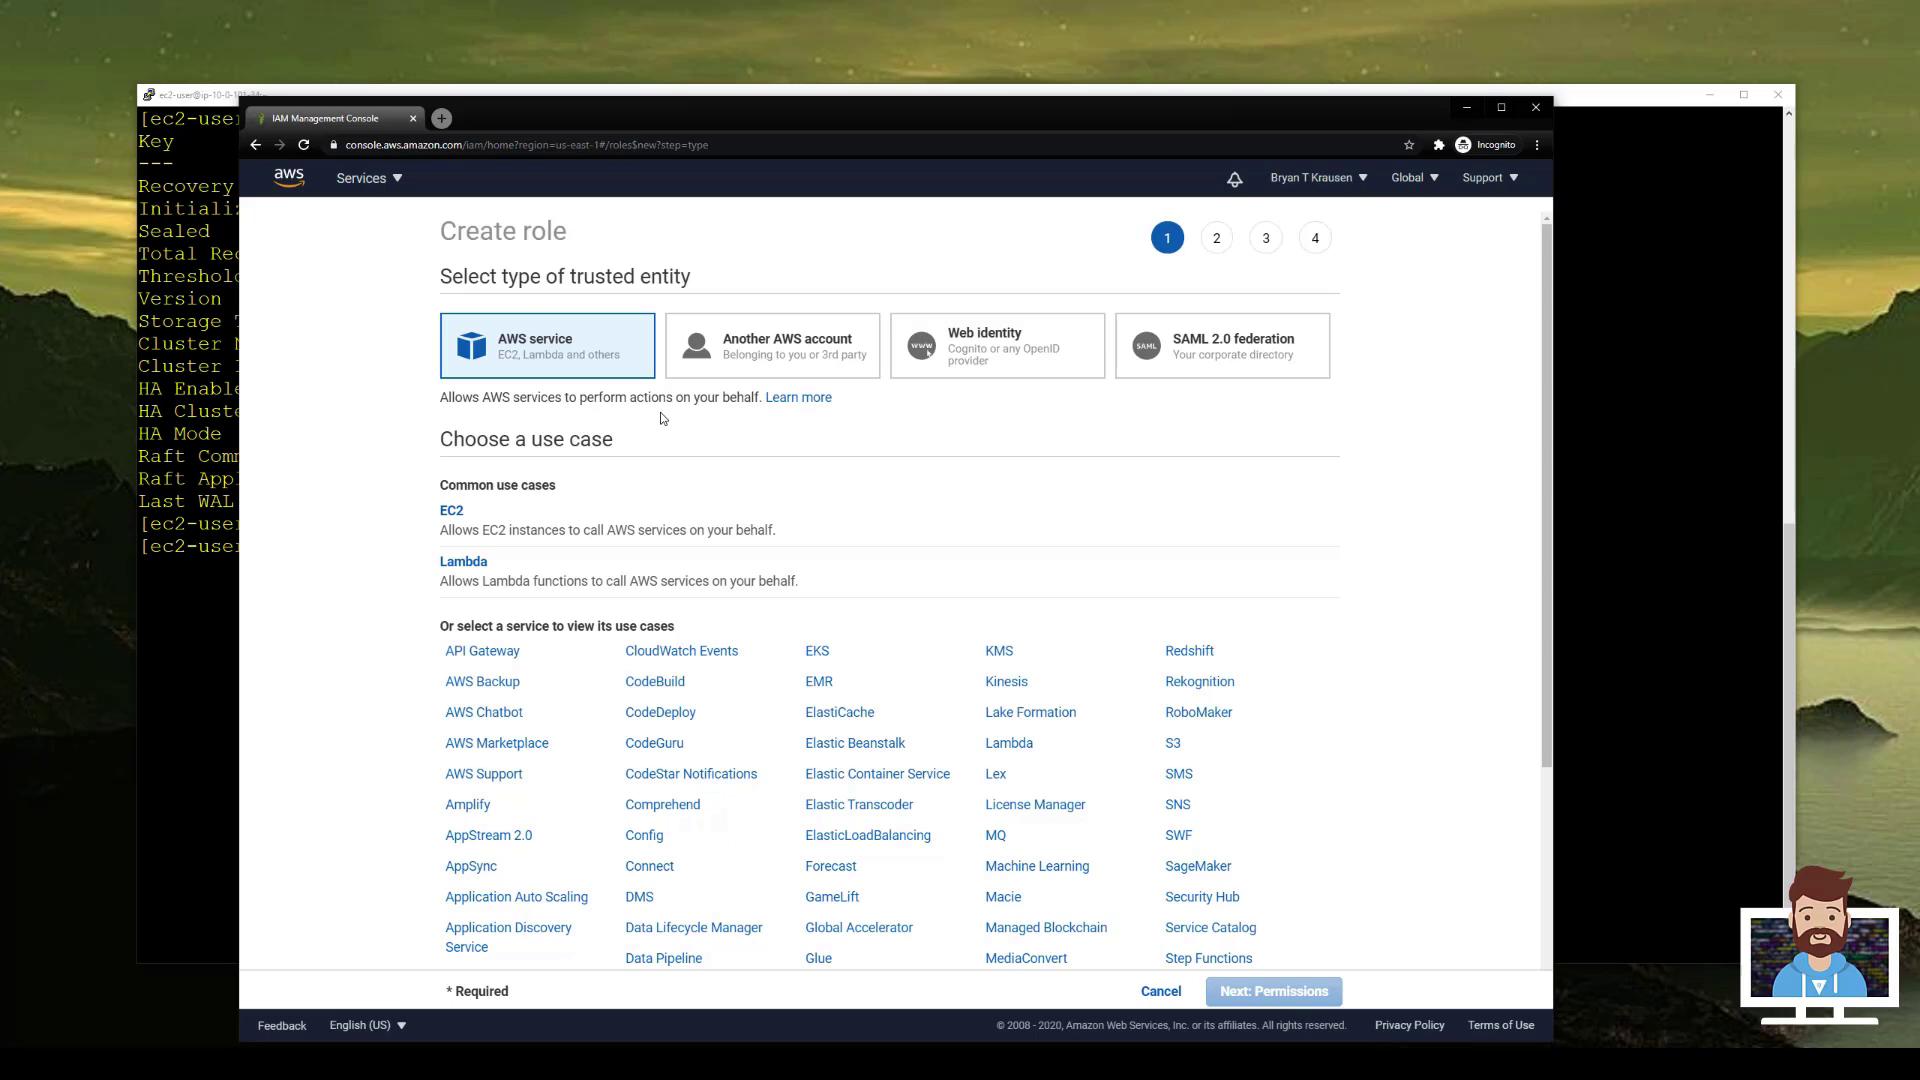
2.3 Create a Role Trusted by Vault’s Account - Enable & Configure AWS Secrets Engine
- Define Vault Role for Cross-Account Access
- Generate & Use Temporary Credentials
- Flowchart
- Conclusion
- References
1. Verify Vault Cluster Health
First, ensure your Vault cluster in Account A is initialized, unsealed, and active.IAM Role Permissions for Vault EC2 Nodes
Attach a policy to your Vault EC2 instances that permits required AWS API actions:2. Prepare Target AWS Account (Account B)
In Account B, you will create an IAM policy and role that Vault in Account A can assume.2.1 Inspect Existing Role (Optional)
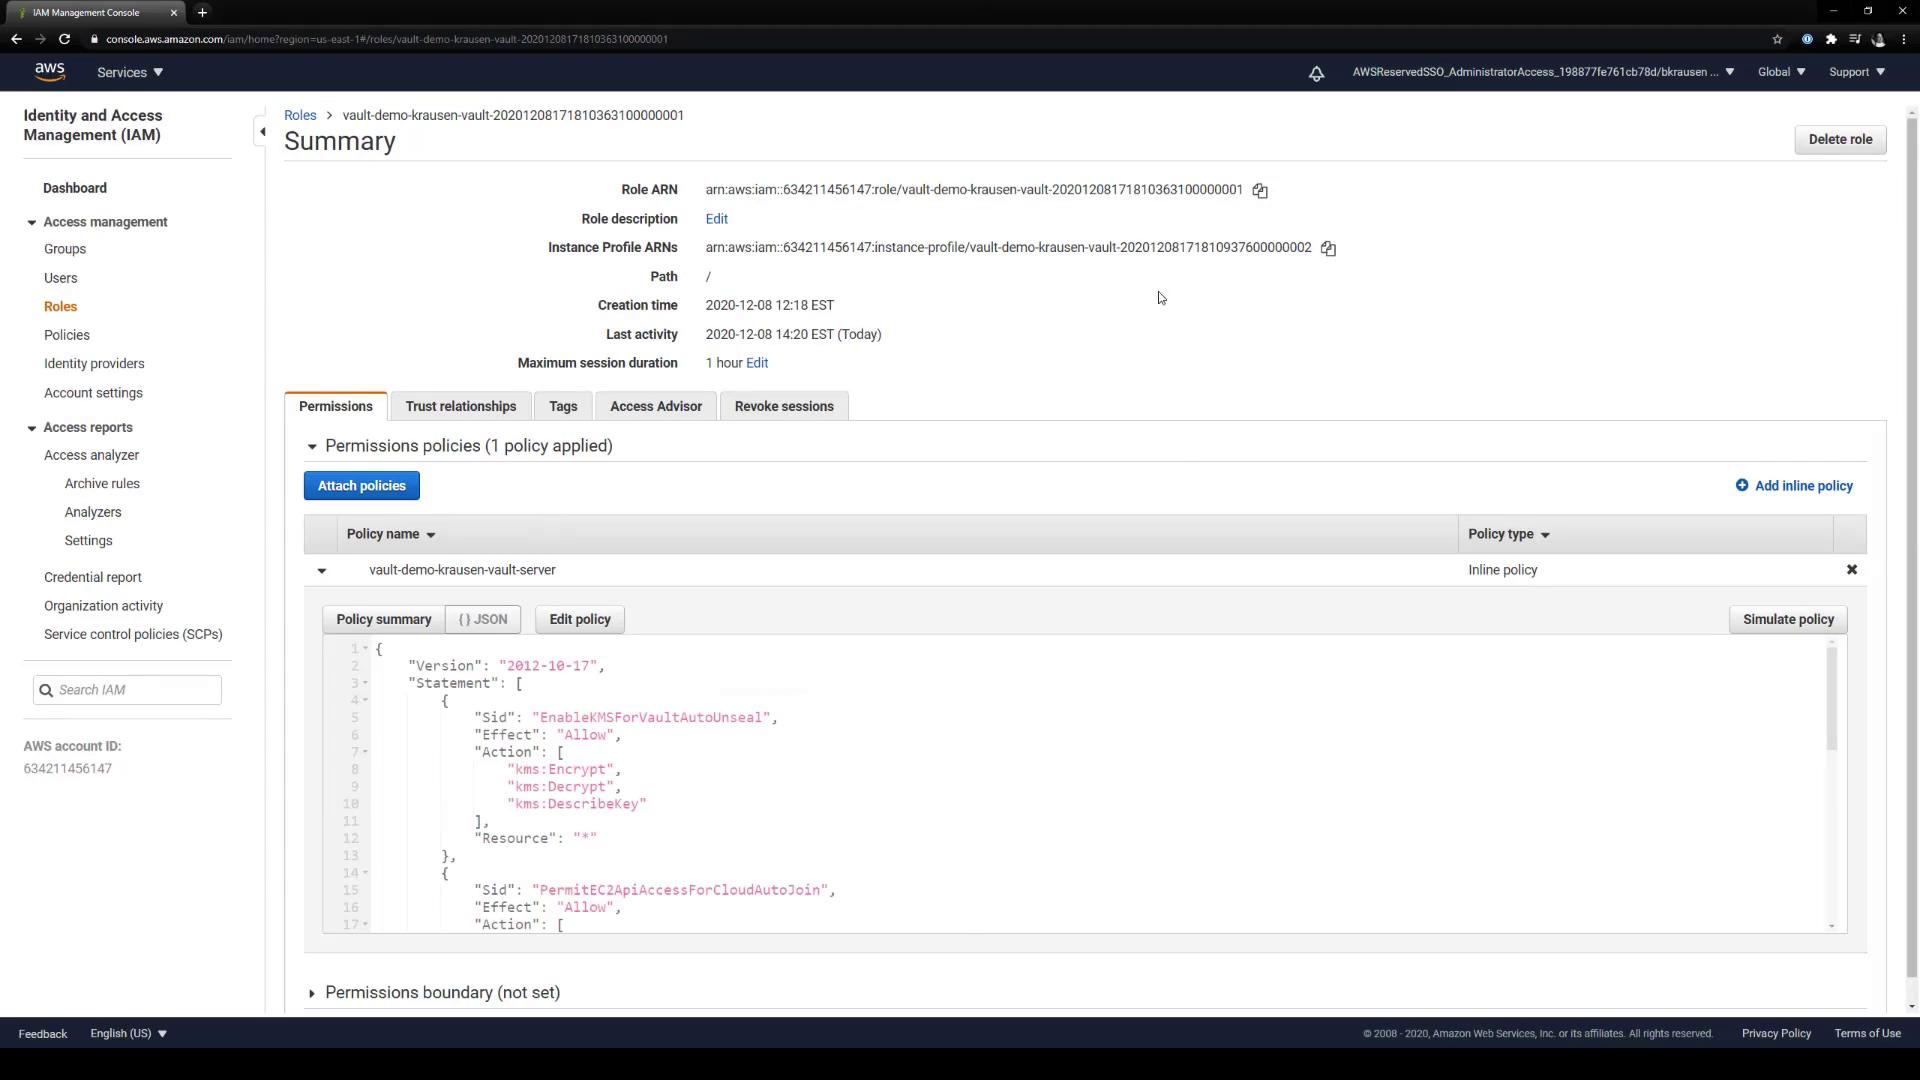
2.2 Create a Customer-Managed Policy
Navigate to IAM > Policies > Create policy in the AWS Console and add S3 access permissions: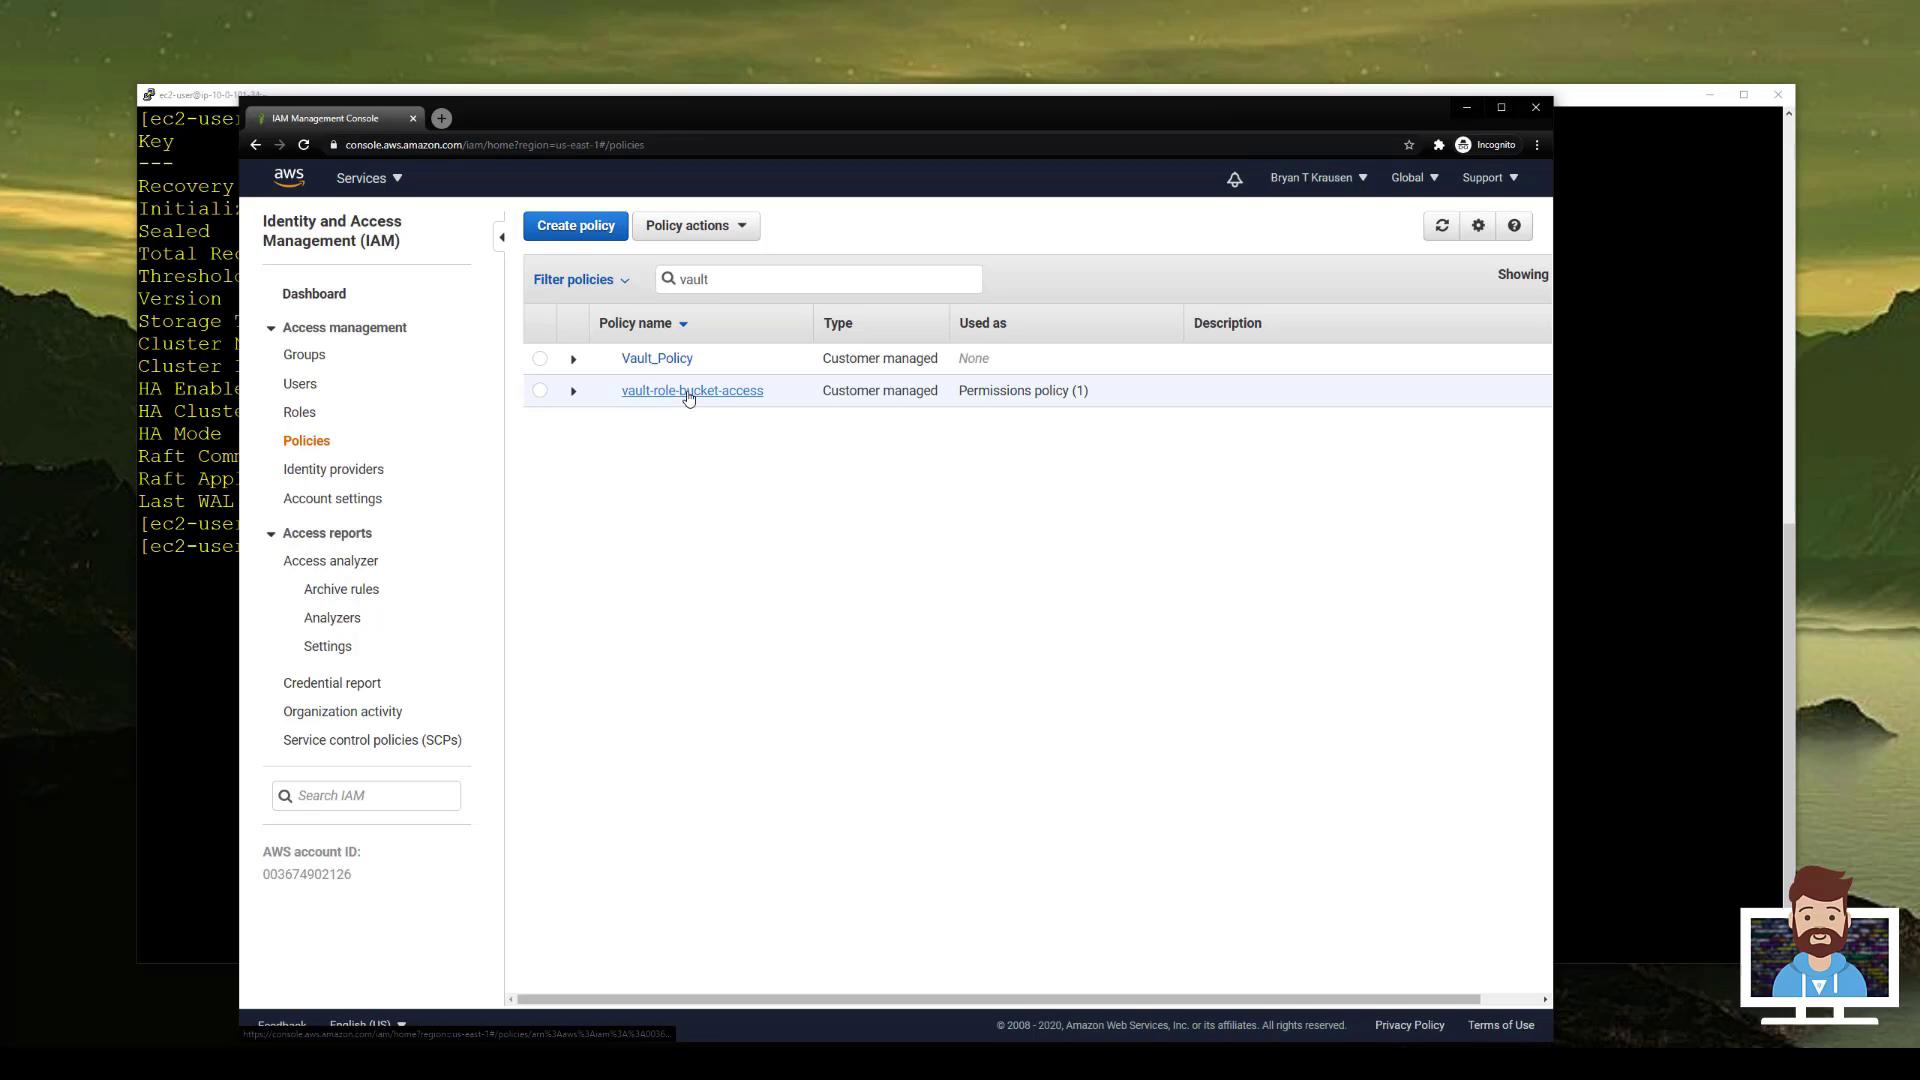
2.3 Create a Role Trusted by Vault’s Account
- Go to IAM > Roles > Create role.
- Select Another AWS account as the trusted entity and enter Vault’s Account ID (
...6147). - Attach the policy you just created (e.g., vault-role-bucket-access).
- Name the role
vault-role-bucket-accessand complete creation.
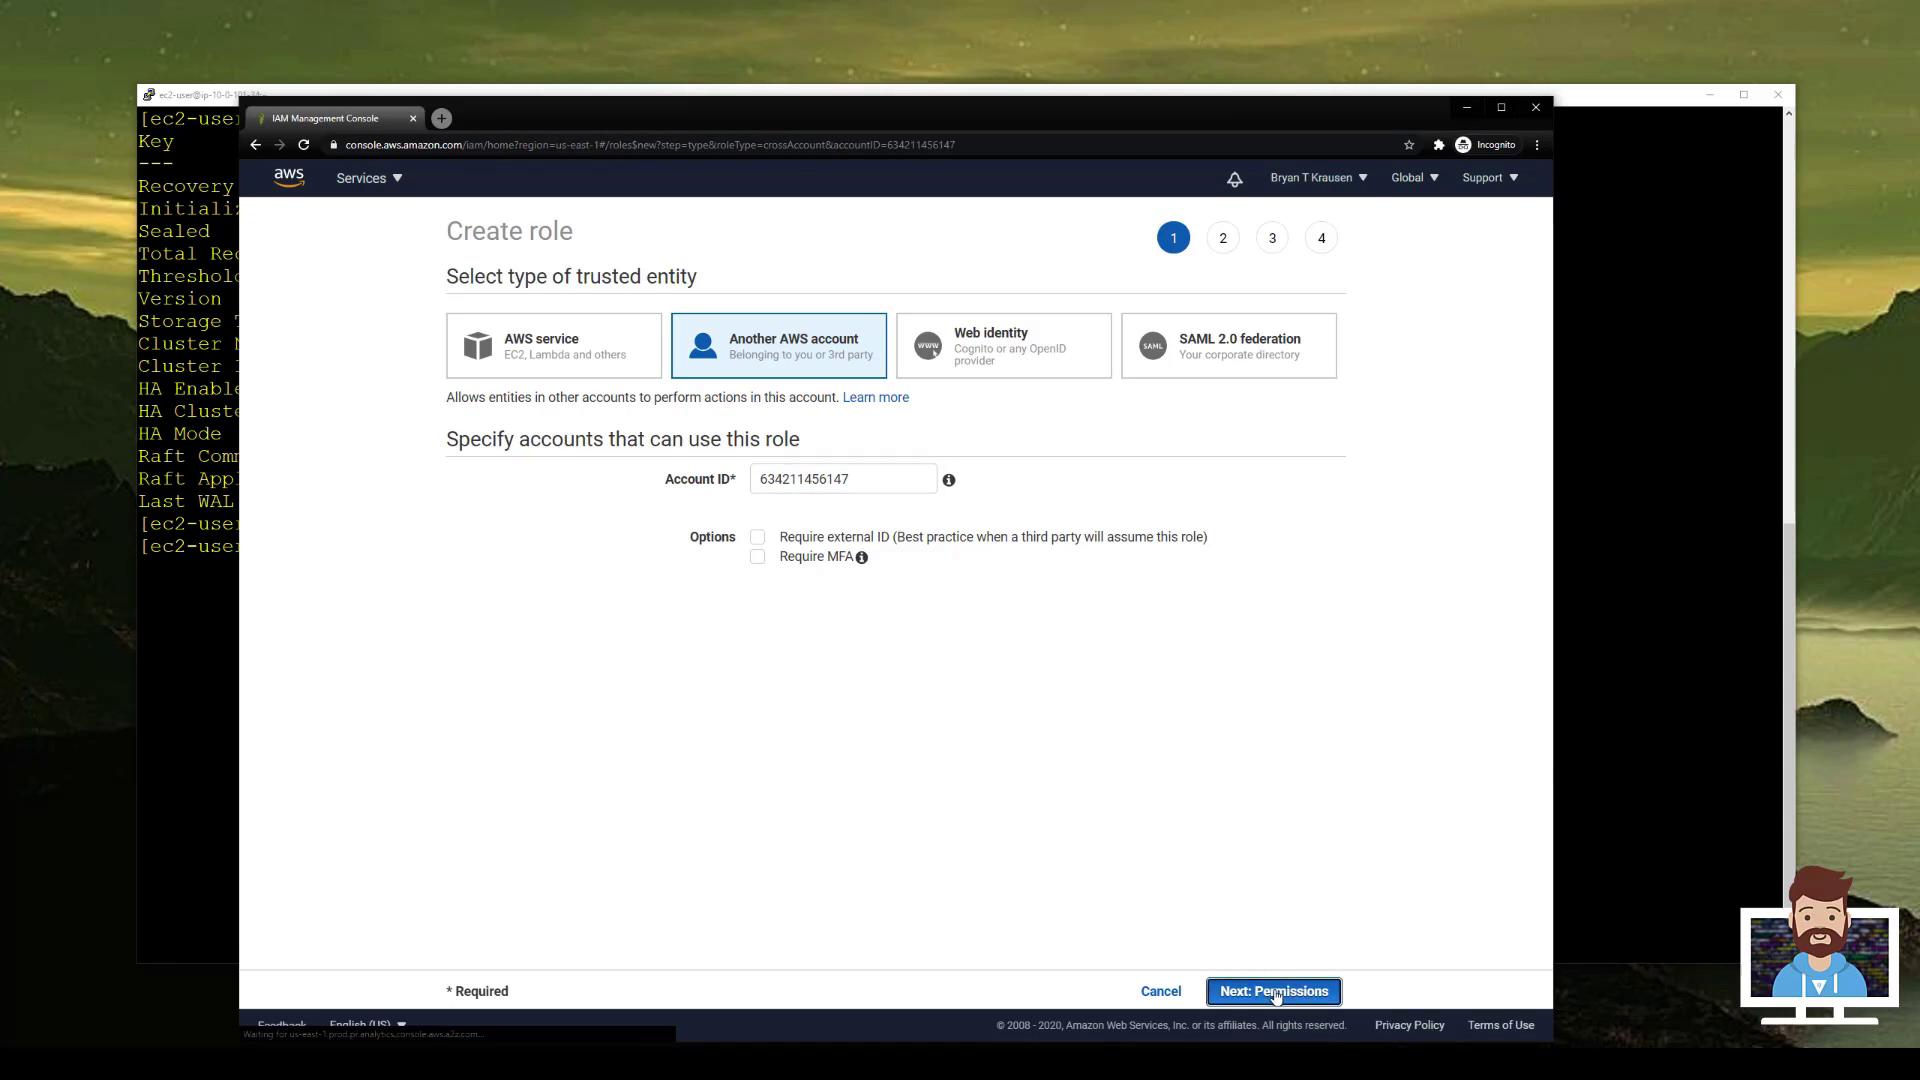
3. Enable & Configure AWS Secrets Engine
Back in Account A, enable and configure Vault’s AWS Secrets Engine.To support multiple target roles or accounts, add additional role ARNs to the
Resource array in the PermitAccessToCrossAccountRole statement.4. Define Vault Role for Cross-Account Access
Create a Vault role that references the IAM role in Account B:5. Generate & Use Temporary Credentials
-
Generate STS credentials with a 1-hour TTL:
-
Export credentials to your shell:
Linux/macOS:
Windows PowerShell:
-
Use the temporary credentials:
6. Flowchart