In this guide, we’ll walk through the essential components and steps required to install and run HashiCorp Vault. You’ll learn how to:
Prepare your system and environment
Create and manage configuration files
Initialize, seal, and unseal the Vault
Choose storage backends and interfaces
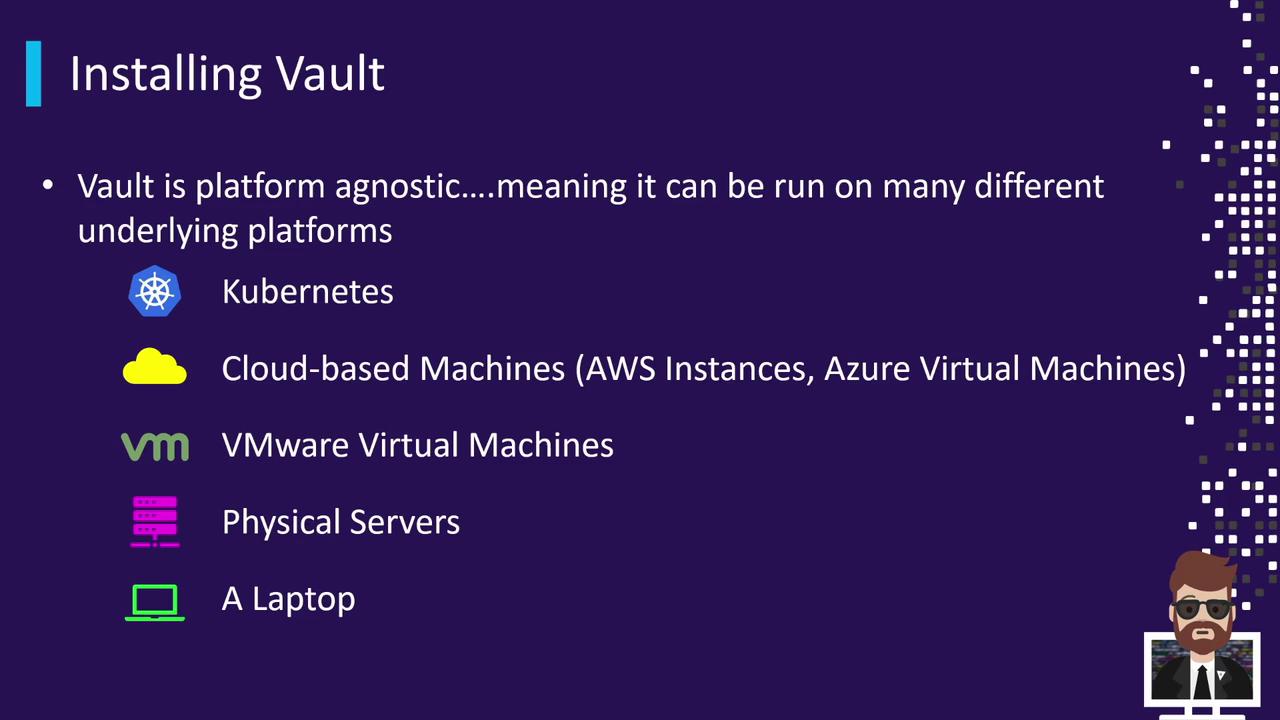
Vault is intentionally platform-agnostic, supporting a wide range of deployment scenarios.
Vault can run anywhere you need it:
Kubernetes (self-hosted or managed services such as AKS, EKS)Cloud-based VMs (AWS EC2, Azure VM, Google Compute Engine)VMware virtual machines Physical servers (for isolated CPU and memory)Local workstations (laptops and desktops for development)
Some security-conscious teams opt for physical servers to isolate Vault’s cryptographic operations.
Supported Operating Systems Vault binaries are distributed for multiple OS platforms:
Operating System Typical Use Case Linux Production servers (Ubuntu, RHEL, etc.) macOS Local development on Apple hardware Windows Development or Windows-based servers FreeBSD/NetBSD/OpenBSD/Solaris Specialized or legacy environments
Enterprises typically deploy Vault on Linux distributions such as Ubuntu, Amazon Linux, CentOS, or Red Hat.
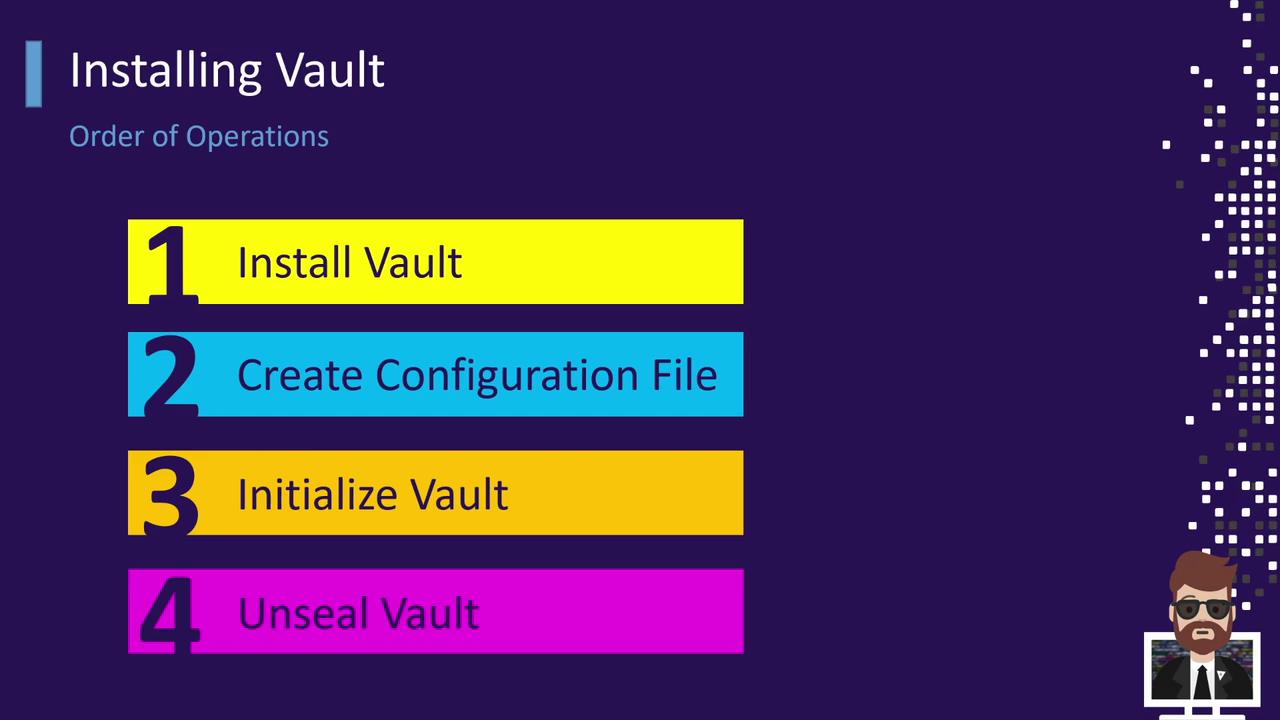
Installation Workflow Follow this sequence for a manual deployment or when scripting an automated install:
Install the Vault binary
Create or update the Vault configuration file
Start the Vault server process
Initialize the Vault (generates root tokens and unseal keys)
Unseal Vault (use unseal keys to decrypt the storage)
After unsealing, your Vault instance is ready to store secrets or issue dynamic credentials.
Automating these steps with tools like Terraform, Ansible, or Helm can ensure consistency across environments.
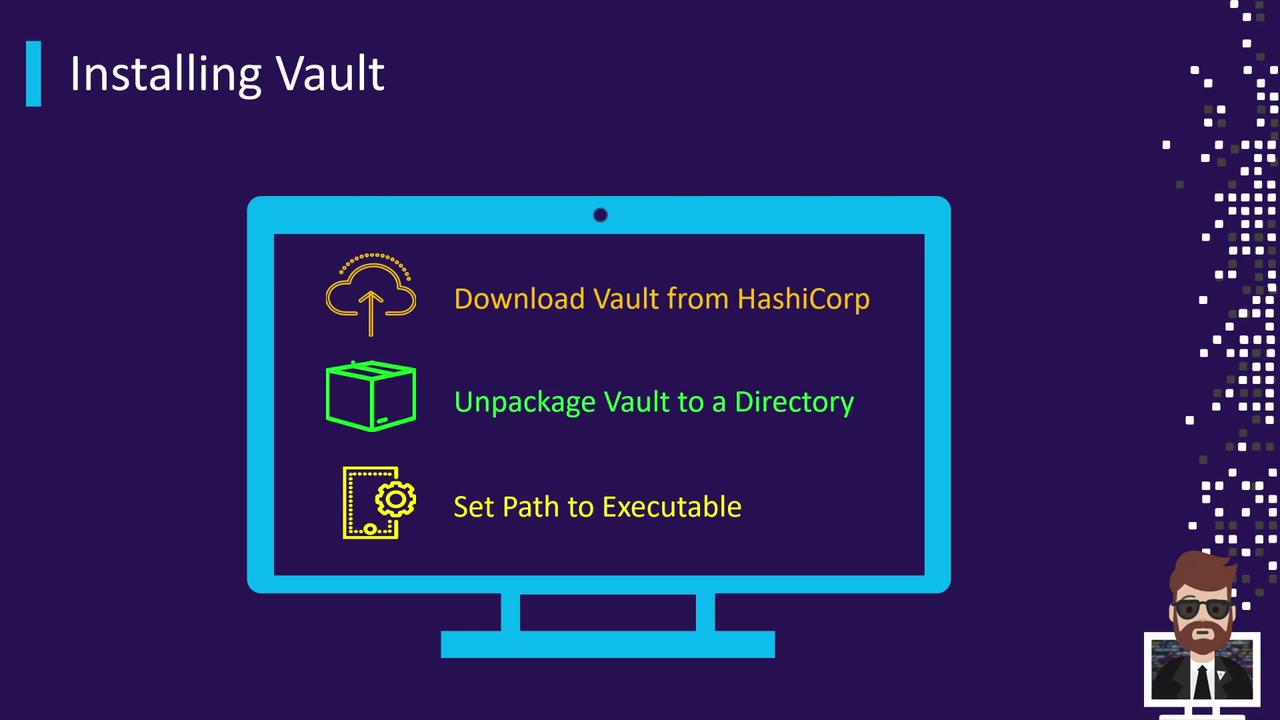
Installing Vault You can install Vault in several ways: via system packages, Helm charts, or manual download. Choose the method that fits your environment.
Using APT on Debian/Ubuntu curl -fsSL https://apt.releases.hashicorp.com/gpg | sudo apt-key add - sudo apt-add-repository "deb [arch=amd64] https://apt.releases.hashicorp.com $( lsb_release -cs ) main" sudo apt-get update sudo apt-get install vault
This will add the HashiCorp APT repository, refresh your package index, and install the vault CLI into your system PATH.
Using Helm on Kubernetes helm repo add hashicorp https://helm.releases.hashicorp.com helm repo update helm install vault hashicorp/vault --namespace vault --create-namespace
Deploy Vault as a Kubernetes Deployment with a Service and StatefulSet backing the storage layer.
Manual Download and Installation # 1. Download the Vault ZIP archive curl -O https://releases.hashicorp.com/vault/1.12.3/vault_1.12.3_linux_amd64.zip # 2. Unzip the archive unzip vault_1.12.3_linux_amd64.zip # 3. Move the binary to a system PATH location sudo mv vault /usr/local/bin/
After installation, verify with:
Next Steps
Create a Vault configuration file (vault.hcl)
Start the Vault server: vault server -config=vault.hcl
Initialize: vault operator init
Unseal: vault operator unseal
Links and References