| Step | Action | Description |
|---|---|---|
| 1 | Logging in with Okta | Authenticate using your Okta credentials |
| 2 | Enabling a new auth method | Mount the userpass plugin with customized settings |
| 3 | Creating a user | Add credentials and assign policies |
| 4 | Testing login via the CLI | Verify access by obtaining a Vault token |
| 5 | Disabling & editing methods | Manage or remove existing auth mounts |
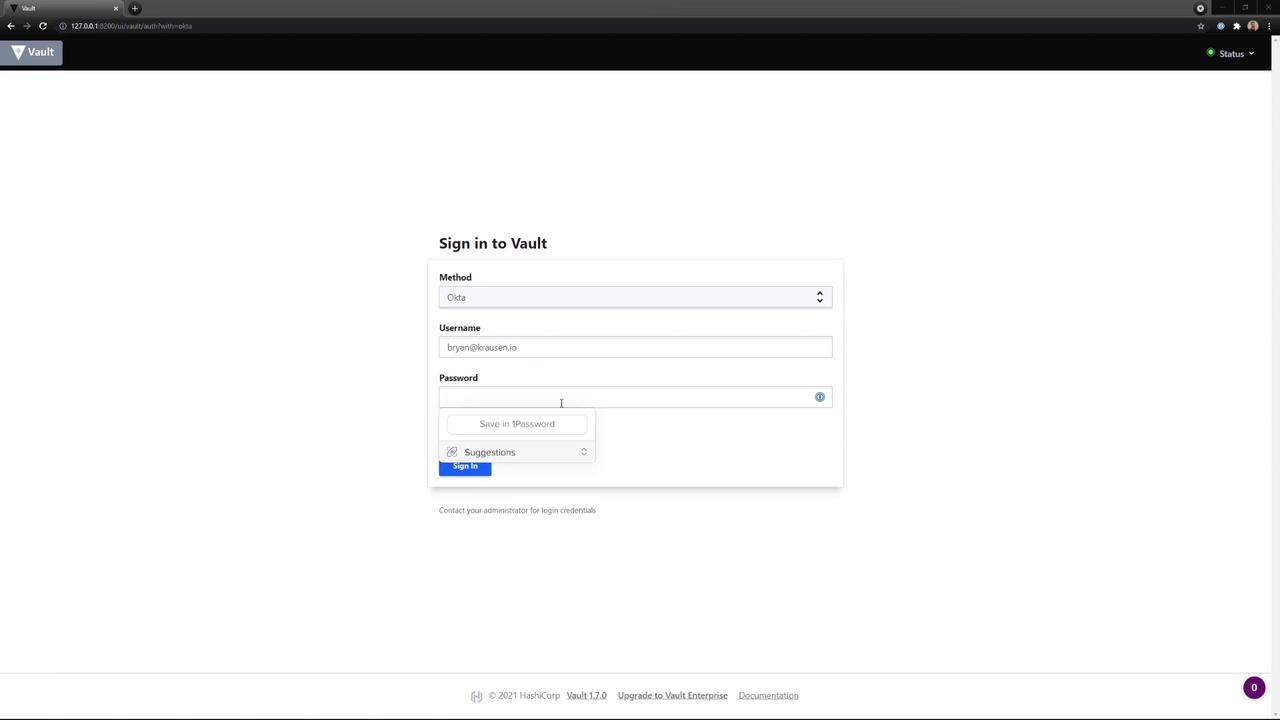
1. Logging in with Okta
- Open the Vault UI and select Okta as the authentication method.
- Enter your Username and Password, then click Sign In.
- Optionally, choose to save your credentials for future sessions.
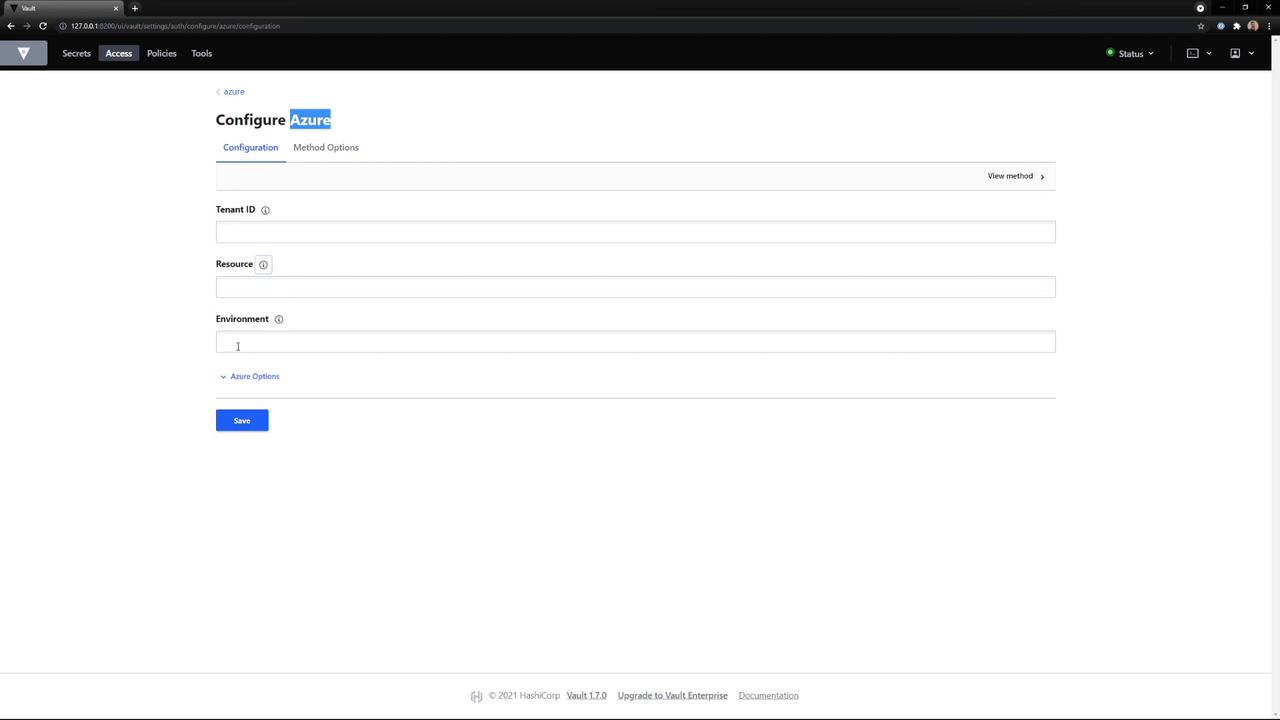
2. Enabling a New Auth Method
Navigate to Access → Auth Methods, then click Enable new method. You’ll see categories for Generic, Cloud, and Infra authentication plugins: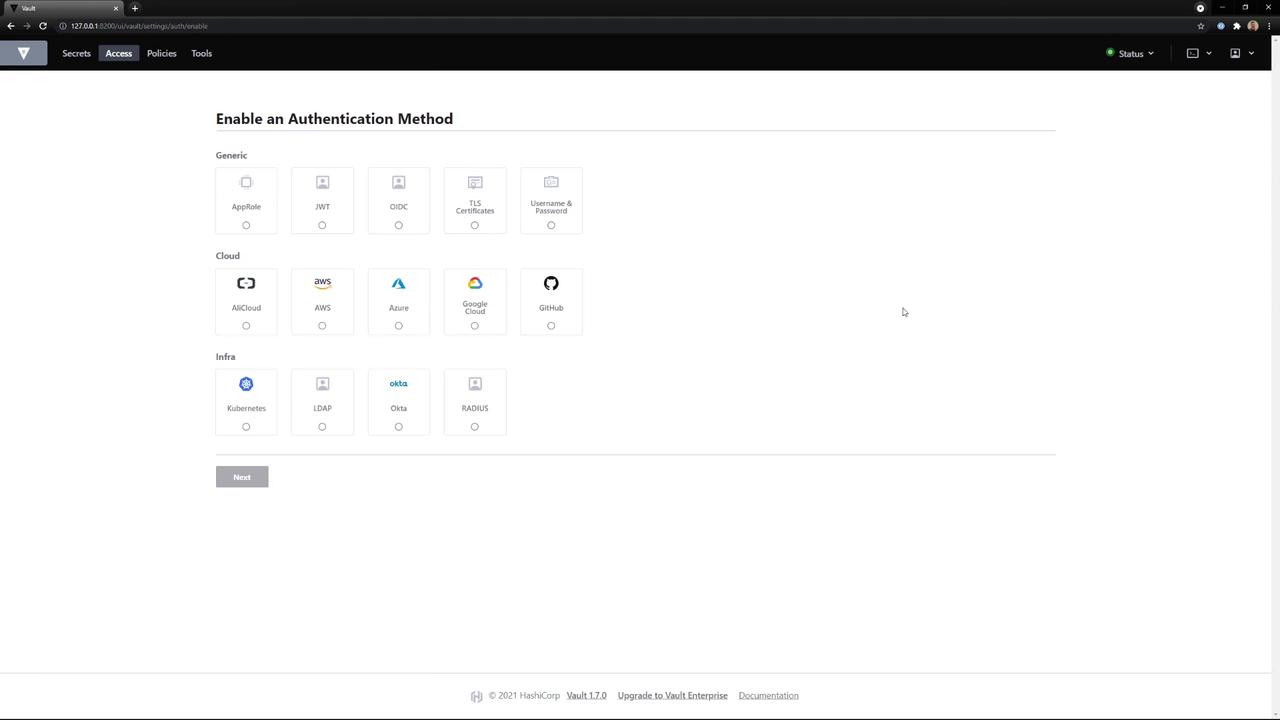
- Path:
vault - Default TTL:
30m - Max TTL:
24h - Token Type:
service(default) - Description: My cool new Auth Method
Default TTL controls how long issued tokens remain valid before renewal.
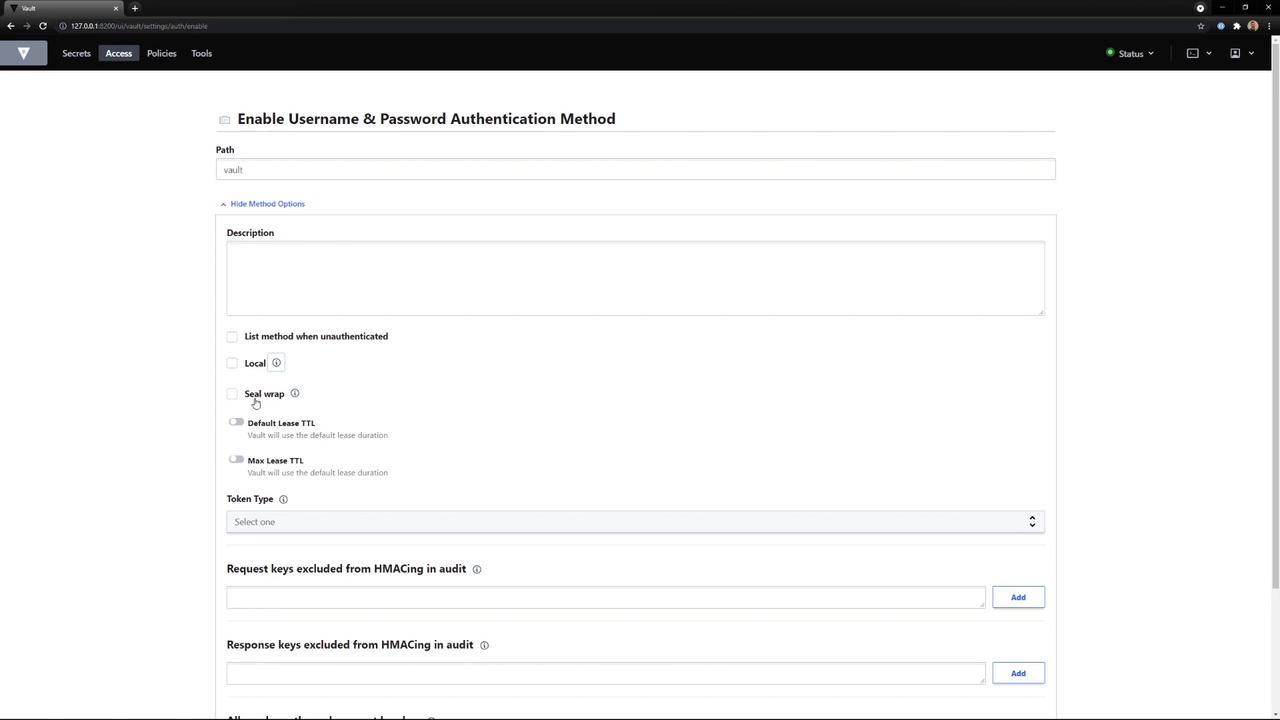
vault/.
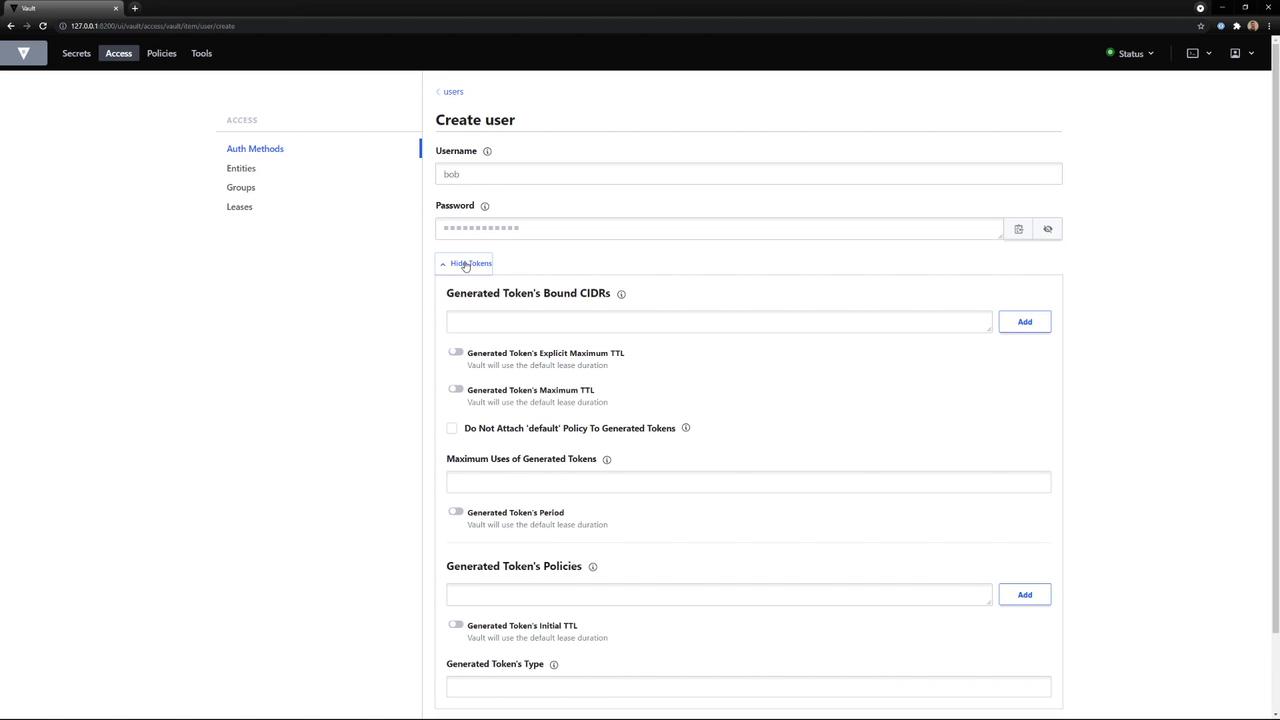
3. Creating a User via the UI
- Go back to Access → Auth Methods and click on the vault mount (userpass).
- Select Create User.
-
Fill out the form:
- Username:
bob - Password:
Bob is cool - Policies:
bryan,default
- Username:
-
Click Save. The user
bobis now created and associated with the specified policies.
4. Testing Login via the CLI
Set your Vault server address and an existing admin token (Okta):bob:
5. Disabling and Editing Auth Methods
To manage existing mounts:- Disable: Click the three-dot menu next to the method and choose Disable, then confirm deletion of all related data.
- Edit: Select View/Edit beside a method to update its configuration.
Disabling an auth method permanently removes its data. Make sure you’ve migrated or no longer need it before confirmation.
Configuring Vault auth methods via the UI simplifies access control management. You can rapidly enable plugins, define policies, onboard users, test logins, and remove methods without leaving your browser.