

- Deploy a root Certificate Authority (CA) in Vault
- Create and sign an intermediate CA
- Define a role for issuing certificates
- Request certificates from the intermediate CA
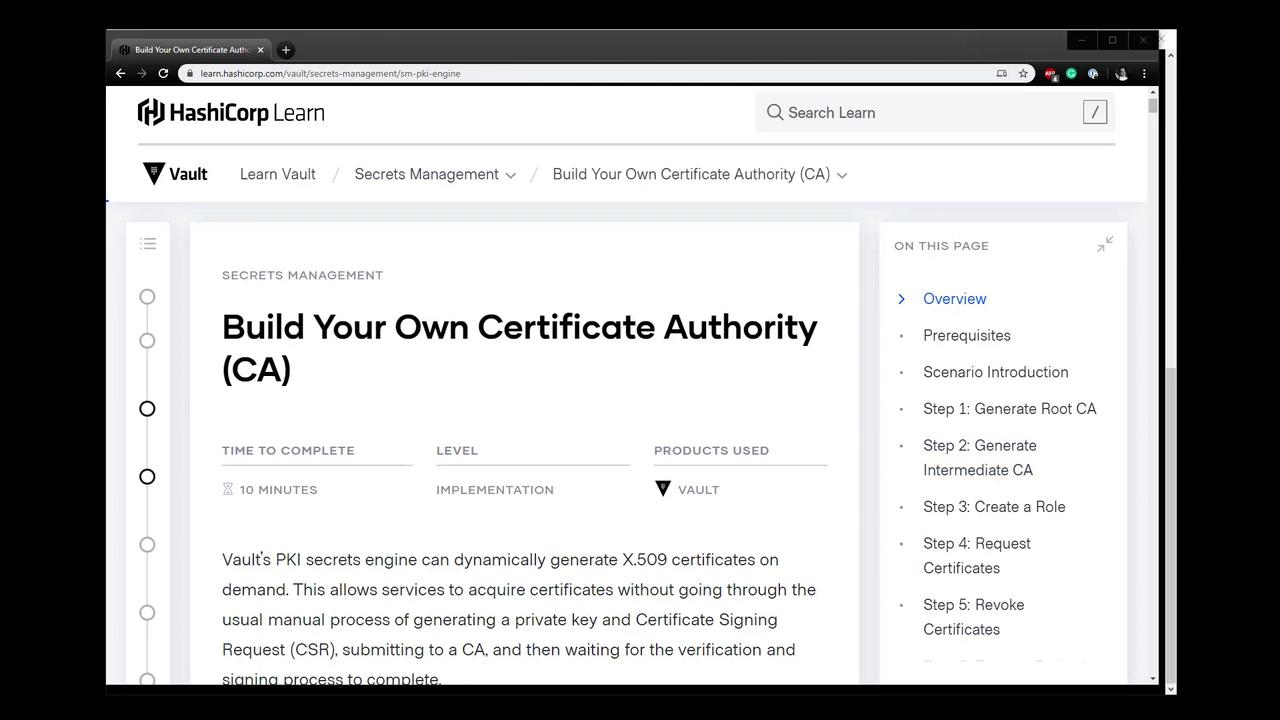
- A running Vault cluster (we’ll use AWS).
- Vault CLI installed and authenticated.
jqinstalled for JSON parsing.
Step-by-Step Overview
1. Enable and Tune the Root PKI Engine
First, verify no PKI engine is enabled:2. Generate the Root Certificate
Create an internal root CA certificate. This outputs only the PEM-format certificate:3. Configure CA and CRL Distribution URLs
Point Vault to the endpoints where clients can retrieve the issuing CA and CRL:4. Enable and Tune the Intermediate PKI Engine
Remove any existing intermediate engine, then enable a fresh one with a 5-year TTL:5. Generate the Intermediate CSR
Have the intermediate engine generate a private key and CSR. Extract the CSR to a file:6. Sign the Intermediate CSR with the Root
Submit the CSR to the root engine and save the signed intermediate certificate:7. Import the Signed Intermediate Certificate
Configure the intermediate engine to use its signed certificate:8. Create a Role for Issuing Certificates
Define a role namedvaultadvanced that can issue certificates for vaultadvanced.com and its subdomains:
9. Issue a Certificate from the Intermediate
Request a certificate with a 24-hour TTL:The
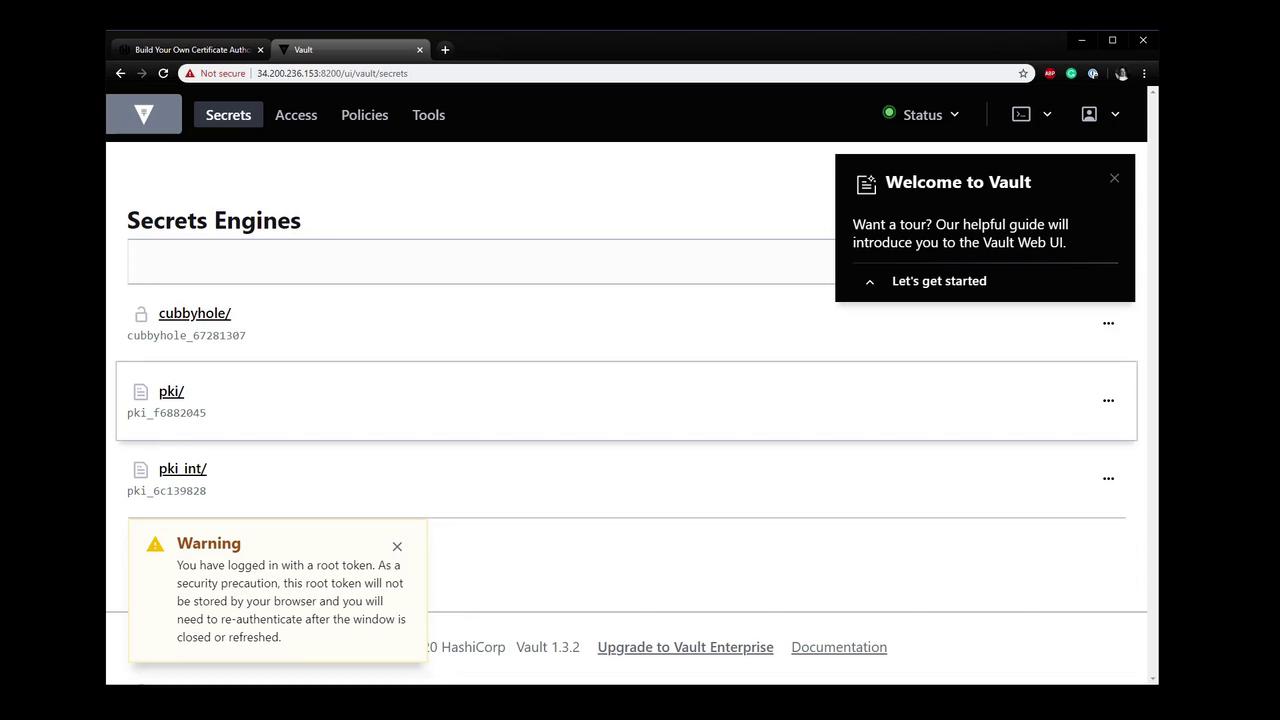
private_key is only returned at issuance. Store it securely, as Vault will not retain it for later retrieval.10. View Engines and Certificates in the Vault Web UI
References
- Vault PKI Secrets Engine
- Building Your Own Certificate Authority (CA) Using Vault
- Vault CLI Installation