

- Create an Okta API token
- Enable and verify the Okta auth method in Vault
- Configure Vault with your Okta organization details
- Map Okta users (and groups) to Vault policies
- Sign in to Vault via Okta (CLI and UI)
1. Create an Okta API Token
- Log in to the Okta Admin Console.
- Go to Security → API → Tokens.
- Click Create Token, give it a descriptive name (for example,
Vault-Integration), and copy the generated token.
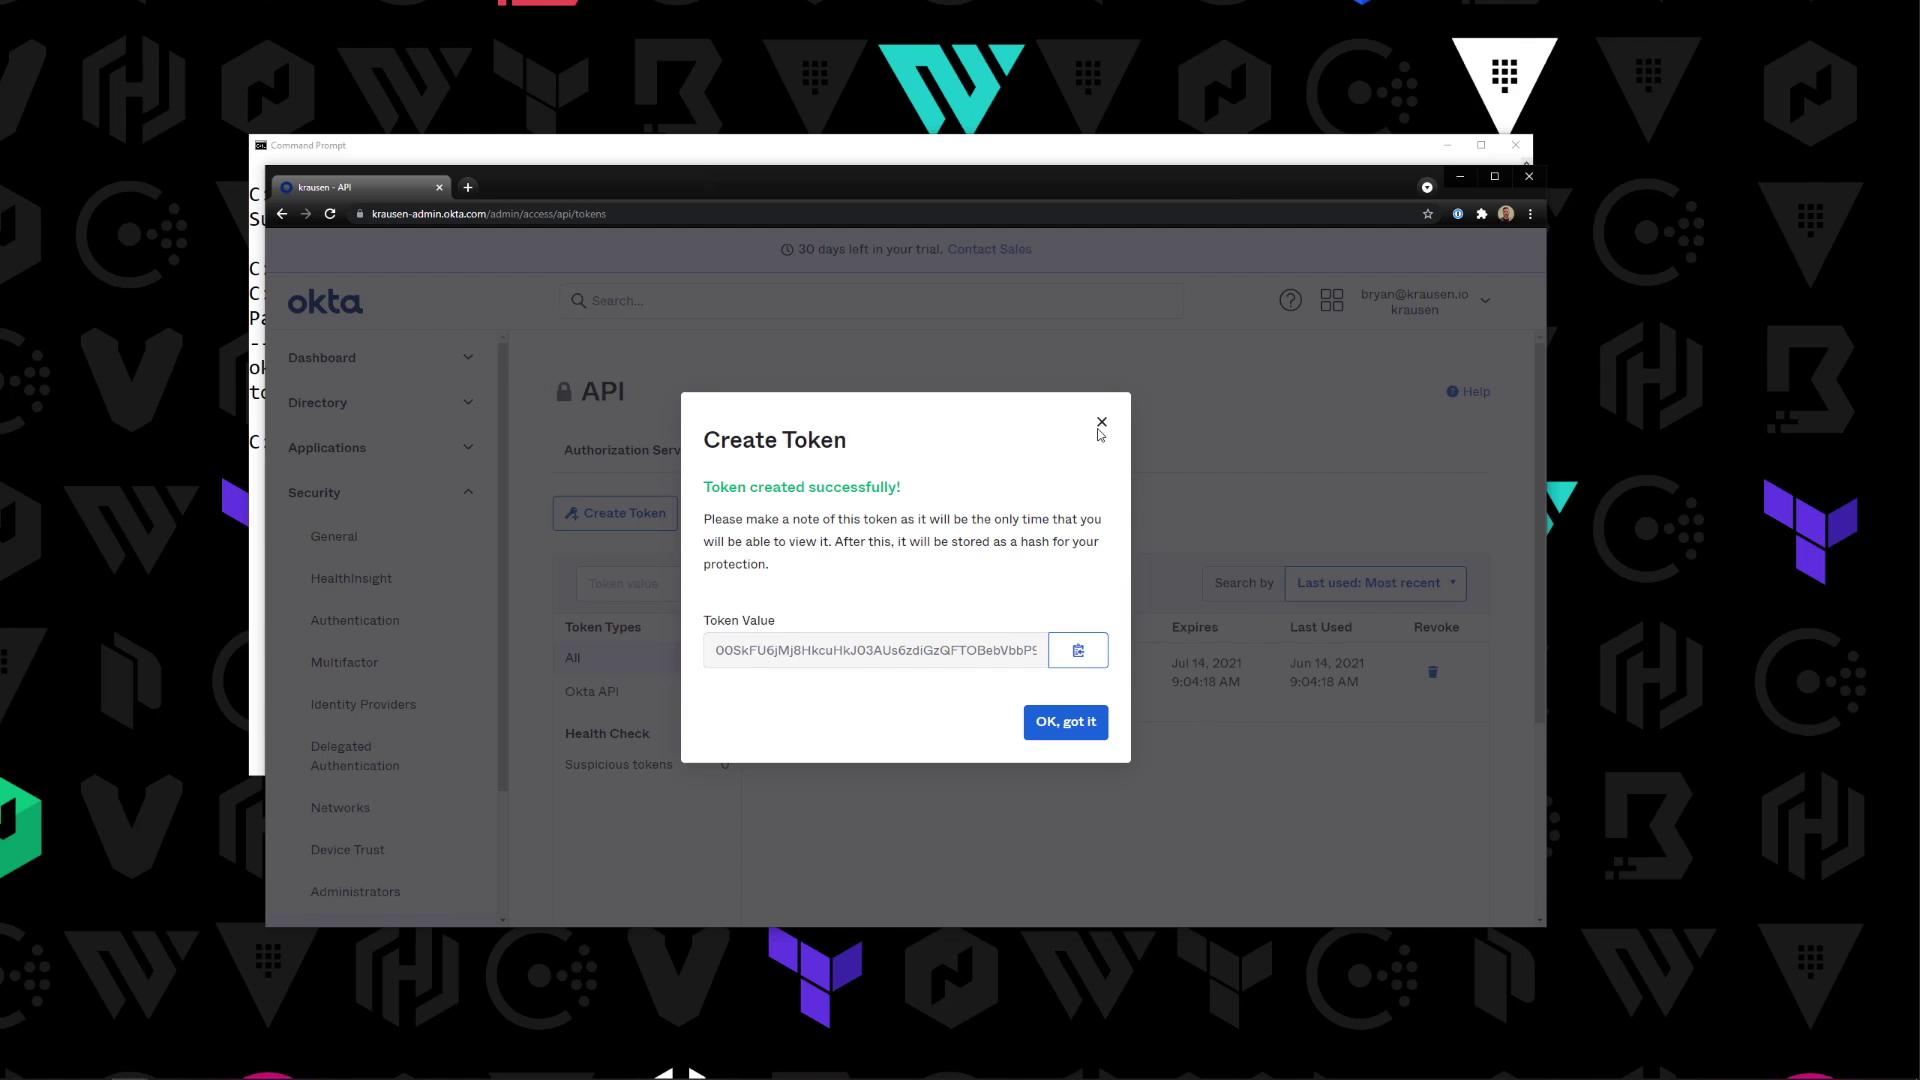
Treat your Okta API token like a password. Store it securely (for example, in Vault’s Cubbyhole or an environment variable).
2. Enable the Okta Auth Method in Vault
On your Vault server (shown here running in dev mode), enable the Okta auth backend:
Sample output:
3. Configure the Okta Auth Method
Provide Vault with your Okta base URL, organization name, and the API token you created:If your organization requires multi-factor authentication, set
bypass_okta_mfa to false (default) to enforce it.4. Map an Okta User to a Vault Policy
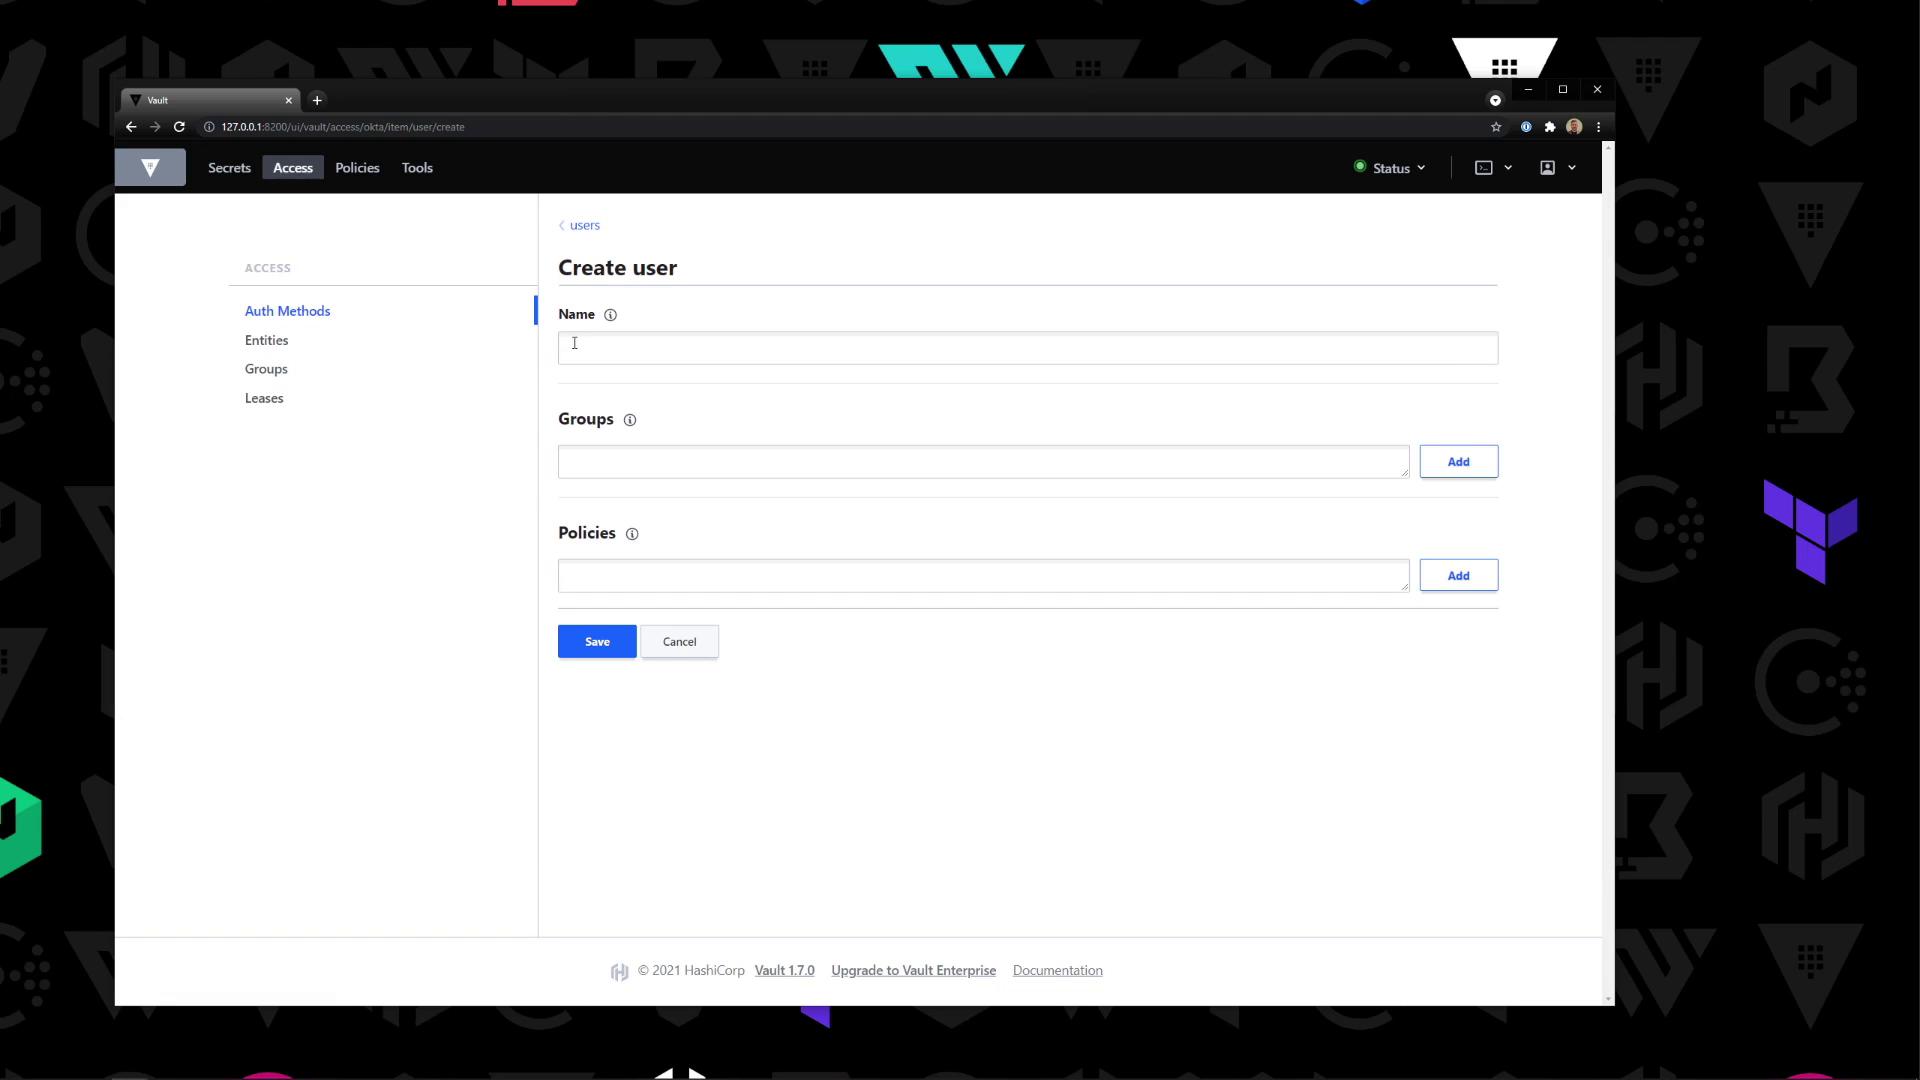
Assign an Okta user (for example, bryan@krausen.io) to a Vault policy (e.g.,bryan):
5. Sign in to Vault via Okta
CLI Authentication
UI Authentication
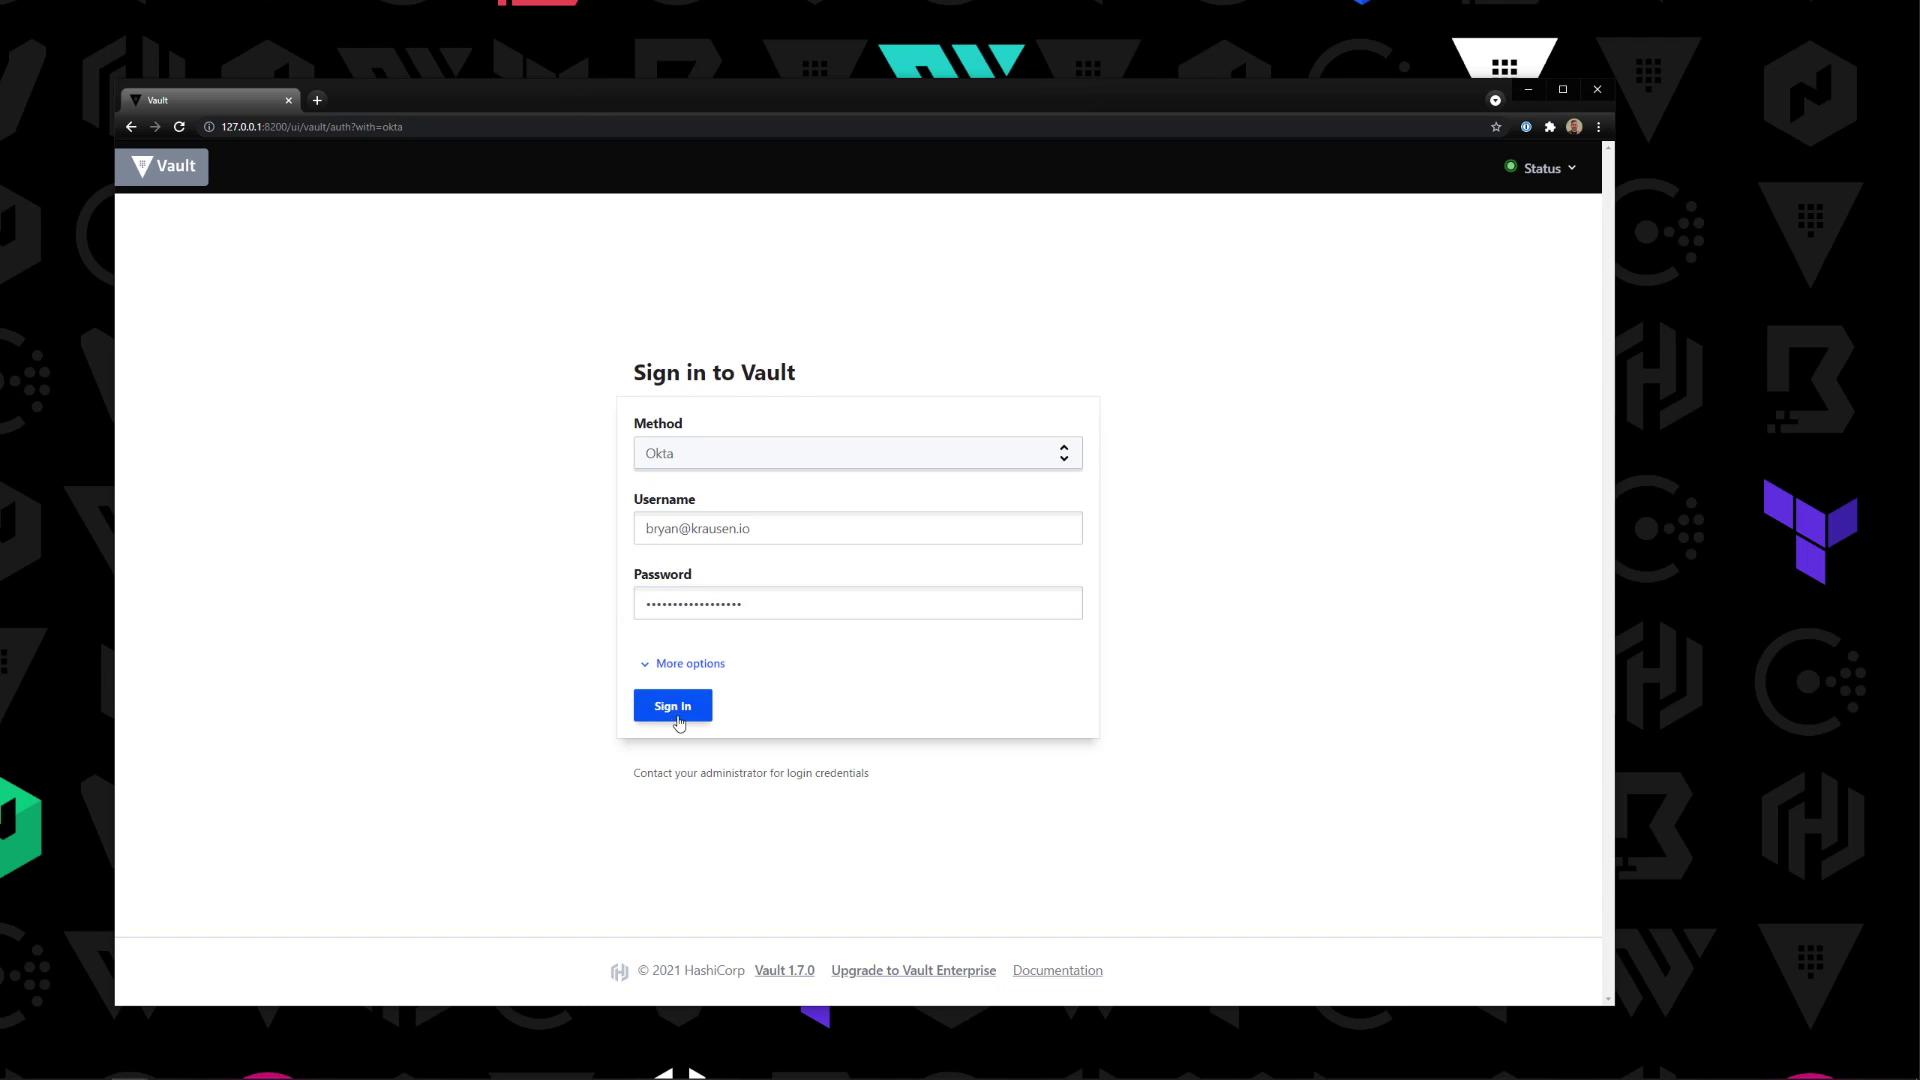
- Open the Vault UI and select Okta as the login method.
- Enter your Okta username and password, then click Sign in.
With these steps complete, Vault is now integrated with Okta for user and group authentication. Policies defined in Vault will be enforced based on your Okta identities.
Links and References
- Vault Okta Auth Method
- Okta API Token Guide
- Vault Authentication Methods
- Best Practices for Secrets Management