

- Prepare a Kubernetes cluster (local or cloud).
- Install required CLI tools (kind, kustomize / kubectl).
- Download the Kubeflow manifests and make any small customizations.
- Build and apply the combined manifests to the cluster (kustomize + kubectl).
- Verify the installation and wait for key components to be Ready.
Prerequisites
If you plan to pull images from private registries, ensure Docker is logged in on the machine where you run kubectl.
Install kind and create a cluster (example)
Install kind (example):Use the Kubeflow-provided kind config
Kubeflow manifests provide an example kind config that sets kubeadm API server args required by some Kubeflow components. Save the snippet below askind.config.yaml and use it when creating your cluster.
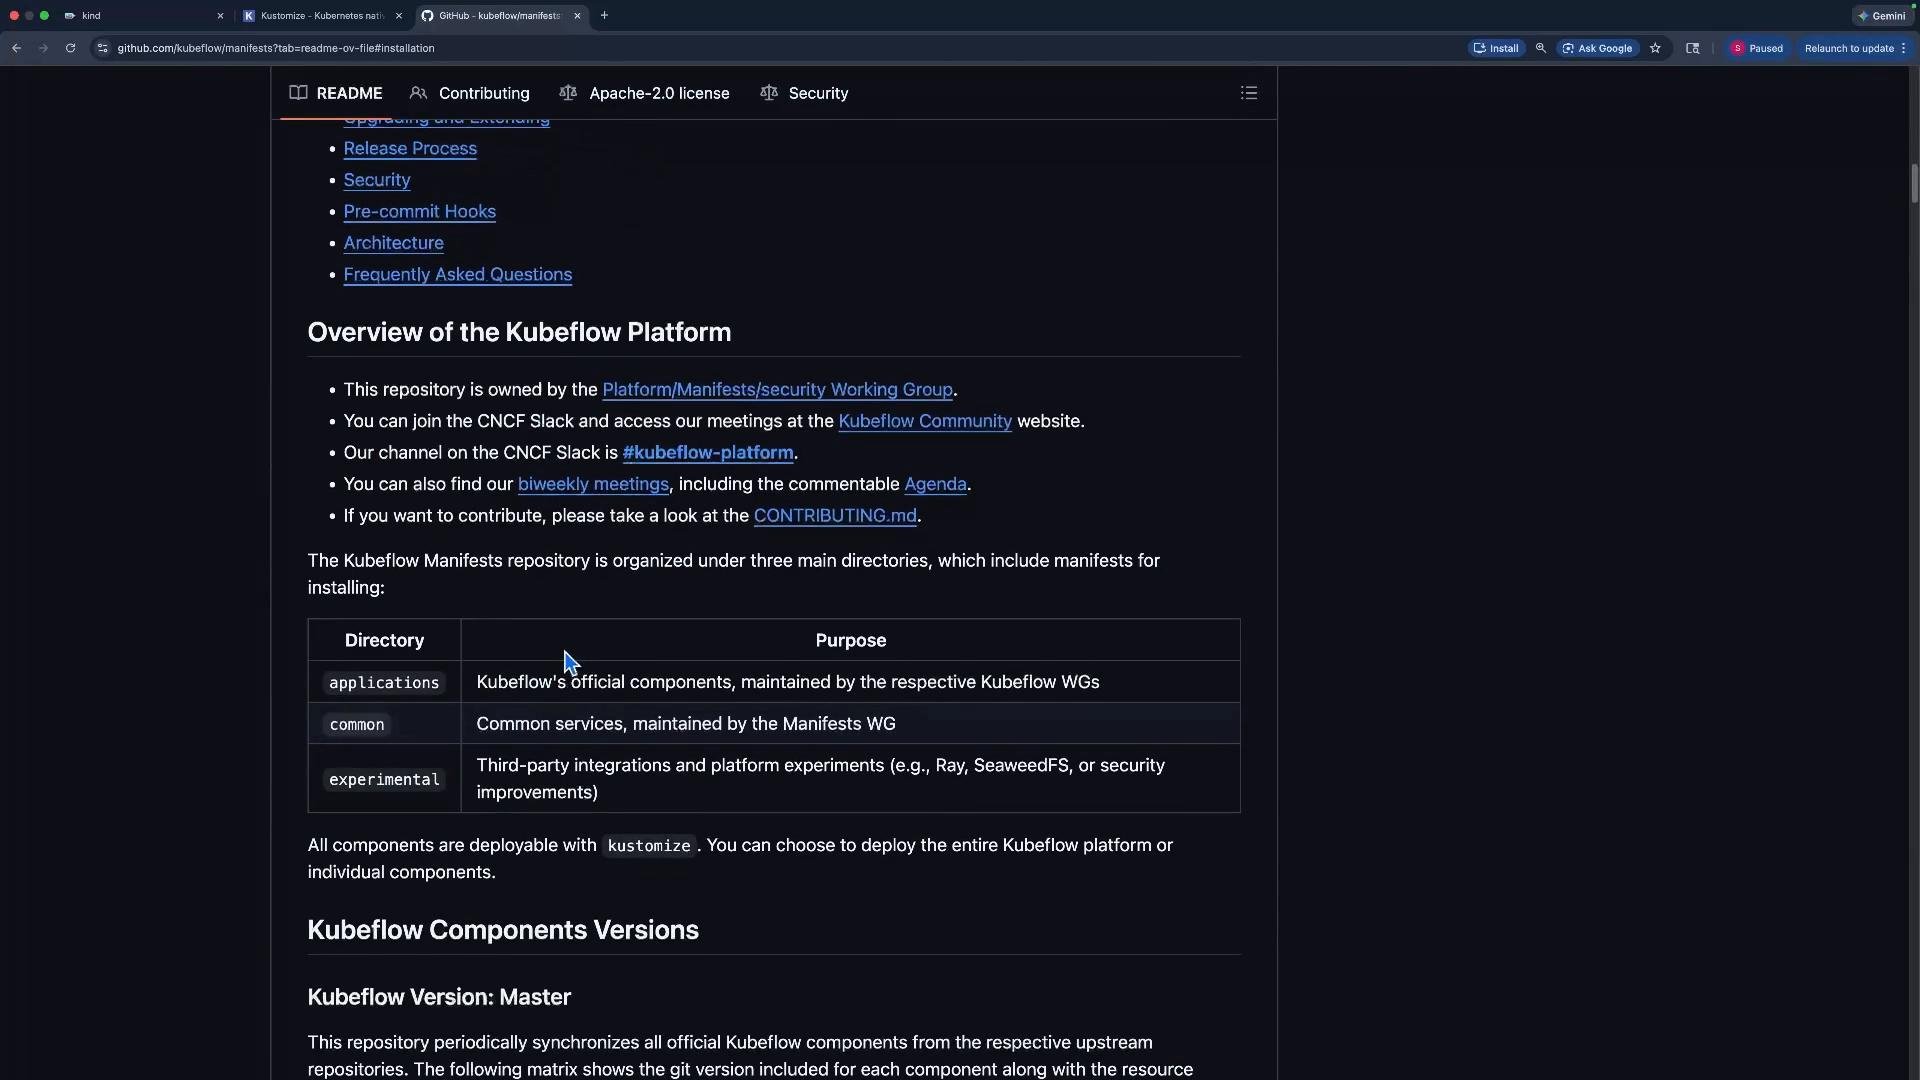
Kubeflow manifests repository
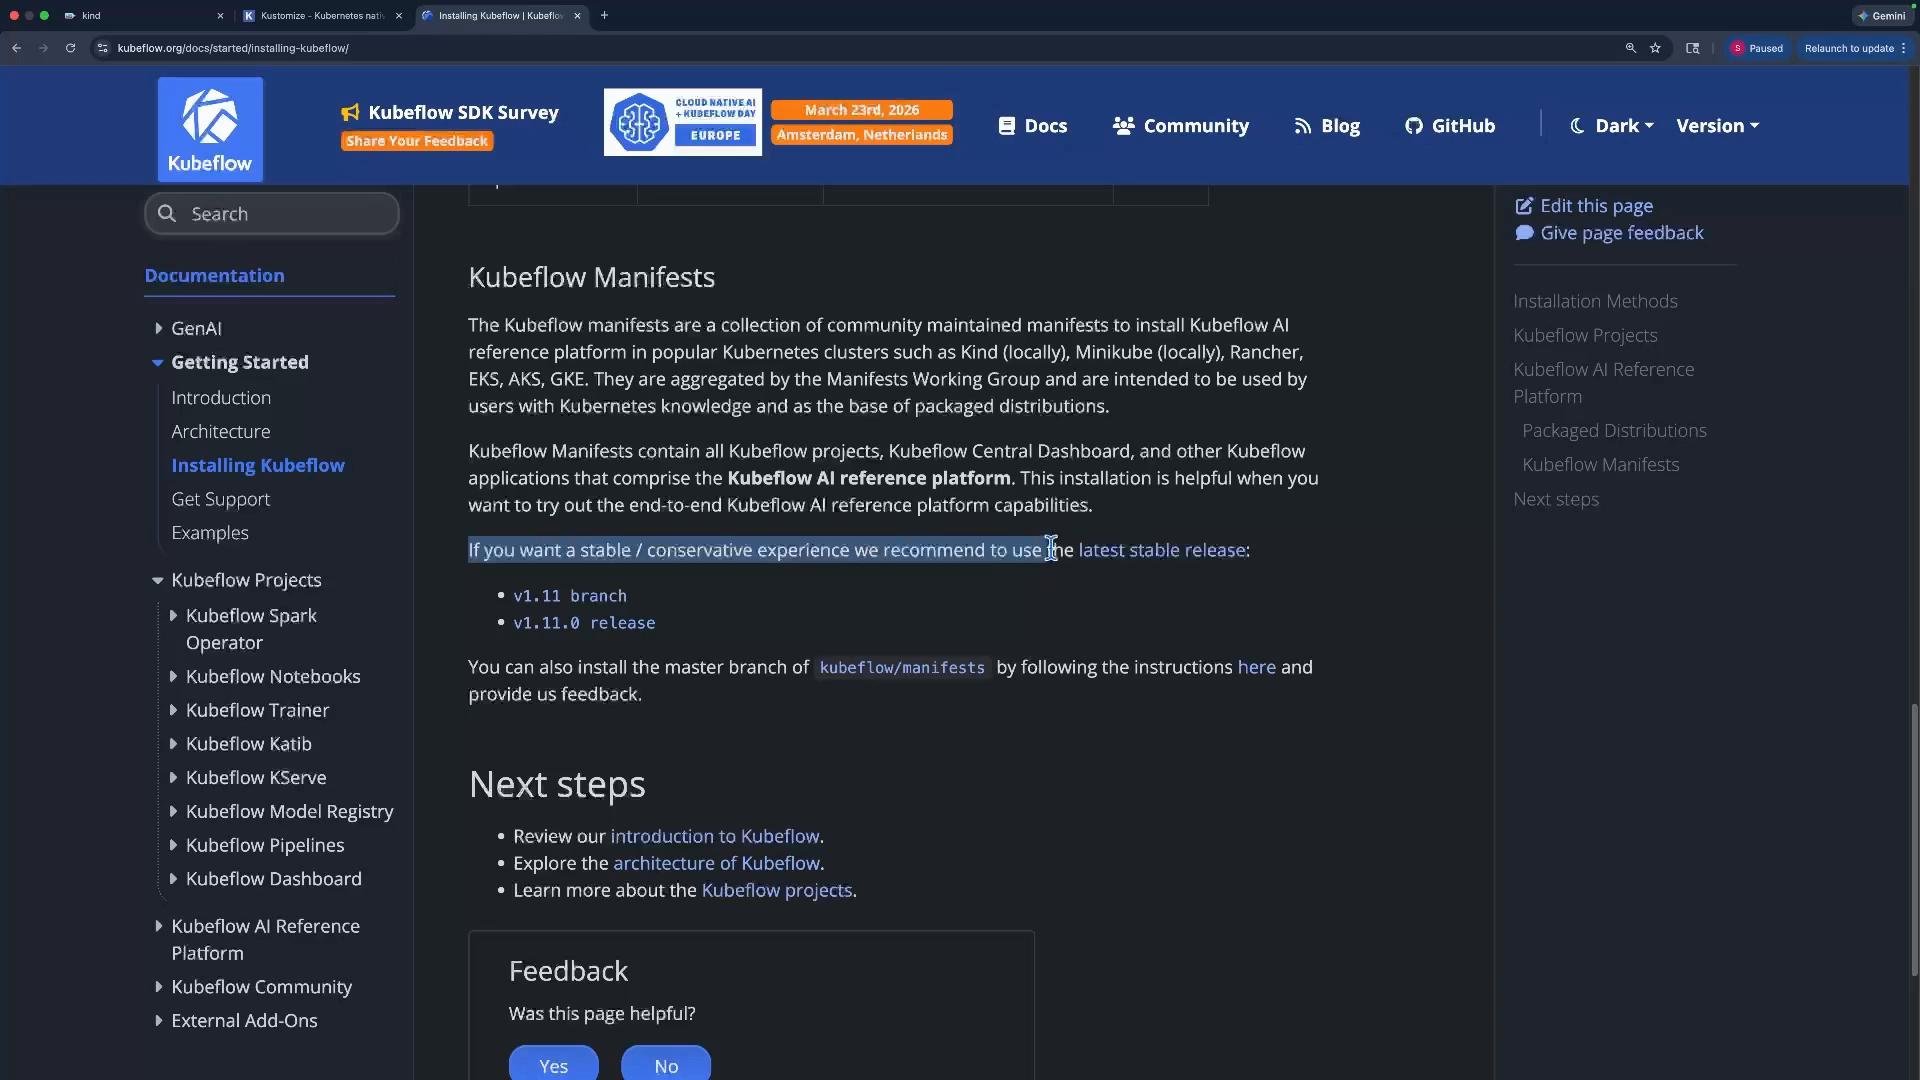
Choose either a stable release or themaster branch. This demo uses the repository master branch to fetch the latest manifests.
Browsing the example kustomization
Theexample folder is the canonical entry point used by the official install. It pulls in many common components (cert-manager, Istio, oauth2-proxy, Dex, Knative, etc.) and application overlays.
Open example/kustomization.yaml to inspect top-level resources and ordering options:
example kustomization references a resources: list that includes cert-manager, Istio, OAuth2-proxy overlays, Dex, and many other components. Example snippet:
example kustomization. For most demos and tests, leaving the defaults is fine.
Create a default user profile (optional)
To create a Profile resource (which creates a user namespace and default resources), edit theprofile-instance manifest under common/user-namespace and set a metadata.name and spec.owner.name. Example:
Prepare kubeconfig and registry credentials
If you created the cluster with kind and saved kubeconfig to a non-default path, export it:regcred) using your ~/.docker/config.json:
Install Kubeflow using kustomize + kubectl
The recommended pattern is to build theexample kustomization and apply it to the cluster. Because CRDs, webhooks, and controllers can come up in different orders, it’s common to retry the apply until success.
Example install loop (standalone kustomize):
kubectl’s built-in kustomize:
--server-side --force-conflictsuses server-side apply to reduce client-side merge conflicts and improve behavior when resources already exist.- The loop tolerates transient ordering errors during the install and retries until all resources apply successfully.
Wait for key components
Some components take time to become Ready. Example: wait for cert-manager pods to become Ready:Example of applied resources
When the build/apply loop finishes successfully you’ll see many server-side applied resources (CRDs, validating webhooks, and application CRs). Example (truncated):Post-installation checks and next steps
- Verify that key components are Ready (Central Dashboard, Pipelines, Notebook Controller, KServe, Katib).
- Confirm the Profile namespace was created if you configured a
Profile. - Check logs for any failing pods and iterate on overlays or settings as needed.
- Explore the installed Kubeflow applications from the dashboard or CLI.
Customize the
example kustomization to enable or disable components (Istio overlays, OAuth2-proxy options, KServe, Katib, etc.) depending on your environment. For cloud-specific clusters (GKE, EKS), pick the recommended overlays in the manifests repository.