

- Jupyter Notebooks
- RStudio
- VS Code (code-server)
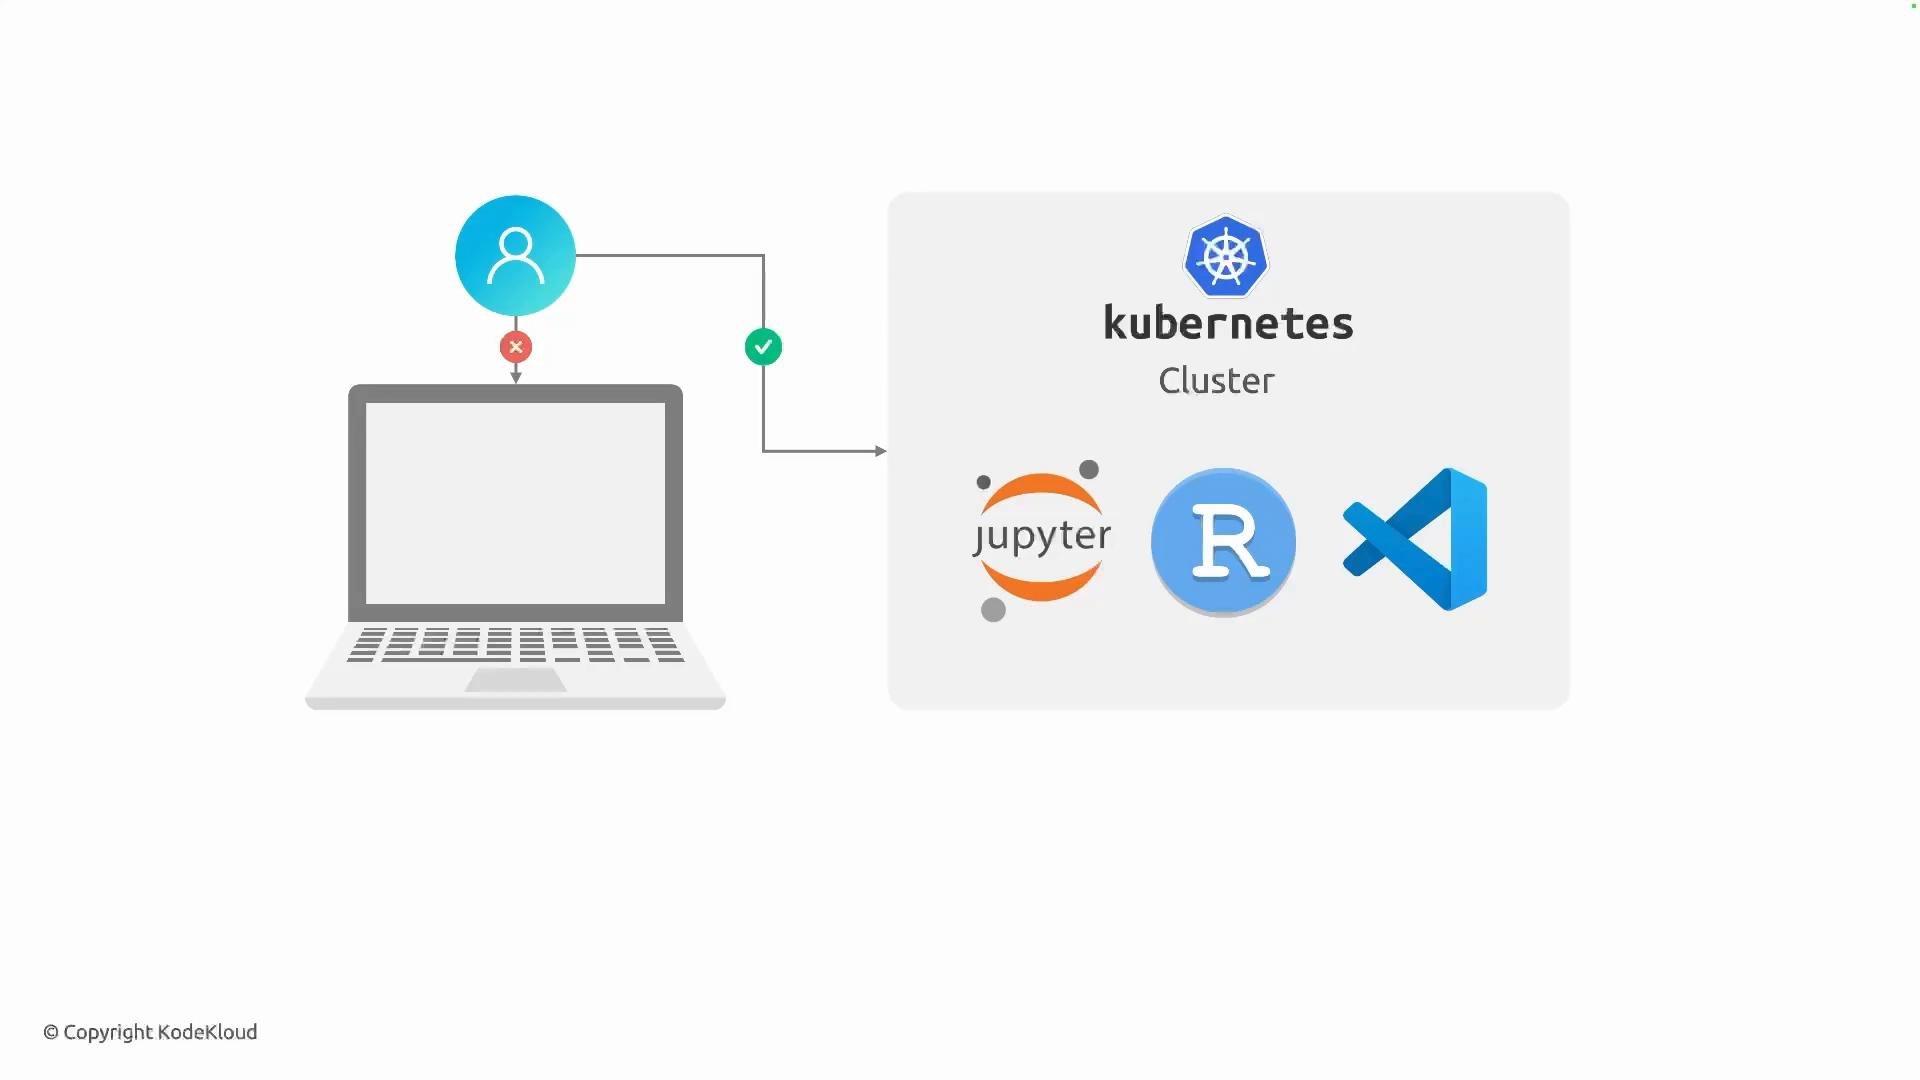
- Offload heavy computation to cluster nodes (CPUs, GPUs, TPUs).
- Standardize development environments using container images.
- Mount shared storage for datasets and checkpoints.
- Apply cluster-level security, authentication, and RBAC.
- Seamlessly promote exploratory code into production pipelines.
Typical workflow
- Choose or build a container image containing the libraries you need (TensorFlow, PyTorch, scikit-learn, etc.).
- Create a Notebook server via the Kubeflow UI or by applying a Notebook custom resource (CR).
- Attach a PersistentVolumeClaim (PVC) to persist notebooks, datasets, and model artifacts.
- Configure resource requests/limits (CPU, memory, GPU) so the cluster scheduler places the pod on appropriate nodes.
- When work is finished, snapshot artifacts, export code to pipeline components, and shut down the server to save cluster resources.
kubectl apply -f notebook.yaml against a cluster where Kubeflow Notebooks are enabled.
- Kubeflow UI: Use the Notebooks dashboard to create, start, stop, and connect to notebook servers through a browser.
- CLI / YAML: Define Notebook CRs and apply them with
kubectl(useful for templating and automation). - Image management: Store container images in a registry (e.g., Docker Hub, GCR) and reference them in the Notebook spec.
- Extract preprocessing and training steps into Kubeflow Pipelines components for repeatability.
- Containerize reproducible steps and version images/datasets.
- Use PVCs or object storage for model artifacts and dataset versioning.
Kubeflow typically creates notebook servers as Kubernetes resources (for example, via a Notebook custom resource and the Kubeflow Notebooks controller). Notebook instances can mount persistent volumes for storage and are configurable with resource requests/limits so they integrate with cluster scheduling and policies.
- Kubeflow Notebooks documentation
- Jupyter Project
- Kubernetes Persistent Volumes and PVCs
- Kubernetes documentation