

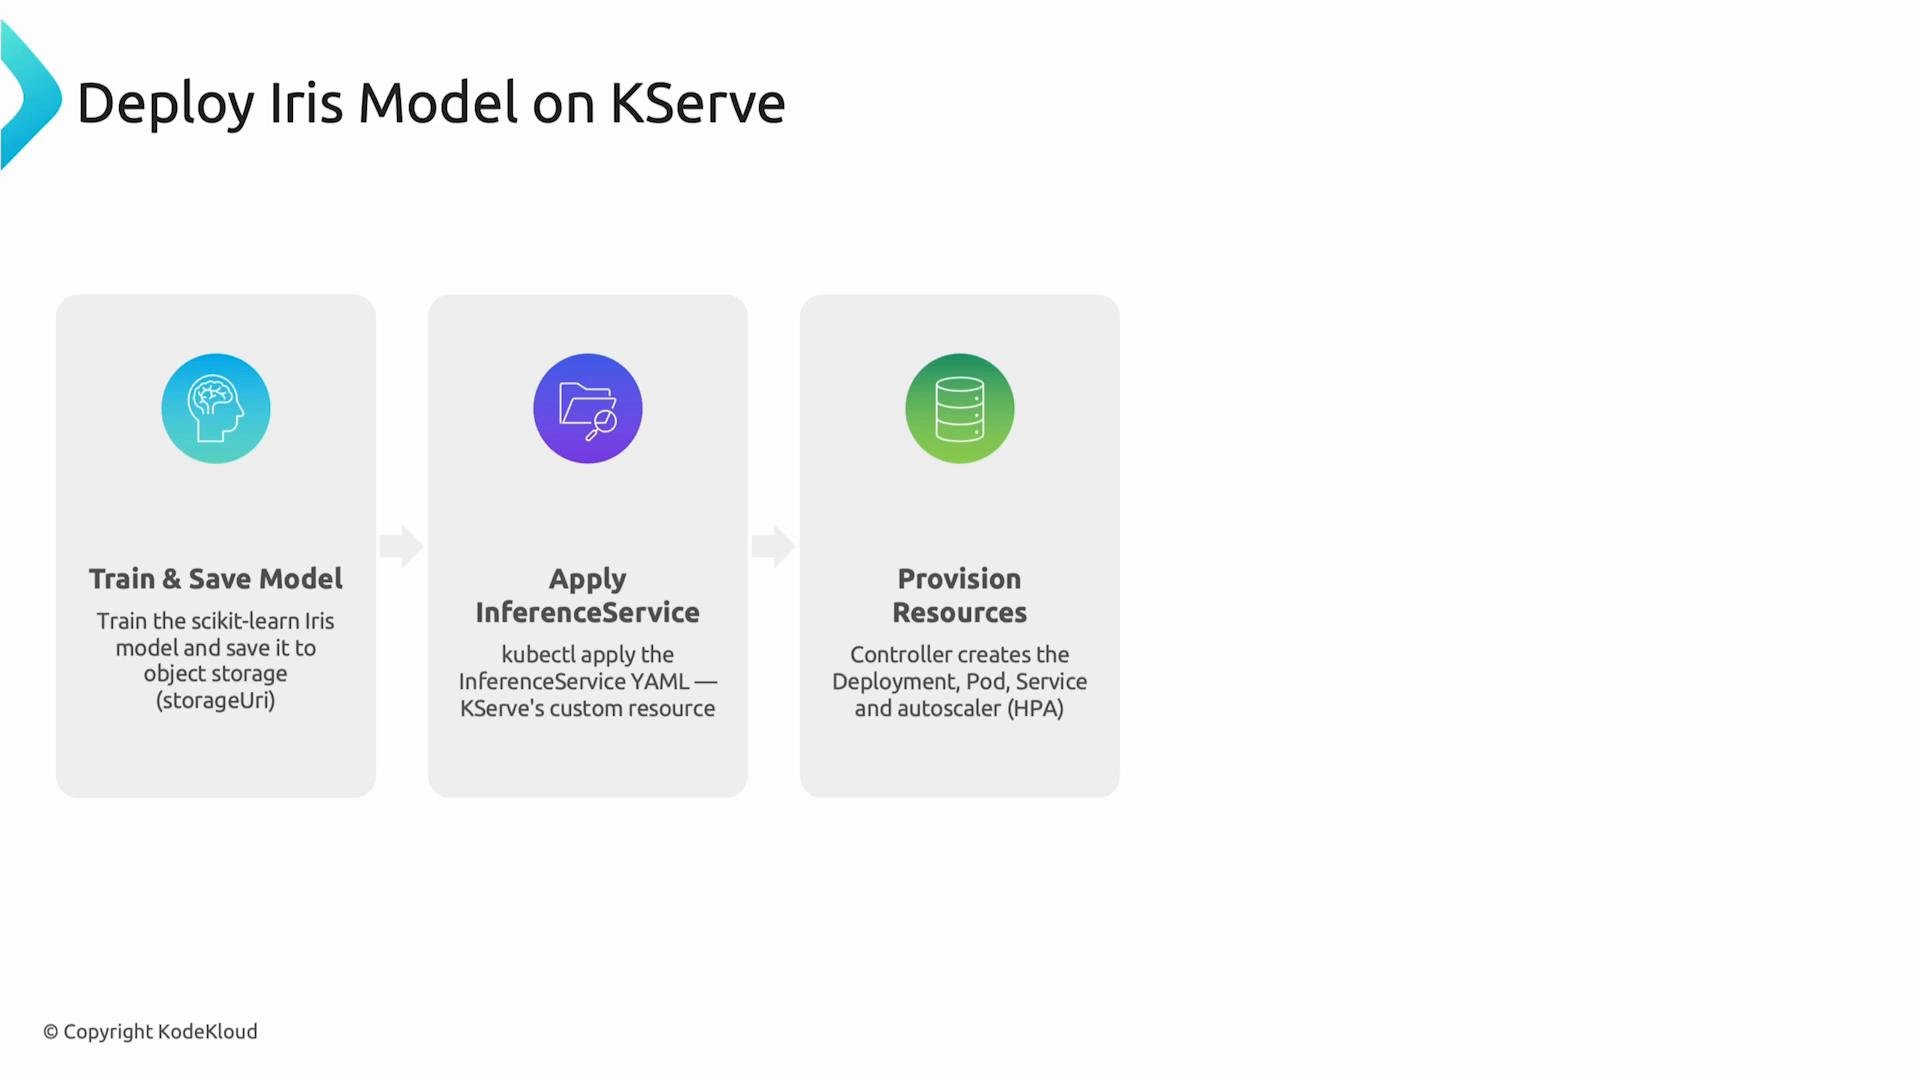
joblib, upload the artifact to object storage, and deploy it as a scalable inference service on Kubernetes using KServe’s InferenceService CRD.
Prerequisites
- A Kubernetes cluster with KServe installed and its CRDs applied.
kubectlconfigured to talk to your cluster.- Access to object storage reachable from your cluster (S3, MinIO, GCS, etc.).
- Python environment with
scikit-learnandjoblibinstalled.
1) Train and Serialize the Iris Model
Train a RandomForest classifier on the Iris dataset and save the model to a file that you can upload to object storage.model.joblib to your object storage bucket (for example, s3://my-bucket/models/iris/model.joblib) so KServe can fetch it when deploying the service.
2) Create the KServe InferenceService Manifest
KServe uses a Kubernetes CRD calledInferenceService to describe model serving resources. The manifest specifies:
- the framework (sklearn),
- the
model.uripointing to your model artifact in object storage, - optional runtime configuration (resources, predictors, etc).
iris.yaml (minimal):
- For scikit-learn models, KServe expects the model file in the storage URI path. You can provide a folder containing
model.joblibor the direct file path depending on the server implementation/version. - Replace the
storageUriwith your object storage URL and ensure credentials/configuration for that storage are available to the cluster.
3) Apply the InferenceService and Verify
Apply the YAML to create the inference service:InferenceService reports readiness before sending requests.
Quick reference: Deploy steps
4) Test the Model Endpoint
When the service is ready, call the REST prediction endpoint. ReplaceMODEL_URL with your external service URL (for example, http://<hostname>/v1/models/iris-classifier:predict).
http://<hostname>/v1/models/iris-classifier:predict.
The request sends a single Iris feature vector [sepal length, sepal width, petal length, petal width]. The response will contain predicted classes or probabilities depending on your model runtime configuration.
Ensure the model file is accessible to the KServe runtime. Common approaches are uploading
model.joblib to S3/MinIO/GCS and using that remote URL in the model.uri (or storageUri) field of your InferenceService YAML (for example, s3://my-bucket/models/iris/model.joblib). Also confirm any storage credentials are configured in-cluster.Make sure KServe and its CustomResourceDefinitions (CRDs) are installed and the KServe controller is running in the cluster before applying the
InferenceService manifest. Without the controller and CRDs, kubectl apply -f iris.yaml will fail.Troubleshooting & Debugging Tips
- Use
kubectl logsfor the predictor pod to inspect startup errors: - If the model cannot be downloaded, check storage credentials, bucket policies, and the
storageUrivalue. - To inspect network accessibility, forward or expose the service temporarily:
Then call
http://localhost:8080/v1/models/iris-classifier:predict.
Links and References
- KServe documentation
- scikit-learn
- joblib
- Kubernetes documentation
- S3 (AWS)
- MinIO
- Google Cloud Storage (GCS)