

- List and inspect existing Profiles
- Create a Profile using a YAML manifest
- Log in as a Profile owner and run pipelines in the associated namespace
- Manage contributors (edit access) via the Kubeflow UI
- Manually grant view-only access using Kubernetes RBAC and Istio AuthorizationPolicy
Prerequisite: Ensure user accounts are already created in Dex and that you can authenticate to Kubeflow. This guide assumes Dex-based authentication and KFAM (Kubeflow Access Management) are in use.
List existing Profiles
Use kubectl to list Profiles in the cluster:Create a new Profile (YAML)
Create a file namedprofile.yaml. A minimal Profile manifest contains apiVersion, kind, metadata.name, and the owner under spec:
john@example.com is the owner, the Profile controller creates a namespace for team1 and sets up default rolebindings (editor, viewer, admin service account and one admin user) so the owner has full control of that namespace.
Login as the Profile owner and use the namespace
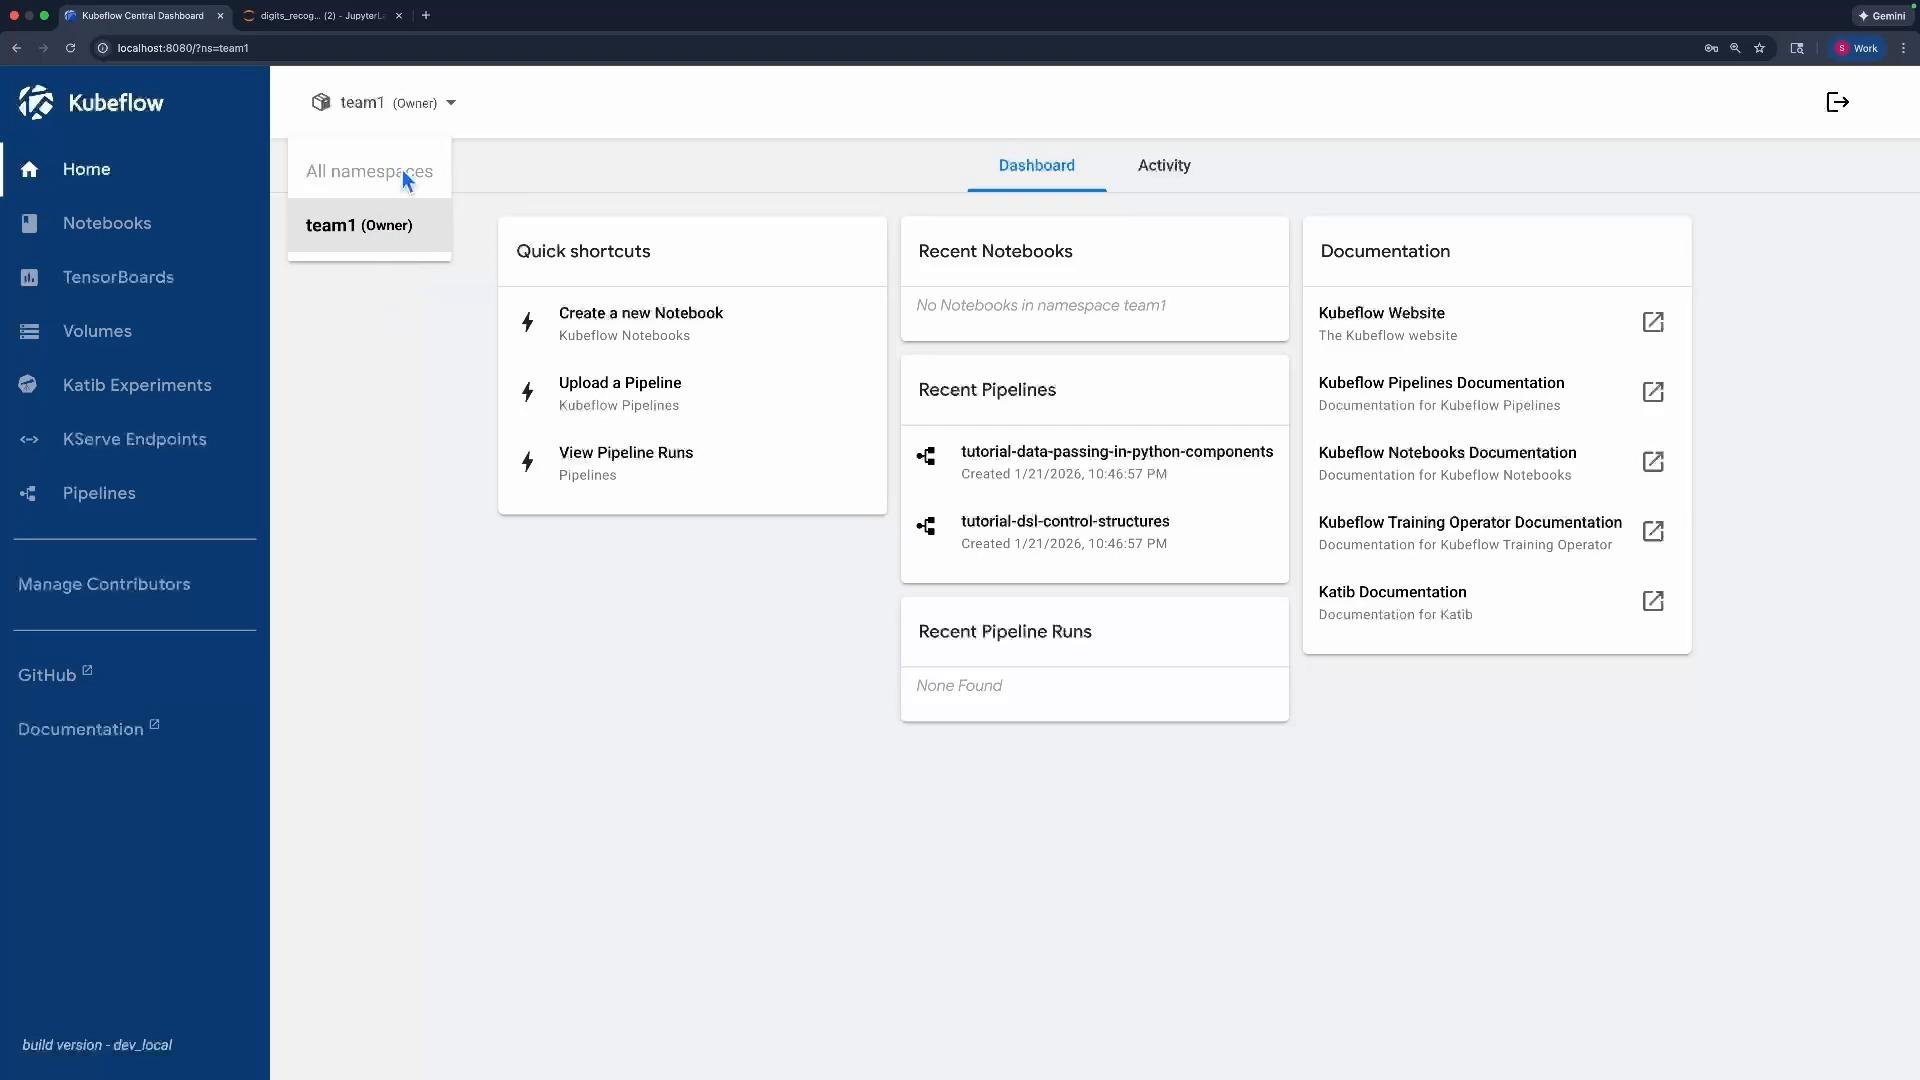
When John logs in, the Kubeflow Central Dashboard automatically selects the namespace created for his Profile (team1). The dashboard shows that he is the owner and can perform actions within that namespace.
Deploy a pipeline as the owner
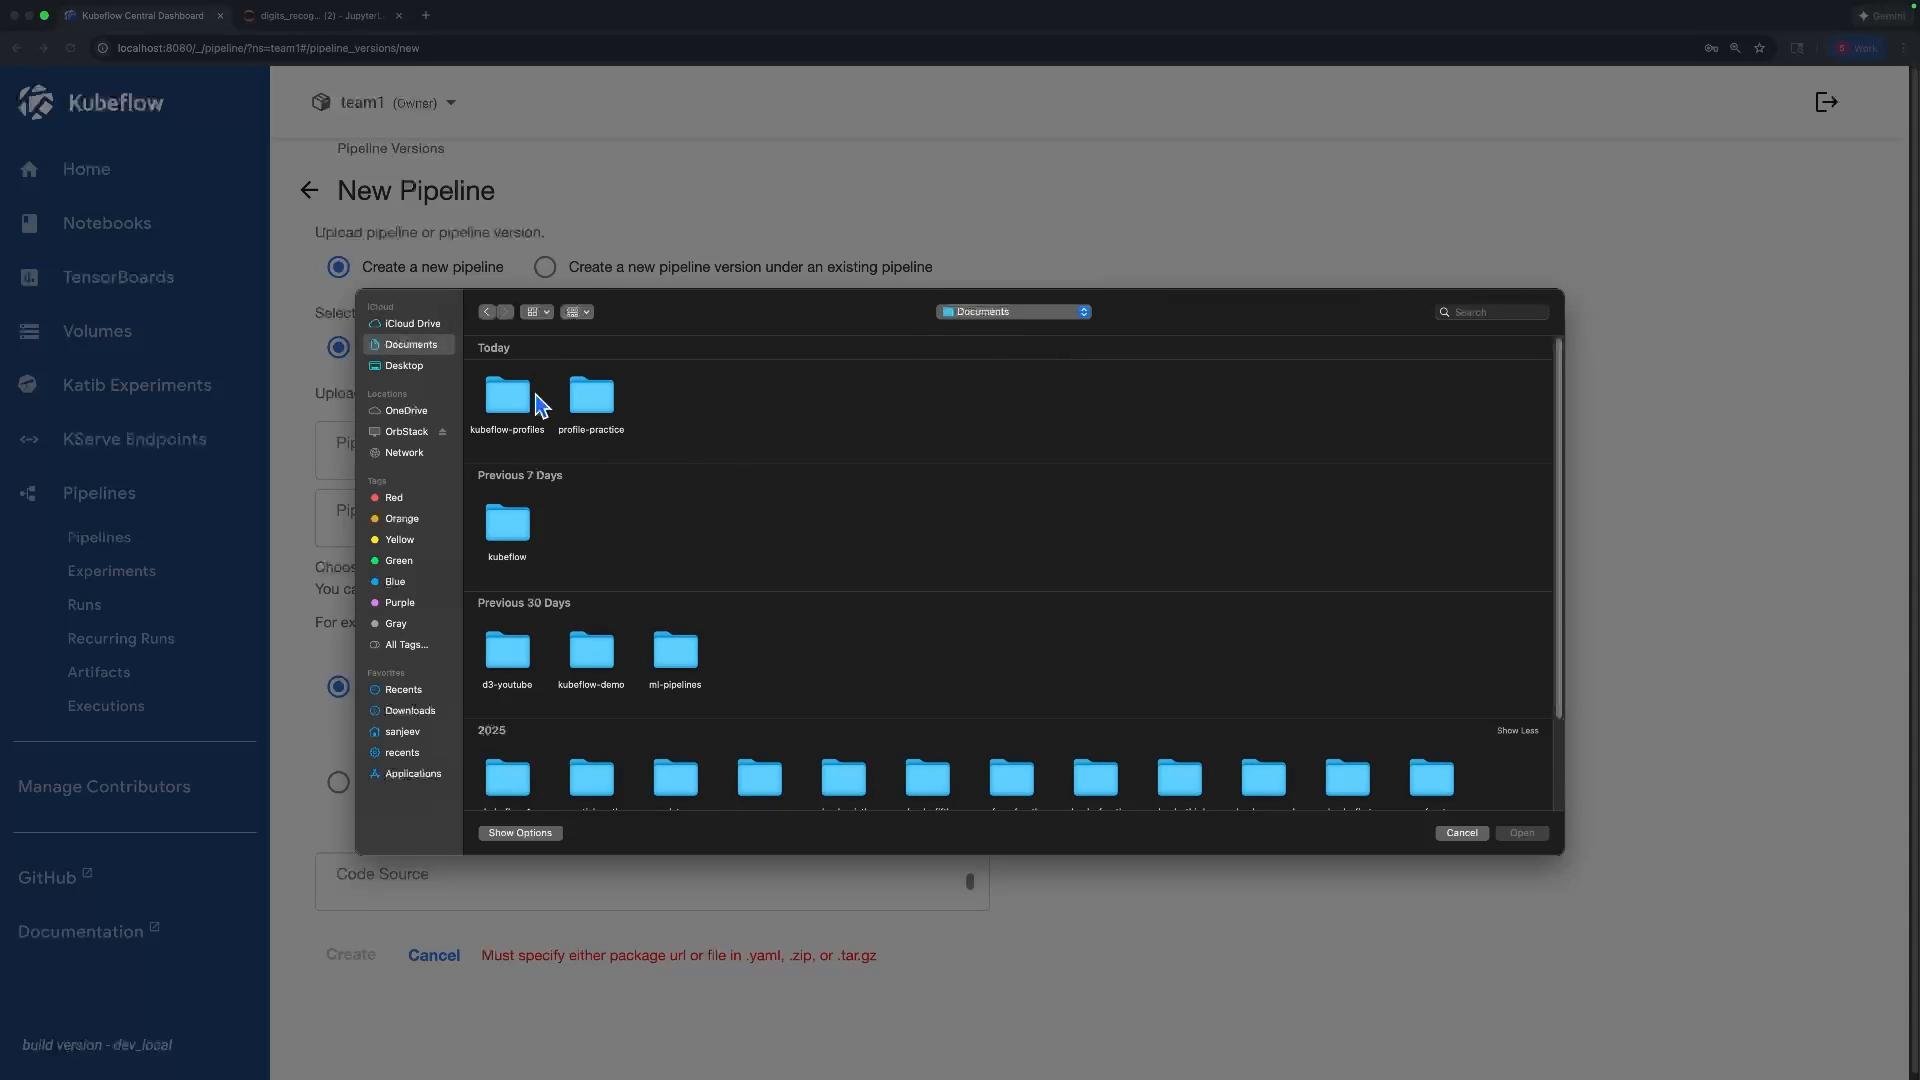
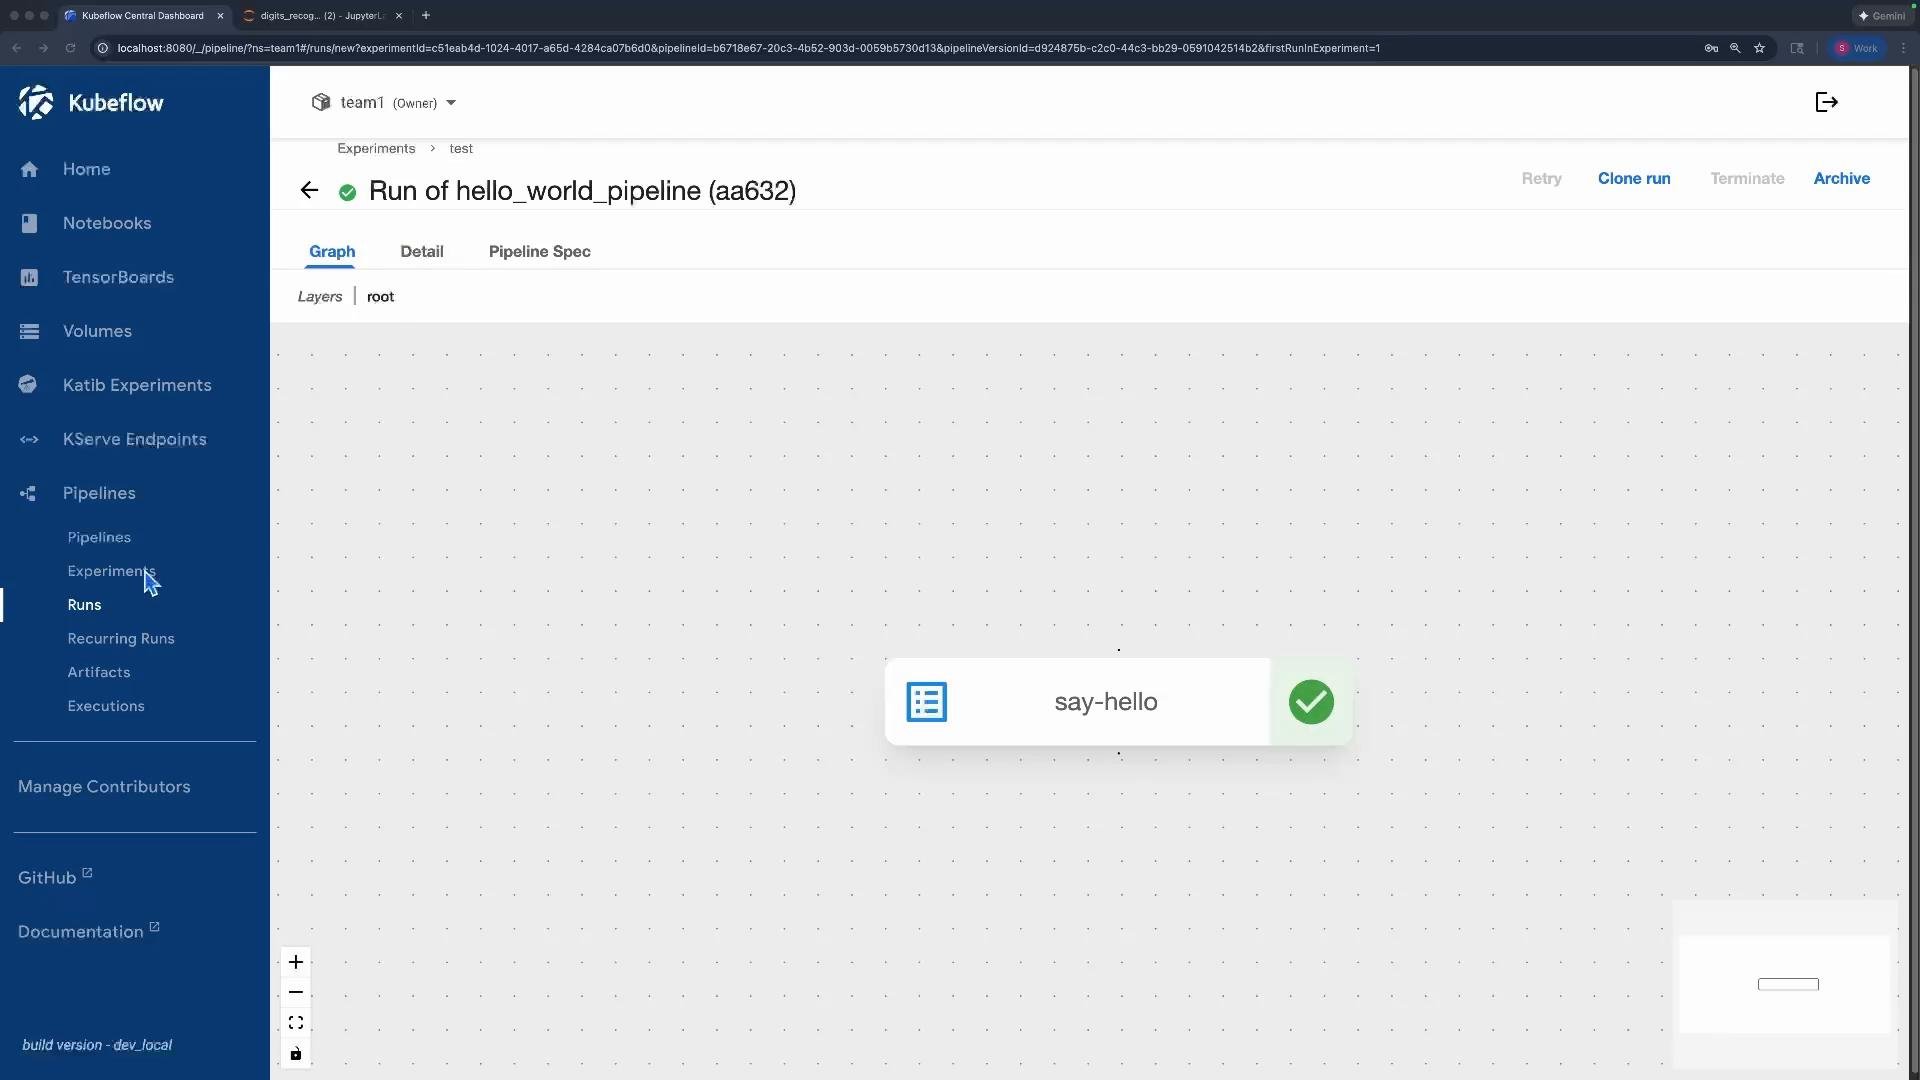
As the namespace owner John can upload, create experiments, and run pipelines inteam1. The file picker in the UI shows folders (for example, kubeflow-profiles) available for selecting pipeline files.
Manage contributors via the Kubeflow UI (editor access)
Profile owners can add contributors from the Central Dashboard using “Manage Contributors.” The UI currently only supports adding contributors with editor privileges (create/edit/delete pipelines, runs, experiments, etc.). For example, addingmark@example.com grants editor access to the team1 namespace.
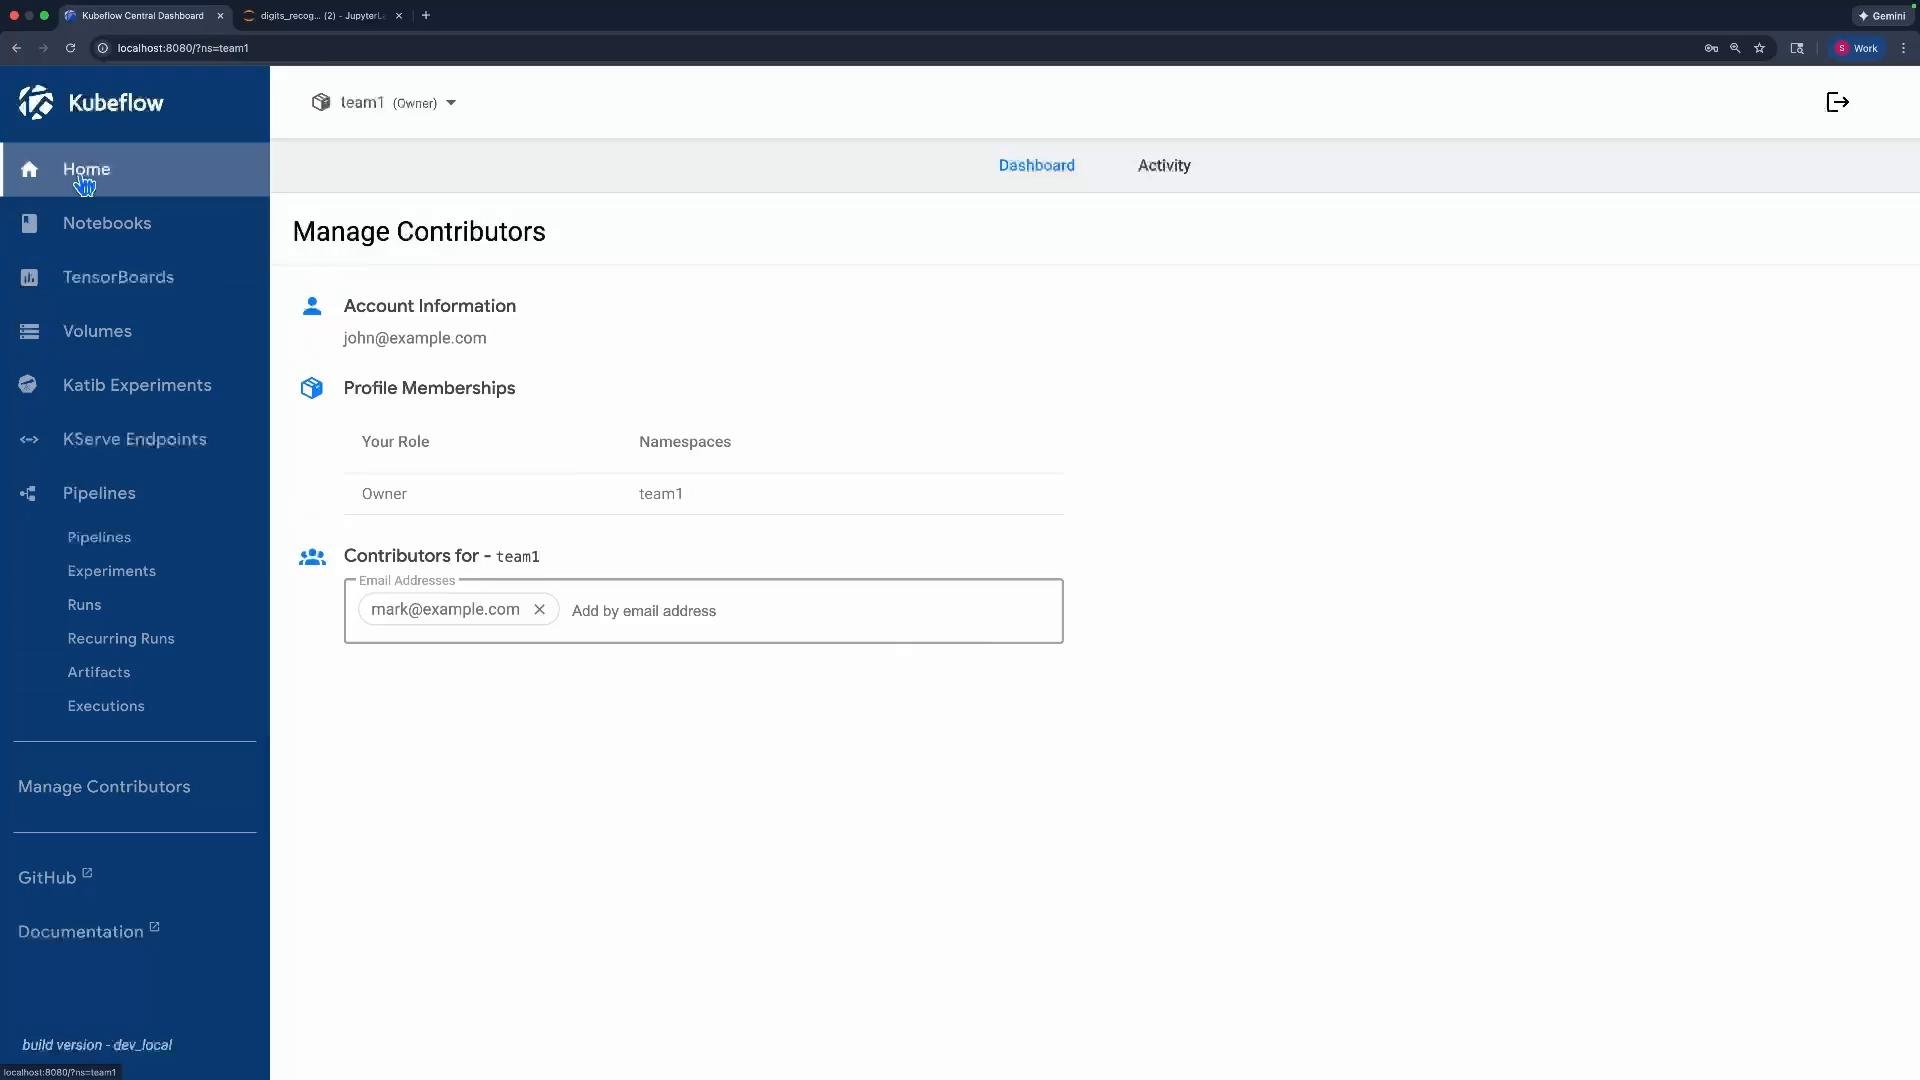
team1 namespace and create pipelines because the owner granted editor permissions:
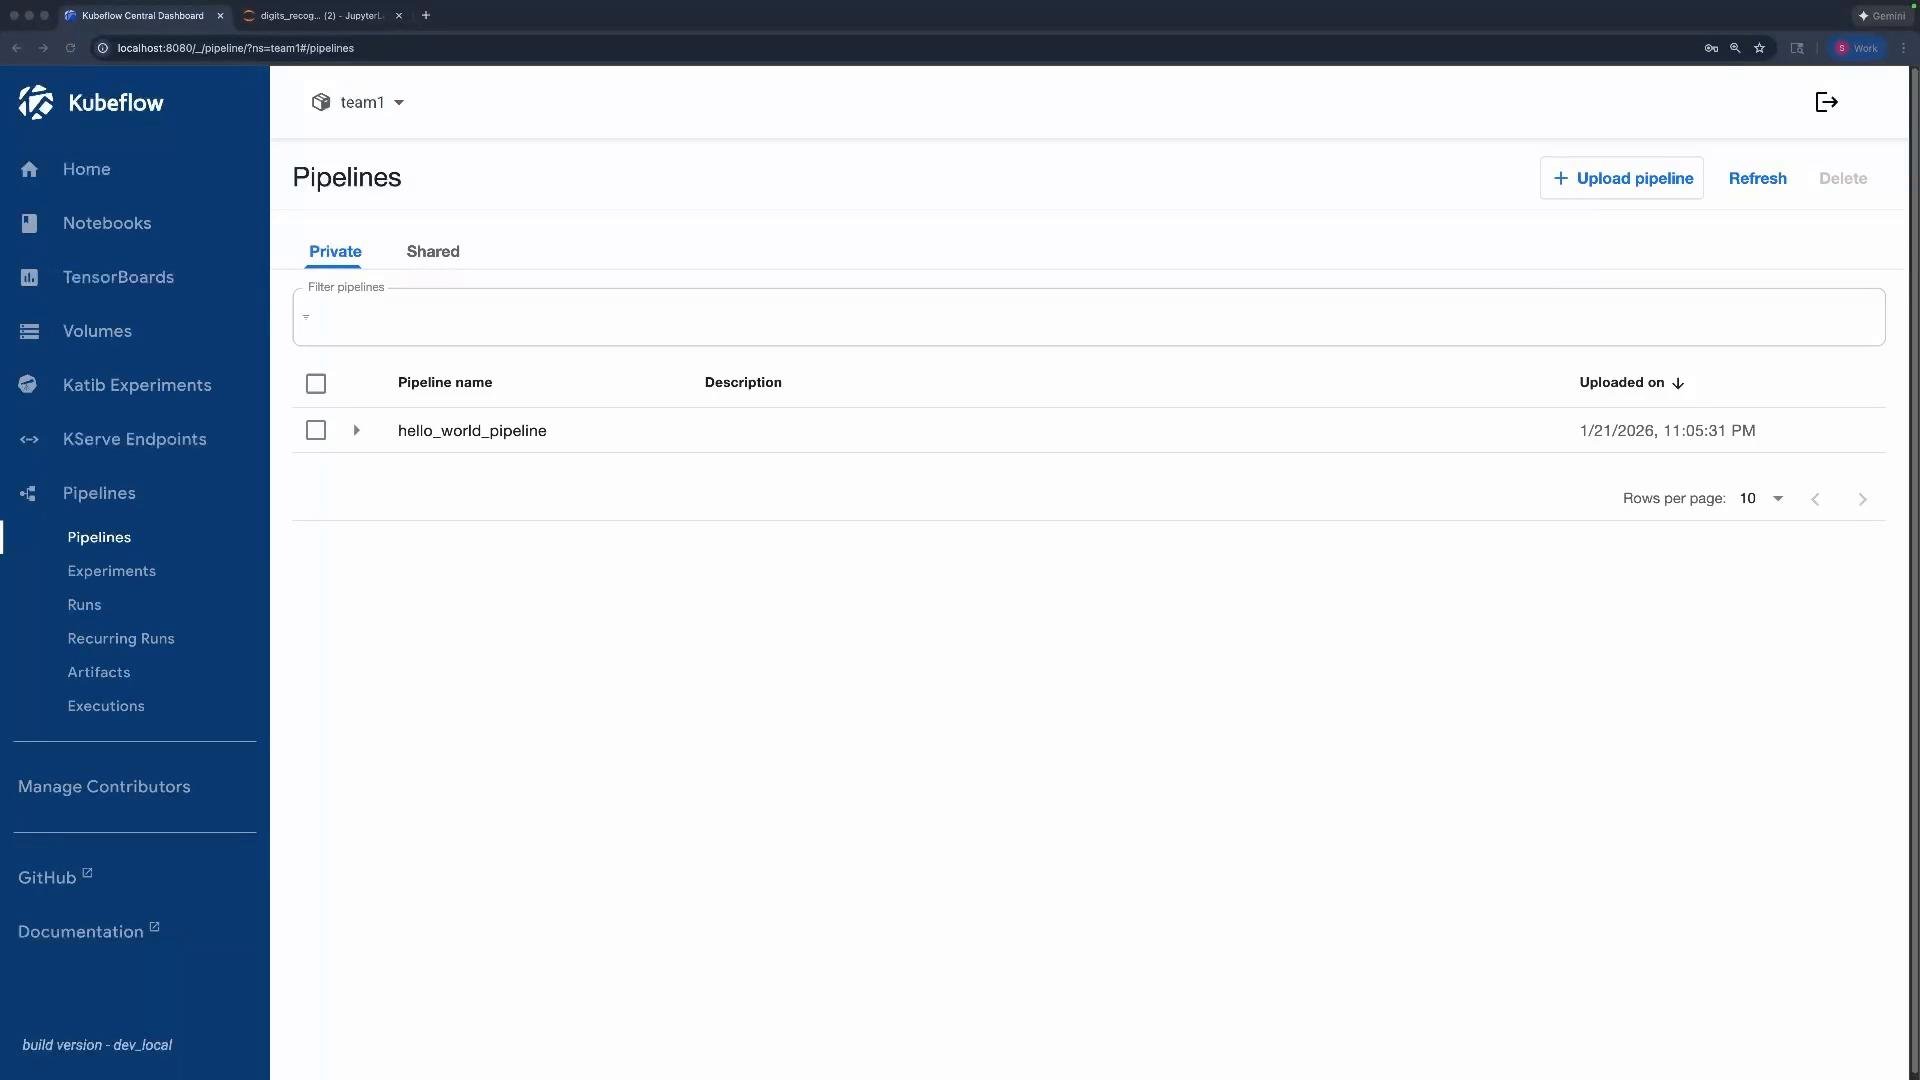
Important: The Kubeflow UI currently only supports granting editor-level access to contributors. To provide view-only access, you must create Kubernetes RBAC RoleBinding (or Role) and an Istio AuthorizationPolicy manually — the UI doesn’t provide view-only role assignment.
Manual: Granting a view-only contributor (RoleBinding + AuthorizationPolicy)
To provide a contributor view-only access, you must combine Kubernetes RBAC (RoleBinding or Role) with an Istio AuthorizationPolicy that matches the authenticated request principal. Follow these steps.- Inspect Kubeflow-provided ClusterRoles to choose the appropriate role (
kubeflow-view,kubeflow-edit,kubeflow-admin, etc.):
- View the default RoleBindings in the Profile namespace (created by the Profile controller):
- Create a RoleBinding to grant
kubeflow-viewtomark@example.com. Save this asrolebinding.yaml:
- Create an Istio AuthorizationPolicy to allow requests from Mark’s principal. KFAM maps user identities to Istio principals; ensure you use the correct principal format for your deployment. See KFAM bindings for example principal formats: https://github.com/kubeflow/kubeflow/blob/v1.8.0/components/access-management/kfam/bindings.go#L79-L110
authorizationpolicy.yaml and update the principals with the appropriate value for your authentication stack:
team1 namespace but not edit them. Attempts to upload or create pipelines will fail with an authorization error because his permissions are view-only.
Quick reference: Resources and purpose
Summary
- Profiles create isolated namespaces for users or teams and set up default RBAC (editor, viewer, admin).
- Profile owners can manage contributors from the Kubeflow UI; the UI grants editor privileges.
- To give view-only access, create a Kubernetes RoleBinding bound to
kubeflow-viewand a matching Istio AuthorizationPolicy that allows requests from the user’s principal. - Always verify the principal format used by your authentication stack and KFAM so your AuthorizationPolicy matches the real principal.
- Kubeflow documentation: https://www.kubeflow.org/docs/
- KFAM bindings (principal formats): https://github.com/kubeflow/kubeflow/blob/v1.8.0/components/access-management/kfam/bindings.go#L79-L110