

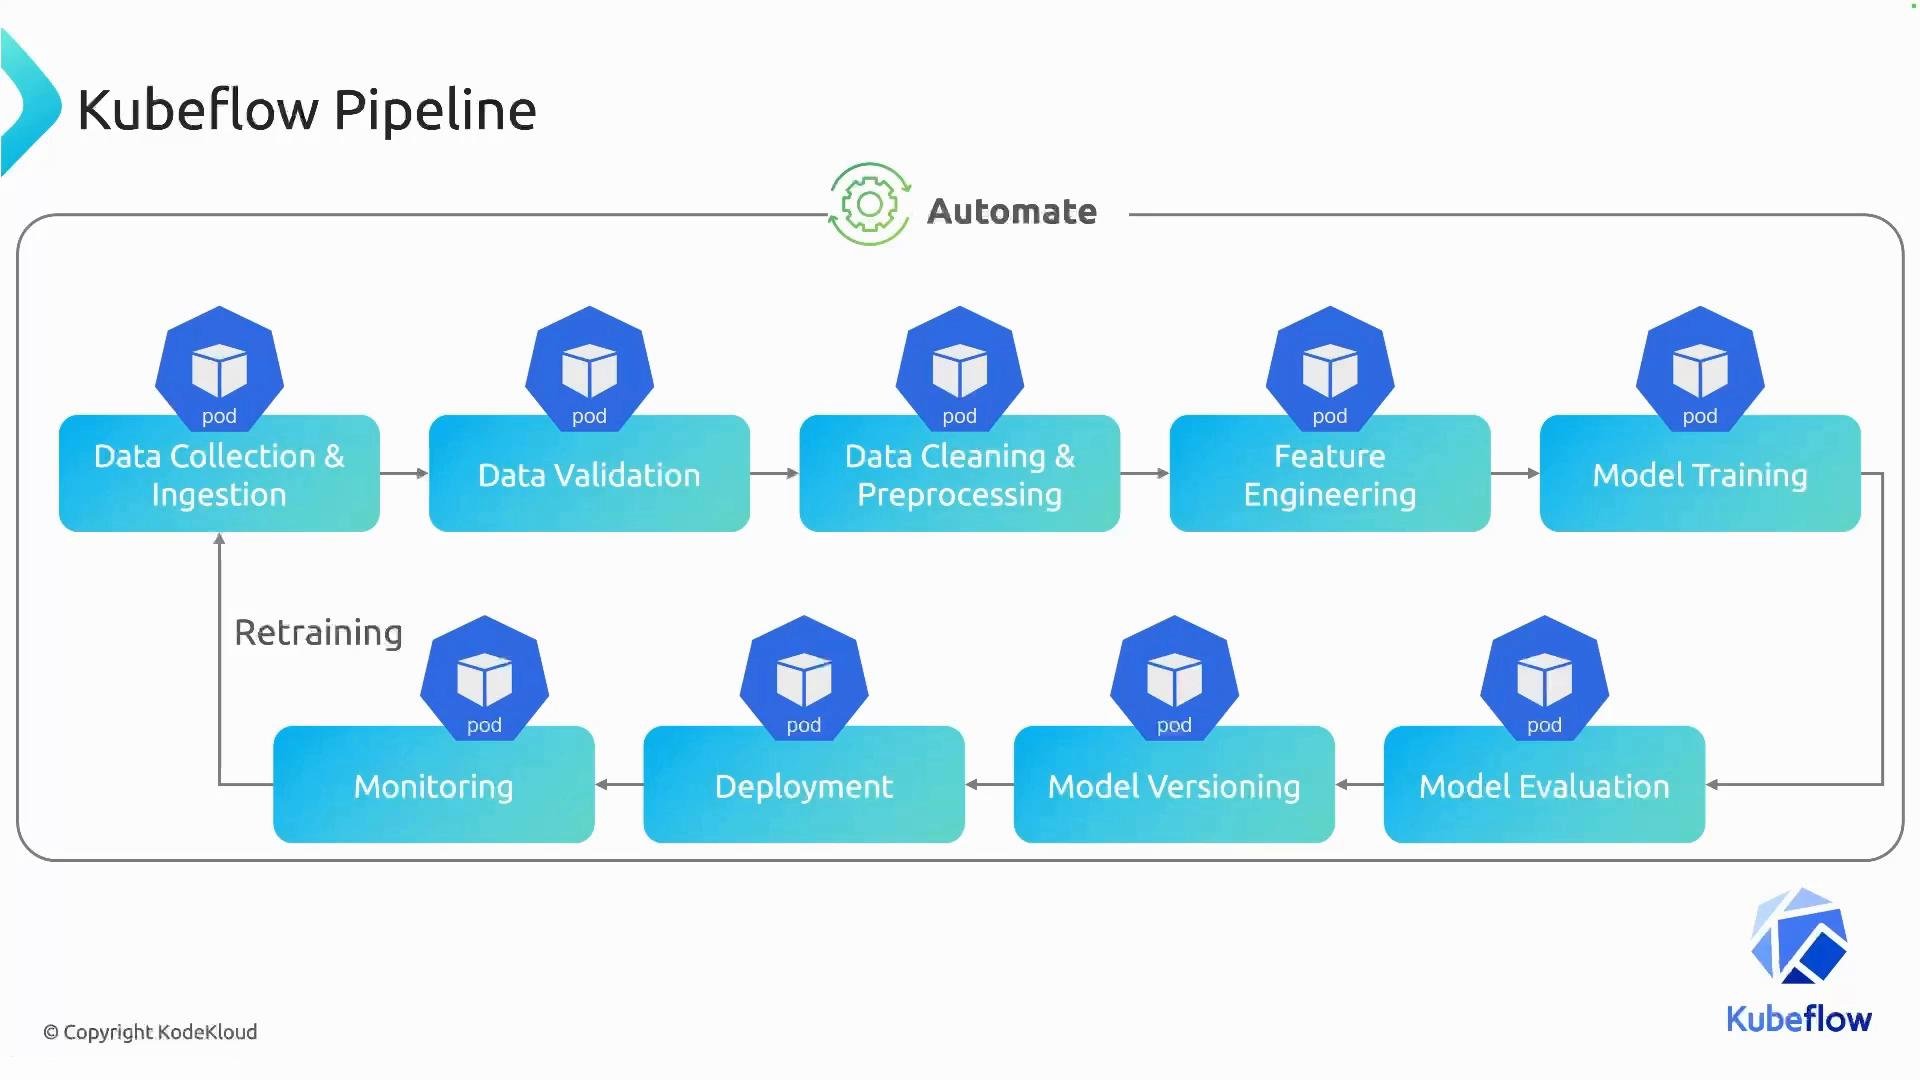
How pipelines are authored
Pipelines are defined in Python using the Kubeflow Pipelines SDK and then compiled into a YAML package that Kubeflow accepts. Writing pipelines in Python gives you access to the broader Python ecosystem (libraries, testing, packaging) while letting the SDK generate the YAML representation for runtime execution.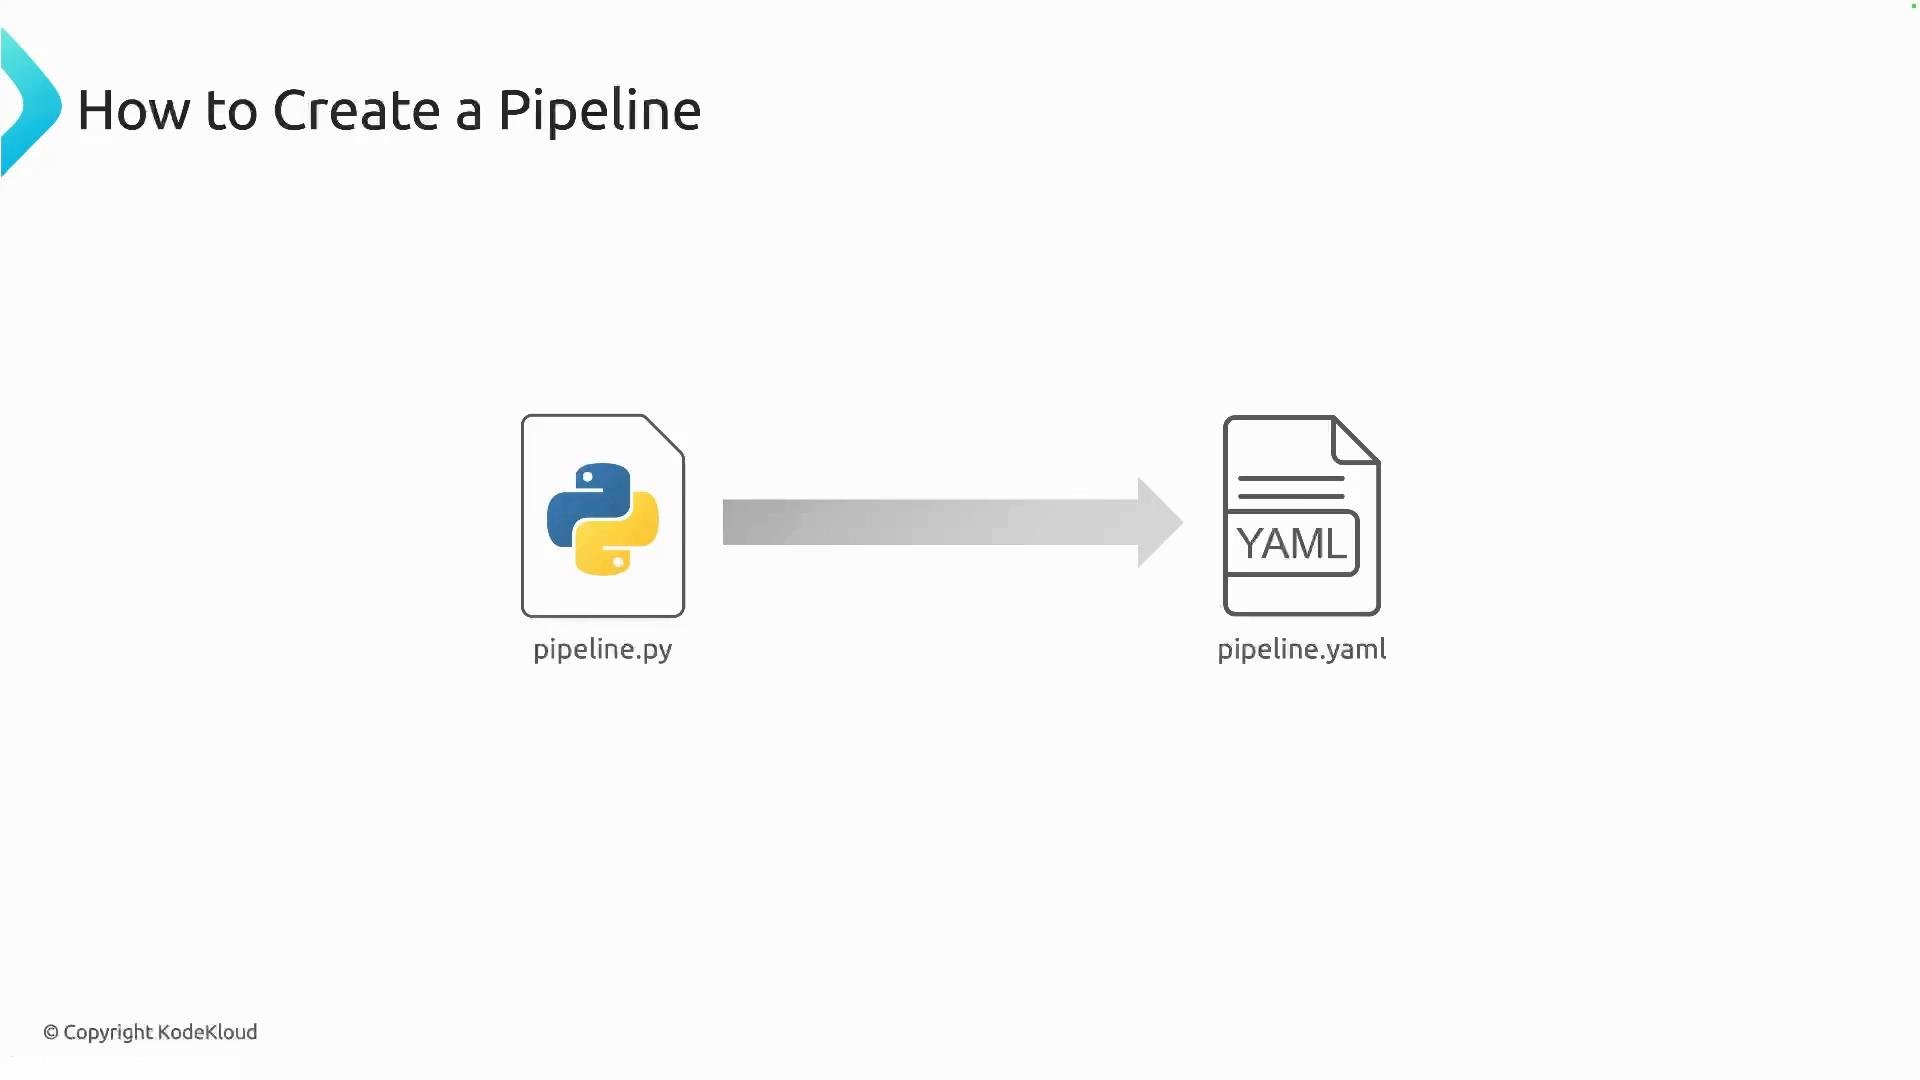
Pipeline structure and components
Consider a simple pipeline consisting of three stages: data collection & ingestion, data cleaning & preprocessing, and model training. In Kubeflow Pipelines each stage is modeled as a component. Components are isolated units of work that run in their own pods and encapsulate one distinct step of the workflow.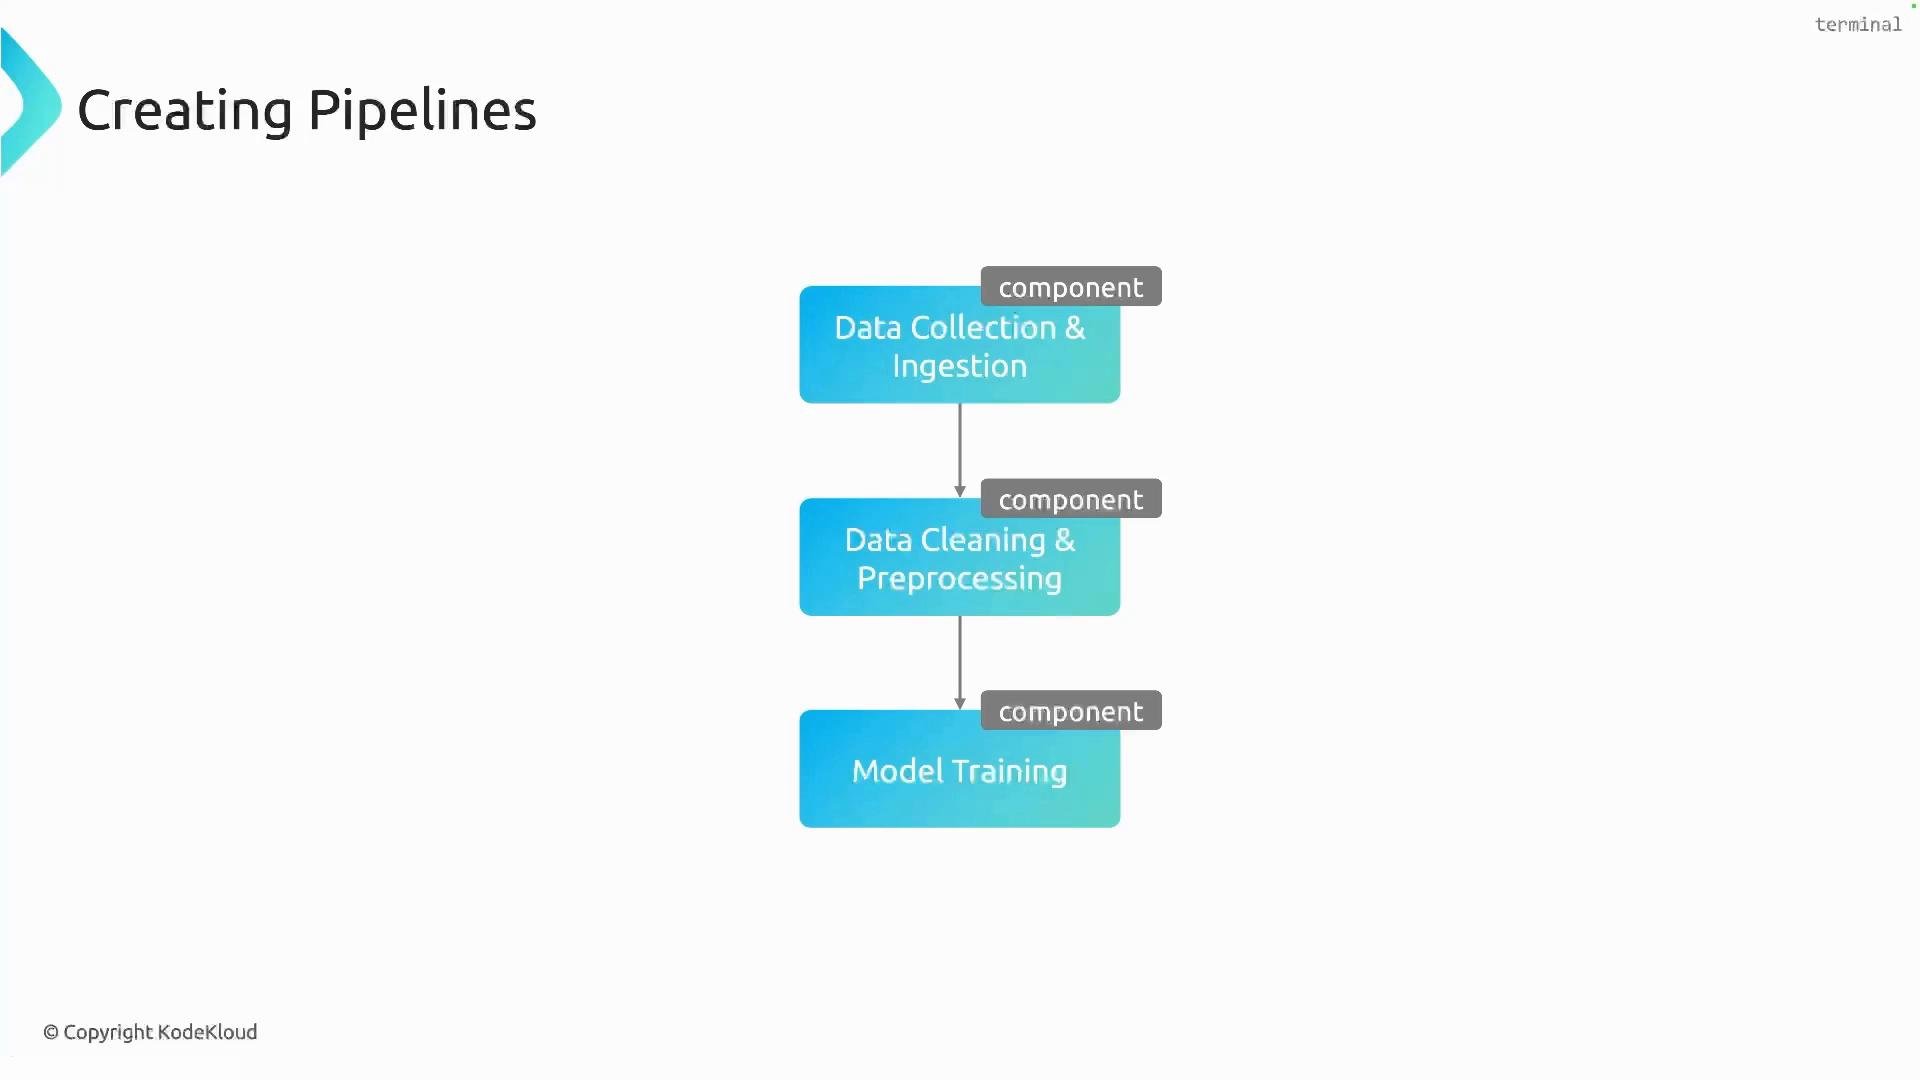
Install the Kubeflow Pipelines SDK
Install the SDK locally before authoring pipelines:Check the Kubeflow Pipelines SDK version compatibility with your Kubeflow deployment. The SDK API can vary between major versions (for example, v1 vs v2), so install the version that matches your cluster’s Pipelines component.
Writing a simple pipeline
Each component can be defined as a Python function and decorated to become a Kubeflow component. The pipeline itself is a function decorated with@dsl.pipeline. Invoking component functions inside the pipeline function creates tasks; you can set ordering with .after() or rely on implicit dependencies when a task’s output is passed to another.
Example pipeline code:
- Each
@dsl.component-decorated function becomes a reusable pipeline component that will be executed inside its own pod. - Calling a component (for example,
data_collection()) returns a task object. Use.after()to enforce ordering for tasks that do not exchange data. - If a component returns a value or artifact that is consumed by another component, the SDK infers the dependency automatically — you do not need
.after(). compiler.Compiler().compile(...)converts the Python pipeline into a YAML package (demo_pipeline.yaml) which you can upload to Kubeflow.
If your components exchange data (for example, one component returns a file path or artifact consumed by the next), the dependency is implicit and you do not need to call
.after(). Use .after() when components have no direct data edges but you still need to enforce ordering.Uploading and running the pipeline
Once the YAML package is generated, upload it to Kubeflow:- In the Kubeflow UI go to Pipelines → Upload Pipeline.
- Choose Import from file or URL and provide a pipeline name.
- Select the compiled YAML file (
demo_pipeline.yaml) and click Create. - The UI displays the pipeline graph and lets you start a new run with parameters and experiment settings.
Useful links and references
- Kubeflow Pipelines SDK documentation: https://www.kubeflow.org/docs/components/pipelines/sdk/
- Kubeflow Pipelines concepts overview: https://www.kubeflow.org/docs/components/pipelines/
- Kubernetes documentation: https://kubernetes.io/docs/