

- A user authenticates with an external IdP (for example, Google, GitHub, or LDAP).
- The IdP issues a token (ID token or access token).
- The user presents that token to the Kubernetes API server when making requests.
- The API server validates the token (using OIDC configuration, a token webhook, or another authentication plugin). If valid, the API server advances the request to authorization (for example, RBAC).
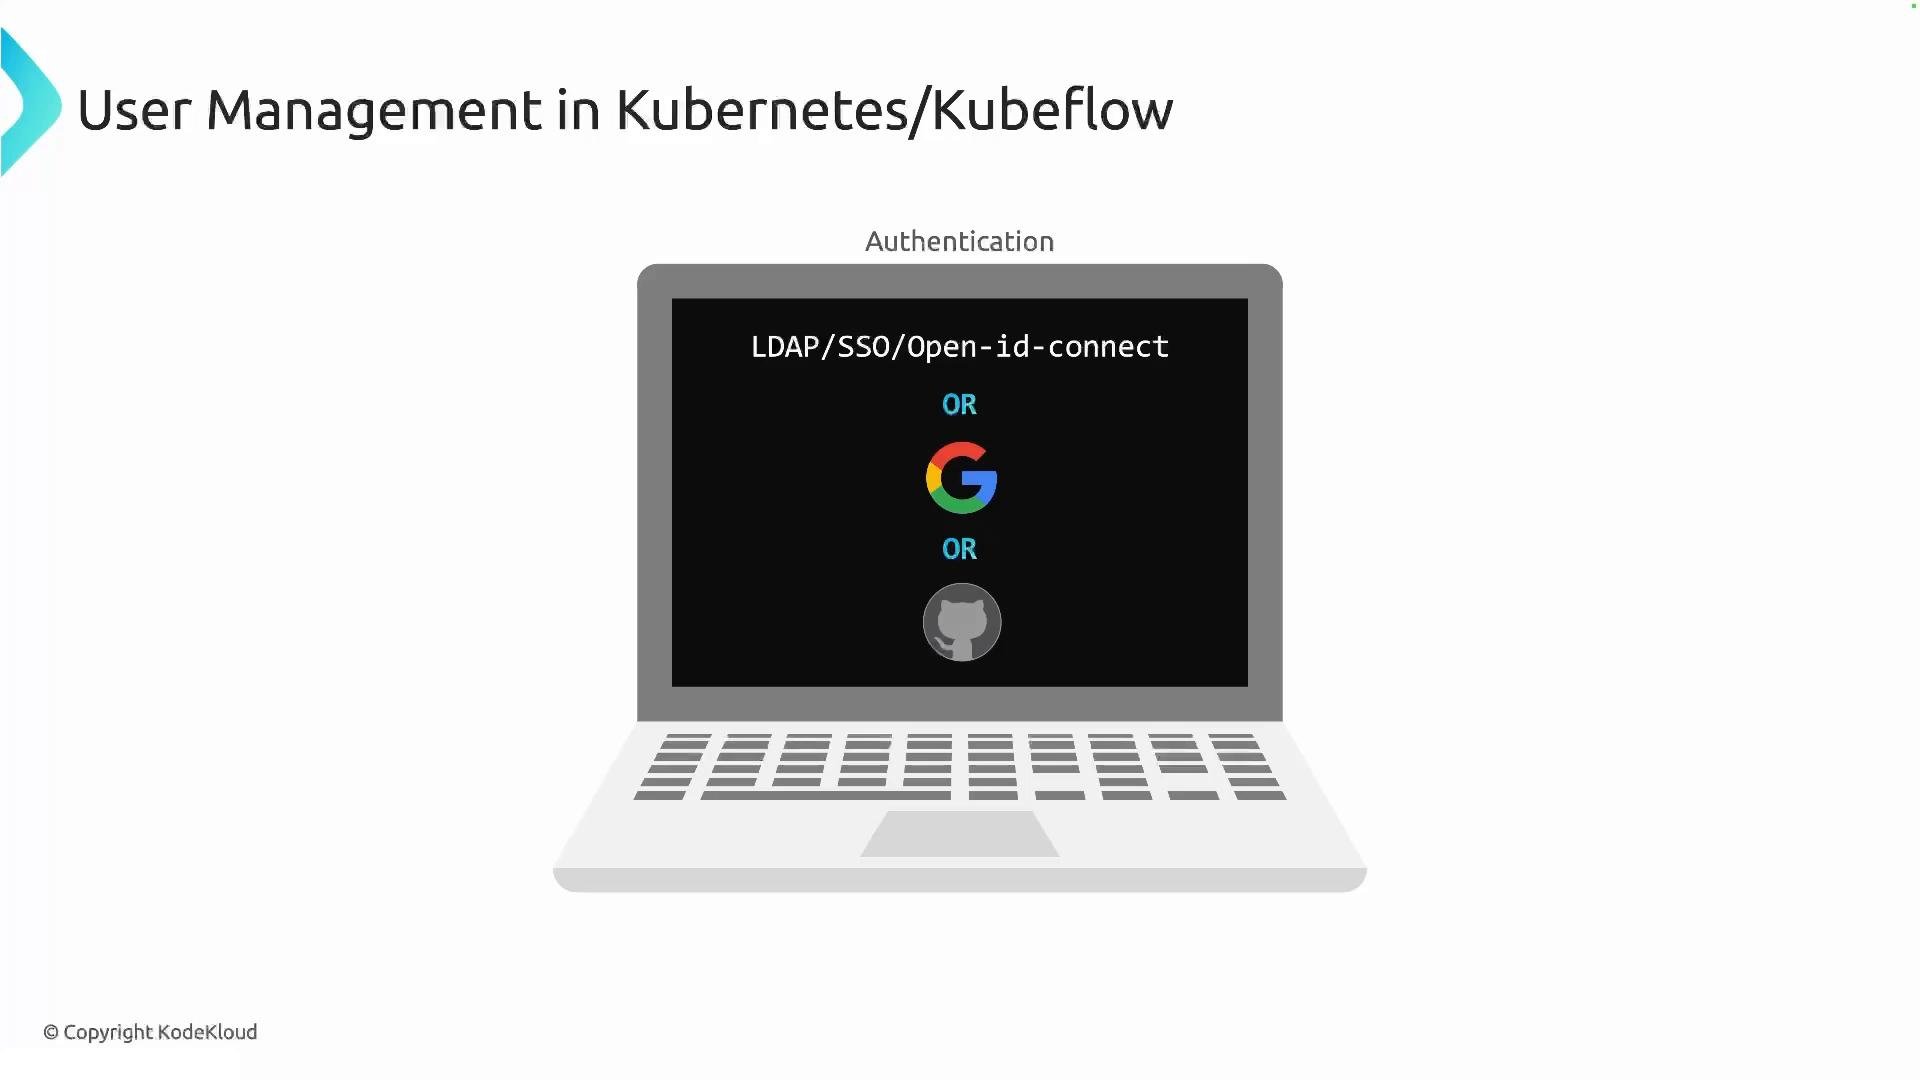
- Kubernetes itself has no built-in user store. You cannot create “user” objects inside the cluster the same way you create pods or services.
- The API server is responsible for verifying presented credentials (tokens, certificates) and producing an authenticated user identity that authorization systems (RBAC, ABAC, etc.) can use.
Typical authentication flow (short)
- User signs in to IdP and receives a token.
- User sends token with API request (usually in
Authorization: Bearer <token>). - API server validates token and establishes an authenticated user identity.
- Authorization (RBAC) uses that identity to allow or deny actions.
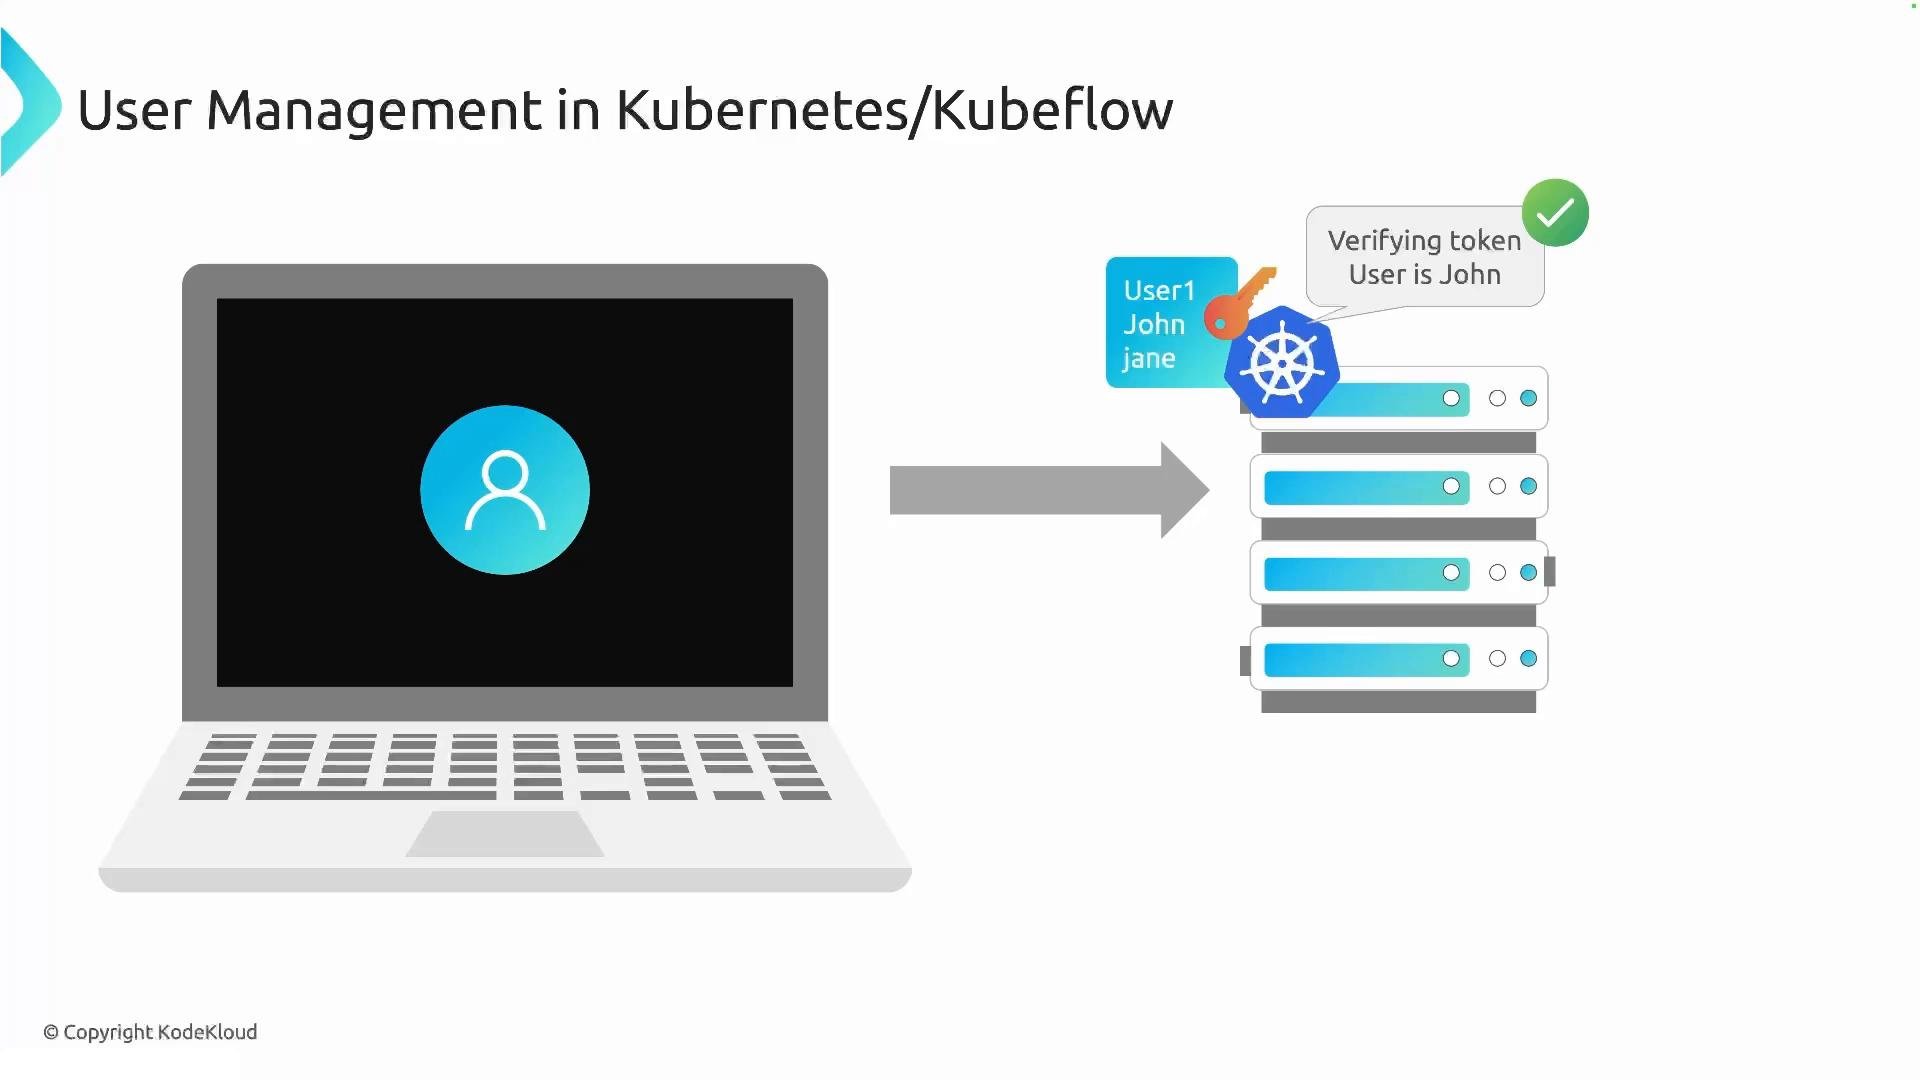
Kubernetes itself has no notion of a “user” resource. Authentication is handled by external providers (OIDC, LDAP, SSO, client certs, etc.), and Kubernetes verifies tokens or certificates presented by clients.
- For demos and testing without wiring a production IdP, Kubeflow bundles Dex: a lightweight identity provider and OIDC connector.
- Dex can manage local users or proxy to other backends (LDAP, GitHub, etc.), so you can sign in and exercise Profiles, RBAC, and multi-tenancy features inside a demo cluster.
auth namespace containing Dex and related resources. For example, to check Dex resources:
- For production, prefer integrating Kubernetes with a managed OIDC provider or corporate SSO rather than using static tokens or local solutions.
- Use Dex for development and demonstrative purposes, not as a long-term production IdP unless it’s configured to proxy to your corporate identity store.
- Ensure the API server’s OIDC / token webhook configuration matches your IdP’s issuer, client ID, and public keys for token validation.