

Note: terminal prompts likeindicate a shell connected to a remote server (not your local workstation). When running Backstage on a remote server you may need to update host/IP/base URLs so the UI is reachable from your workstation.
Before you begin, ensure you have shell access to the target server and permission to install Node.js, Yarn, and other developer tools. You can scaffold a Backstage app on your server and then expose it to your workstation via SSH tunneling, a reverse proxy, or by binding services to 0.0.0.0 and opening firewall ports.
Prerequisites
Install Node.js (recommended via nvm)
Using nvm (Node Version Manager) is recommended because it makes switching Node versions simple and avoids system-wide package issues. Follow the nvm install directions from the project README and run the install script. For reference, the README “Install & Update Script” section looks like this: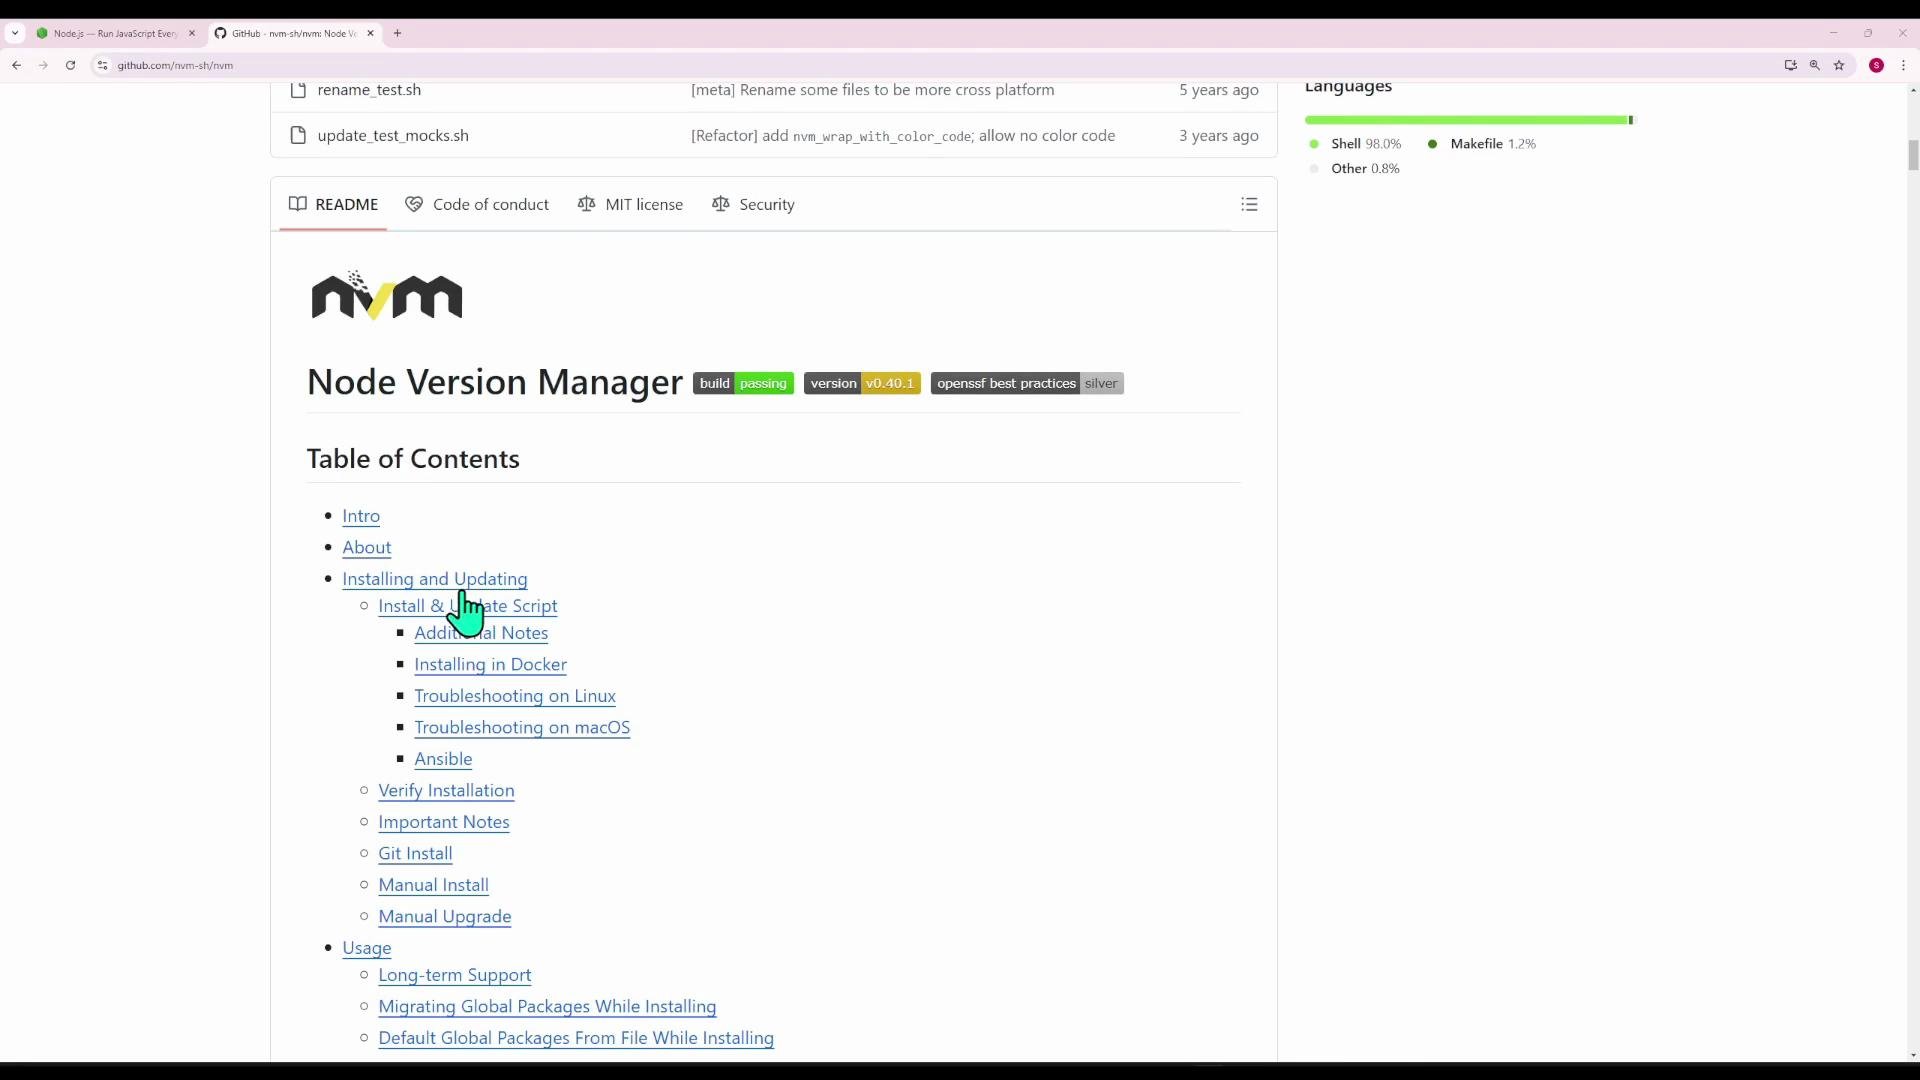
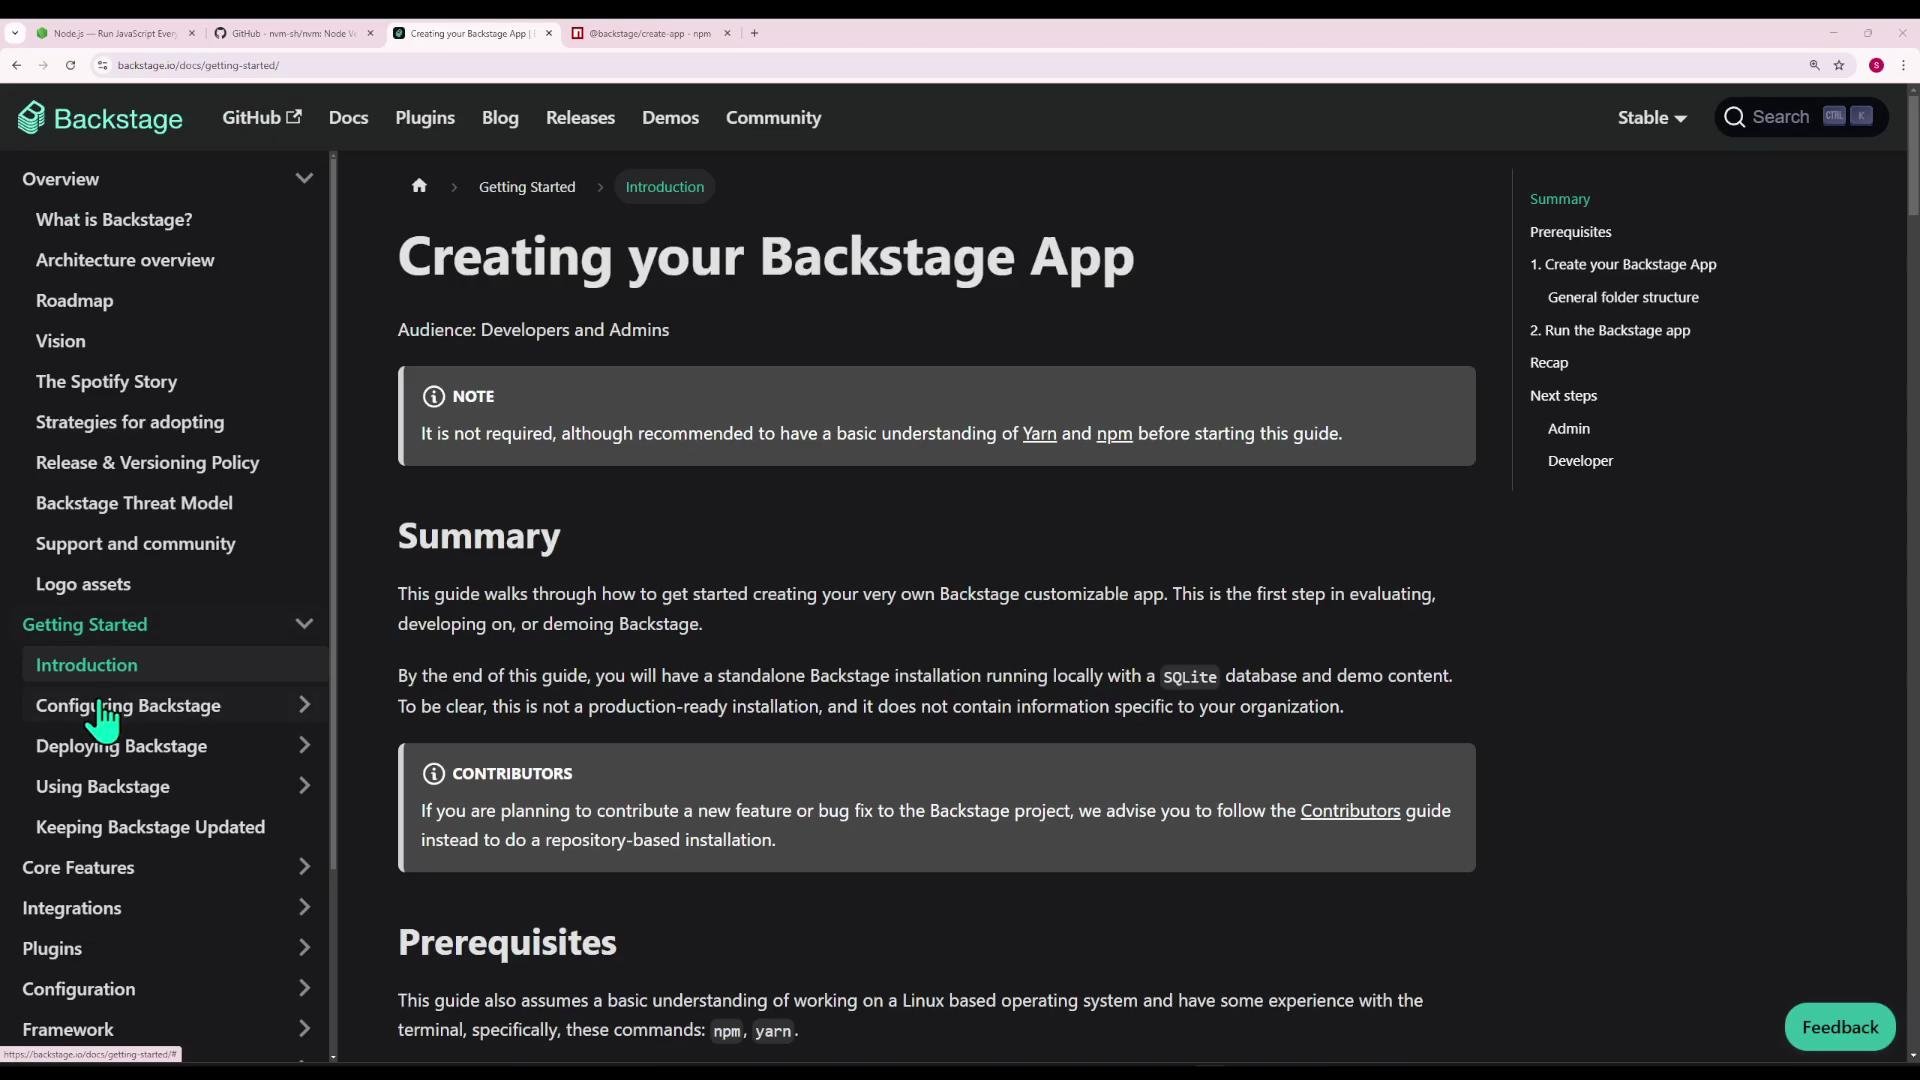
Create your Backstage app
Follow the official Backstage documentation for details on creating an app:- Creating your Backstage App: https://backstage.io/docs/getting-started/create-an-app
After scaffolding
If the scaffold completes, the CLI runsyarn install and TypeScript checks. A successful run ends with messages like:
Common errors and how to fix them
1) Yarn not found
During scaffolding the CLI executesyarn install. If Yarn is missing you’ll see an error like:
2) Node version too old
Backstage requires Node >= 18.12 in the toolchain. If you run the scaffolder with an older Node, you may see:Inspect the generated repository
Change into the created repo:package.json includes workspace config and dev scripts. Example (excerpt):
packages/*— contains the mainapp(frontend) andbackend.plugins/*— individual Backstage plugins as separate packages.
packages/app) is a React app with its own package.json, src/, and public/. Backend (packages/backend) includes server code, Dockerfile, and dependencies such as @backstage/config, pg, etc.
Frontend entrypoint example (packages/app/src/index.tsx):
public/index.html contains the div where the React app mounts:
Configuration files
Backstage uses YAML configuration files:app-config.yamlapp-config.local.yamlapp-config.production.yaml
baseUrl, listen port, CORS, proxy endpoints, and external integrations (GitHub, GitLab, etc.). Example backend config excerpt:
baseUrl—so the frontend can reach the backend when accessed from another machine.
Run the app in development mode
From the repository root:When running Backstage on a remote server, the webpack dev server commonly binds to
localhost (loopback) by default. To access the frontend from your workstation you must either bind the dev server to 0.0.0.0, configure an SSH tunnel, or put a reverse proxy (e.g., Nginx) in front of the app. Also ensure firewall and security group rules allow required ports.Accessing Backstage from your workstation (remote tips)
To access Backstage running on a remote server:- Webpack dev server: change its host from
localhostto0.0.0.0or use an SSH tunnel (recommended for development). - Backend
baseUrl: updateapp-config.yamlorapp-config.local.yamlto use the server’s IP or domain so the frontend can reach the backend. - Ports: open firewall ports (e.g., 3000 frontend, 7007 backend) or expose services with a reverse proxy and TLS.
- For production: prefer building the app and serving behind a proper reverse proxy with TLS rather than exposing dev servers directly.
baseUrl, and reverse proxy examples) can be found in separate deployment and production-hardening guides on the Backstage docs.
Links and References
- Backstage: Creating your Backstage App — https://backstage.io/docs/getting-started/create-an-app
- nvm README: https://github.com/nvm-sh/nvm#install—update-script
- Backstage docs: https://backstage.io/docs/