

Component or System) — they are defined with a YAML entity whose kind is Template. A template entity contains metadata (name, title, description, owner, type) and three main spec sections:
parameters— builds the UI form and gathers input,steps— executes the actions that implement the template logic,output— renders helpful links and values after success.
1) Parameters — Building the Form
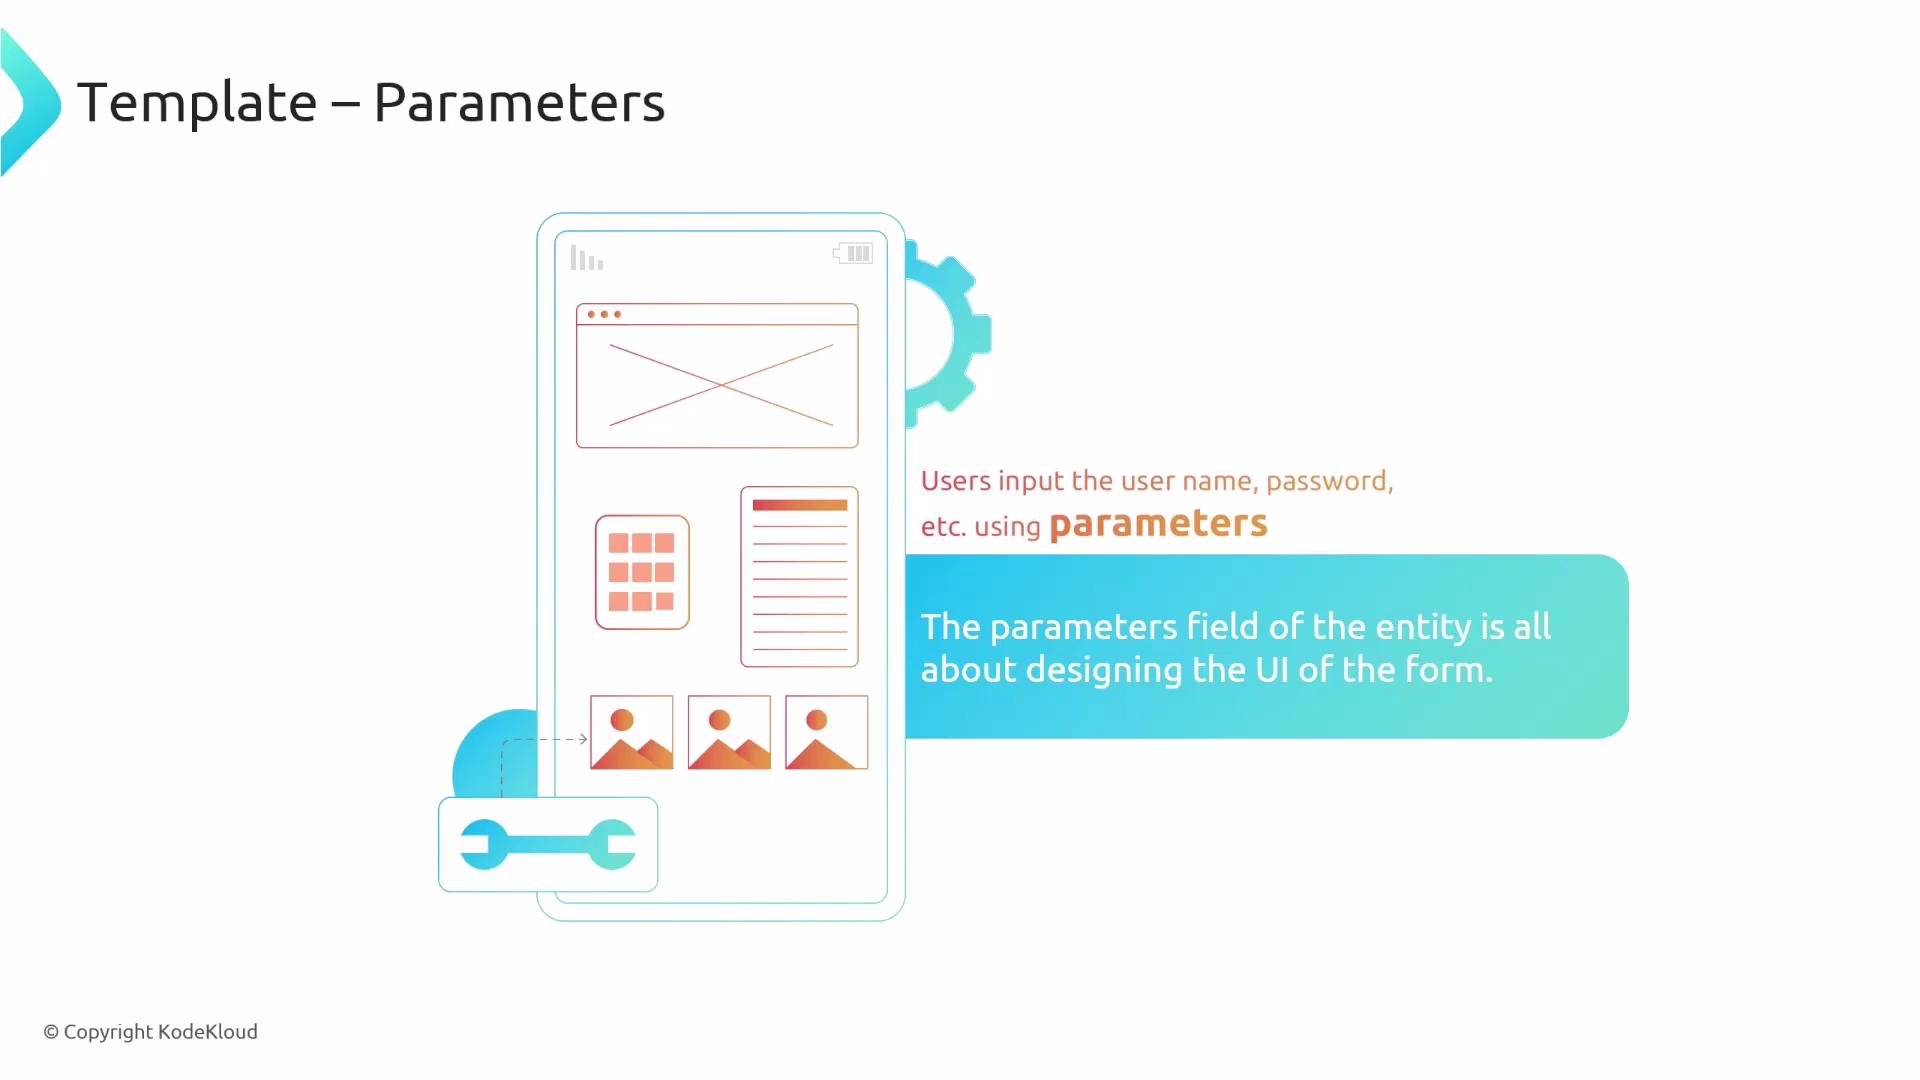
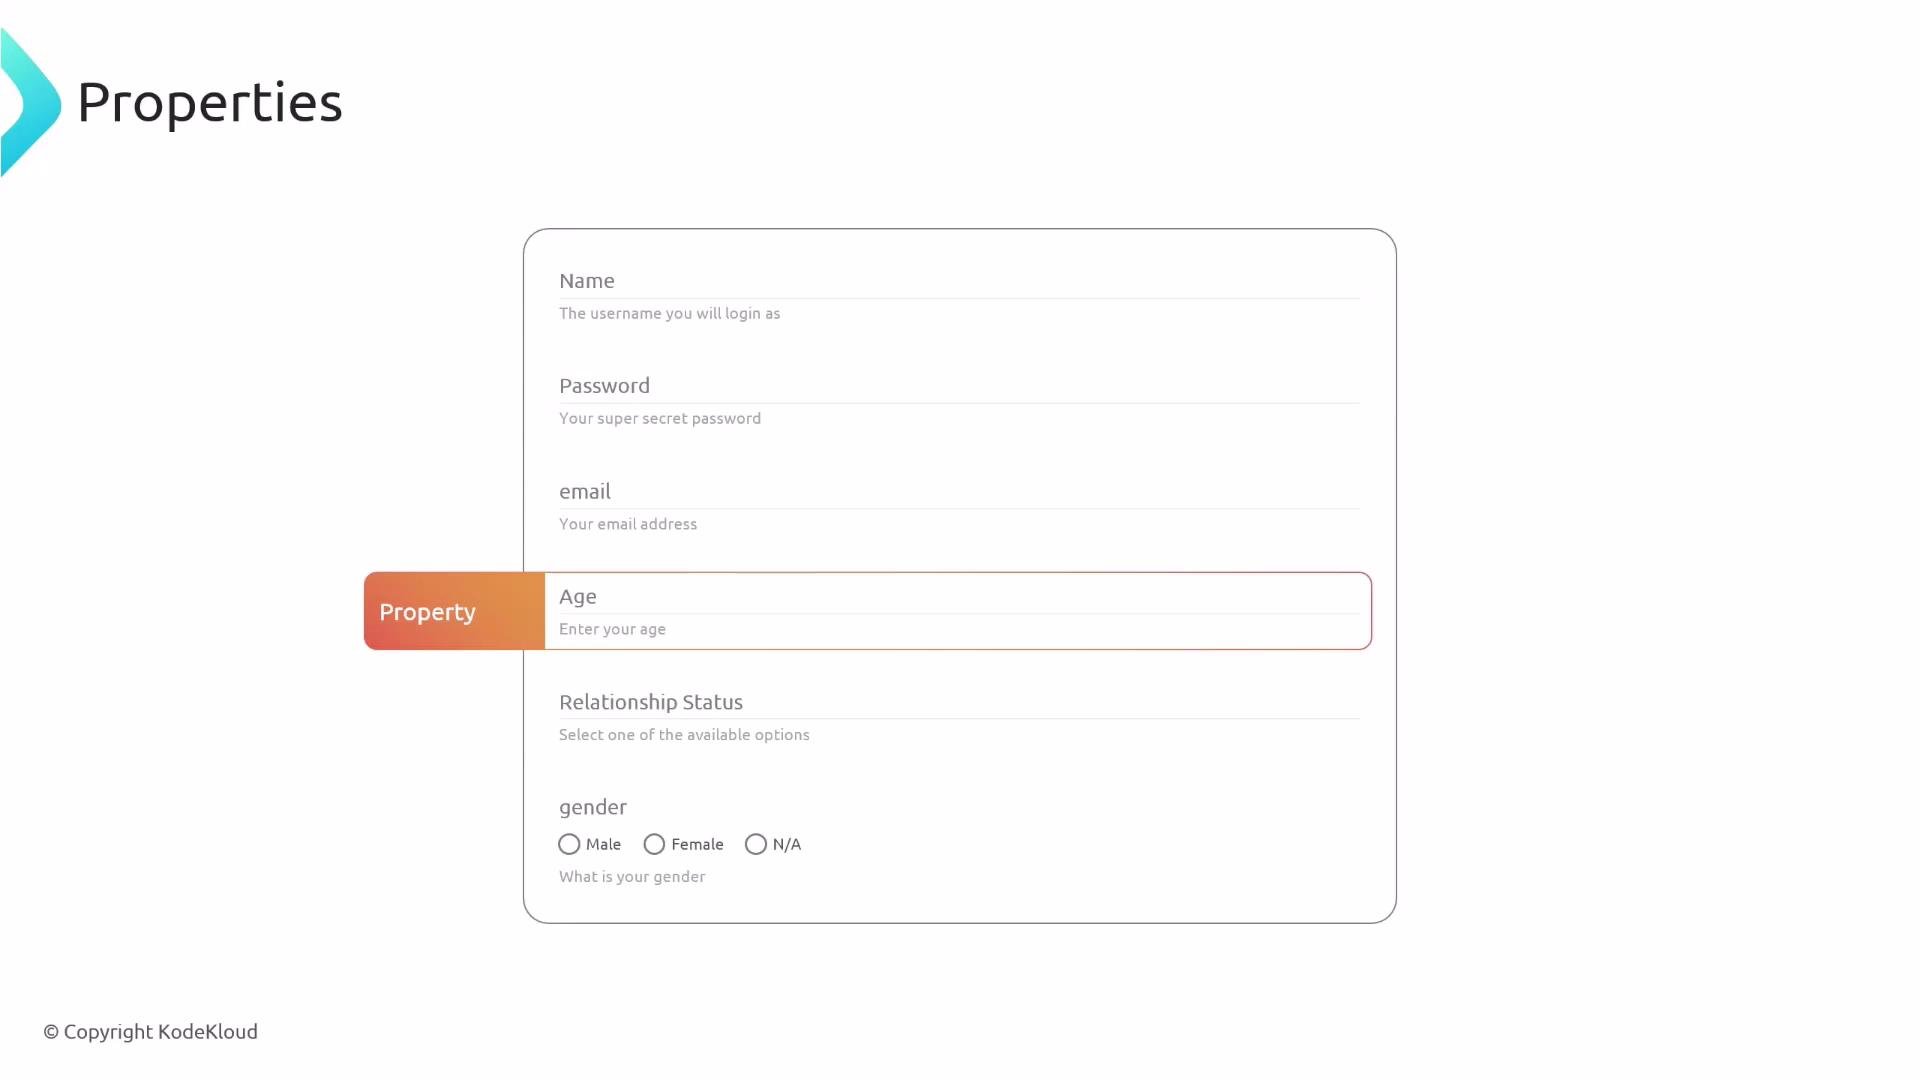
Theparameters section defines the user-facing form used to collect input. Each item in the parameters array describes a page (or step) in the multi-page form. Within a parameter/page you declare properties — the fields that appear on that page.
- an internal
name(the YAML key used to reference the value), - a
title(shown to the user), - a
type(string, number, boolean, array, etc.), - a
description, - optional UI hints such as
ui:placeholder,ui:autofocus,ui:widget, orui:field.
- Number with range:
- Enum (dropdown):
- Radio buttons (single selection shown inline):
- Multi-select checkboxes:
- Boolean (yes/no) — radio or checkbox:
Built-in UI fields
Backstage ships useful UI pickers that simplify capturing structured values from your catalog and repository hosts. Use the correspondingui:field and ui:options to configure behavior.
- Entity picker (
ui:field: EntityPicker):
- Owner picker (
ui:field: OwnerPicker):
- Repository picker (
ui:field: RepoUrlPicker):
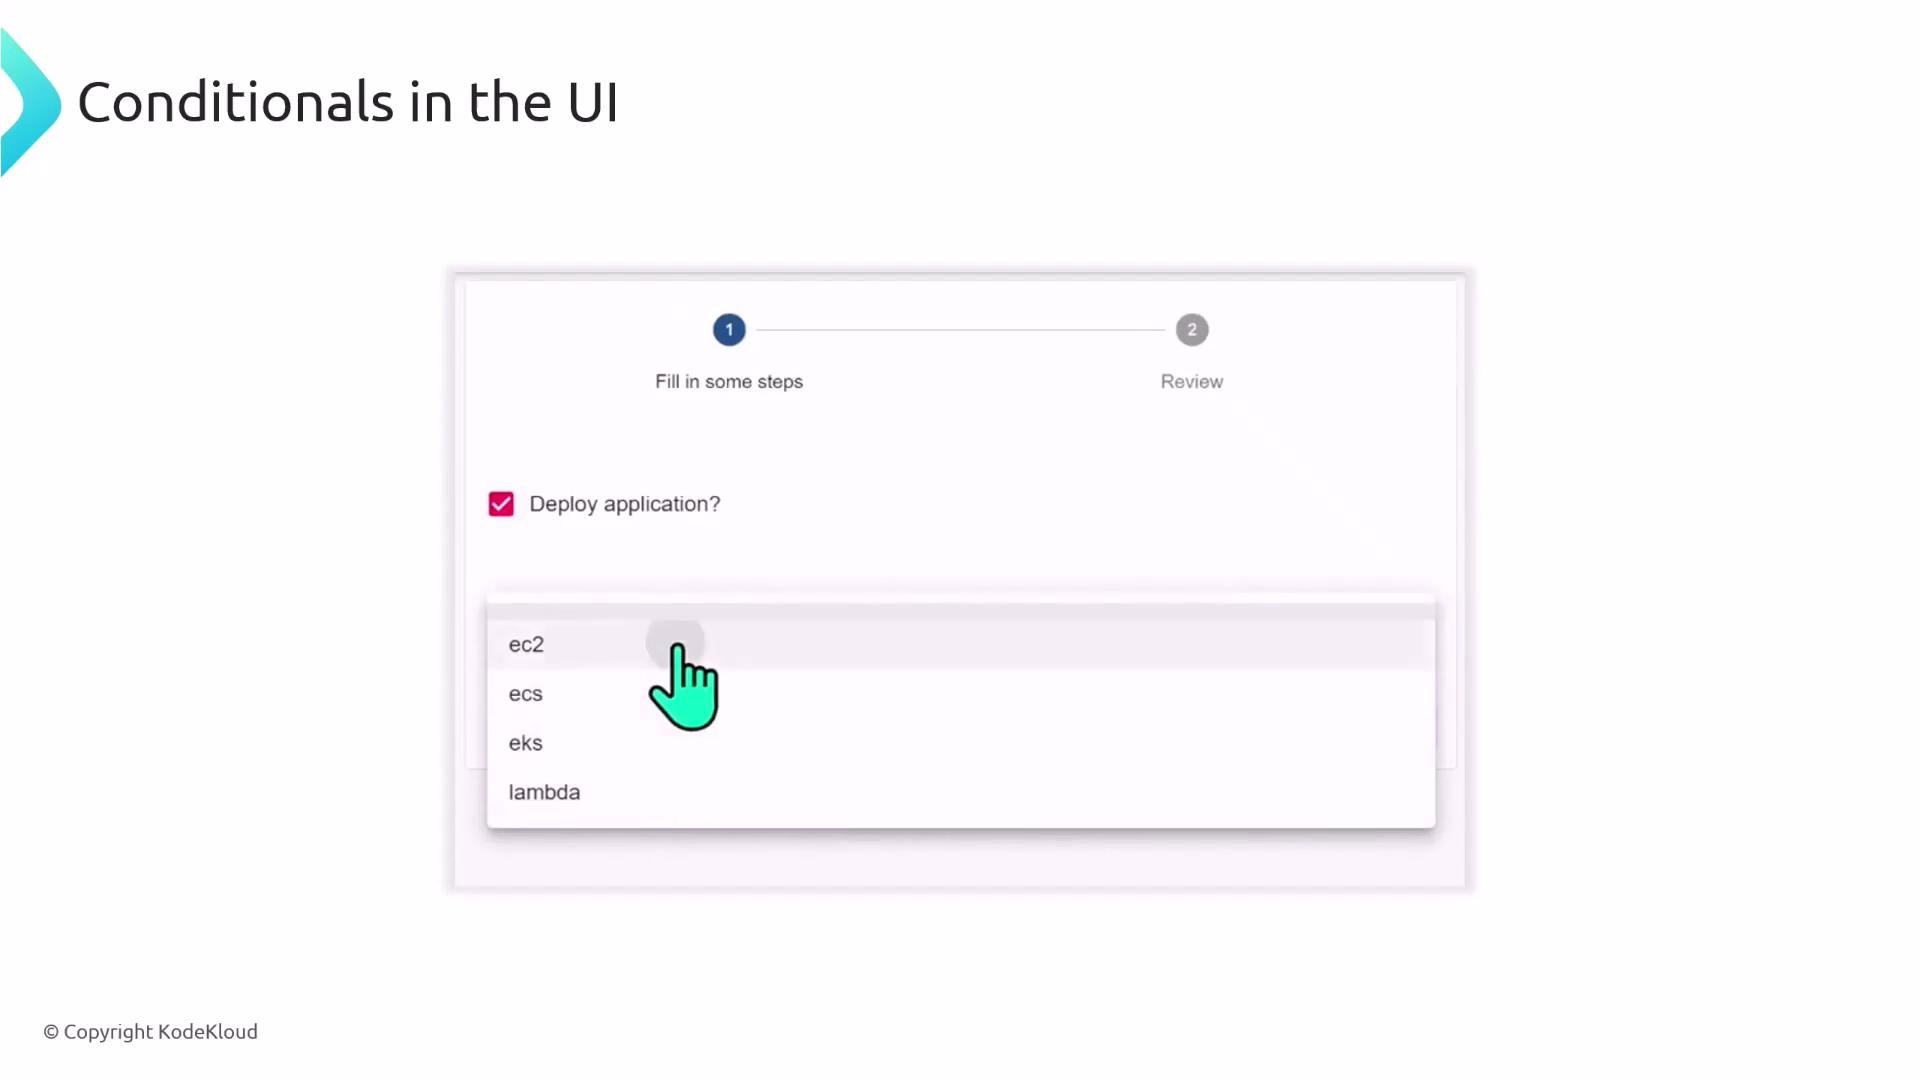
Conditional fields
Use JSON Schemadependencies to show or hide fields based on earlier answers. This keeps the form focused and relevant. Example: only ask for platform when deploy is true:
Design parameters to collect only what you need. Use
dependencies to reveal advanced options, and prefer pickers (Entity/Owner/Repo) to reduce free-text errors.steps. Next we look at how each step executes actions.
2) Steps — Executing Actions
Thesteps array contains the actions that implement the template behavior: fetch a skeleton, render templates, publish to Git, register catalog entities, provision cloud resources, etc. Each step should include:
id— unique identifier used to reference that step’s output,name— human-friendly name shown in the UI,action— the action plugin to run (for examplefetch:template,publish:github,catalog:register),input— the configuration for the action (can use parameter and step output expressions).
- Fetch a directory containing the skeleton/project template.
- Render files with the provided
values. - Publish the generated result to the Git host.
- Optionally register the new component in the Backstage catalog.
- Map
parametersintoinput.valuesfor thefetch:templateaction so templates can usevalues.*. - Refer to parameter values inside steps using the scaffolder expression syntax:
${{ parameters.<property> }}.
catalog:register and reference outputs from prior steps. Step outputs are available via steps['<id>'].output.<field>. Example:
steps['publish'].output.repoContentsUrl.
3) Templating files (skeleton) and passing values into files
A platform team typically provides a skeleton directory with base files for new projects (source files, package manifests, acatalog-info.yaml, configuration, etc.). The fetch:template action copies that folder and renders files using the values you provide.
Inside skeleton files, reference the values using the templating syntax (commonly Mustache). Example package.json using values.projectName:
spec.steps.fetch-base.input.values:
./content will be rendered with values.projectName, values.owner, etc.
Example templated catalog-info.yaml inside the skeleton:
4) Output — information shown to the user after success
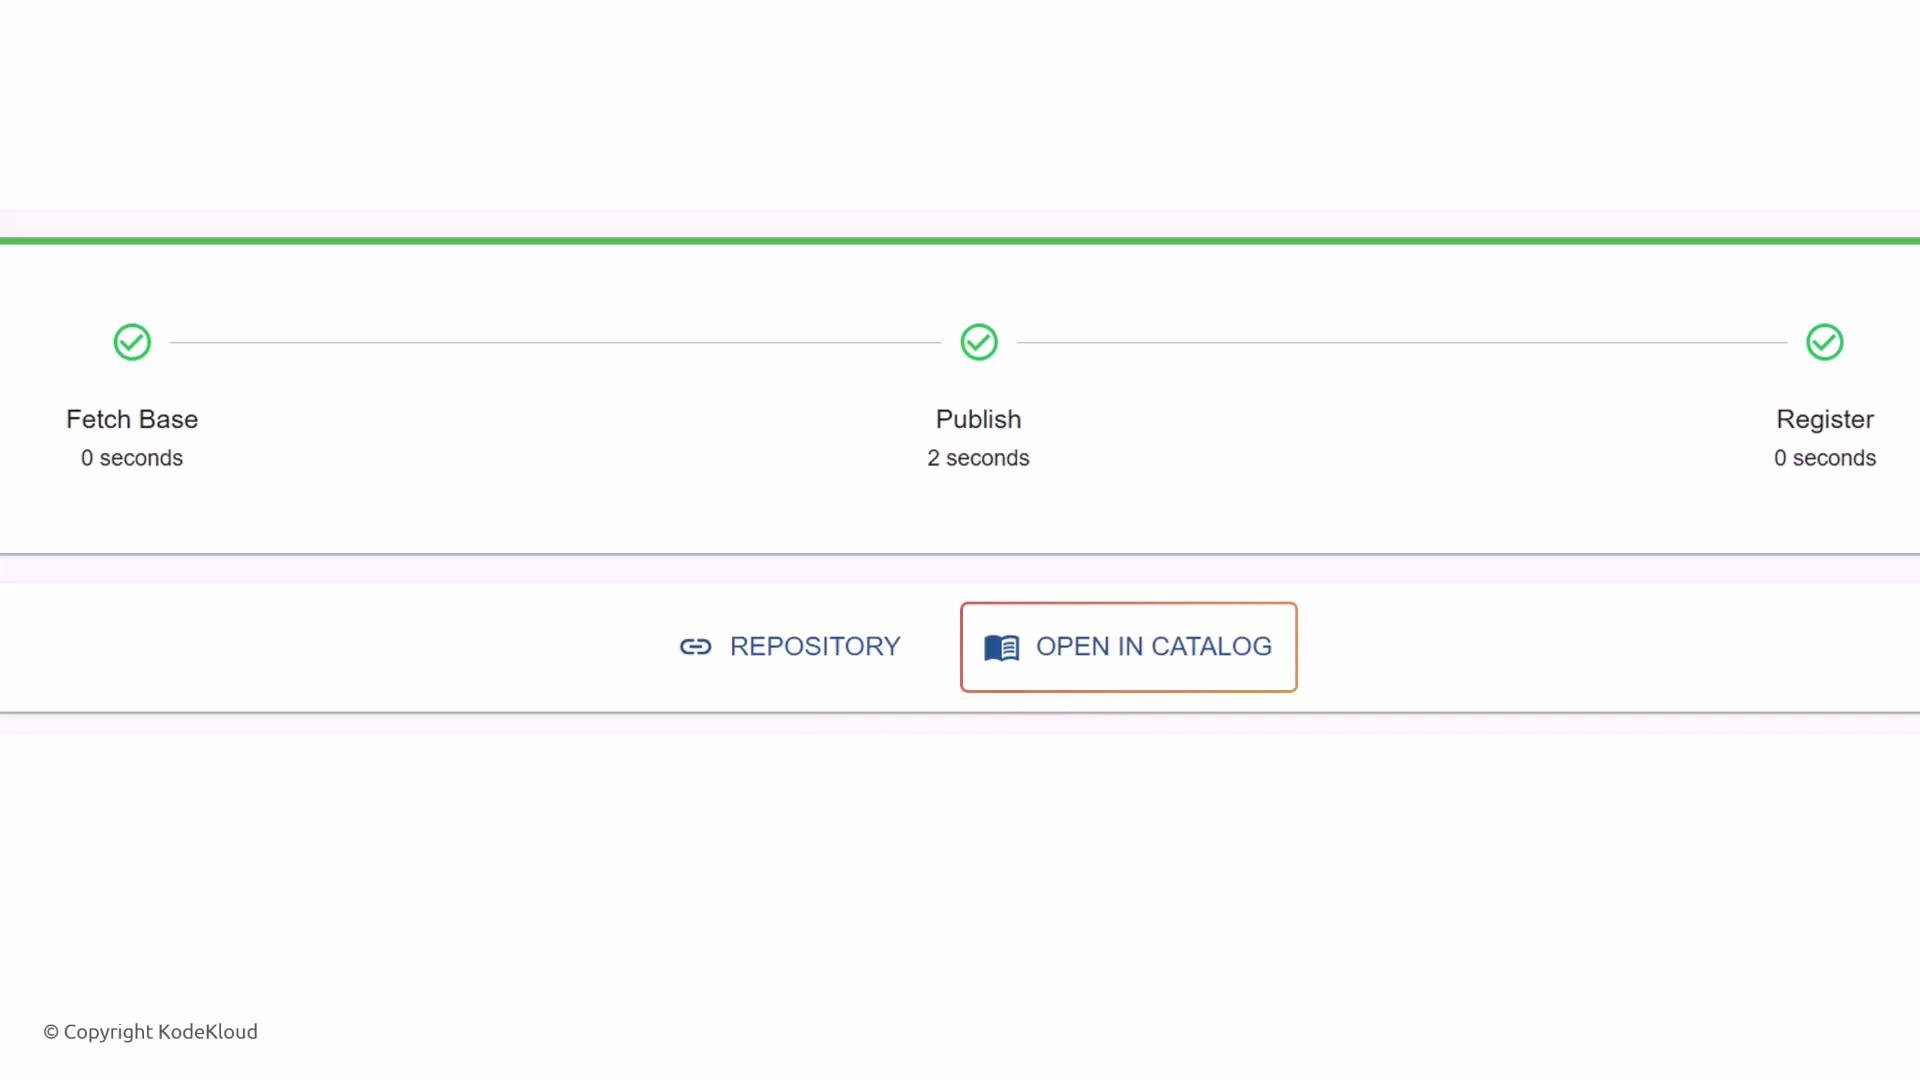
Theoutput section exposes links and useful metadata after the template run completes. Outputs usually reference step outputs using the ${{ ... }} scaffolder expression syntax.
Example outputs that link to the created repository and the new catalog entity:
Do not store production secrets (API keys, passwords) in template outputs or in the generated repository content. Use secret management integrations and environment-specific provisioning steps where appropriate.
Quick Reference
Links and references:
- Backstage Scaffolder docs: https://backstage.io/docs/features/software-templates/creating-templates
- Mustache templating: https://mustache.github.io/
Summary
Backstage templates let platform teams provide repeatable, self-service project scaffolds. Build templates by:- defining
parametersto collect structured input with pickers and conditionals, - implementing
stepsto fetch skeletons, render files, publish code, and register catalog entries, - exposing
outputlinks so developers can quickly navigate to the created resources.
parameters into steps.input.values, use {{ values.* }} inside skeleton files, and reference step results with the ${{ steps['<id>'].output.<field> }} syntax to build robust, reusable templates for your Backstage platform.