

- scaffold a repository with ESLint, Prettier, Jest, GitHub Actions CI, and a sample Express app
- create the GitHub repository
- register the new component in the Backstage catalog
Organization requirements (example)
Use these as a checklist when building the skeleton (blueprint) repository.High-level flow
- Platform team creates a skeleton (blueprint) repository that contains:
package.json, ESLint & Prettier config, tests, GitHub workflows- a sample Express app (
src/), and acatalog-info.yaml
- Upload the skeleton to GitHub (e.g.,
backstage-express-api-blueprint). - Create a Scaffolder
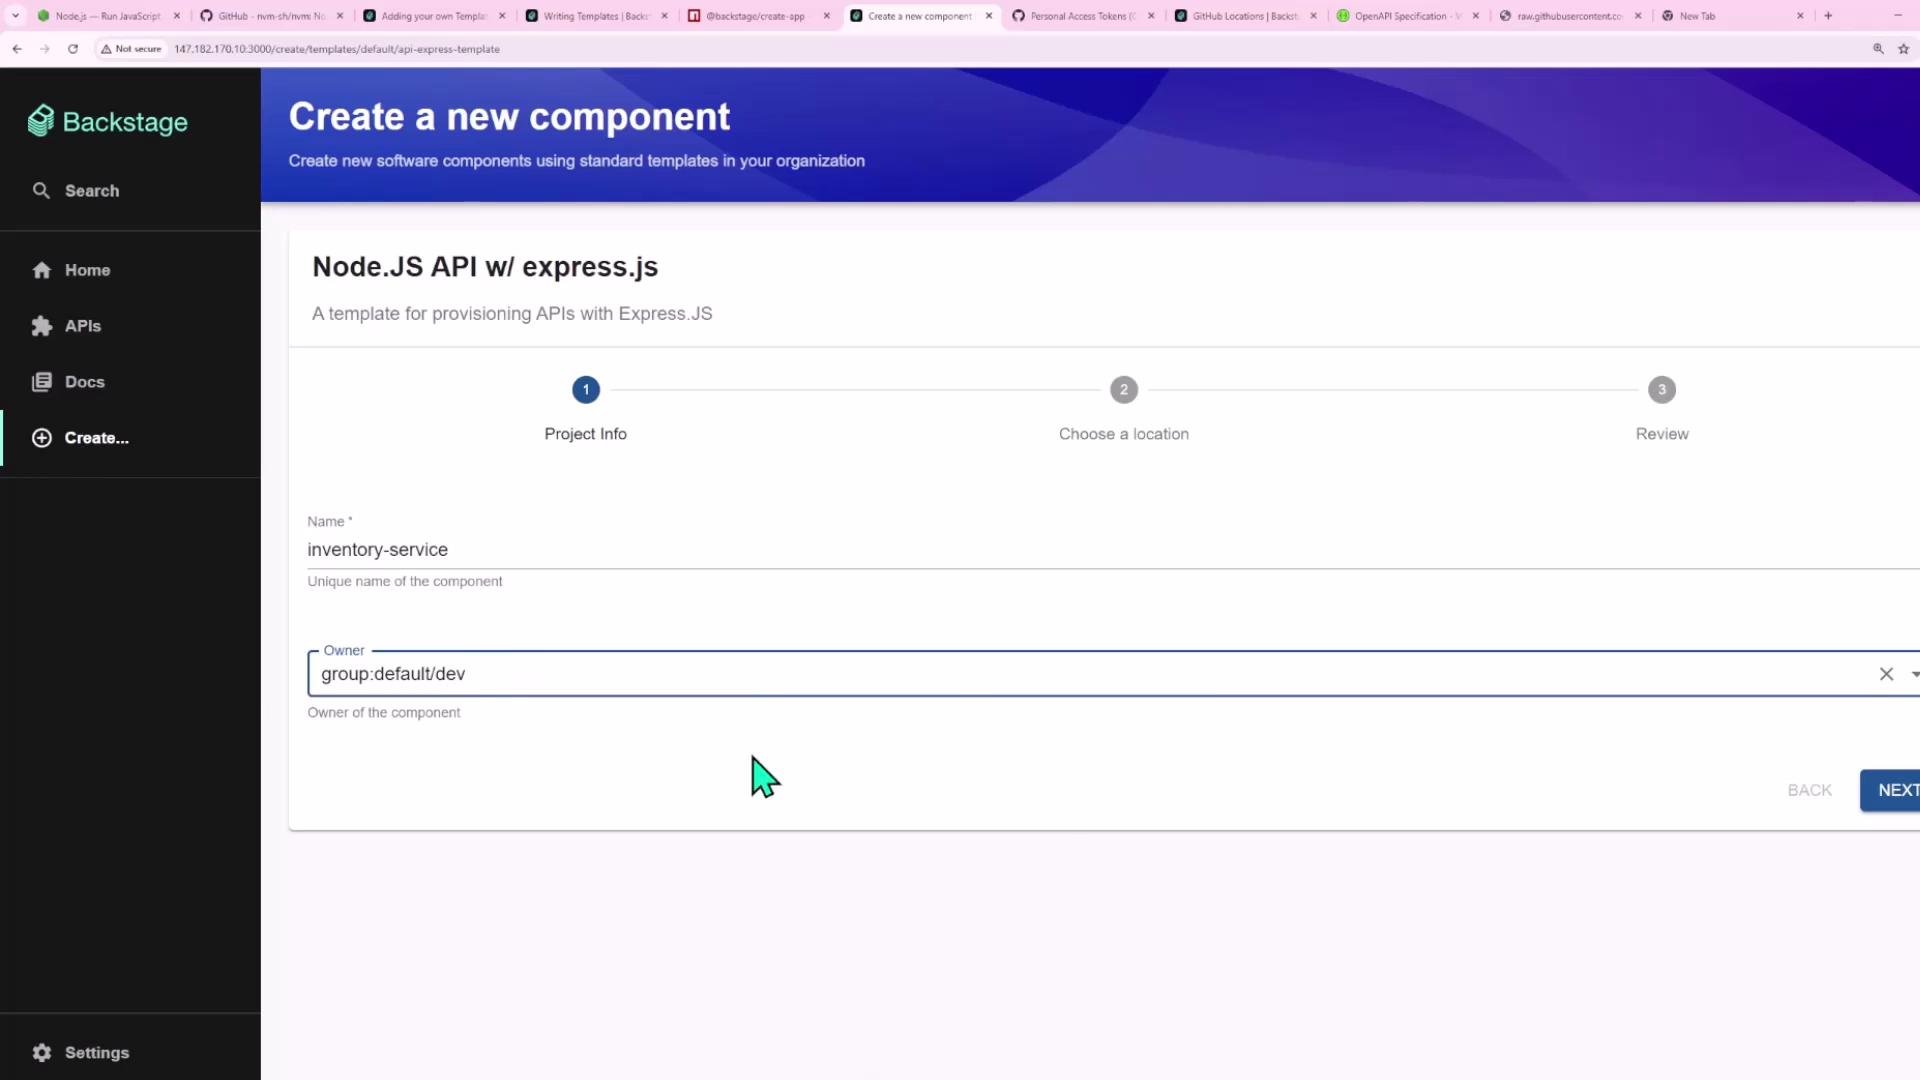
TemplateYAML that:- renders a multi-page form for the developer (project name, owner, repo location)
- fetches the skeleton, templates values into files, publishes the repo, and registers the component
- Developer uses the template through Backstage Create UI — Backstage runs the template and provisions the repo and catalog entry.
Design templates so platform-spec decisions (lint, test, CI) are enforced by the skeleton. Use consistent parameter names (e.g.,
name, owner) to simplify templating and avoid parsing pitfalls.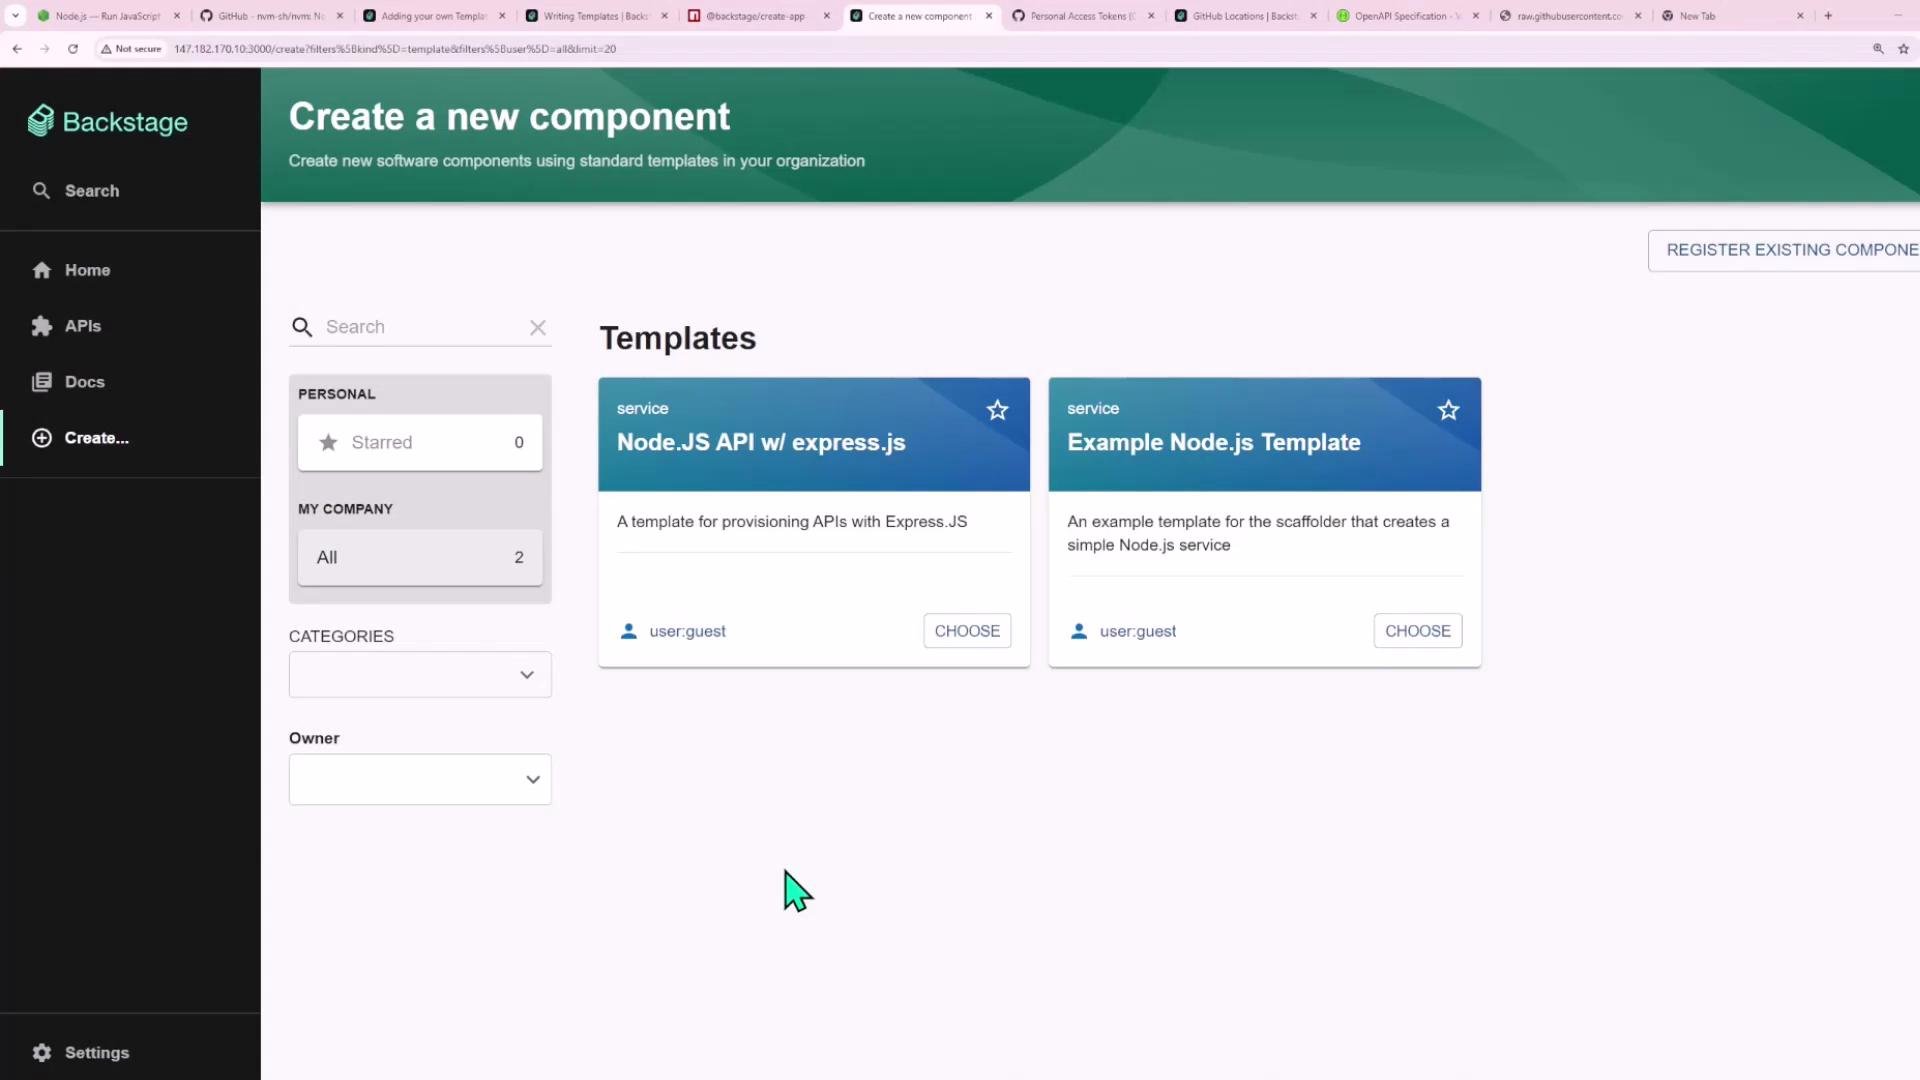
.github/workflows, src/, tests, etc.):
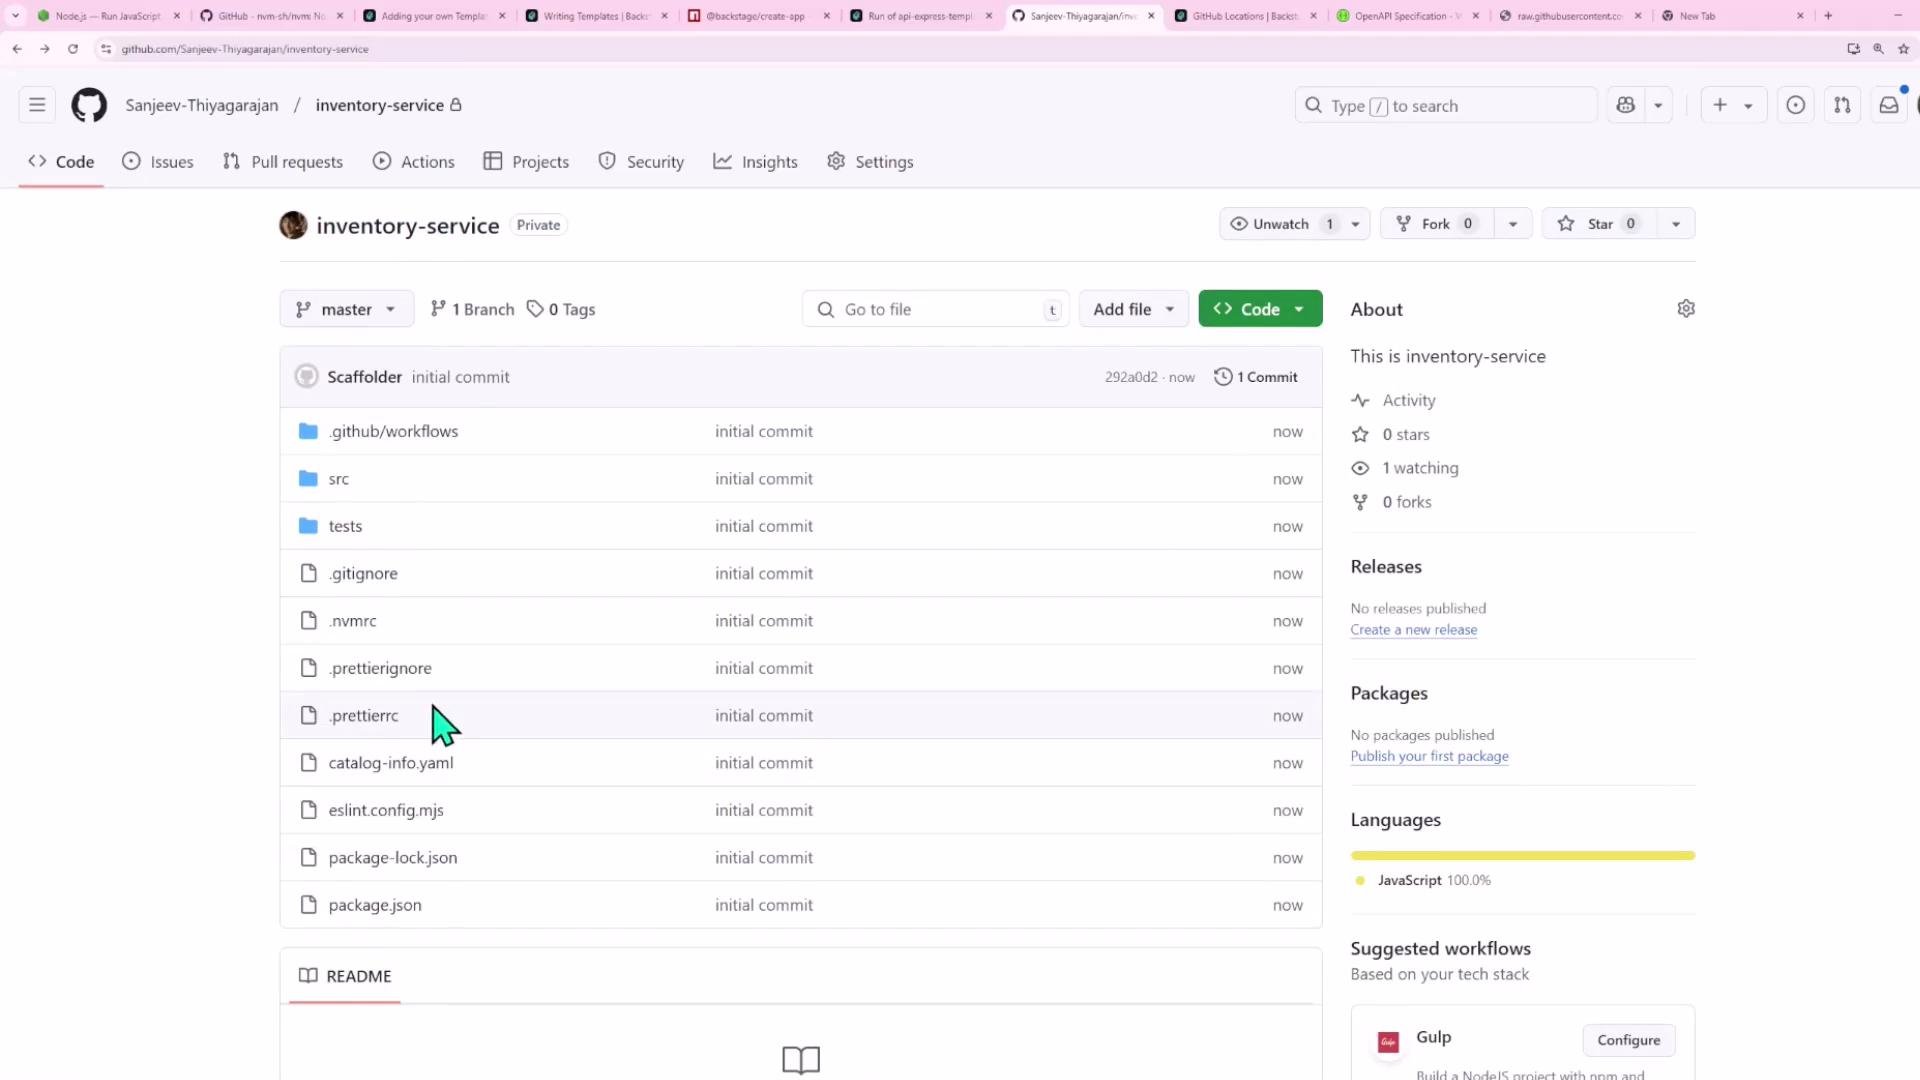
inventory-service in package.json and catalog-info.yaml):
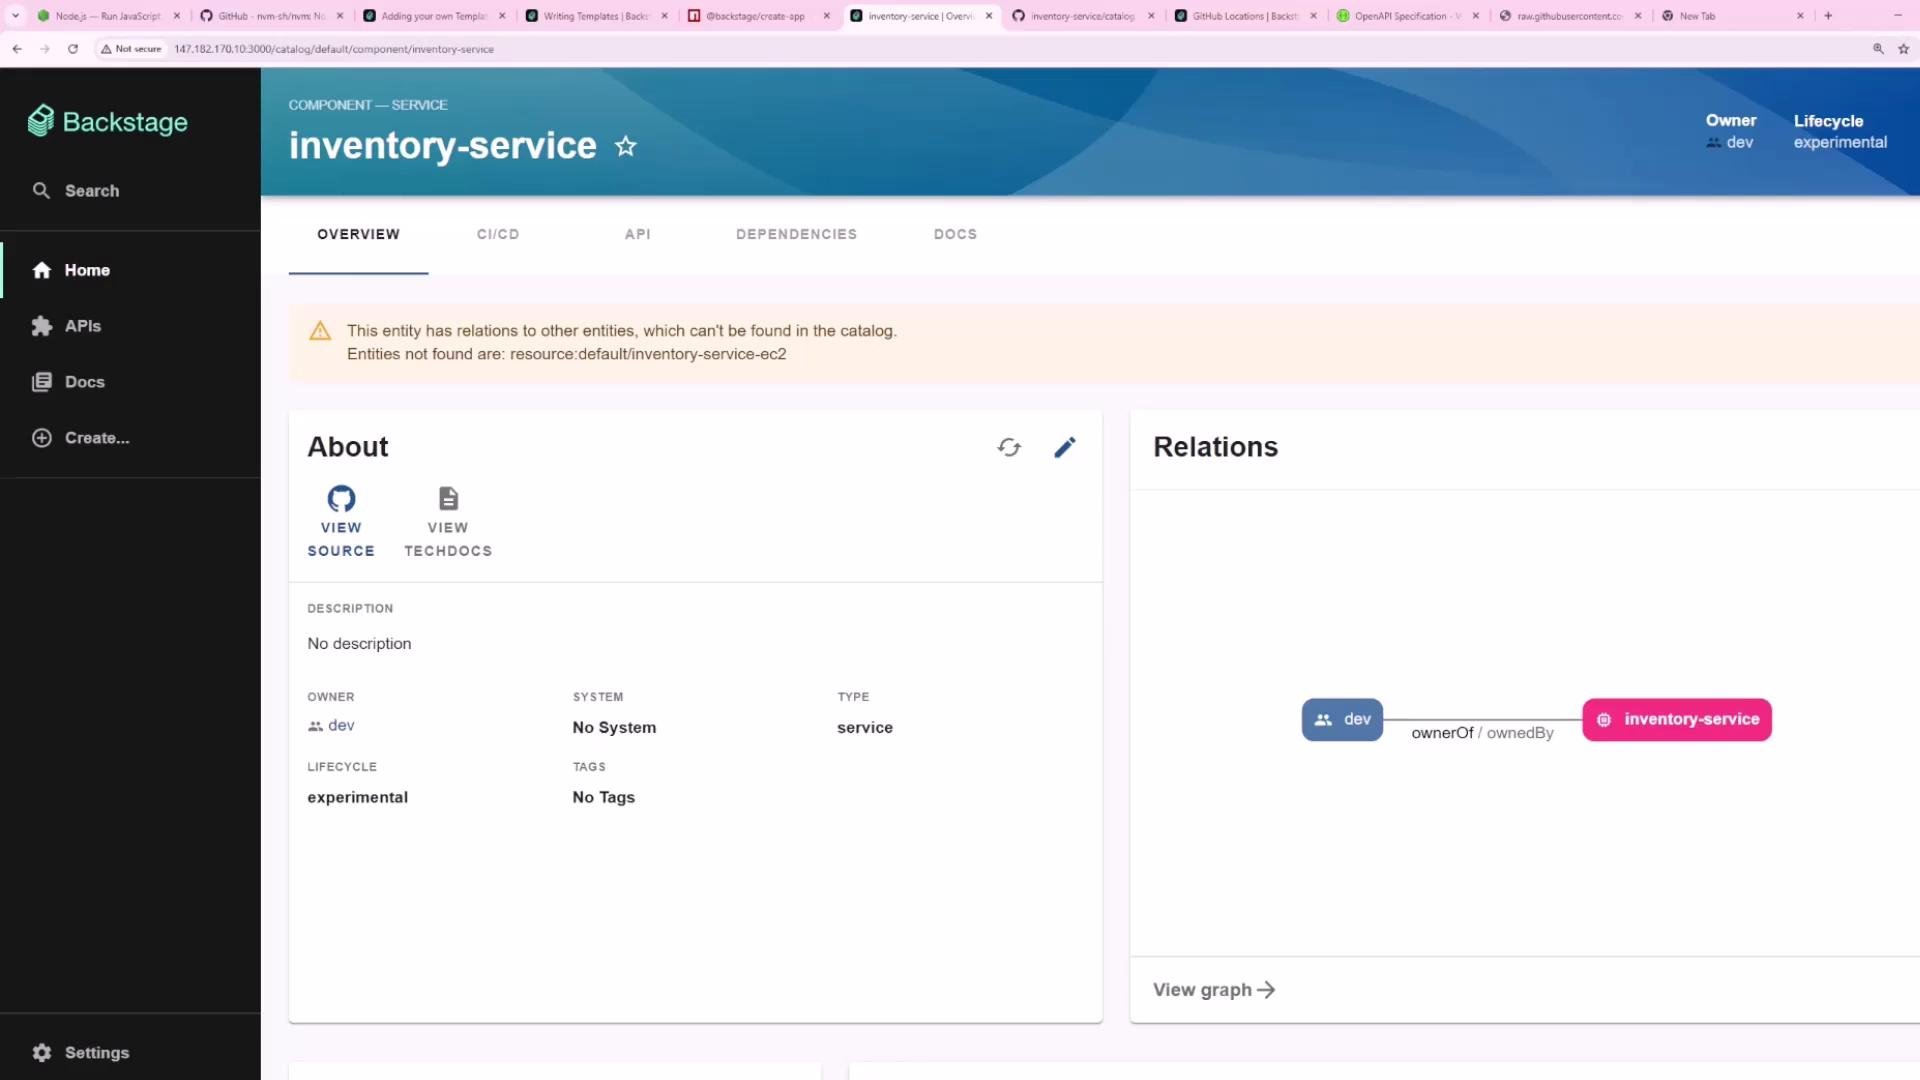
Template Form Playground
Backstage includes a Template Form Playground to design and test scaffolder form UI interactively. Use it to verify pages, required fields, and UI widgets likeOwnerPicker and RepoUrlPicker.
A minimal playground example (two parameter pages and one fetch step):
The Template Form Playground validates as you type and can show transient validation errors. If you see unexpected errors, edit the YAML in an external editor and paste it back into the playground.
Create the actual template file (api-template.yaml)
Below is a consolidated, working example of a scaffolder Template for a Node.js Express API. Important notes:- Use parameter names without hyphens (e.g., prefer
nameoverproject-name). - The
fetch:templatestep downloads a skeleton and appliesvaluesto files in the skeleton. publish:githubneeds repository creation permissions on the GitHub token configured in Backstage.catalog:registerneeds thecatalog-info.yamlpath inside the new repo.
Notes about the template and skeleton
fetch:templatedownloads a skeleton and applies templating replacements usingvalues.- Provide
valuesfor each placeholder used inside the skeleton (e.g., package.json, catalog-info.yaml). - Avoid hyphens in parameter names to prevent parsing ambiguities.
- Ensure the GitHub token used by Backstage has repository creation and workflow write permissions if your skeleton includes GitHub Actions.
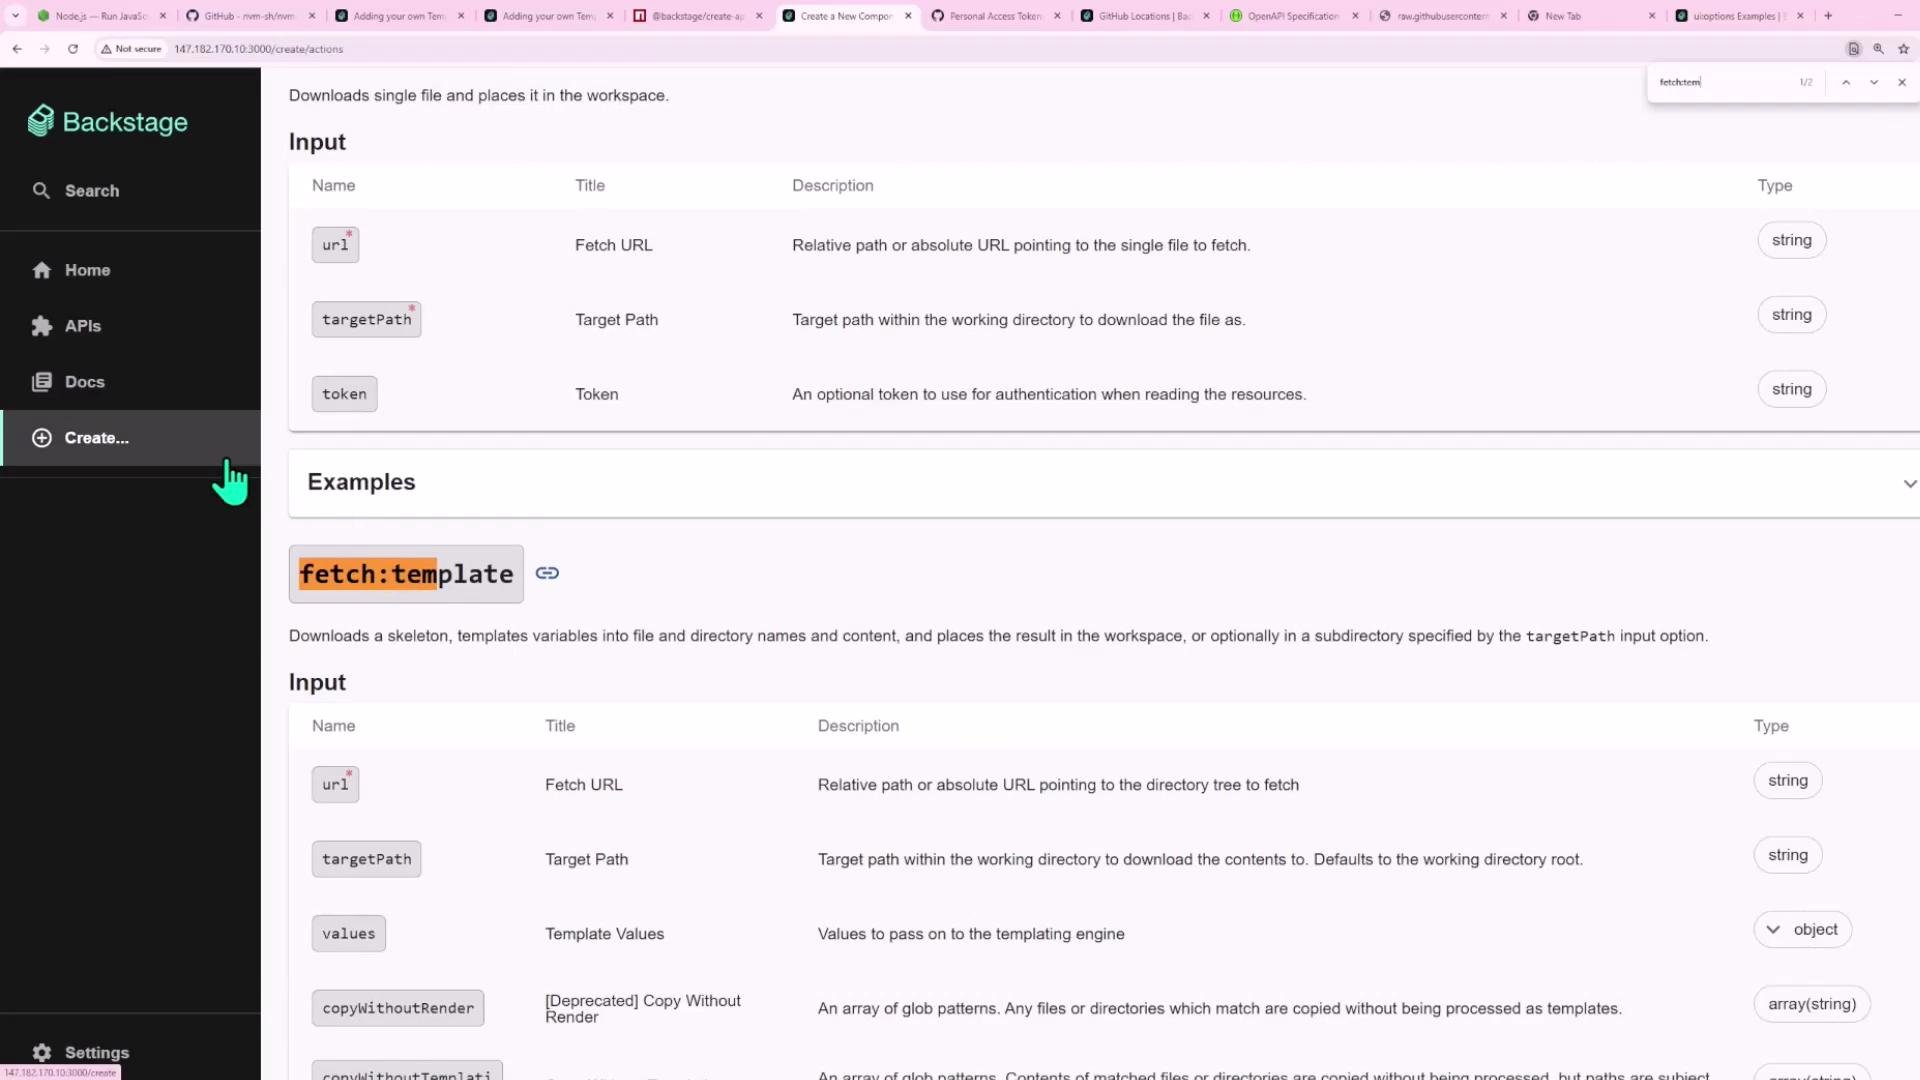
Make the skeleton template-ready
Replace hard-coded values in the skeleton repo with templating placeholders so the scaffolder can inject values at runtime. package.json (template-ready):Uploading the template to Backstage
You can make templates available to Backstage in several ways:- Add the template YAML to a location listed in
app-config.yaml(file or URL). - Register it through the Backstage UI: Create → Manage Templates → Register an existing component.
- Use an entity provider to discover templates dynamically from a repository.
rules include Template.
Store templates in a dedicated repo (recommended) — for example backstage-templates with a templates/ directory:
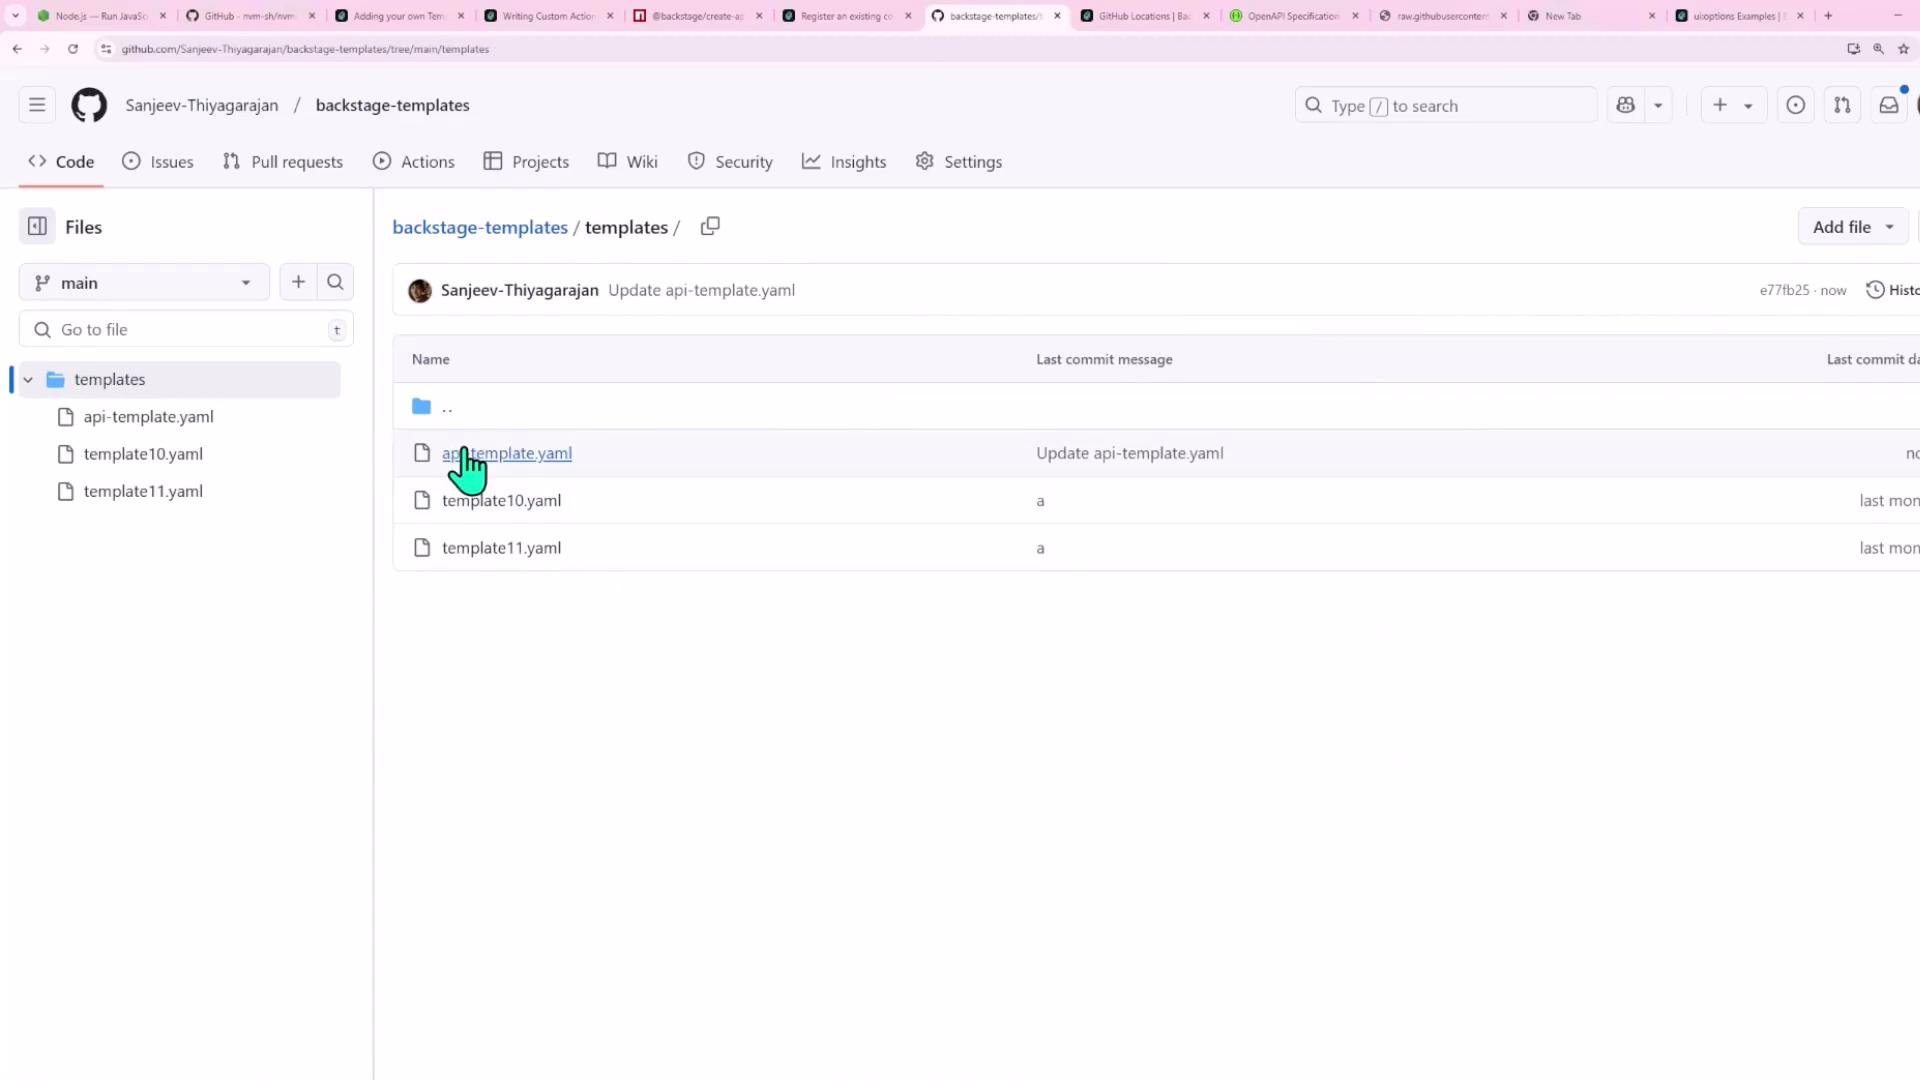
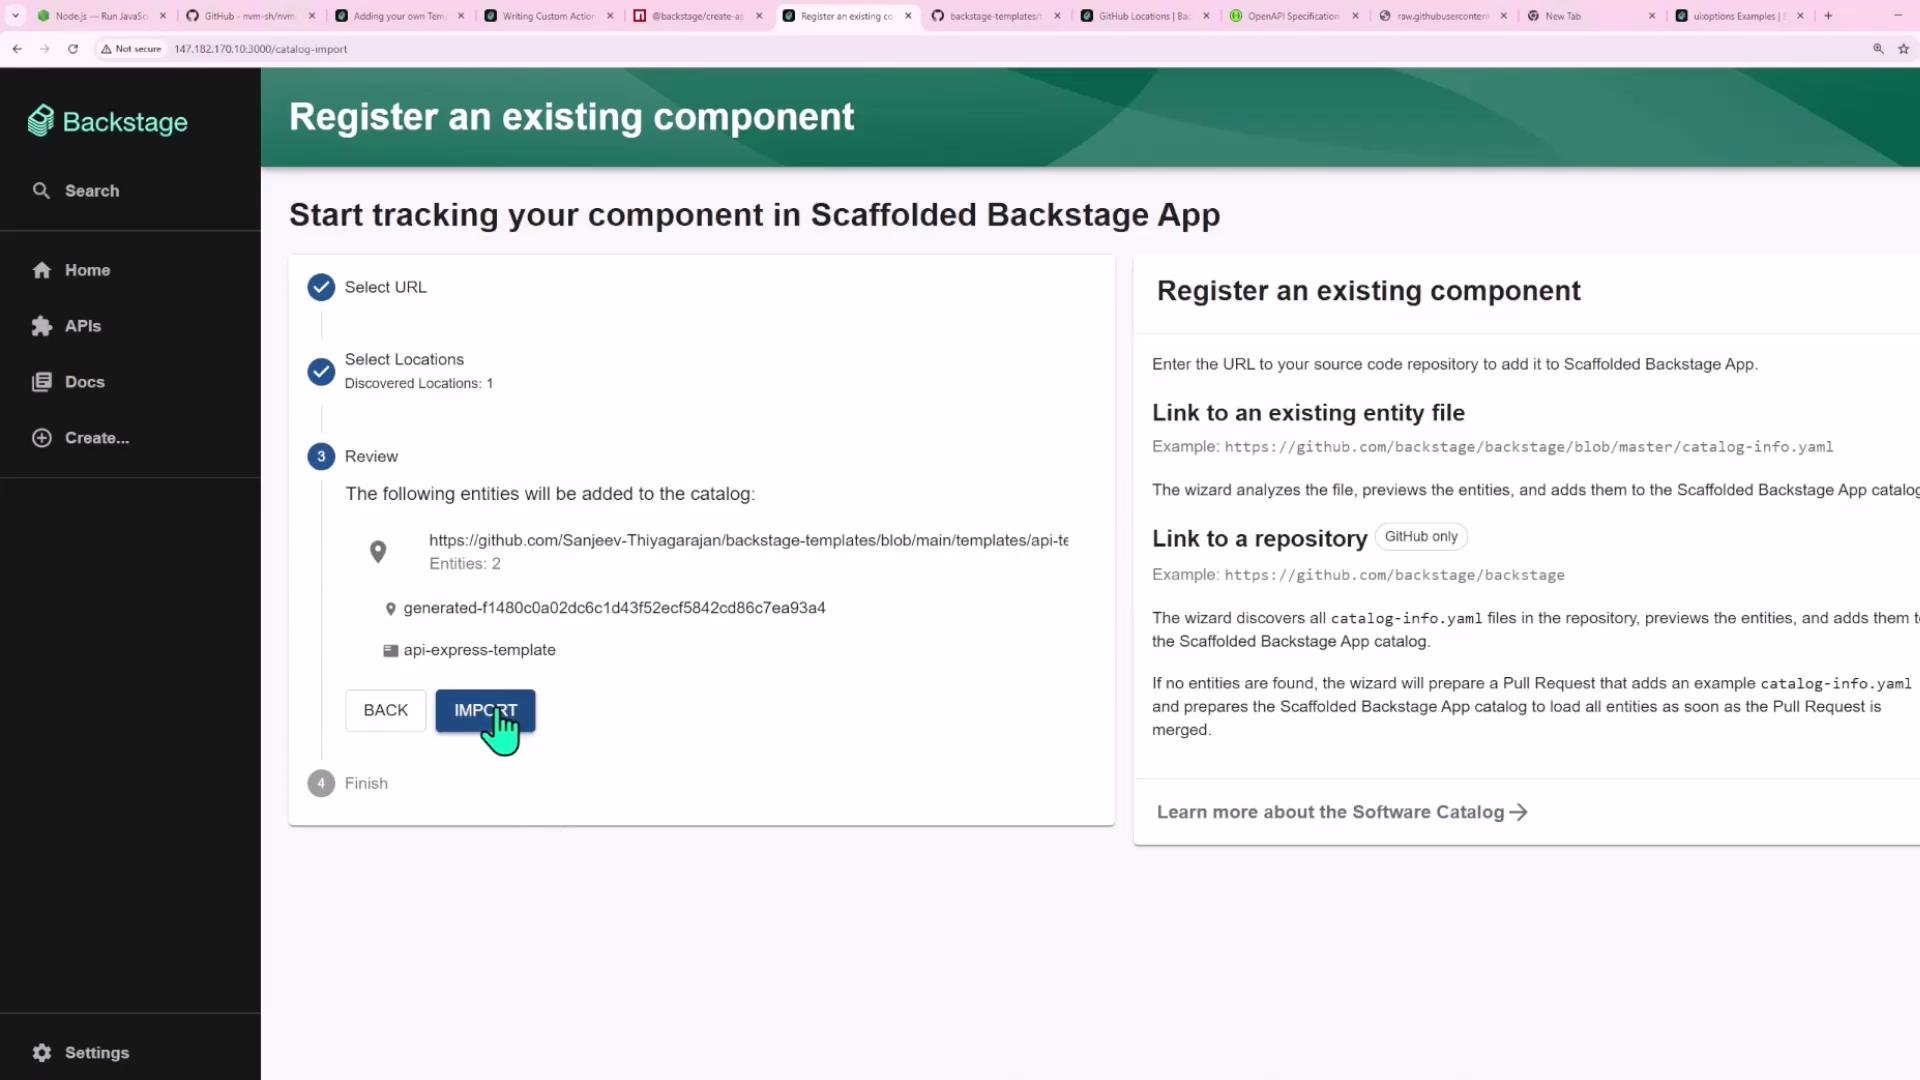
GitHub authentication & permissions
- The GitHub integration token used by Backstage must have permissions to create repositories if you use
publish:github. - If your skeleton includes GitHub Actions workflows, ensure the token has the required workflow permissions to push workflows.
- Configure the token in Backstage integrations (e.g.,
app-config.yaml) sopublish:githubworks.
Create a component with the template
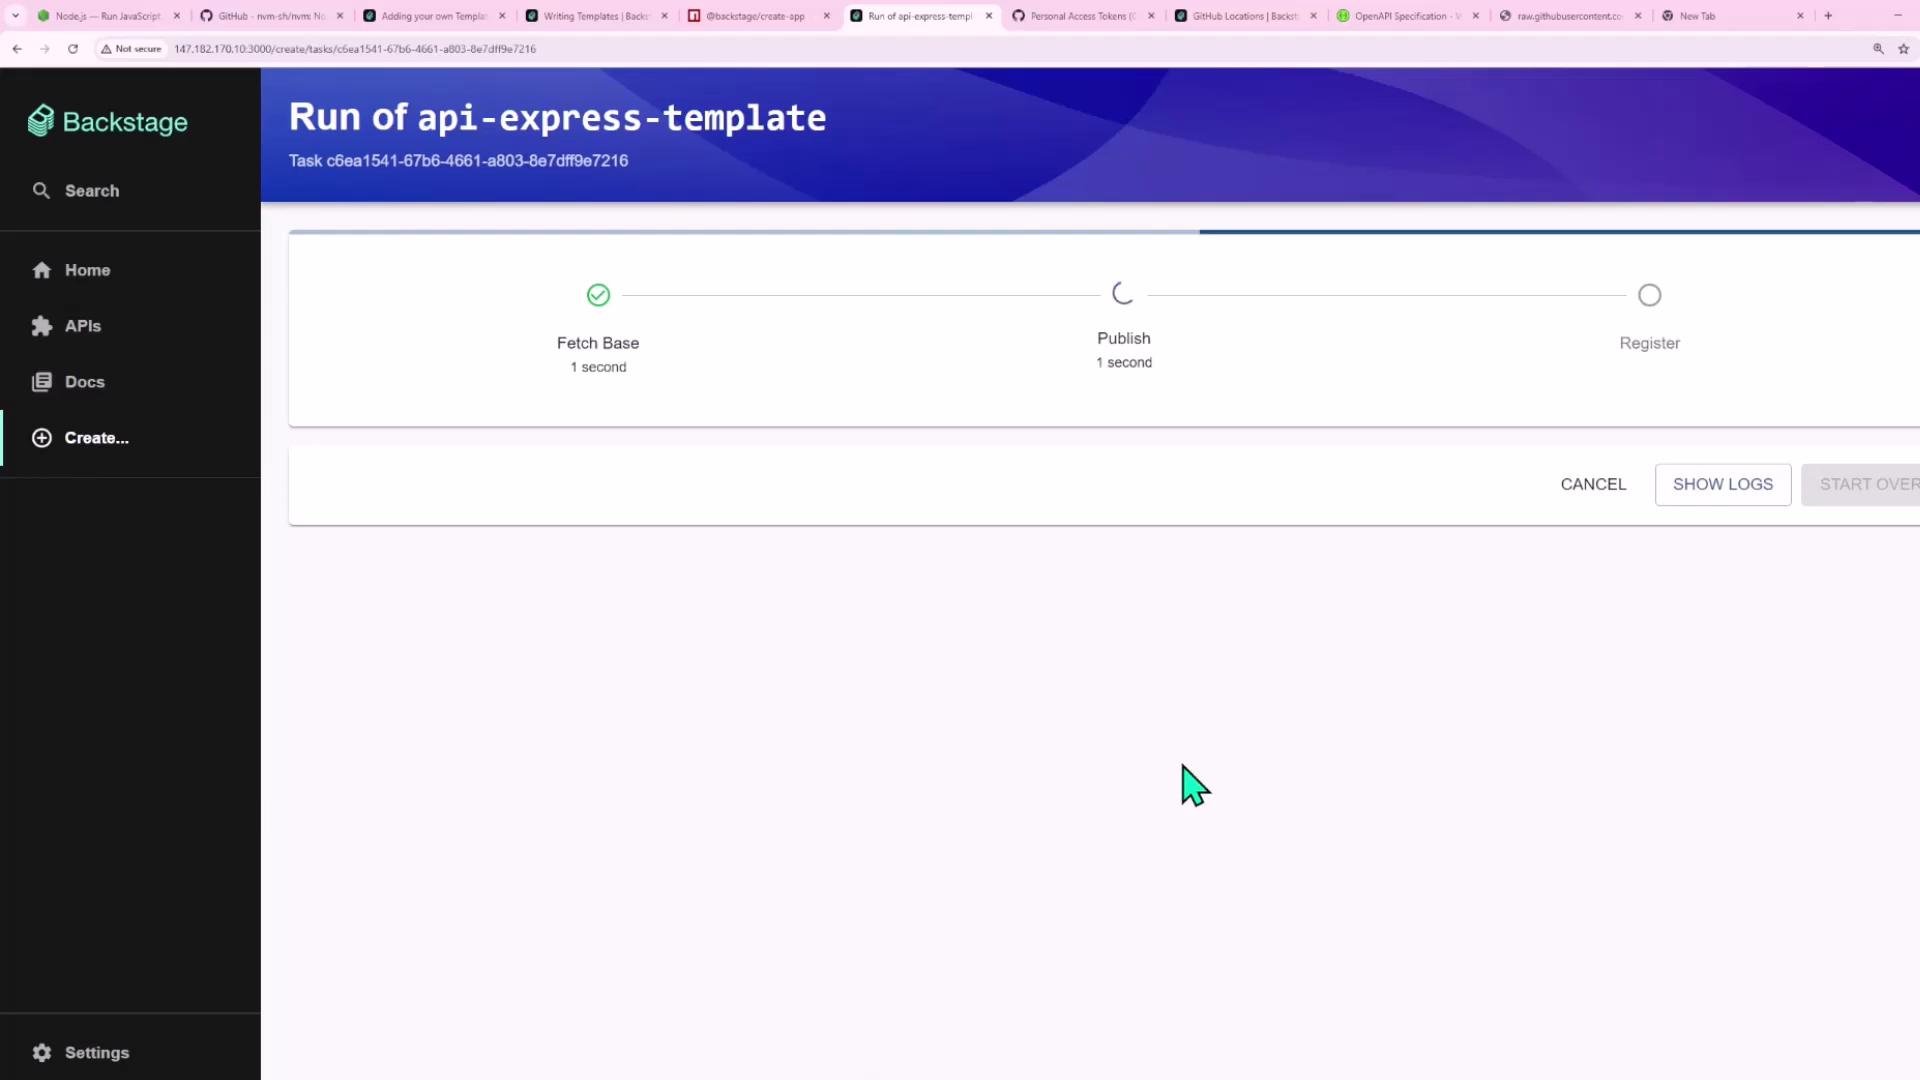
Once the template is registered, use the Create flow to provision a component. Example run progress: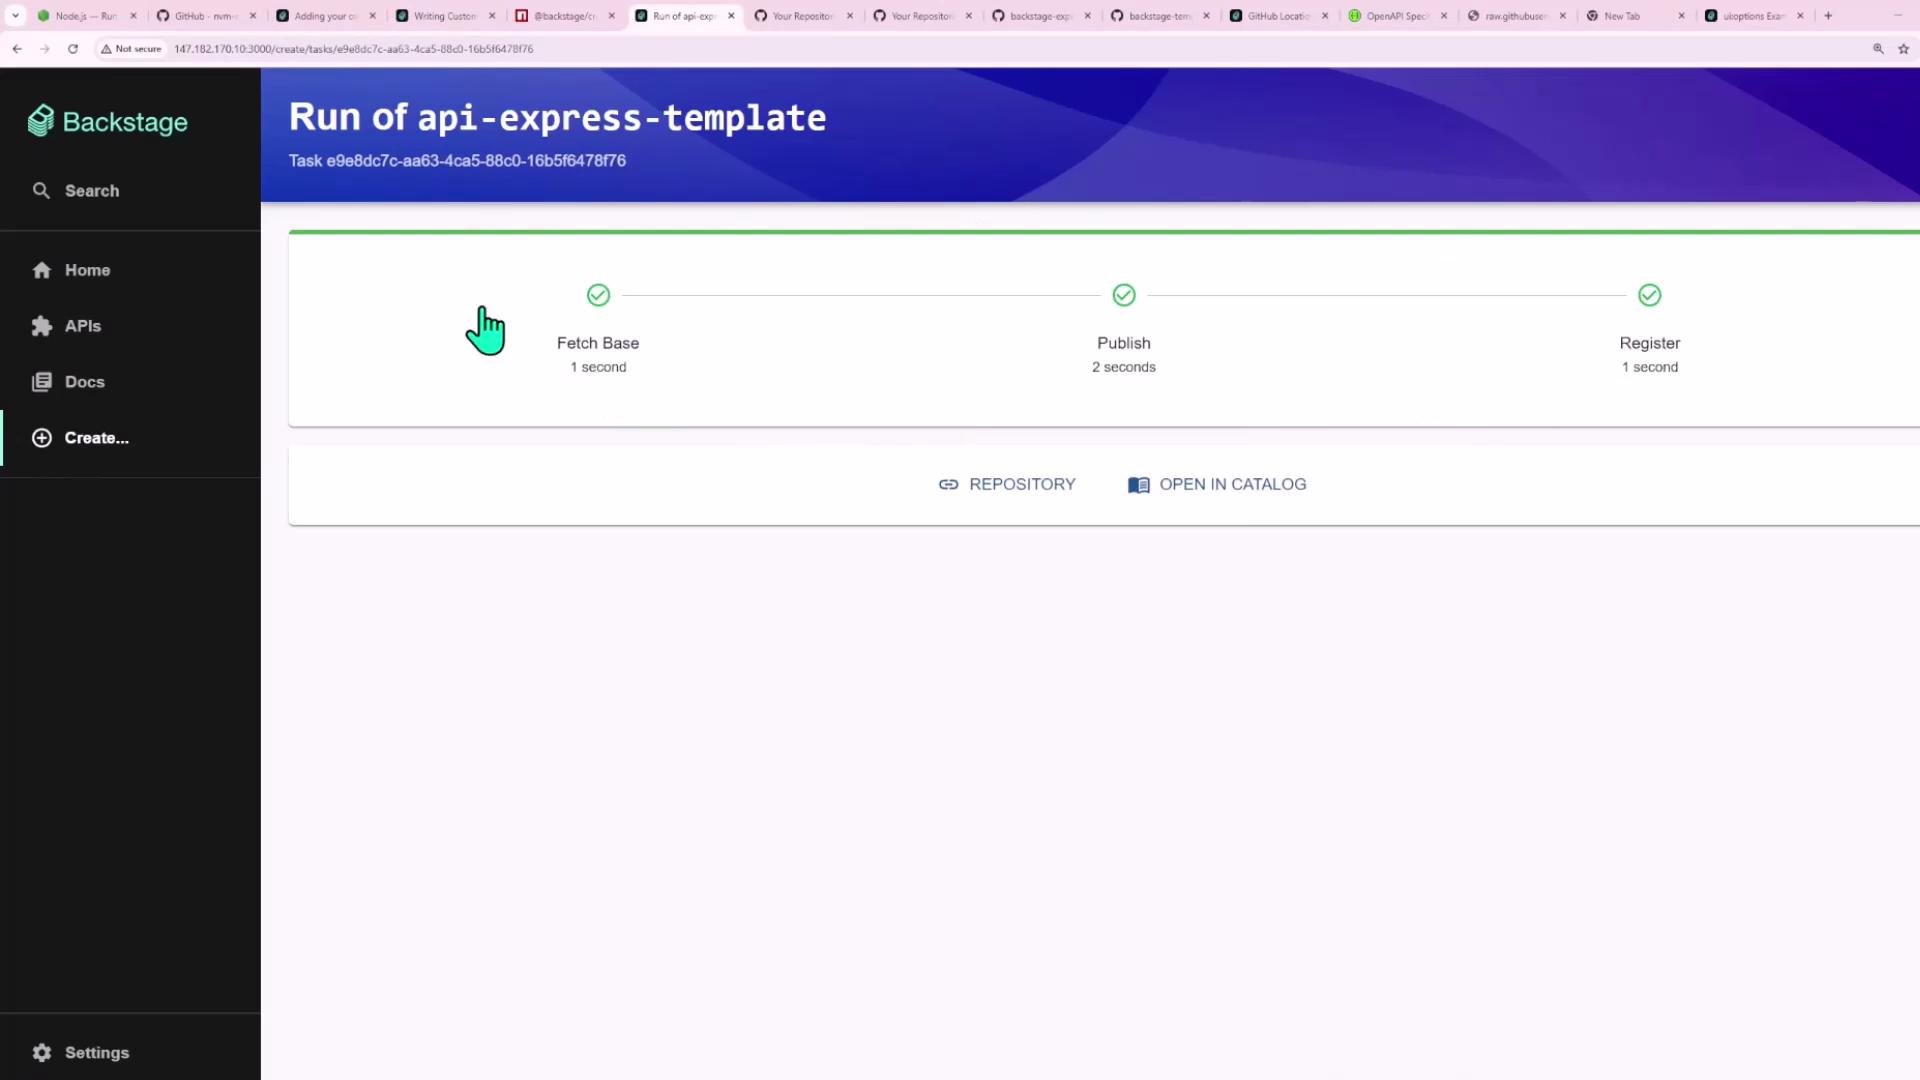
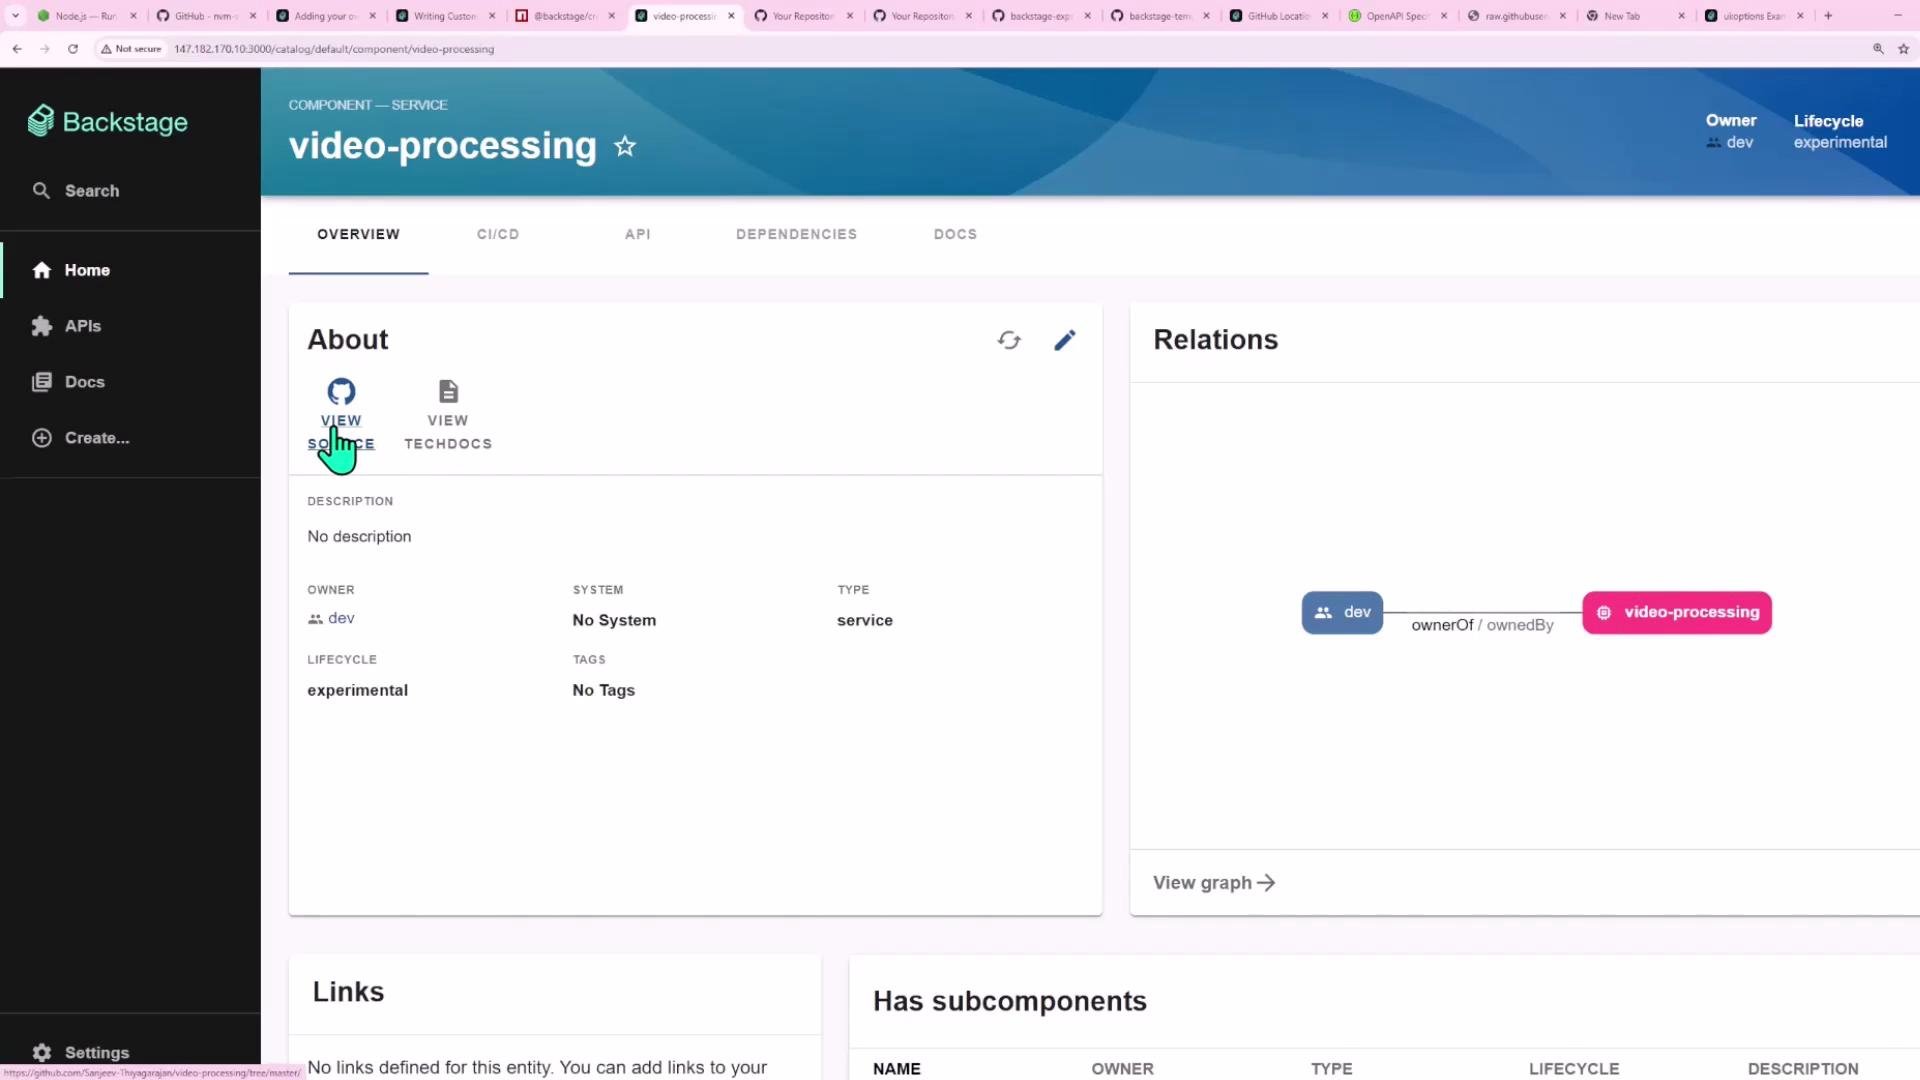
catalog-info.yaml example:
Recap / tips
- Design the user interface with
parameters; reuse Backstage UI widgets usingui:field(e.g.,OwnerPicker,RepoUrlPicker). - Use
fetch:templateto download and template a skeleton; mapparameterstovalues. - Use
publish:githubto create and push the repository (requires appropriately permissioned GitHub token). - Use
catalog:registerto add the new component to Backstage. - Avoid hyphens in parameter names; prefer
name,owner. - If the Template Form Playground behaves oddly, edit YAML in an external editor and paste it back.
Links and references
- Backstage Scaffolder docs: https://backstage.io/docs/features/software-templates/using-templates
- Backstage Scaffolder actions (fetch, publish, register): https://backstage.io/docs/features/software-templates/actions
- Backstage Catalog entities: https://backstage.io/docs/features/software-catalog/overview