

guest user. This guide shows how to let users sign in with GitHub by:
- Registering a GitHub OAuth App.
- Configuring Backstage frontend and backend to use GitHub as an auth provider.
- Adding a sign-in resolver to map GitHub identities to Backstage
Userentities. - Reproducing and resolving the common “unable to resolve user identity” error by importing or creating matching user entities.
http://localhost:3000, backend at http://localhost:7007 in development).
Quick overview of the flow:
- GitHub performs OAuth and returns an identity.
- Backstage auth backend validates the OAuth flow.
- The Sign-in resolver maps the identity to a Backstage
Userentity in the catalog. - If no matching
Userexists, sign-in fails with the resolver error.
You may already have some of the configuration in place. Example
publish/auth snippet (use environment variables for secrets in production):
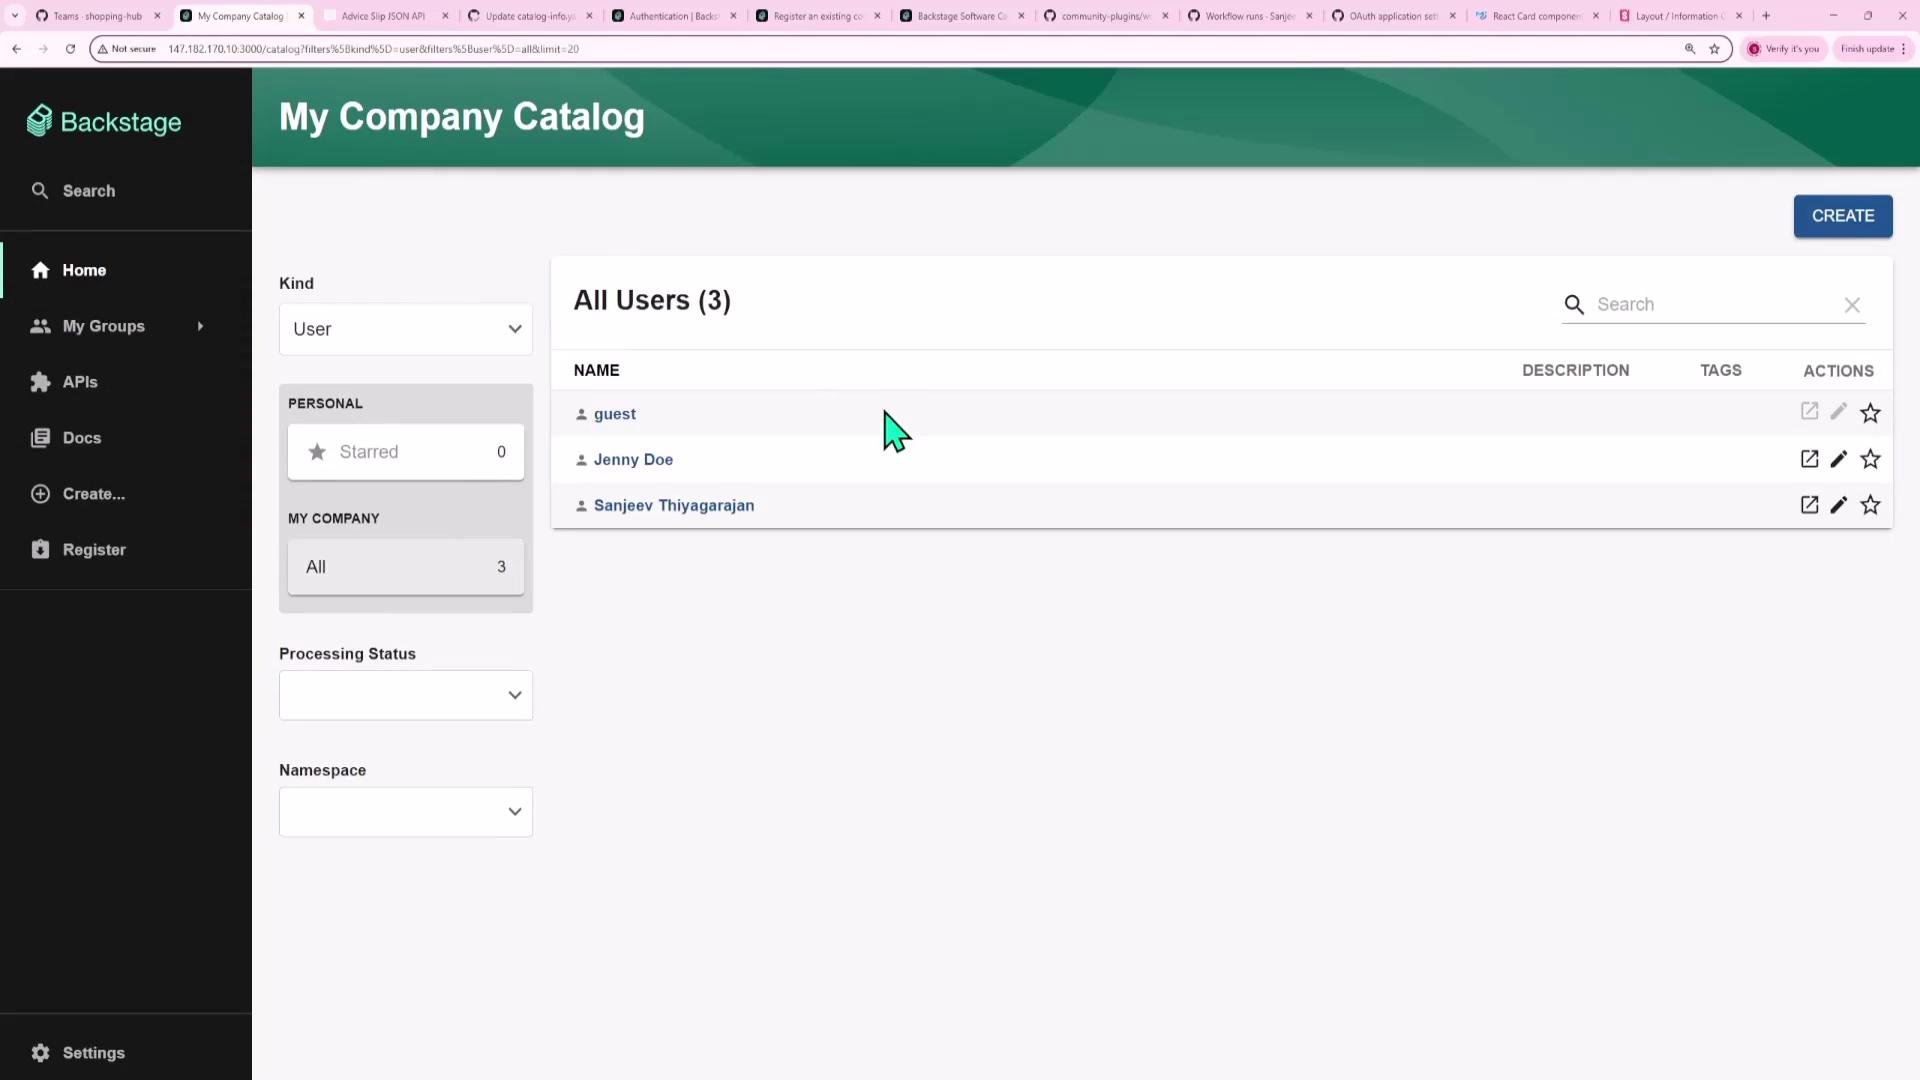
User entities are imported from GitHub — this reproduces the “unable to resolve user identity” case later.
1. Create a GitHub OAuth App
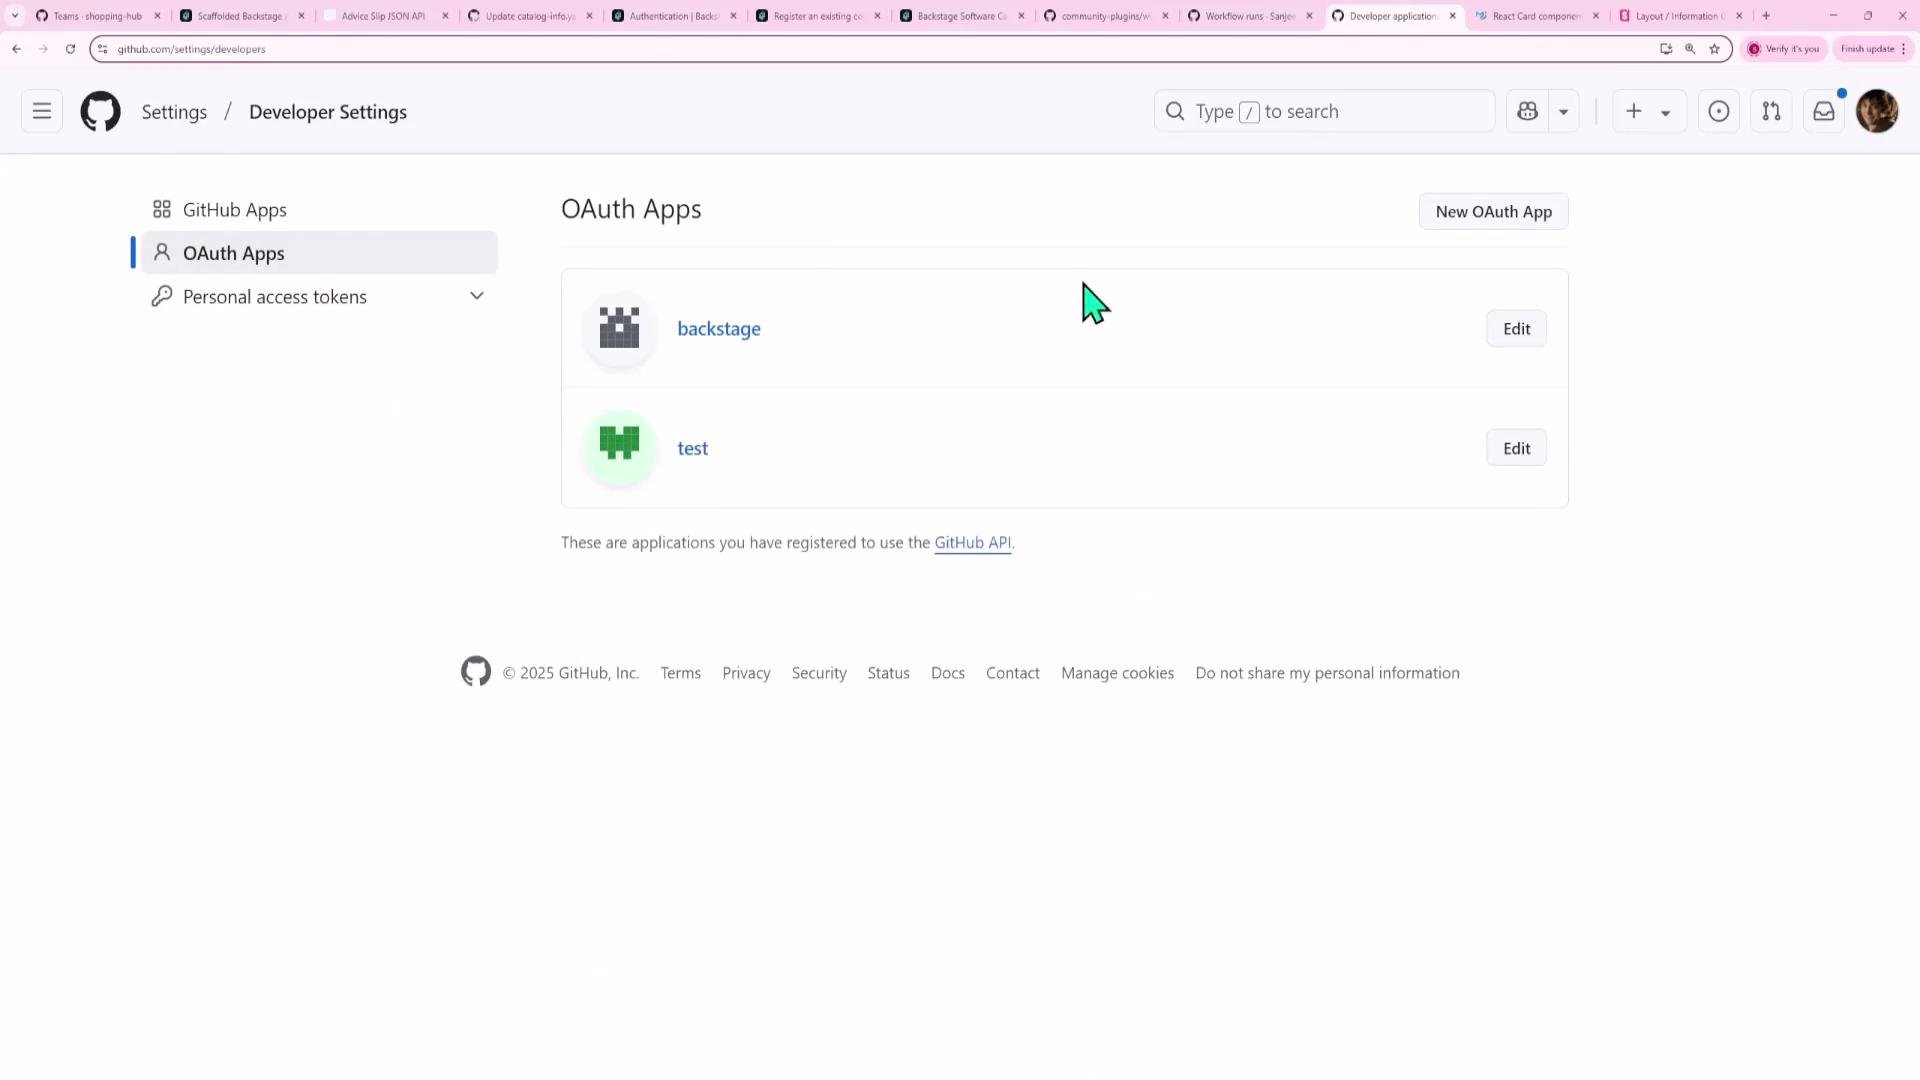
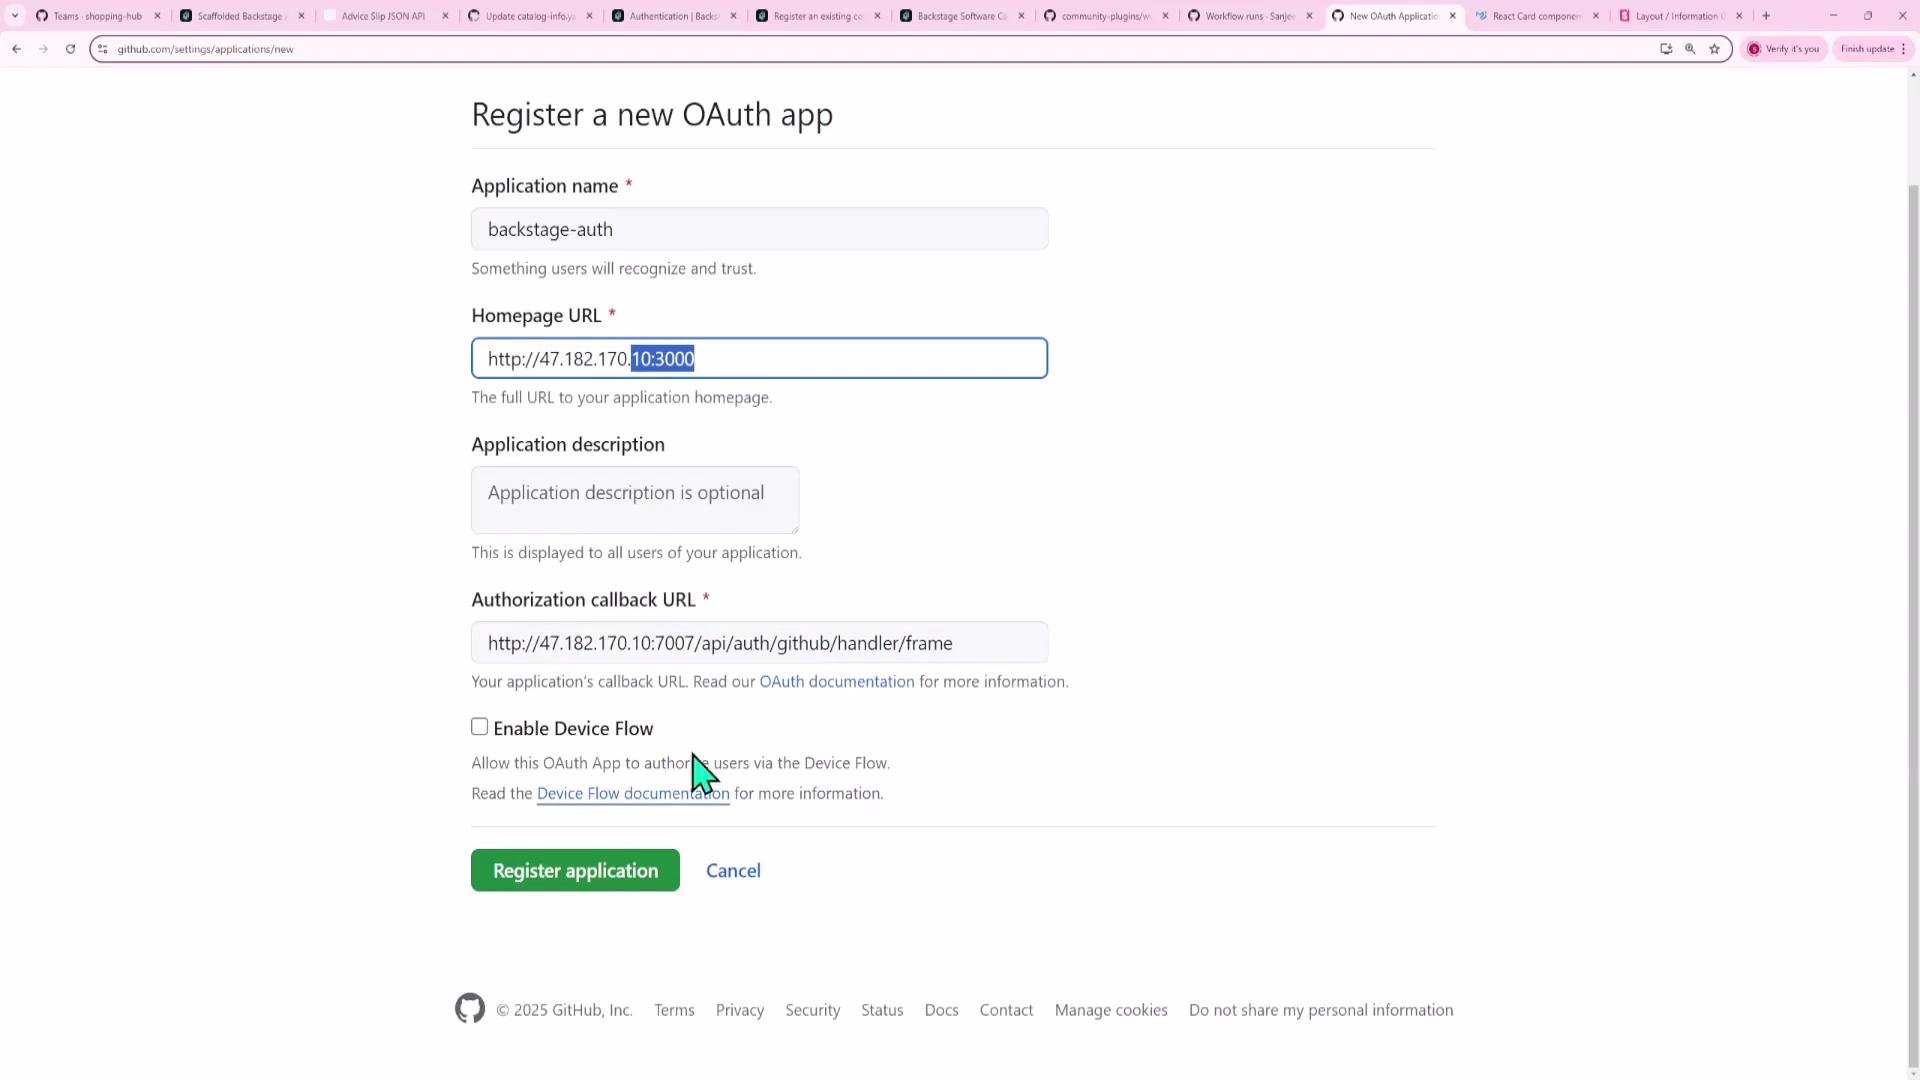
Register an OAuth App in your GitHub account to get a Client ID and Client Secret:- GitHub → Settings → Developer settings → OAuth Apps → New OAuth App.
- Application name: e.g.
backstage-auth. - Homepage URL: your Backstage frontend URL, e.g.
http://localhost:3000orhttp://<IP_ADDRESS>:3000. - Authorization callback URL: your auth backend handler, e.g.
http://localhost:7007/api/auth/github/handler/frame.
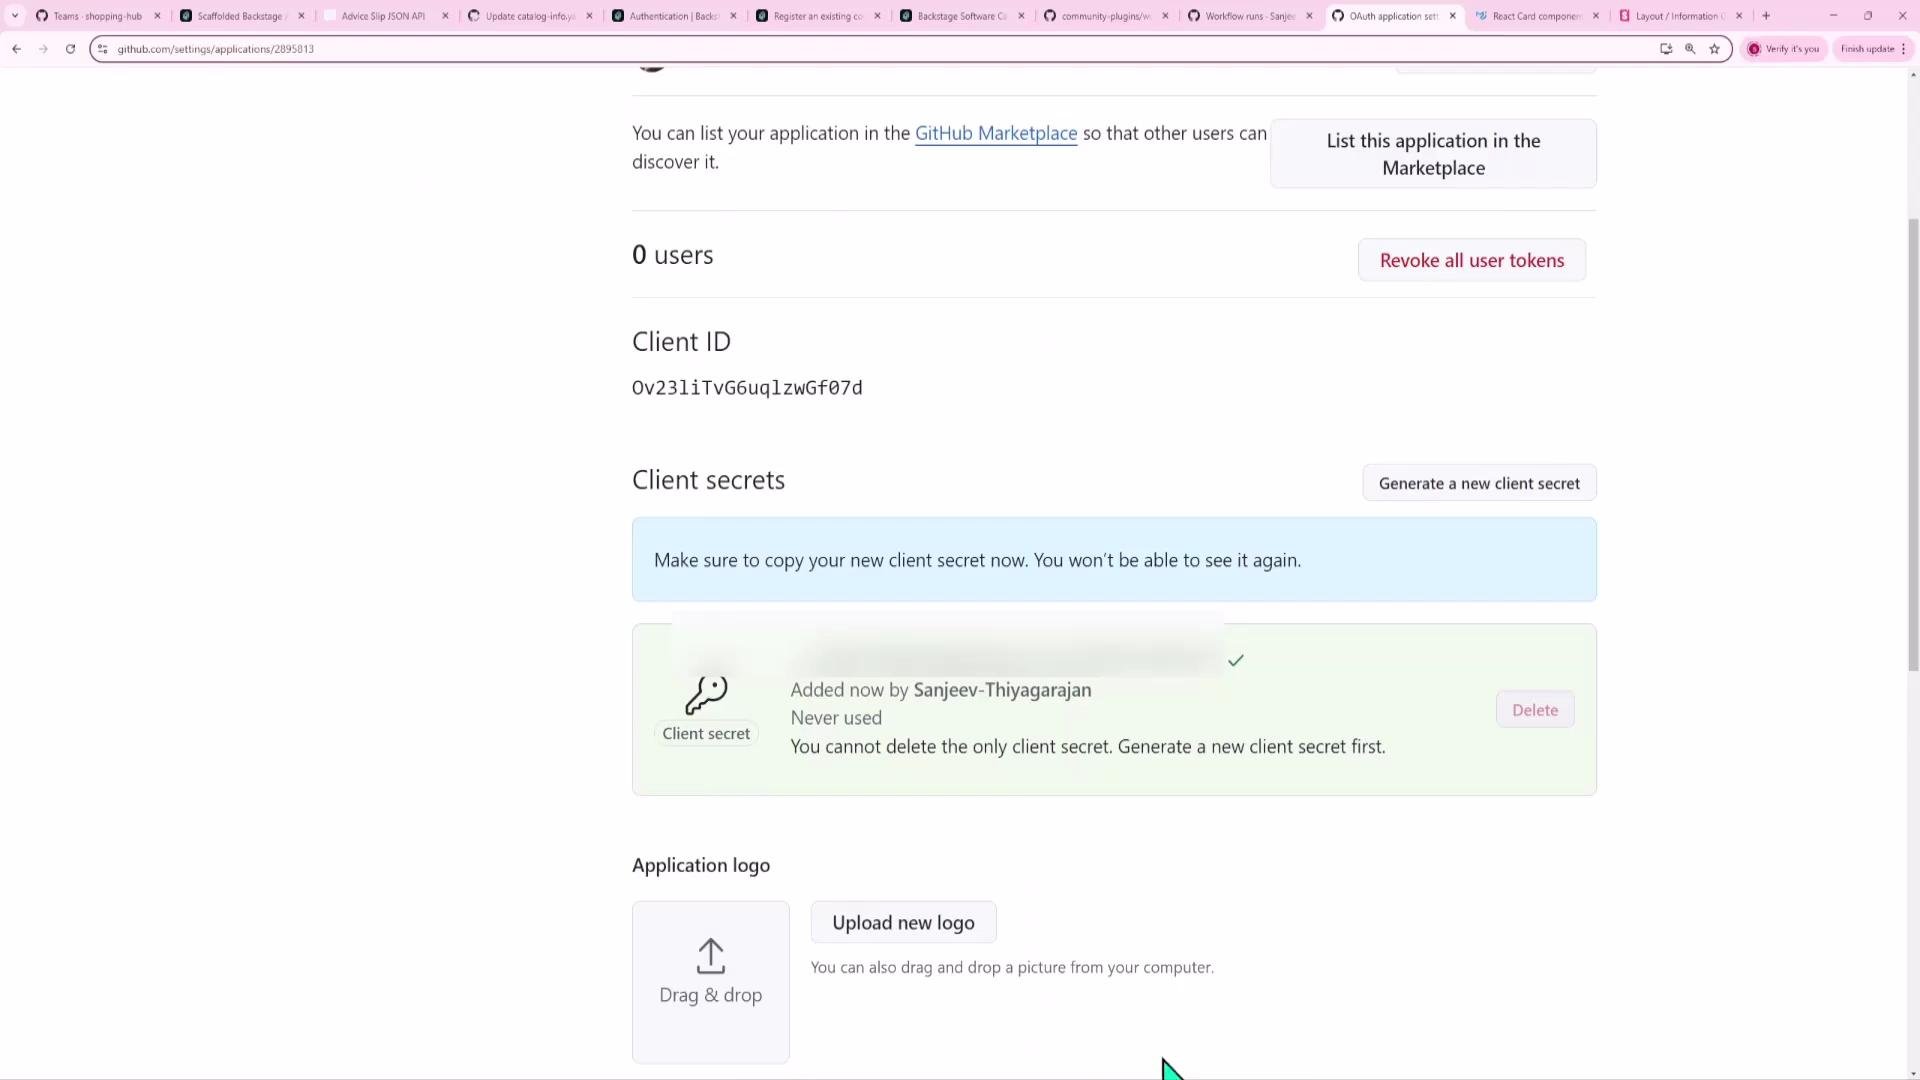
GitHub shows the client secret only once when you create it. Copy it immediately and store it securely (for example, in environment variables or a secrets manager). Do not commit secrets to source control.
2. Configure Backstage auth in app-config.yaml
Add the GitHub provider configuration toapp-config.yaml. Use environment variables rather than hard-coded secrets for production.
Example minimal development config with a sign-in resolver:
environment: developmentselects the credentials undergithub.development.signIn.resolverstells Backstage how to map the identity returned by GitHub to a BackstageUserentity.usernameMatchingUserEntityNameattempts to match the GitHub username (login) to aUserentity’smetadata.name.
3. Backend — register the GitHub auth backend module
Install and register the GitHub auth backend provider module so the backend can handle the OAuth flow. Install the provider module from the workspace root:packages/backend/src/index.ts):
id exposed by the backend matches the frontend provider id (commonly github). Backend registration details depend on your backend structure, but the provider module must be added and active.
4. Frontend — enable GitHub on the SignIn page
To display a GitHub sign-in button, add the GitHub provider to theSignInPage component (e.g., packages/app/src/app.tsx).
Import the API ref:
SignInPage components config:
guest and github) so users can choose their sign-in method. Rebuild/restart the frontend after changes.
5. Clear cookies to test a fresh sign-in
Backstage uses HTTP cookies for sessions. To test first-run behavior:- Clear cookies/site data for your Backstage origin in the browser.
- Reload the SignIn page.
environment, clientId, or clientSecret), the SignIn page may show an error like “The GitHub provider is not configured to support sign-in.”
Clearing cookies ensures you test the full OAuth flow from the beginning. This helps validate that the frontend, backend, and GitHub OAuth callback are wired correctly.
6. Common error: “unable to resolve user identity”
After GitHub consent you might see this error: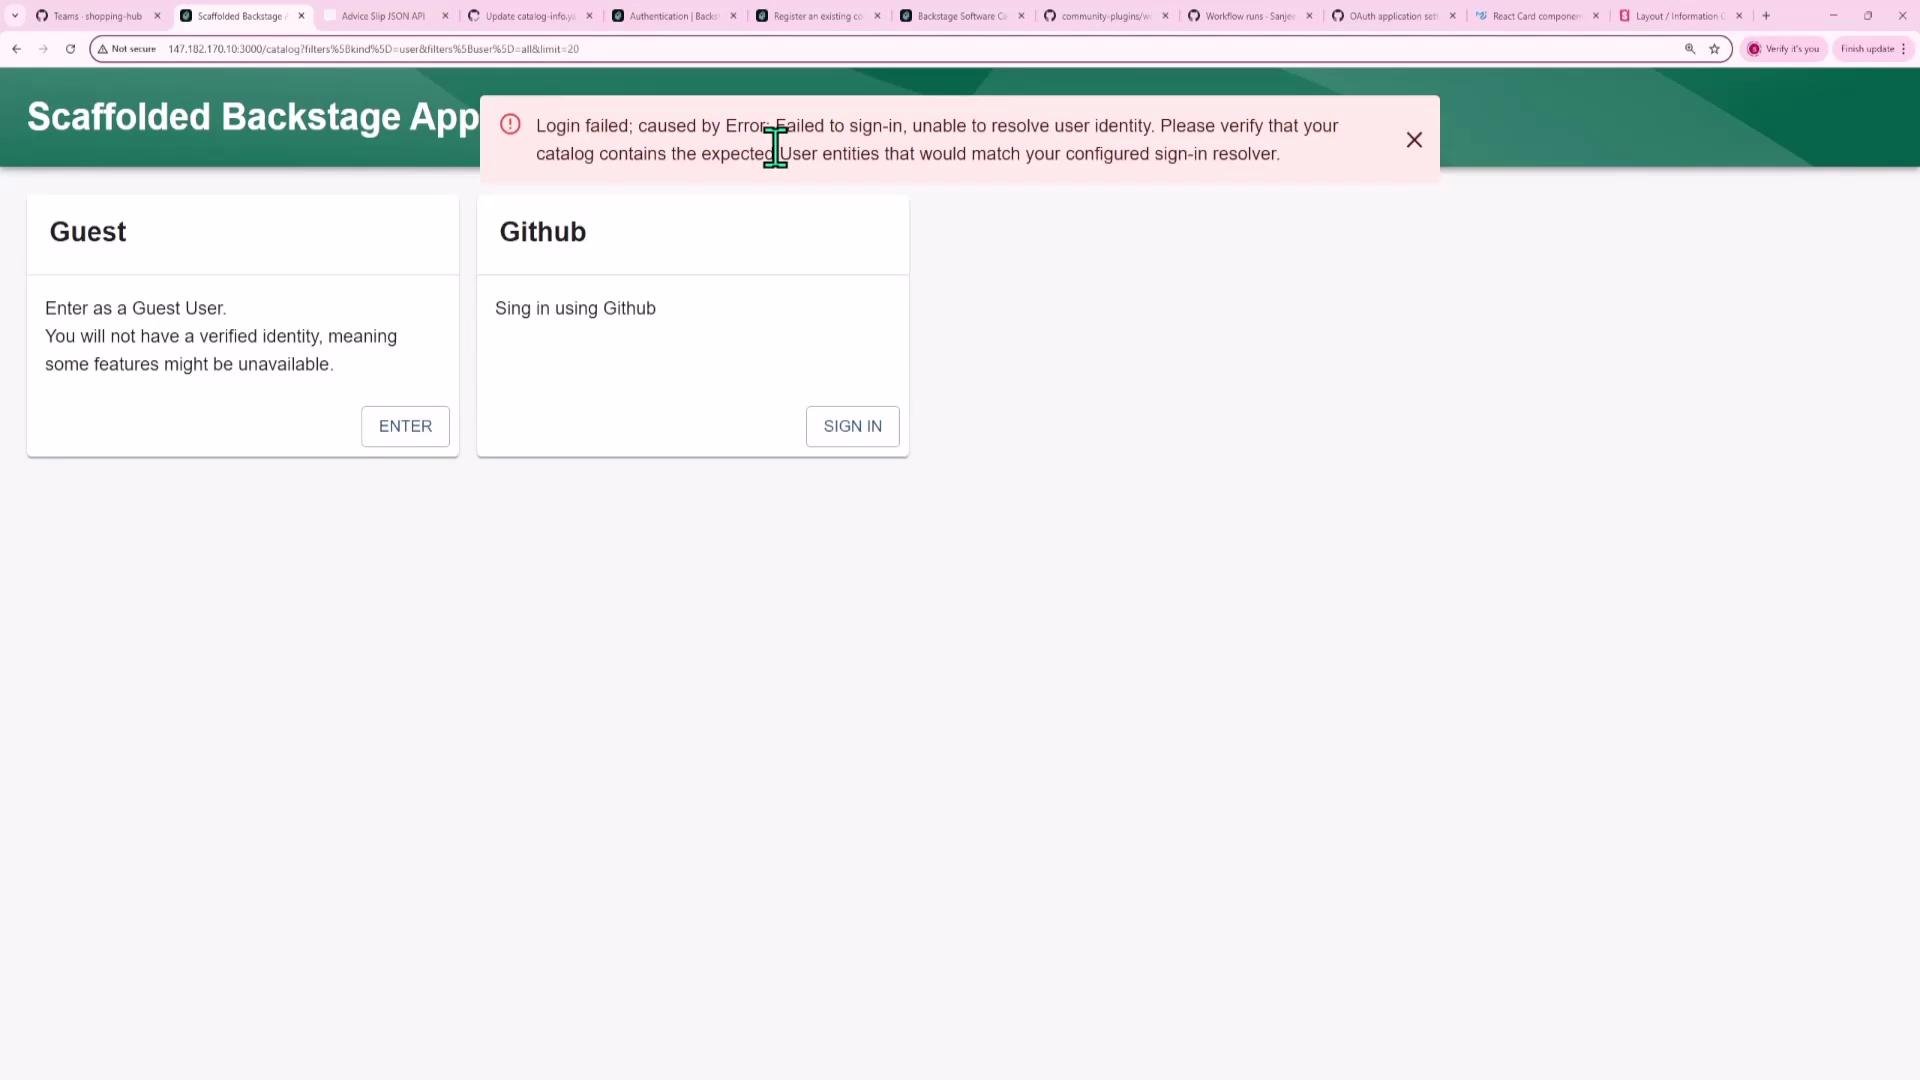
User entity in the catalog using the configured resolver.
The sign-in resolver maps identity attributes returned by GitHub (e.g., username or email) to a Backstage
User entity. If no matching user entity exists, sign-in fails with the “unable to resolve user identity” error.- Create a
Userentity that matches the resolver’s expectations. Example YAML if usingusernameMatchingUserEntityName:
- Import users (and optionally groups) from GitHub into the catalog by enabling a
catalog.providers.githubOrg(or other GitHub provider) configuration and restarting the backend so entities are ingested automatically.
User and Group descriptors (or repositories containing catalog-info.yaml that describe them).
7. Final verification
Verify each step:- OAuth app registered on GitHub with the correct callback URL.
auth.providers.githubset inapp-config.yamlwithenvironmentand credentials.- GitHub provider module registered on the backend.
- Backstage catalog contains
Userentities that match your sign-in resolver (manually created or imported).
- Backstage Authentication docs: https://backstage.io/docs/auth/
- Backstage Catalog docs: https://backstage.io/docs/features/software-catalog/overview
Tips:
- Use environment variables or a secrets manager for
clientSecret. - If you see a sign-in resolver error, check the catalog contents and the resolver type you configured.
- Test locally by clearing cookies and running the full sign-in flow.