

shopping-cart, inventory, ecommerce group, user john, purchasing system, shopping-app domain, and inventory-db resource—and wire ownership and dependency relationships between them.
What you’ll learn:
- How to author entity descriptors (YAML) for common Backstage kinds
- How to import entities into the Backstage catalog
- How to express ownership, system membership, and dependency relationships
- How to update
app-config.yamlimport rules when a kind is blocked
1. Create a Component (shopping-cart)
Create a simple website component descriptor namedshopping-cart. Save this YAML into the repository you use for Backstage catalog imports (for example entity.yaml):
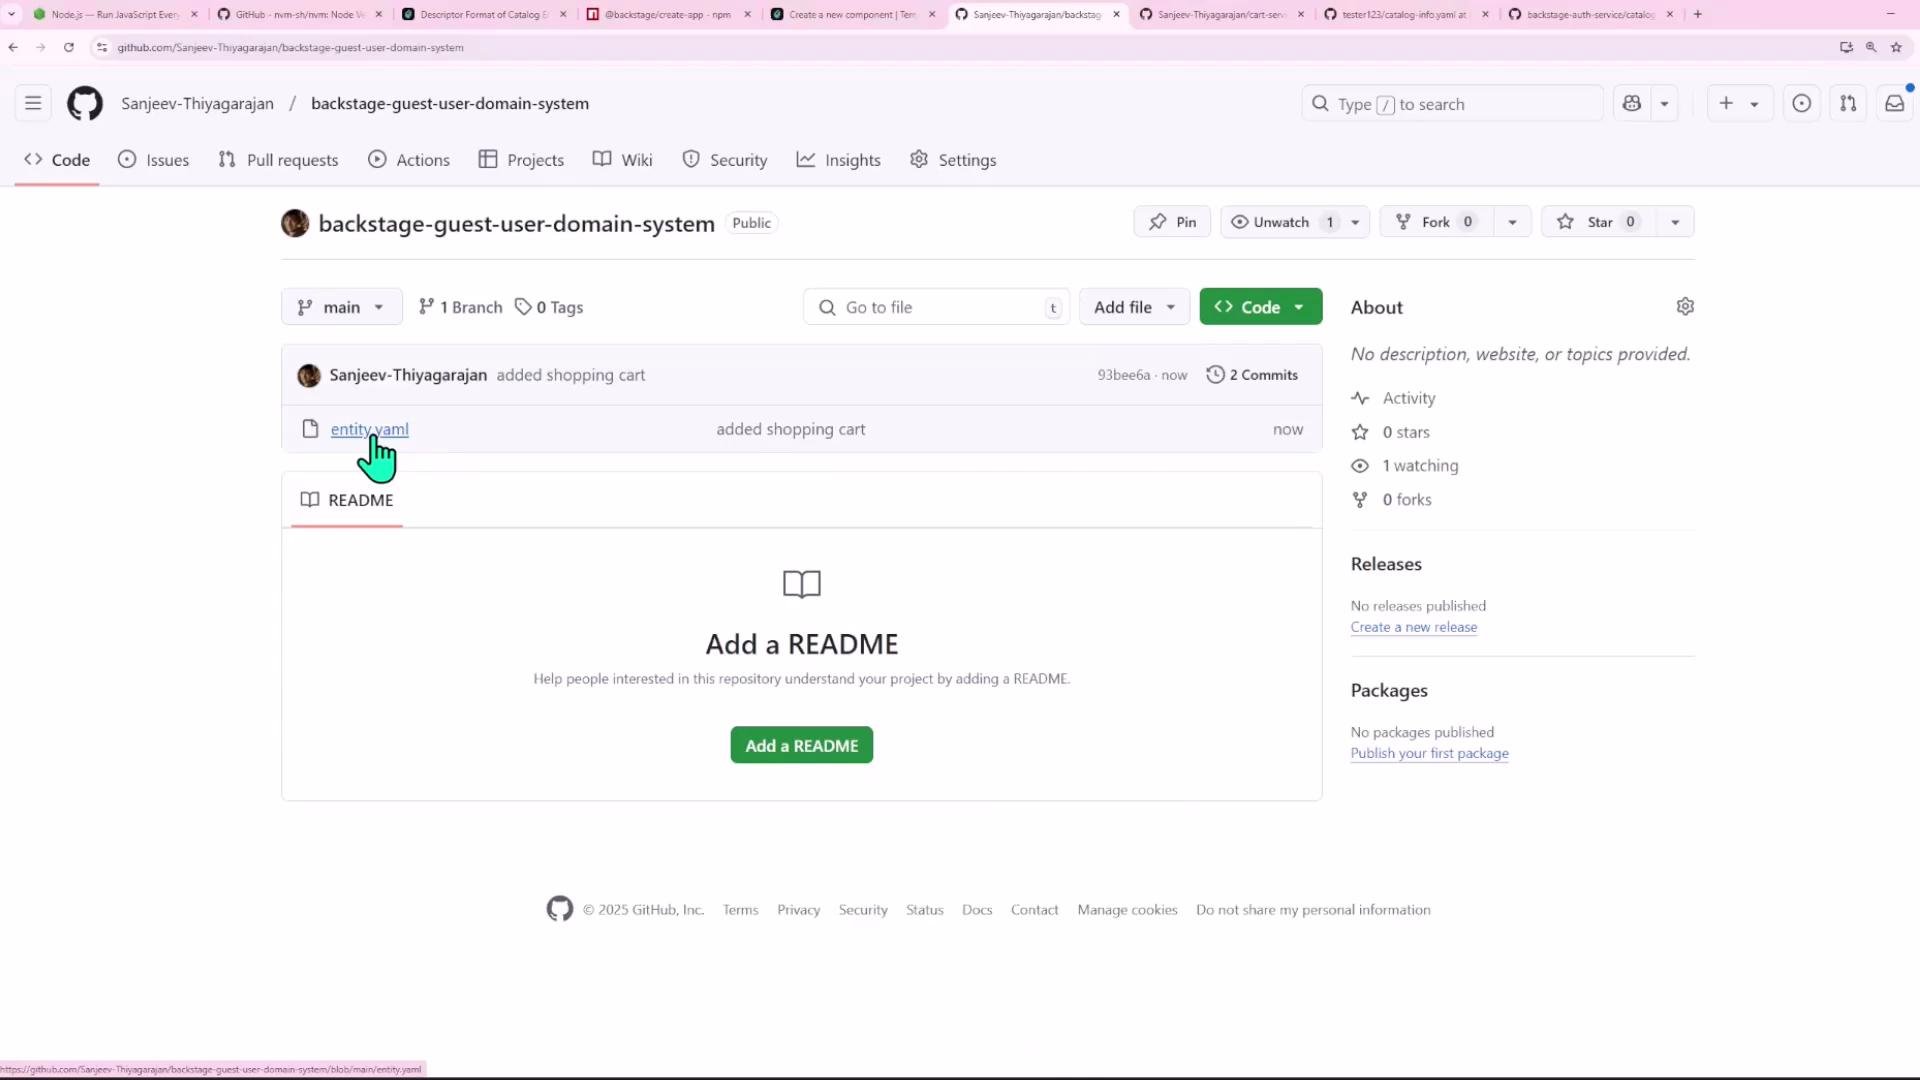
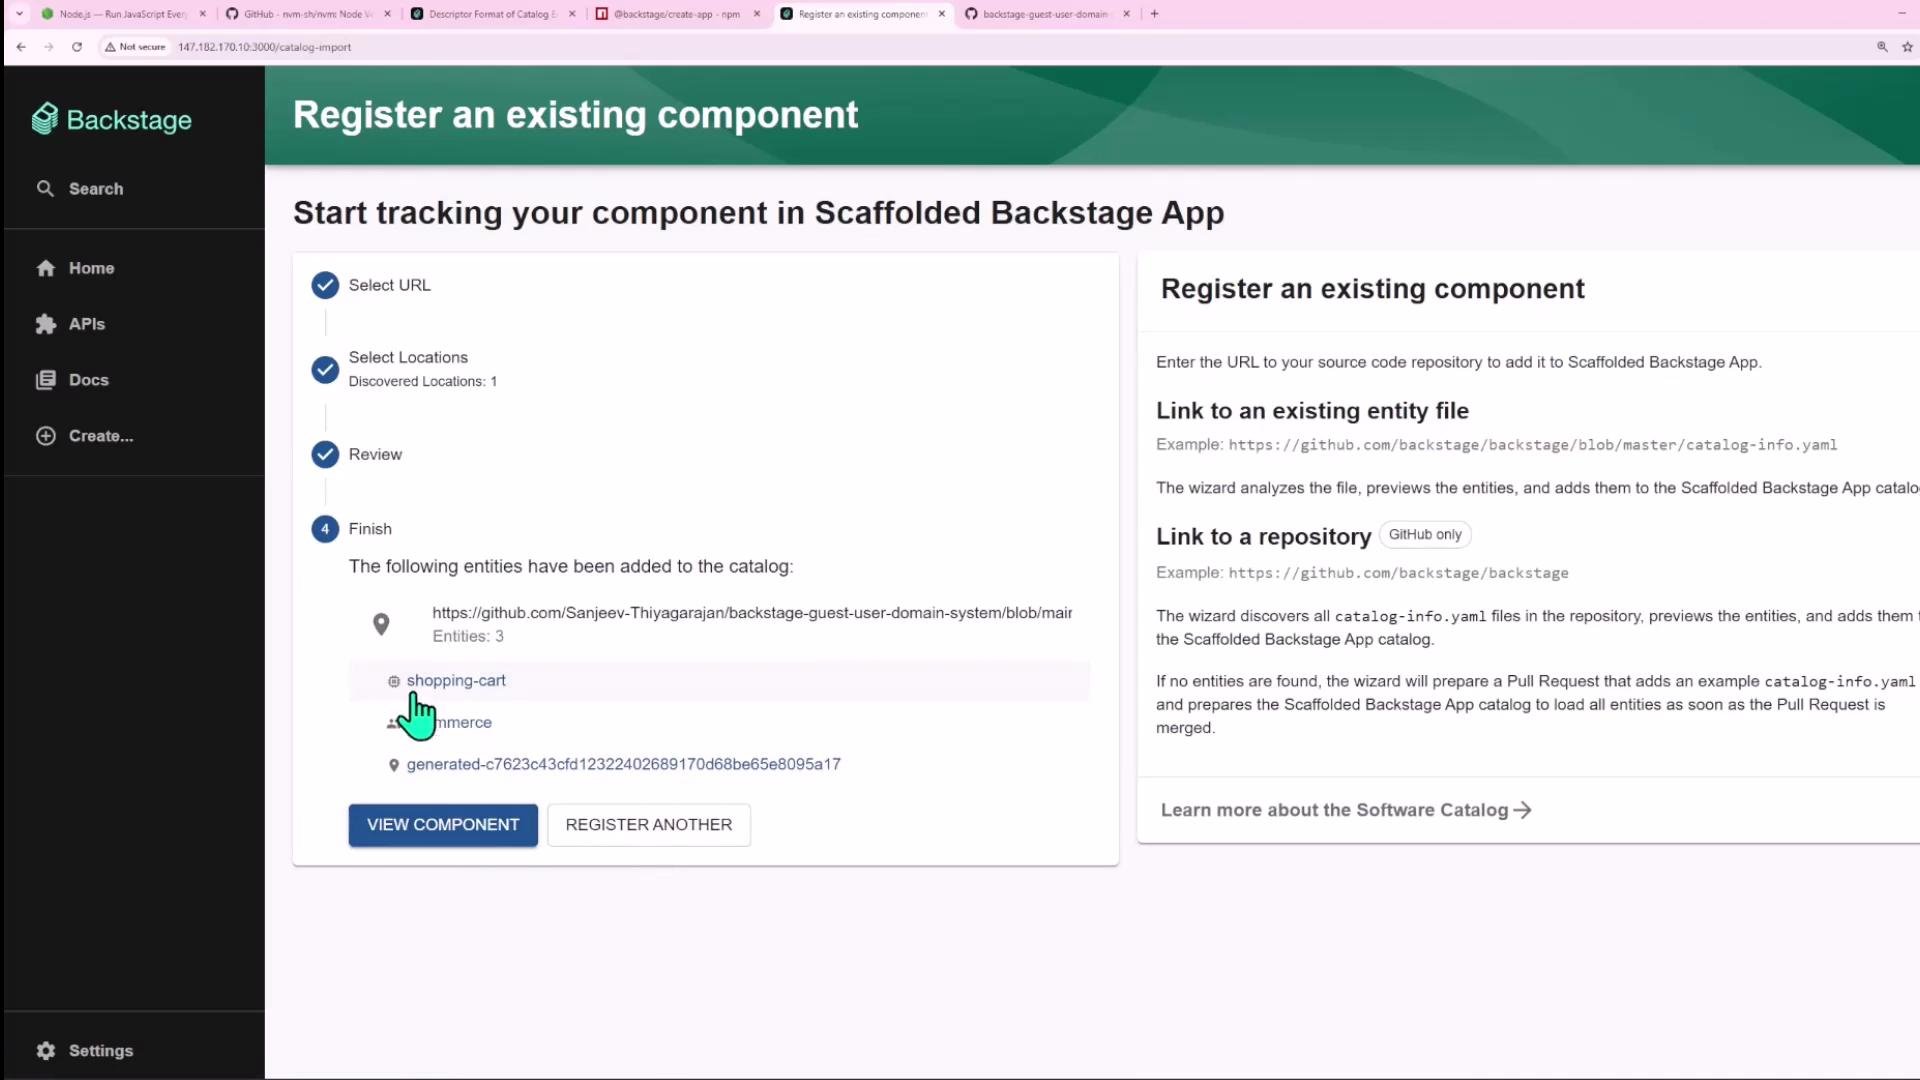
2. Register the component in Backstage
In Backstage, go to Create → Register Existing Component and point to the GitHub repo URL (or your configured file location). If Backstage previously fetched the file and returned an error due to a transient issue (such as a typo you already fixed), wait a minute and try Analyze again.Backstage may cache a location’s content for a short period. If you fixed a typo in your repository and the UI still shows the old error, wait a minute and click Analyze again before re-importing.
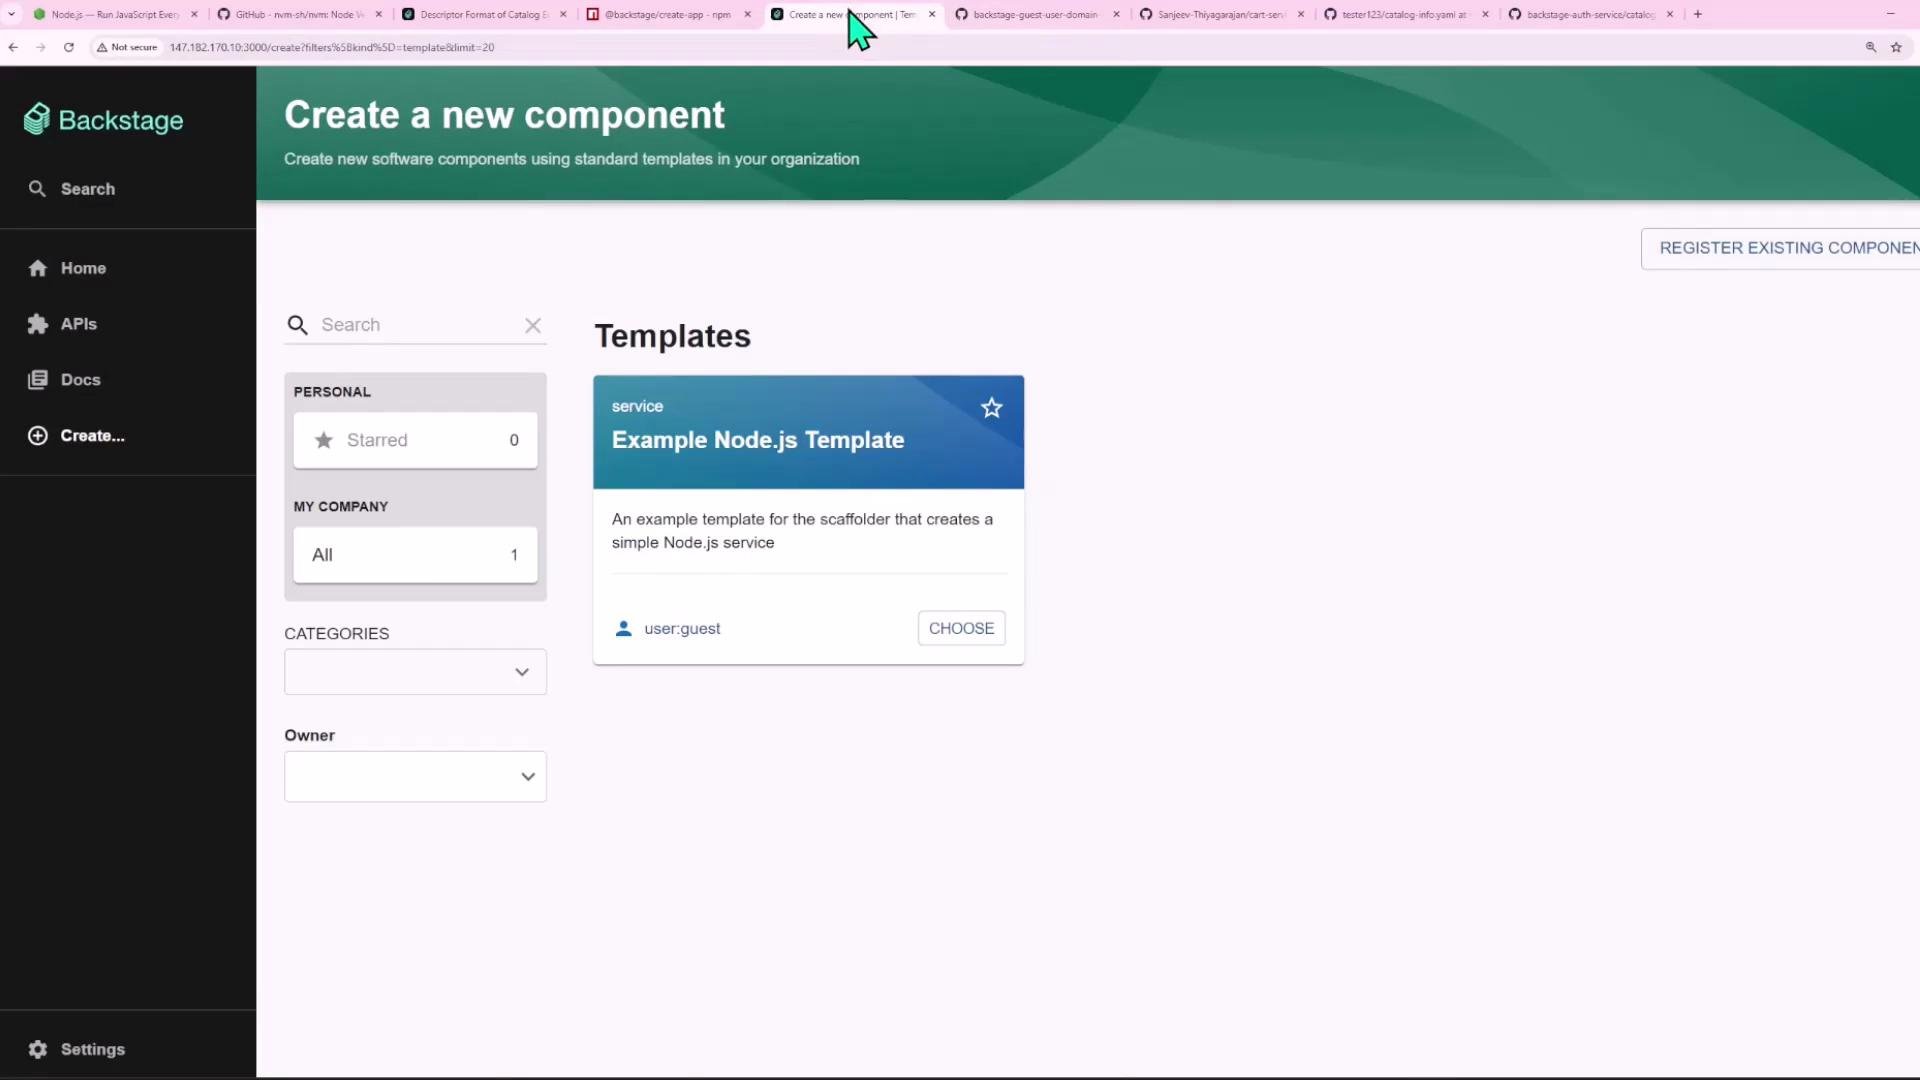
3. Define and import a Group (e-commerce)
You can include multiple YAML entities in a single file separated by---. Add a Group entity to the same file (or as a separate file) like this:
app-config.yaml import rules exclude Group. A default config might look like:
Group to the allowed list and restart Backstage:
Any changes to
app-config.yaml require you to restart the Backstage dev server for the new rules to take effect.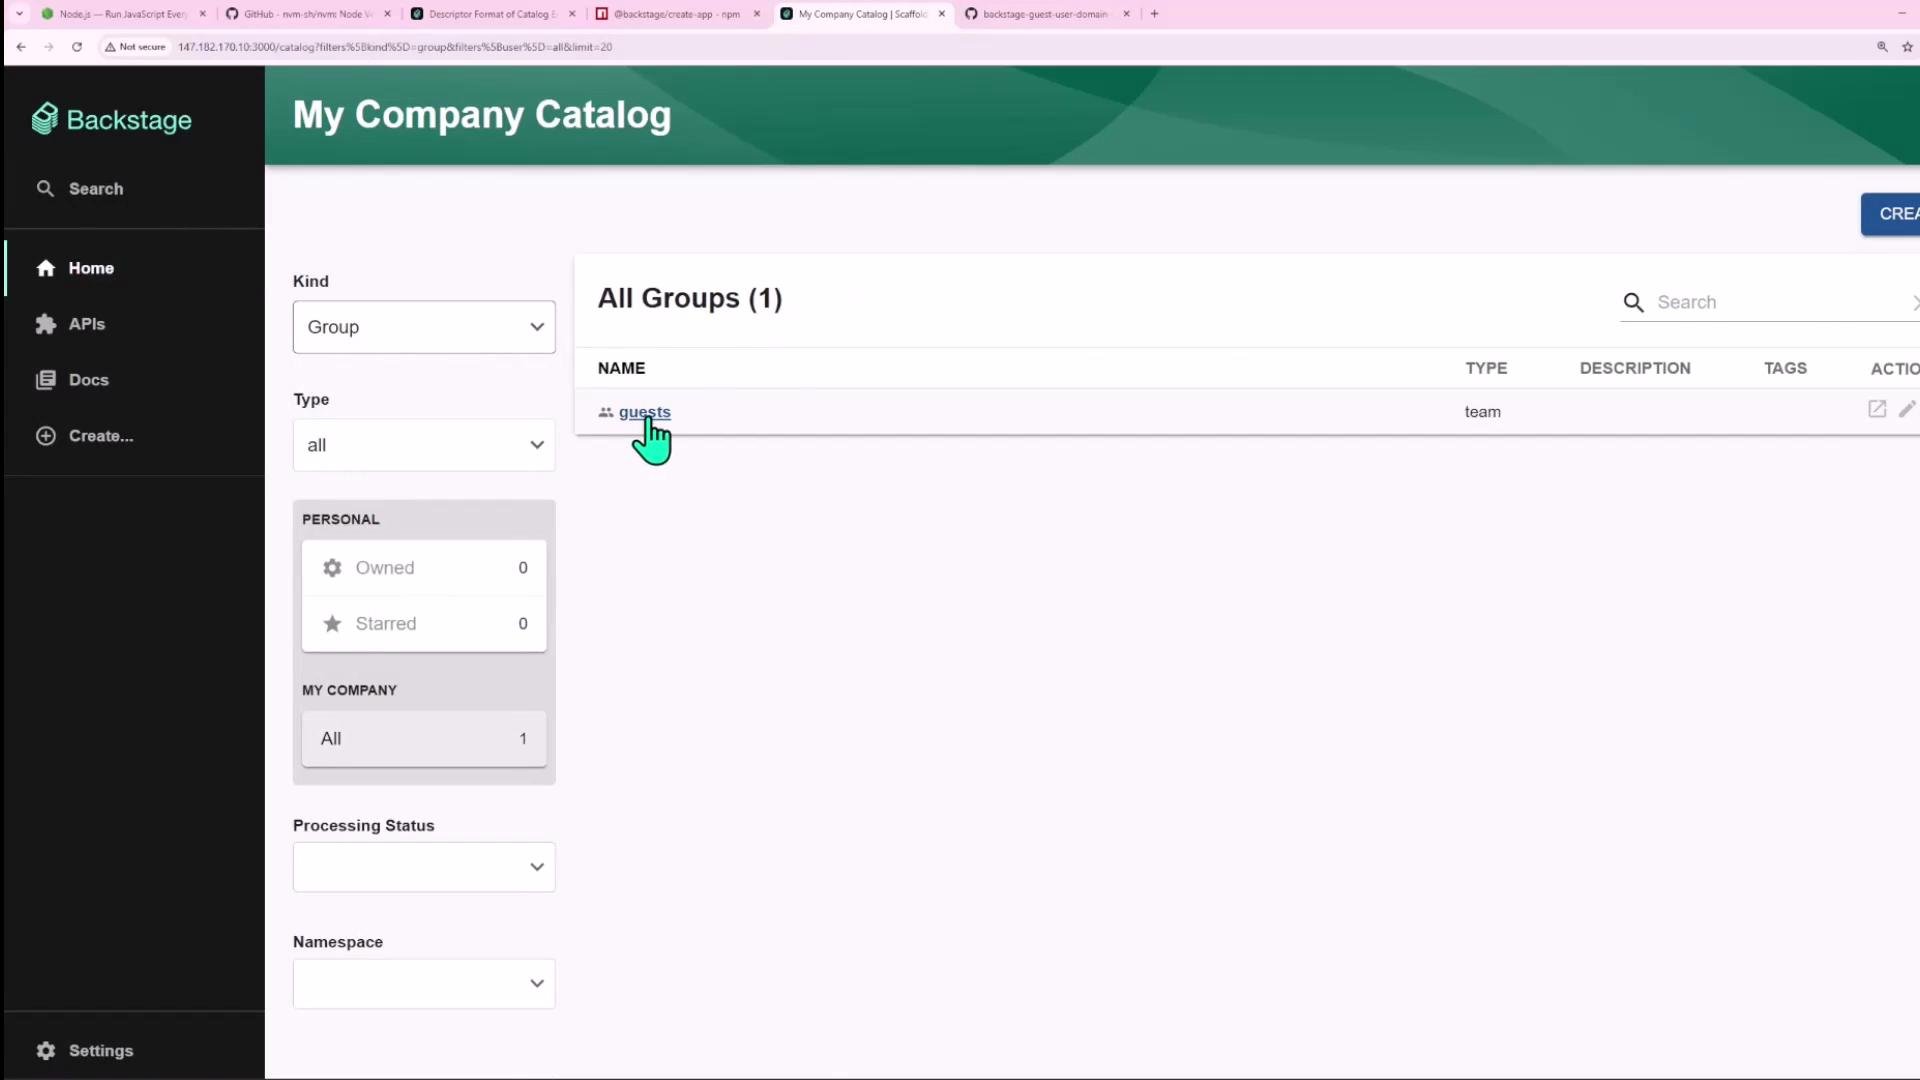
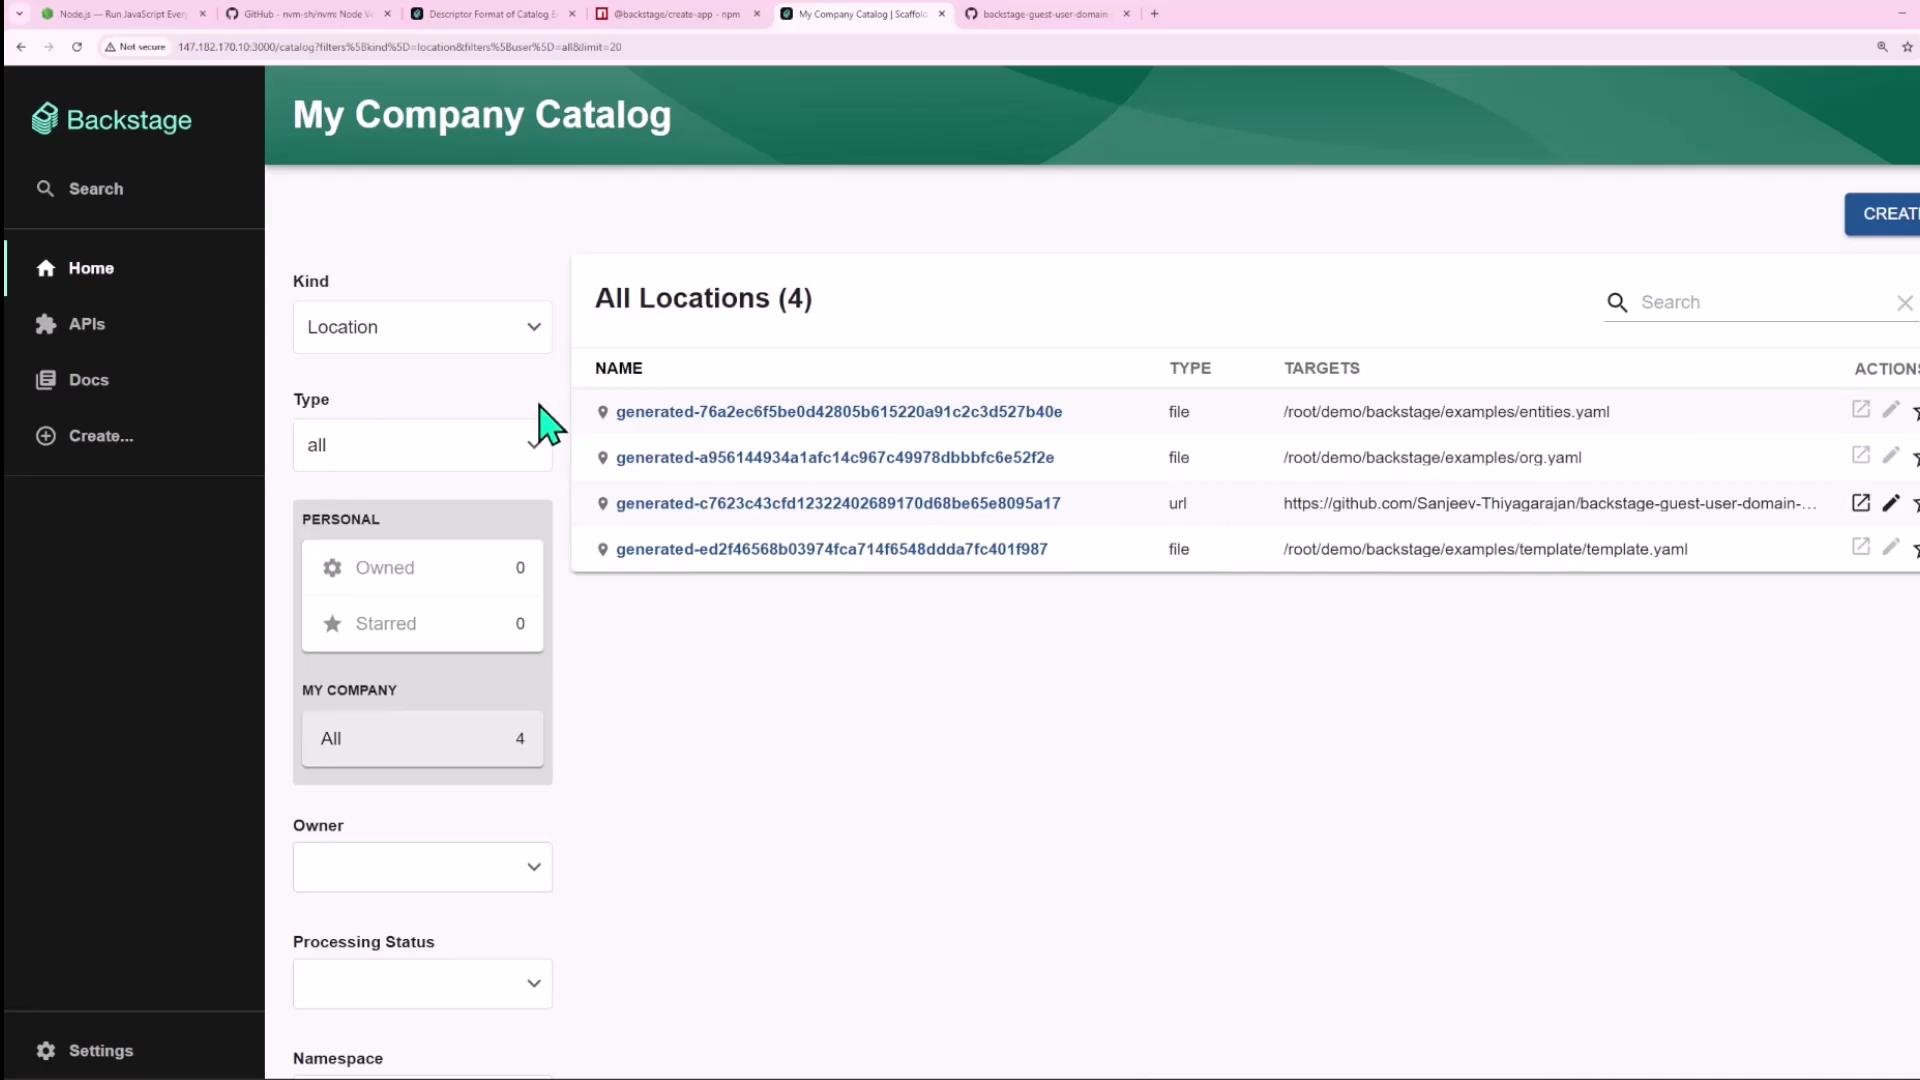
4. Create a User (john)
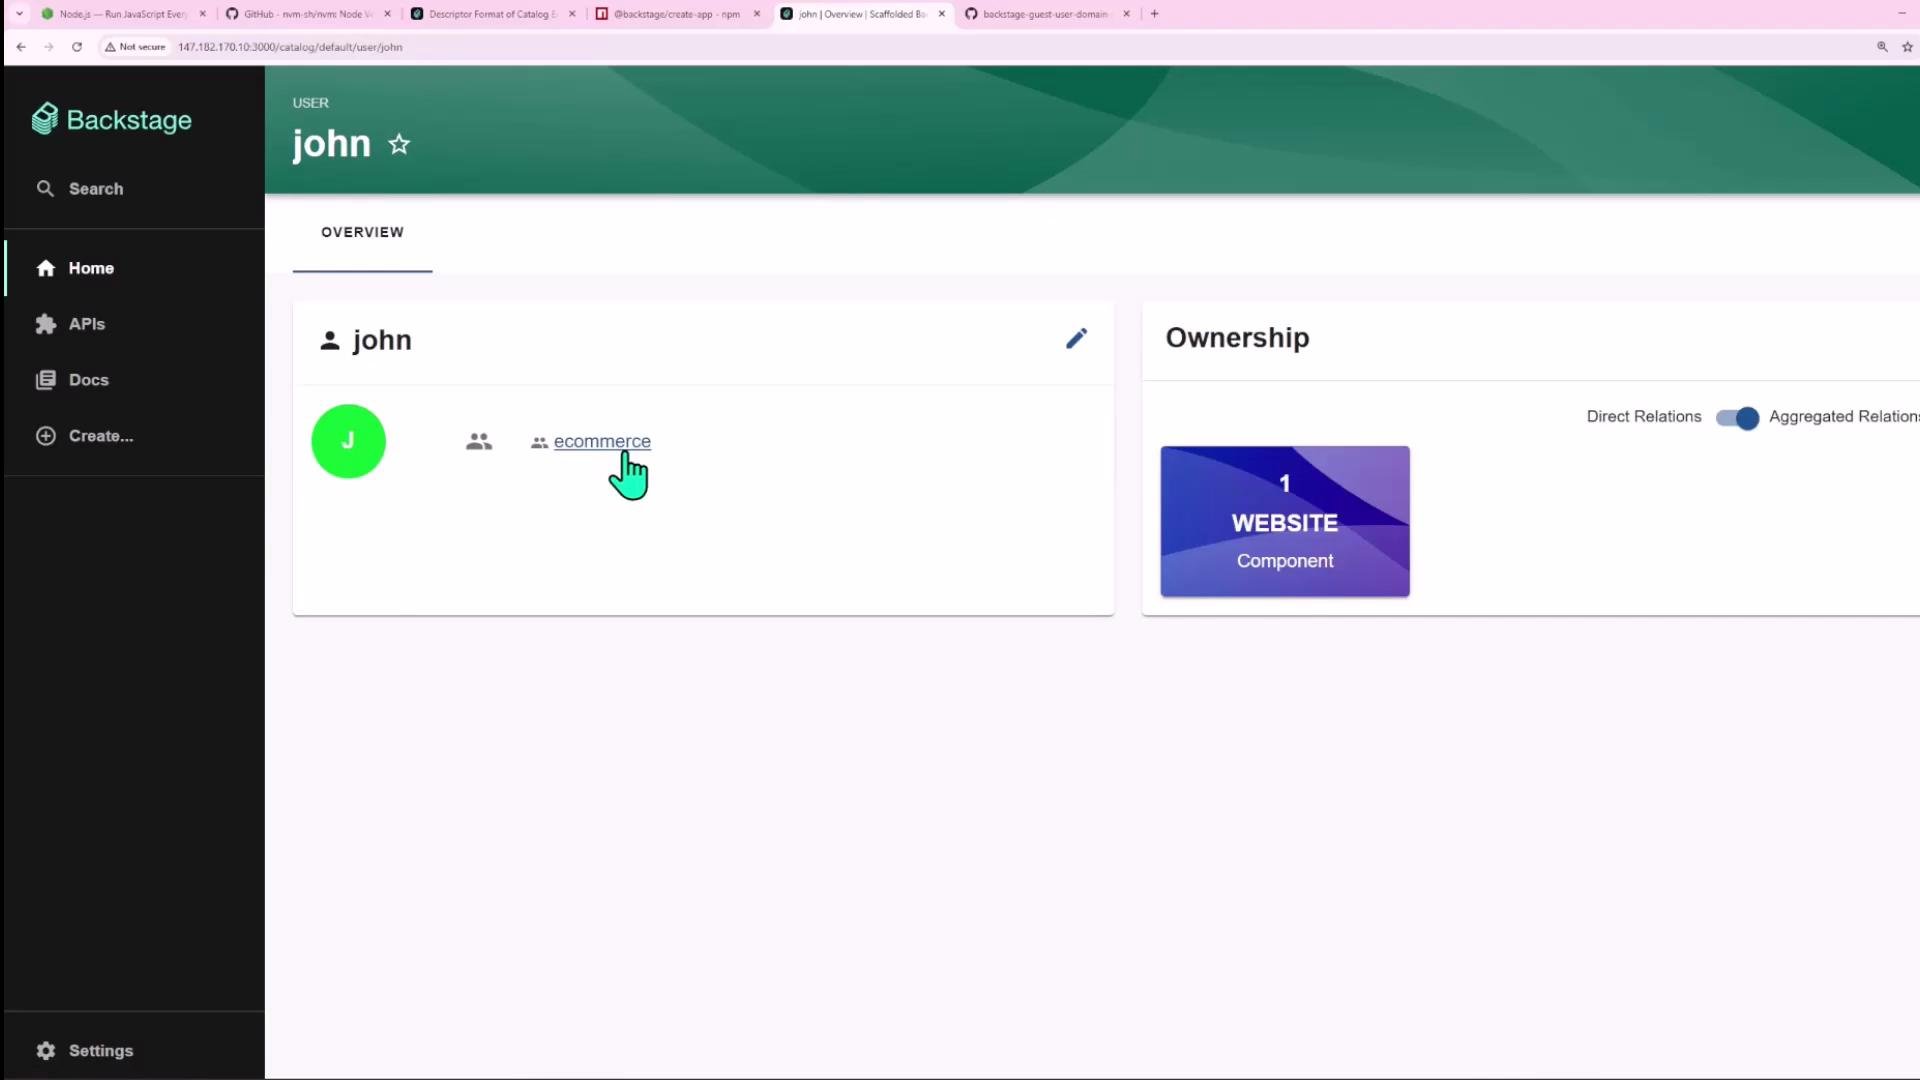
Backstage supports aUser kind. Add this user entry to your entities file:
User is not allowed for the location, you will see a NotAllowedError. Example:
User (and any other required kinds like Domain) to app-config.yaml and restart Backstage:
john’s profile to see relations such as memberOf: ecommerce and any ownership cards.
5. Set an owner to a User (owner reference format)
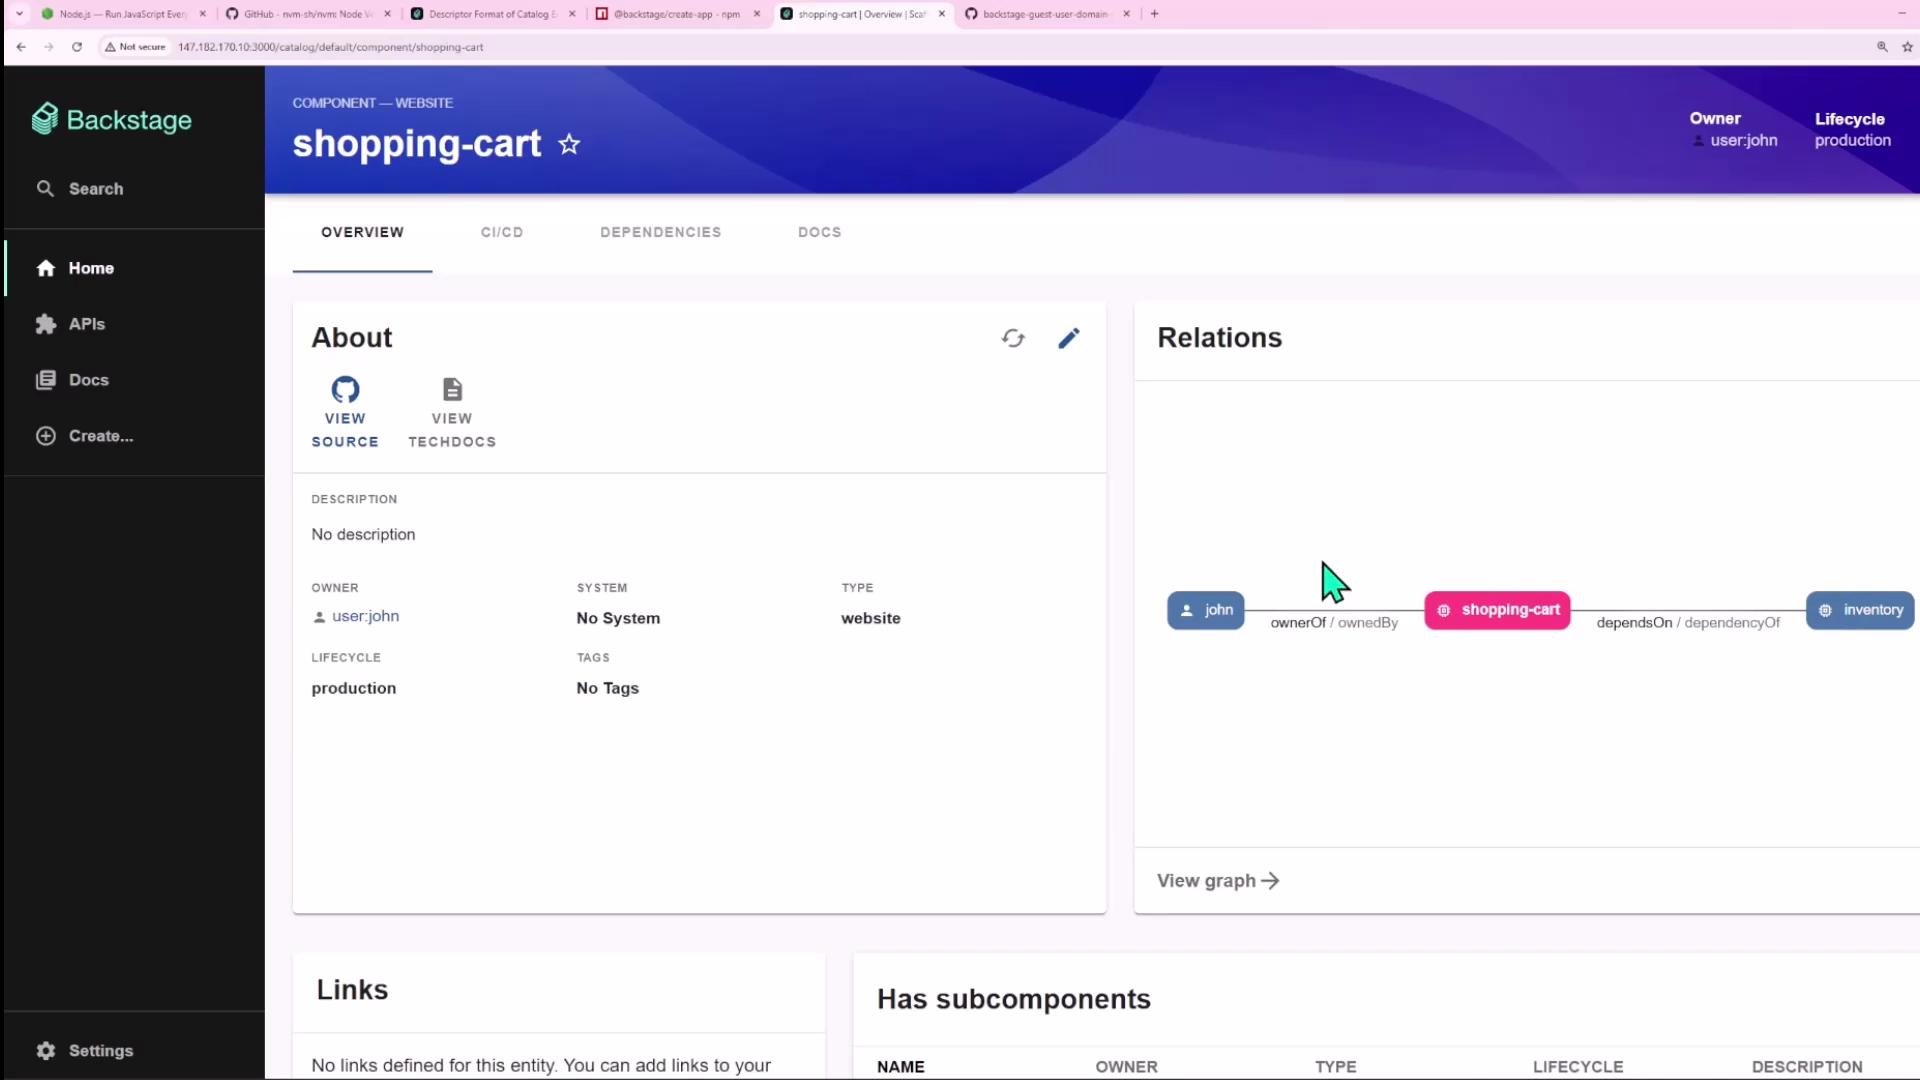
By default,owner values are interpreted as groups. To assign an individual user as owner, use a fully qualified entity reference such as user:default/john (or user:john if your location uses the default namespace). Example:
shopping-cart will show john as owner.
6. Add another Component (inventory) and a dependency
Create aninventory component and make shopping-cart depend on it using spec.dependsOn. Place both components in the same file if convenient:
shopping-cart component page will show a relation to the inventory component.
7. Create a System and associate components
Systems group components delivering a bounded feature set. ExampleSystem descriptor:
purchasing system by setting system: purchasing in their spec:
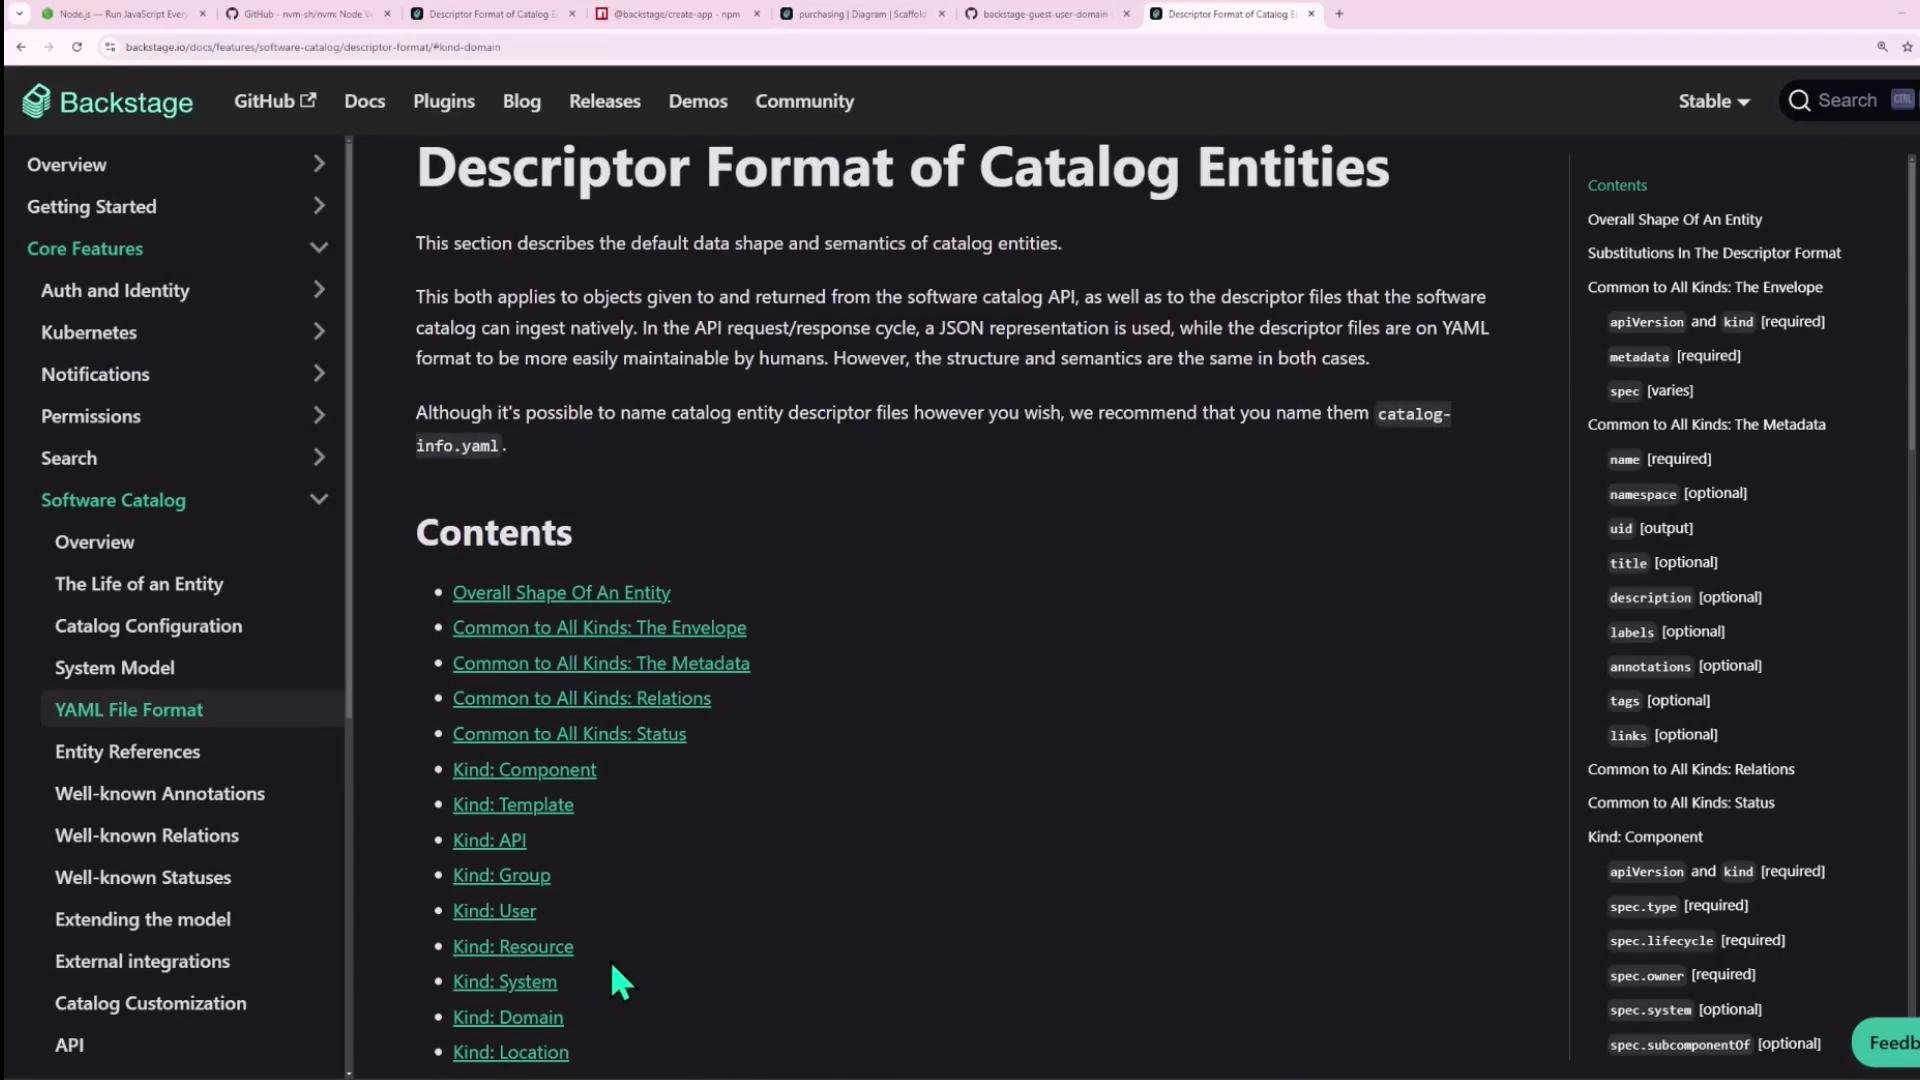
purchasing system in Backstage will list related components, APIs, and resources. See the Backstage docs for more descriptor examples:
- Descriptor format: https://backstage.io/docs/features/software-catalog/descriptor-format
8. Create a Domain (shopping-app) and assign systems
Domains are a higher-level grouping for systems. ExampleDomain descriptor:
Domain is blocked by import rules, add it to app-config.yaml (see earlier example), restart Backstage, and import. After importing, the shopping-app domain will list its systems (for example purchasing).
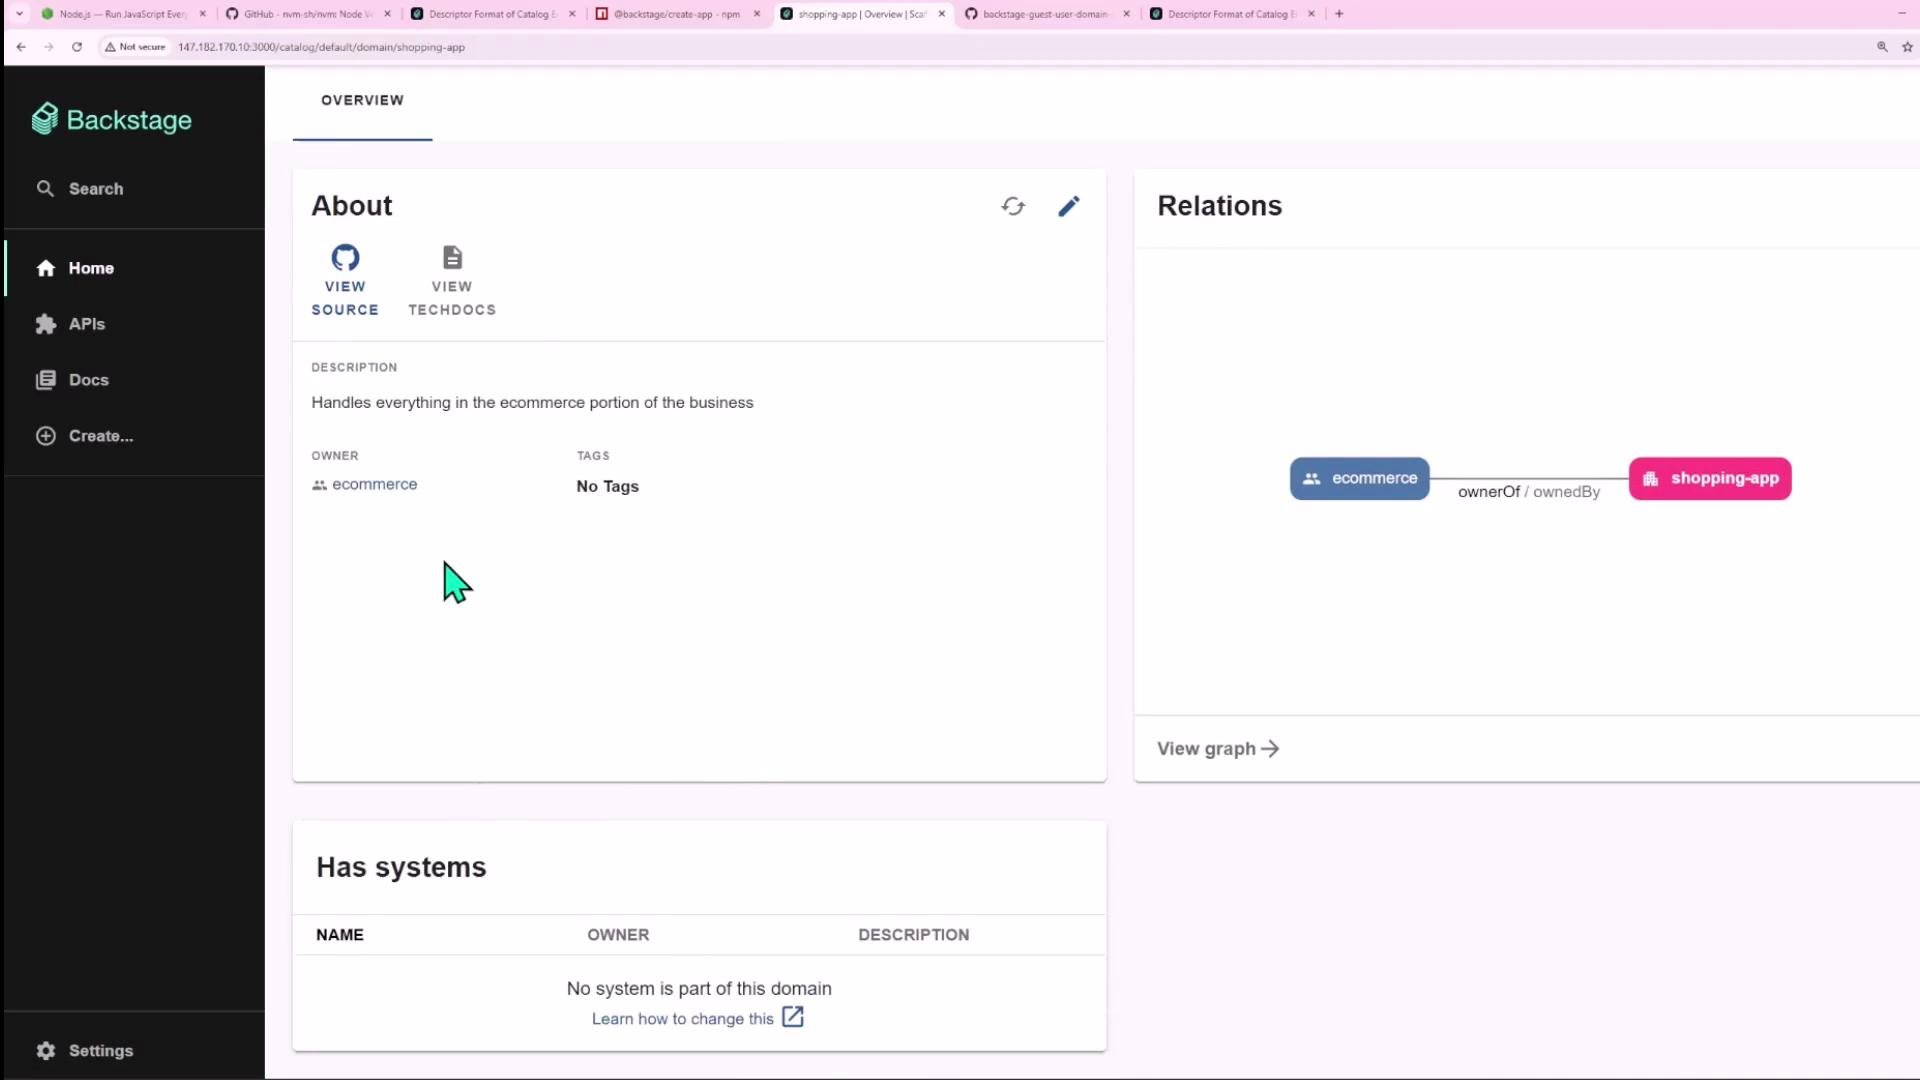
spec.domain on the system to the domain name (for example spec.domain: shopping-app). You can also use spec.subdomainOf in domains for hierarchical structuring.
9. Create a Resource (inventory-db) and connect it
AResource models infrastructure or external services such as databases. Example Resource descriptor for an inventory database:
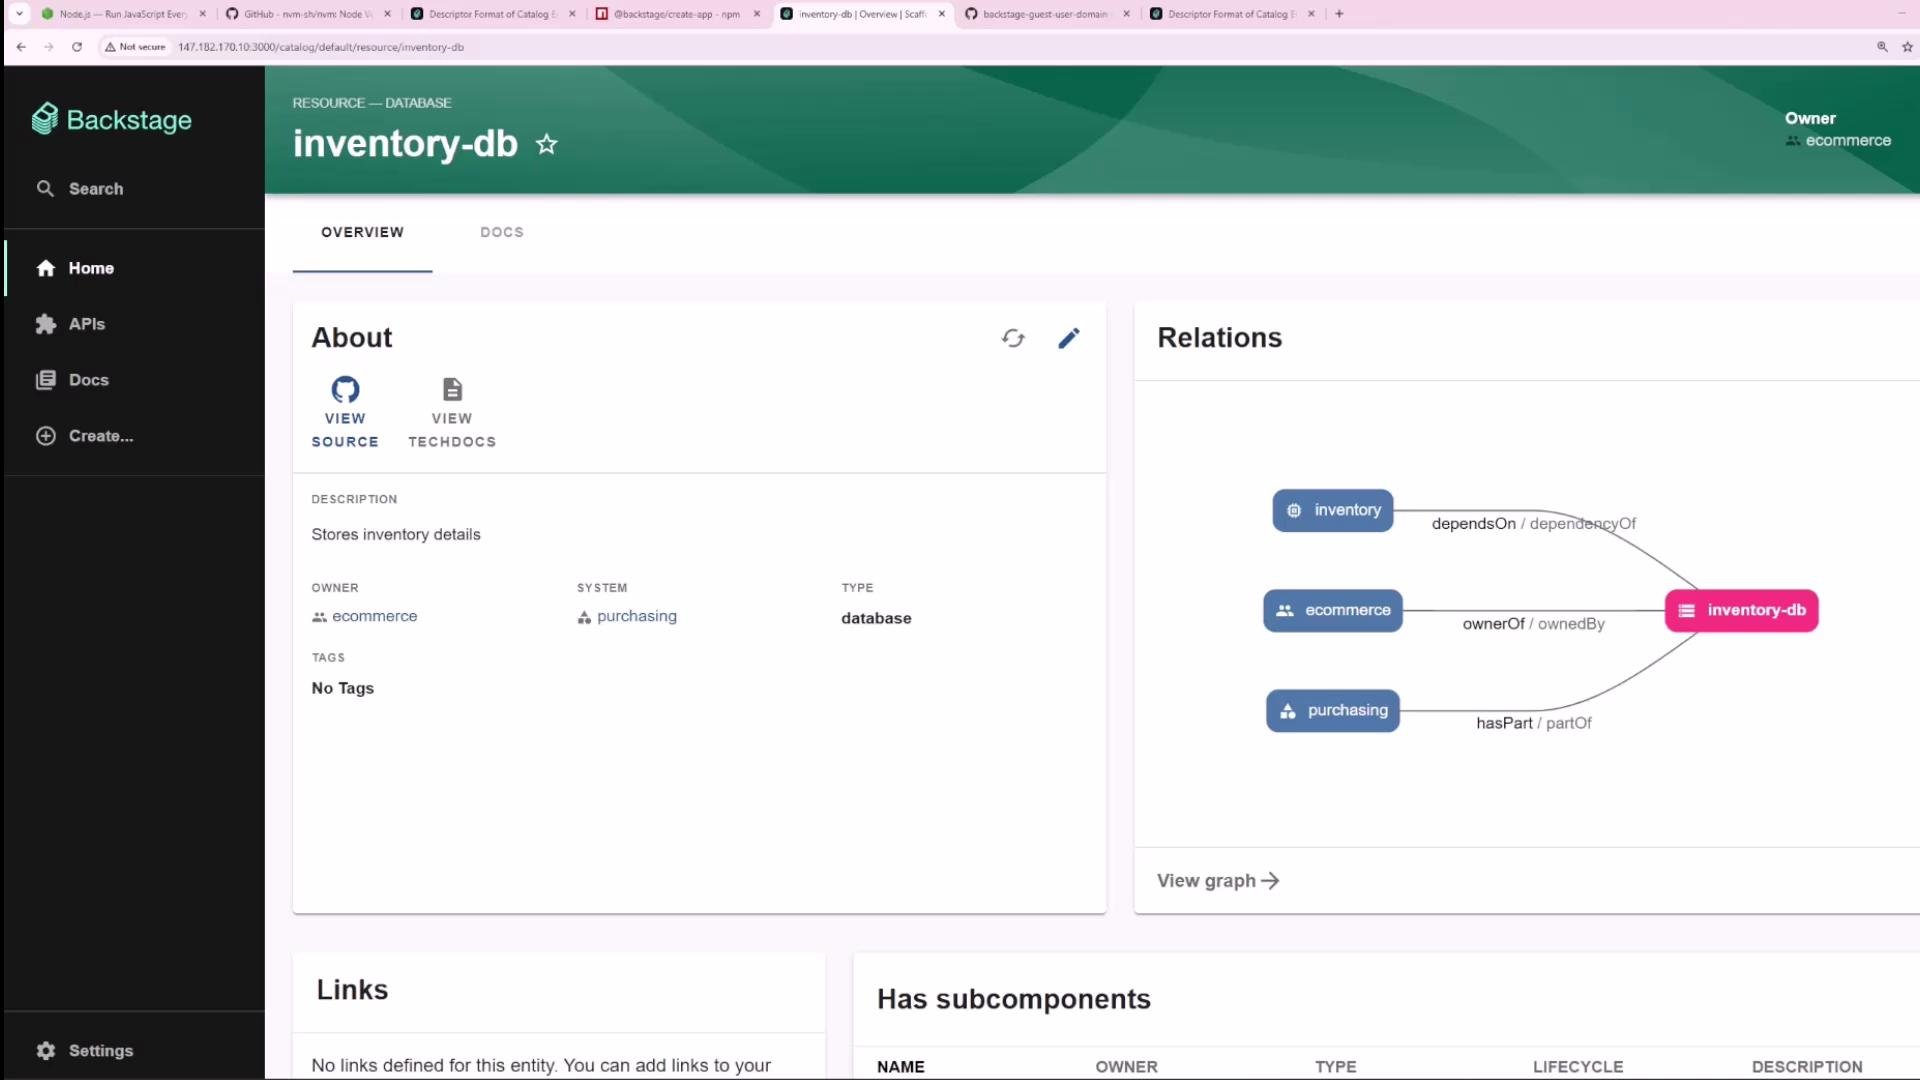
inventory component depend on the resource by referencing it in spec.dependsOn:
Resource is permitted by your catalog rules. After importing, the inventory component will show a relation to inventory-db, and clicking it will open the resource overview.
Reference: Common Backstage Entity Kinds
Summary & Best Practices
- Backstage catalog supports first-class entity kinds: Components, Groups, Users, Systems, Domains, and Resources.
- Use
ownerto indicate ownership; prefix withuser:for individual owners (for exampleowner: user:john). Groups can be referenced by plain names (for exampleowner: ecommerce). - Use
spec.systemto associate a component with a system. - Use
spec.dependsOnto model dependencies between components and resources (for example- component: inventoryor- resource: inventory-db). - If you encounter NotAllowed errors when importing entities, review the
catalog.import.rulesinapp-config.yaml, add the missing kinds, and restart Backstage. - For details and more descriptor examples, consult the Backstage documentation:
- Descriptor format: https://backstage.io/docs/features/software-catalog/descriptor-format
- Software catalog overview: https://backstage.io/docs/features/software-catalog/what-is-the-software-catalog