

catalog-info.yaml). This streamlines onboarding by avoiding manual registration of each component.
Quick overview
- Install the GitHub entity provider plugin on the backend.
- Register the plugin in the backend bootstrap file.
- Add GitHub integration credentials to
app-config.yaml. - Configure one or more
catalog.providers.githubentries that point to your GitHub account or organization. - Restart the backend and verify entities are imported automatically.
catalog-info.yaml):
packages/backend/package.json. If you see peer dependency warnings, review and resolve them as needed.
Step 2 — Register the plugin in your backend bootstrap file
Open packages/backend/src/index.ts and add the GitHub module to the backend modules that are started. Place this near other backend.add(import(...)) entries.
Example (TypeScript):
Ensure you add the GitHub module just once. Many Backstage projects already include
@backstage/plugin-catalog-backend; the new step is adding the _module_github provider module to enable GitHub-backed discovery.app-config.yaml or app-config.local.yaml:
app-config.local.yaml or environment variables for secrets in development/production.
Step 4 — Configure a GitHub entity provider in app-config.yaml
Under catalog.providers.github you define provider entries. Each provider includes:
- provider ID (the key under
github:) organization(GitHub user or org)catalogPath(path within the repo to find the entity file)- optional
filters(branch and repository regex) - optional
scheduleto control polling frequency and timeout
catalog-info.yaml on the main branch every 20 minutes:
- The provider ID (e.g.,
sanjeevAccount) is the key undergithub:and can be any camelCase identifier. catalogPathis relative to the repository root; default is/catalog-info.yaml.- Use
filters.repositoryregex to limit which repos are scanned. - Be conservative with schedule frequency to avoid hitting GitHub API rate limits.
catalogPath. For example, if a repository contains catalog-info.yaml at the root on the main branch, Backstage will import it automatically.
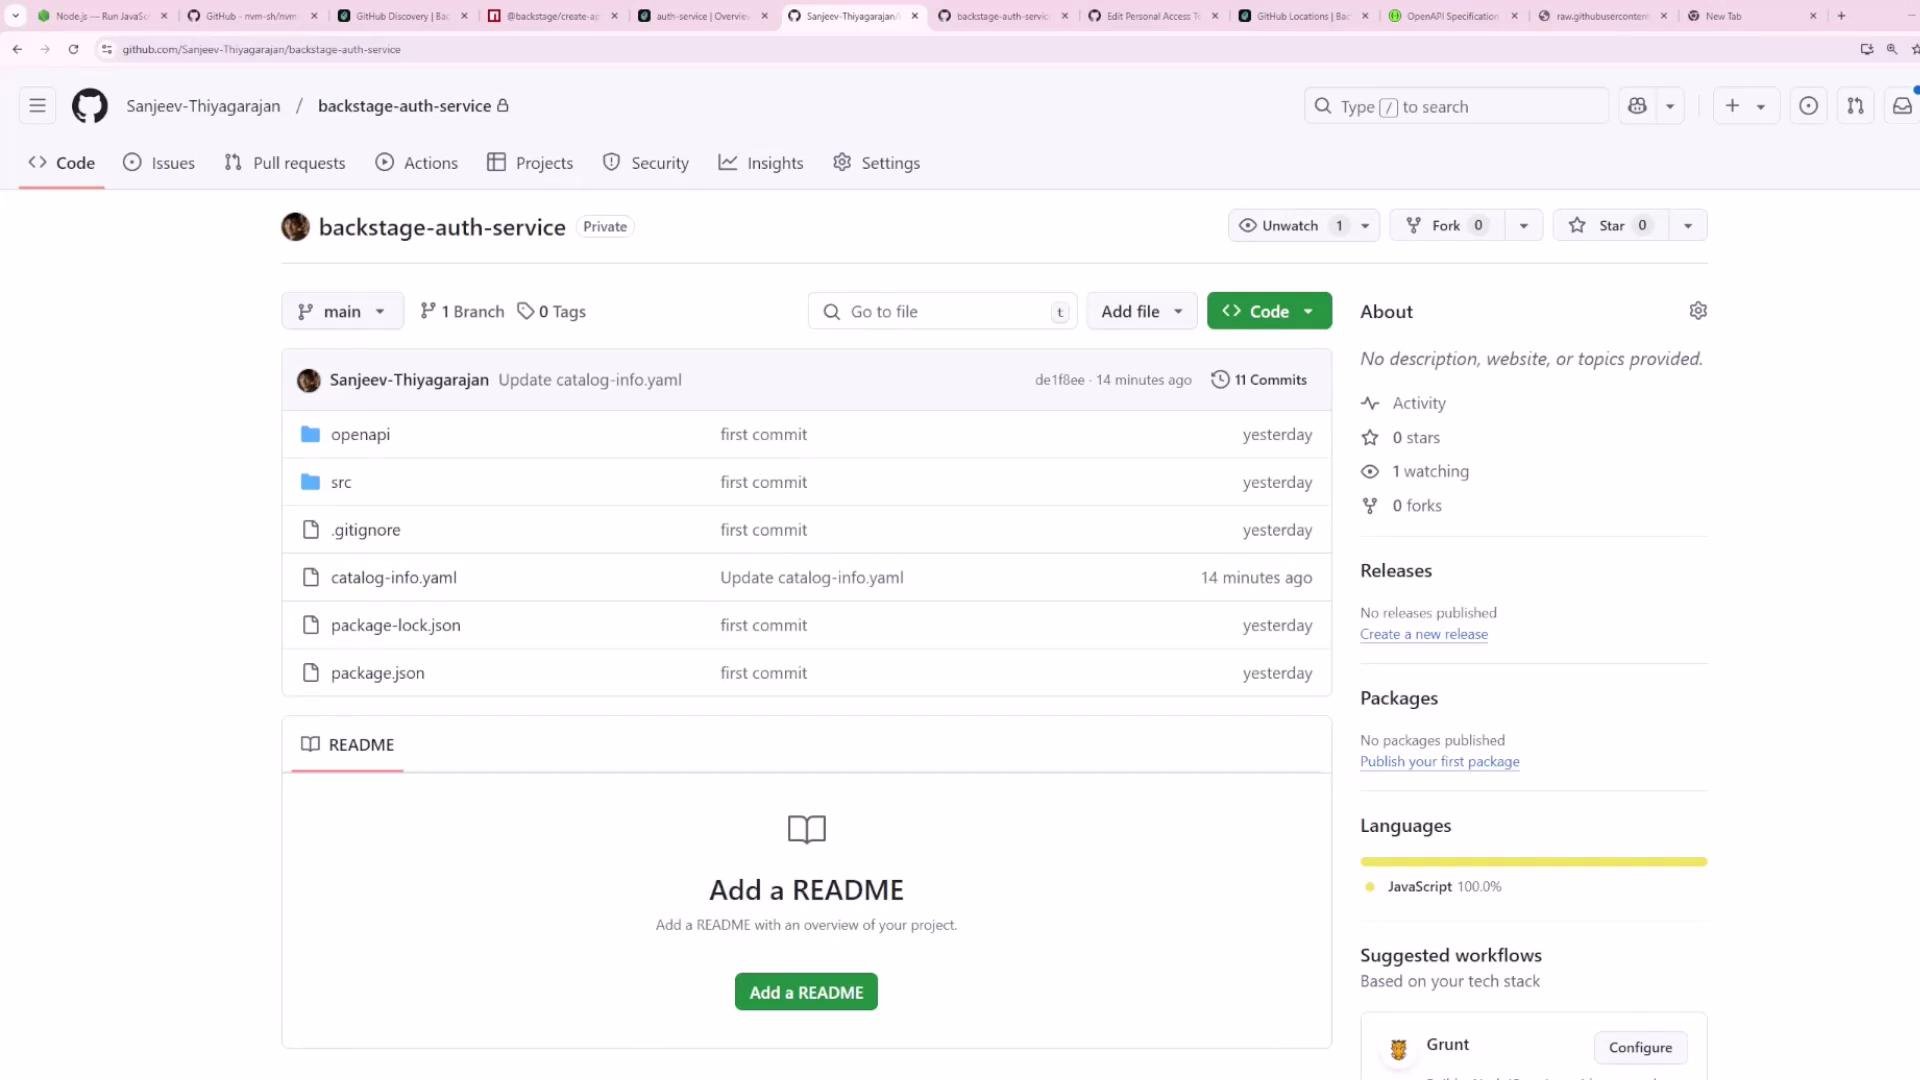
main branch and all repositories:
entity.yaml) or places the entity file in another path, the GitHub provider will not import it. Options:
- Update the repository to include
catalog-info.yamlat the configuredcatalogPath. - Change the provider’s
catalogPathto match the repo layout. - Use additional provider entries to cover different layouts.
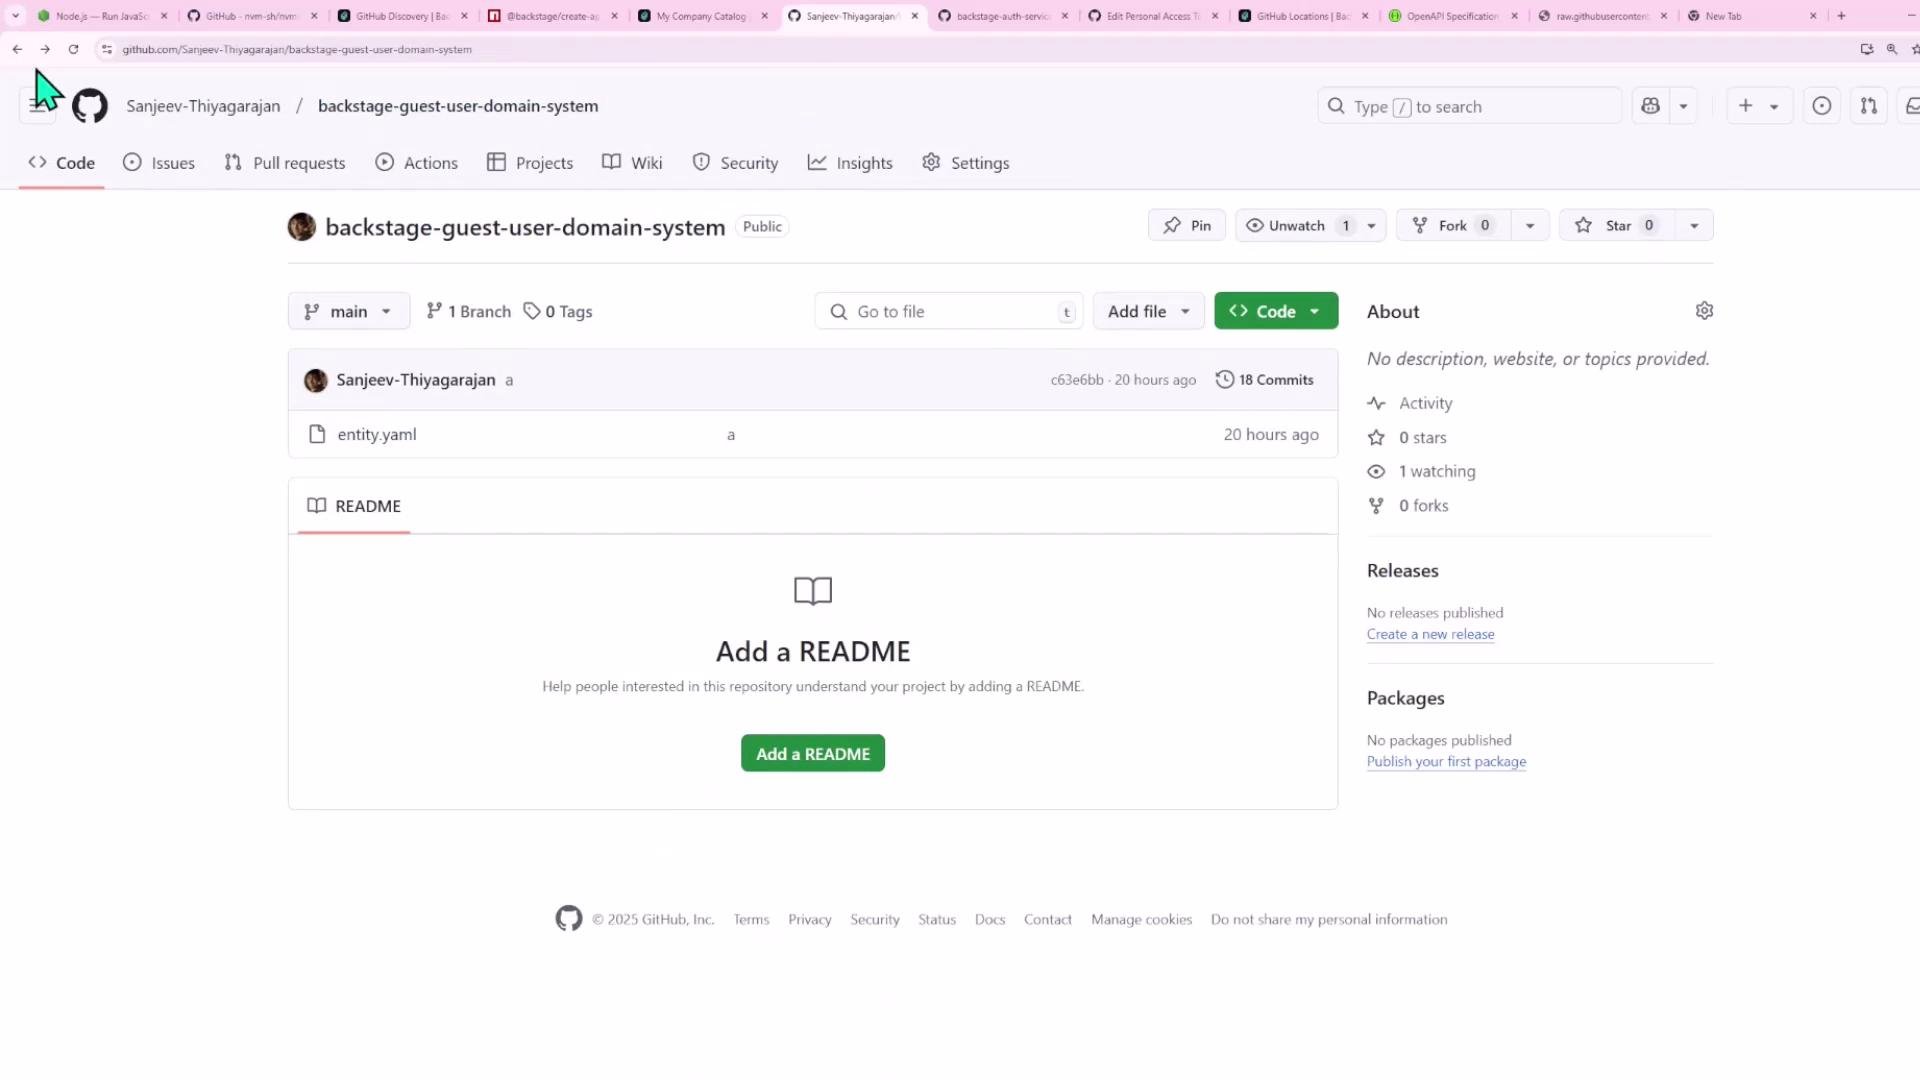
catalog-info.yaml on the main branch will appear in the Backstage Catalog UI.
Example: adding an additional organization provider
You can add multiple providers to scan other accounts or organizations. Example: add shopping-hub alongside your personal account:
shopping-hub and import repositories that contain catalog-info.yaml.
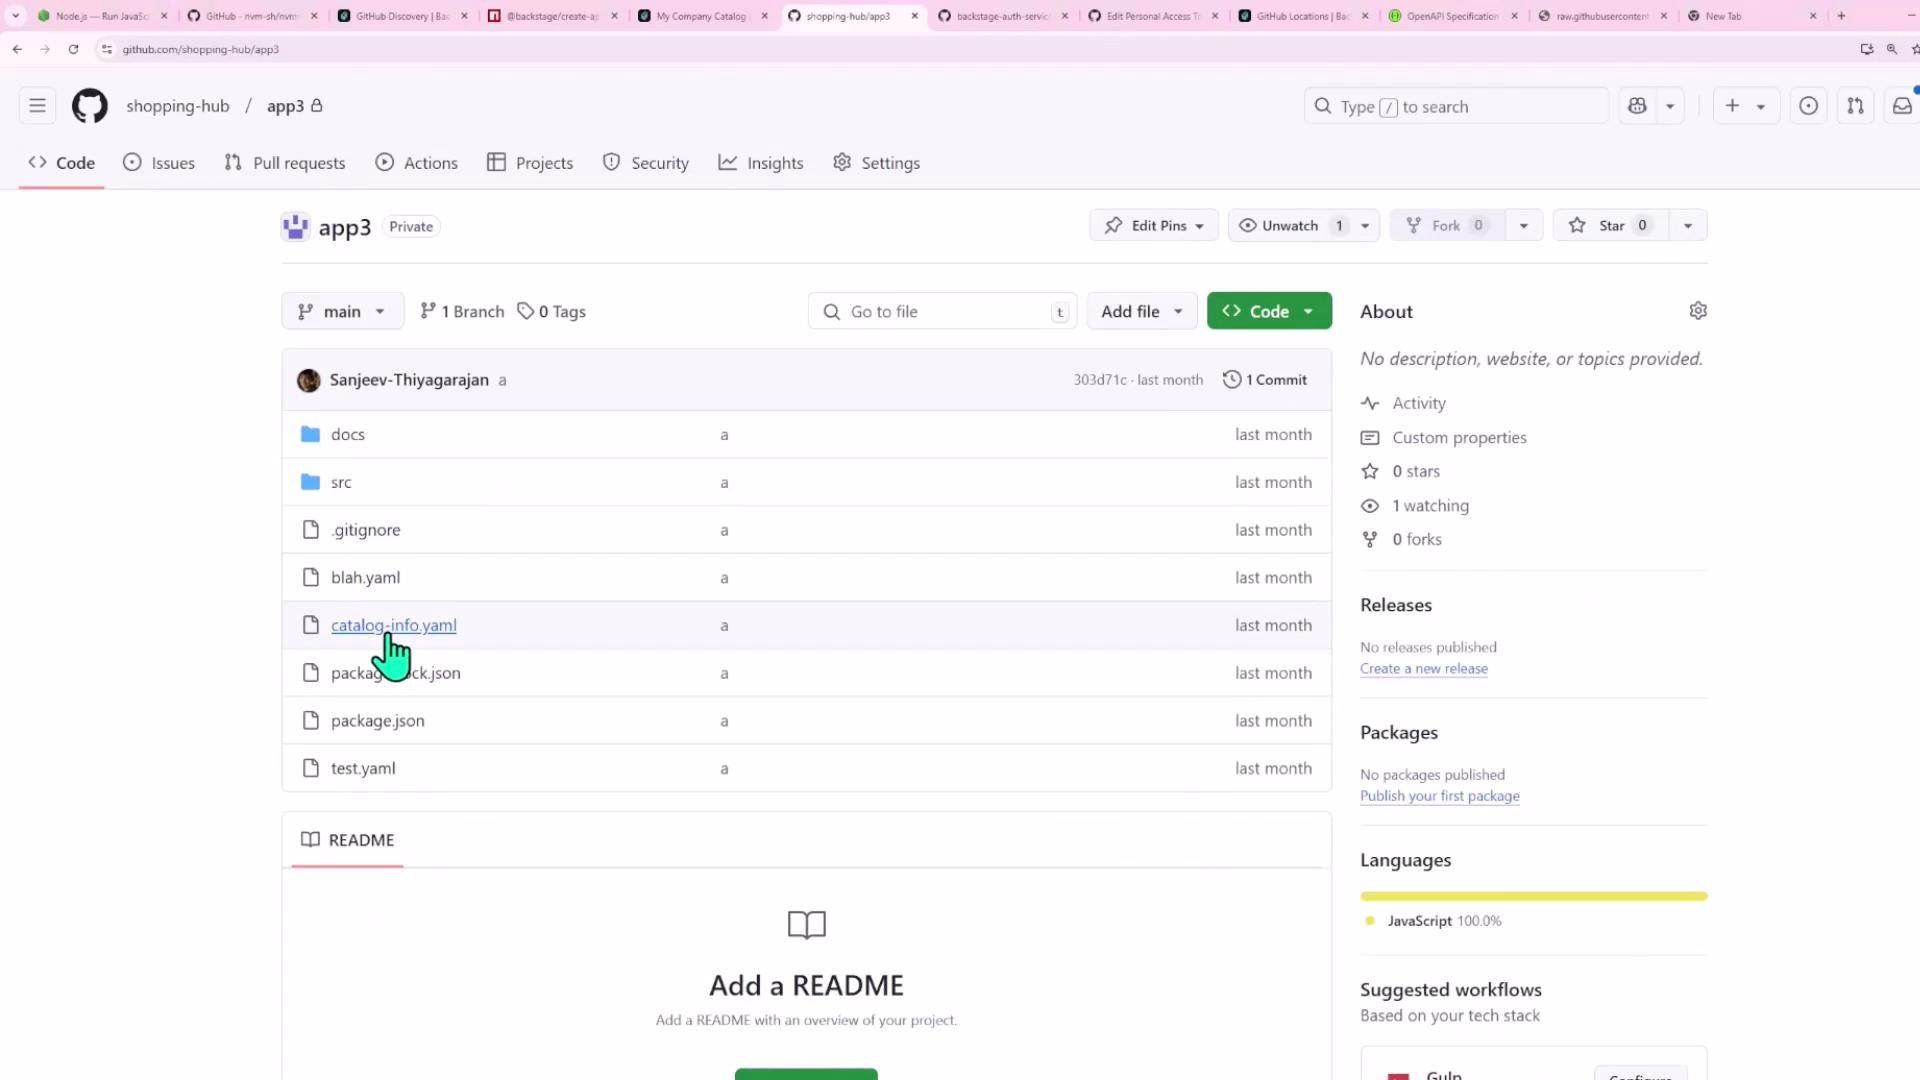
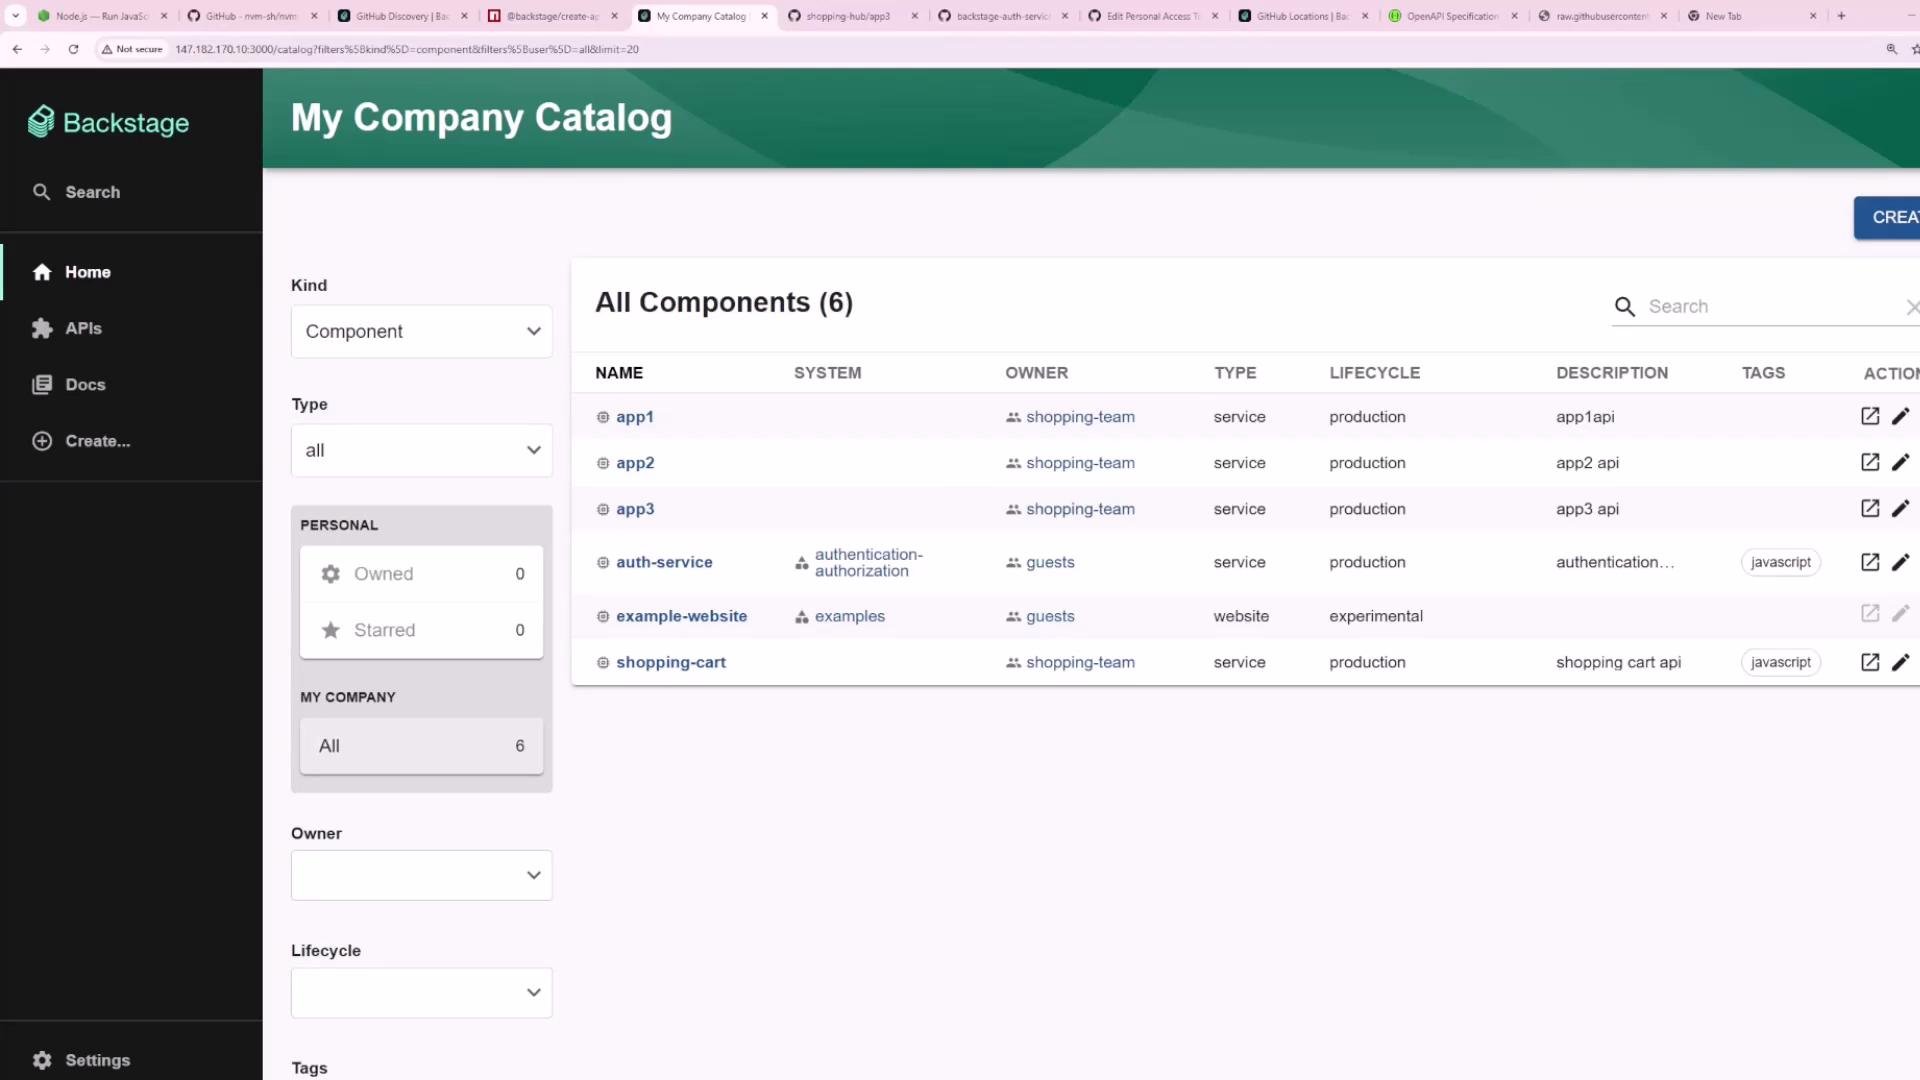
- GitLab
- S3 (object storage)
- Custom or organization-specific SCM providers
- Store secrets like PATs in
app-config.local.yamlor environment variables — never commit them. - Start with a conservative polling schedule (30–60 minutes) to reduce GitHub API usage.
- Use repository filters to scope discovery and avoid importing irrelevant repositories.
- If entities don’t appear, check backend logs for provider startup messages and any GitHub API errors.
- Verify that the person/team using the PAT has access to the target repositories or organization.
- Confirm the
catalogPathand branch match the actual repo layout.
- Backstage Integrations docs: https://backstage.io/docs/integrations
- Backstage Catalog provider modules: https://backstage.io/docs/features/software-catalog/providers