

What Is Nmap?
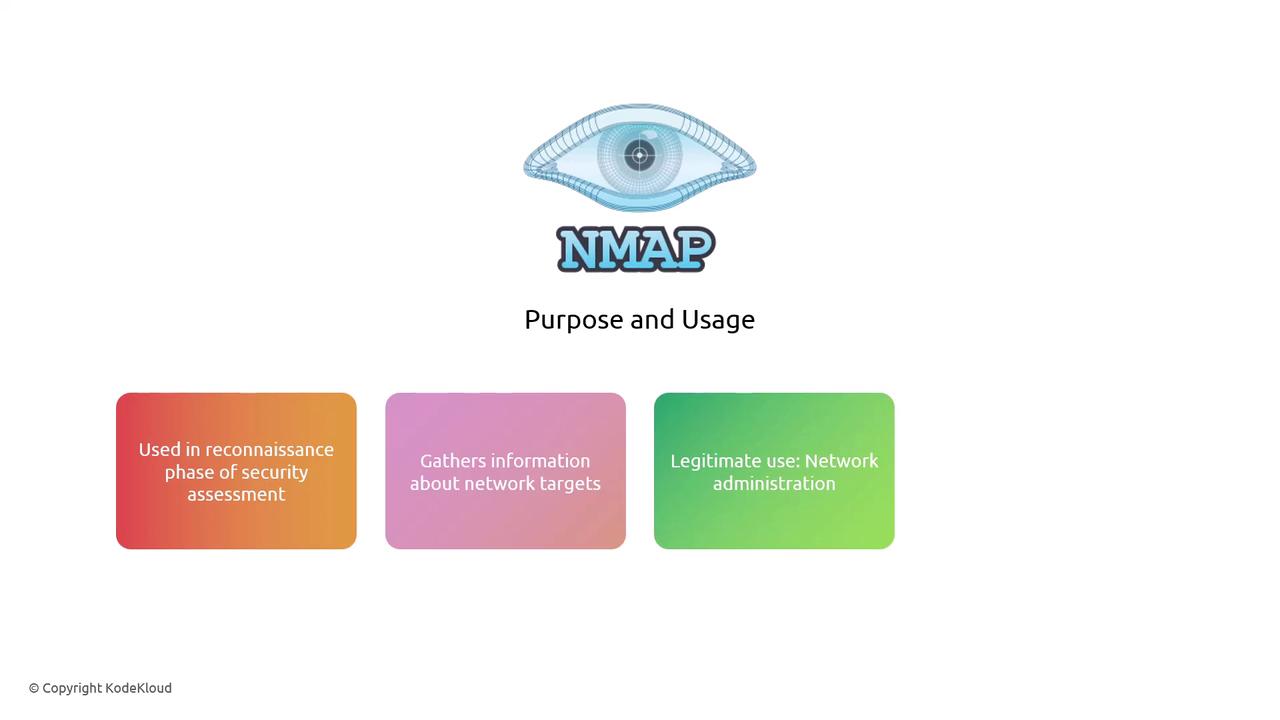
Nmap—short for “Network Mapper”—is a powerful open-source tool used to scan networks. It identifies active IP addresses, detects open ports, and builds a map of devices along with the services running on them.
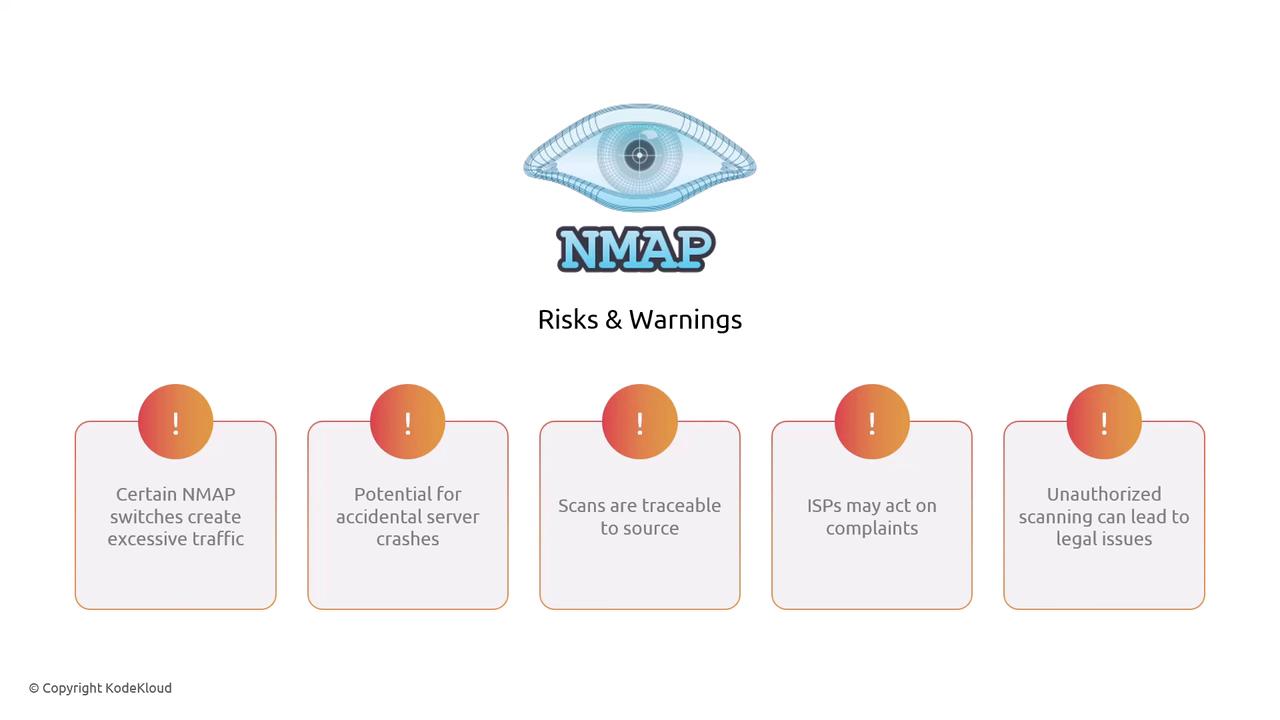
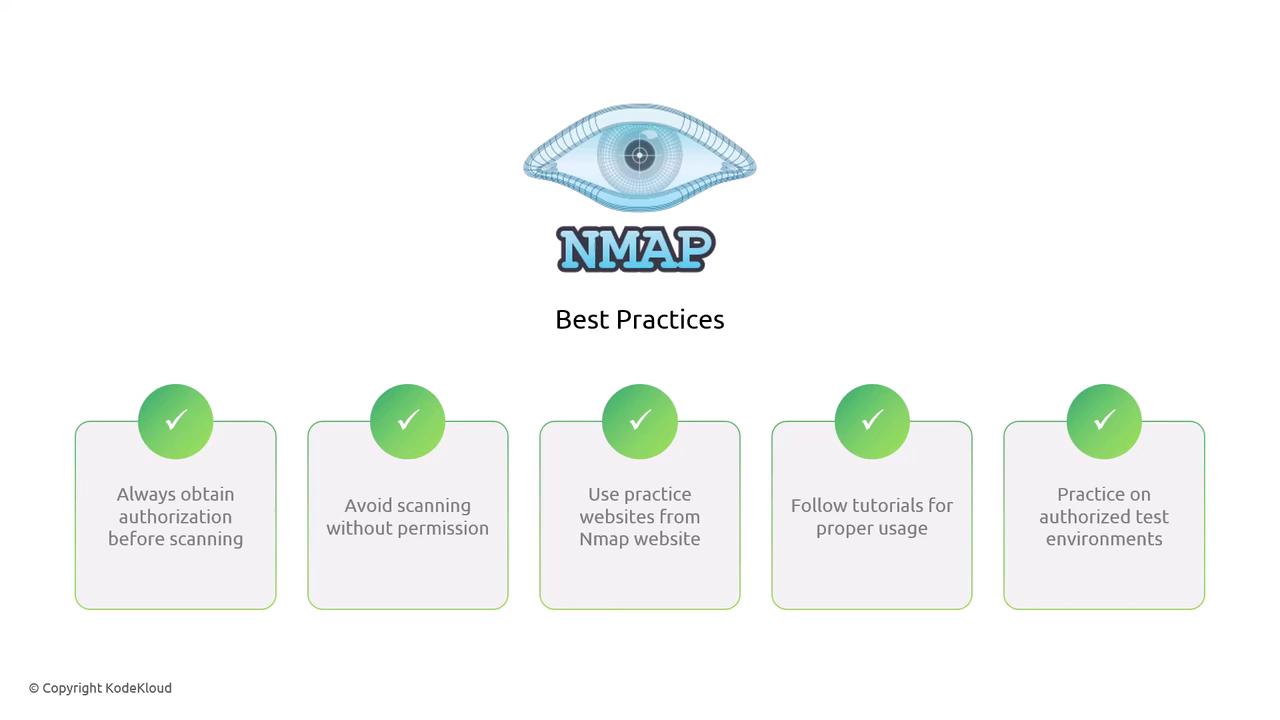
Although Nmap is legal to use in the US and the EU, some of its switches can generate significant network traffic. Aggressive scanning may even disrupt target systems and can result in legal consequences if performed without authorization. Always ensure you have the necessary permissions before scanning any network.
How Port Scans Work
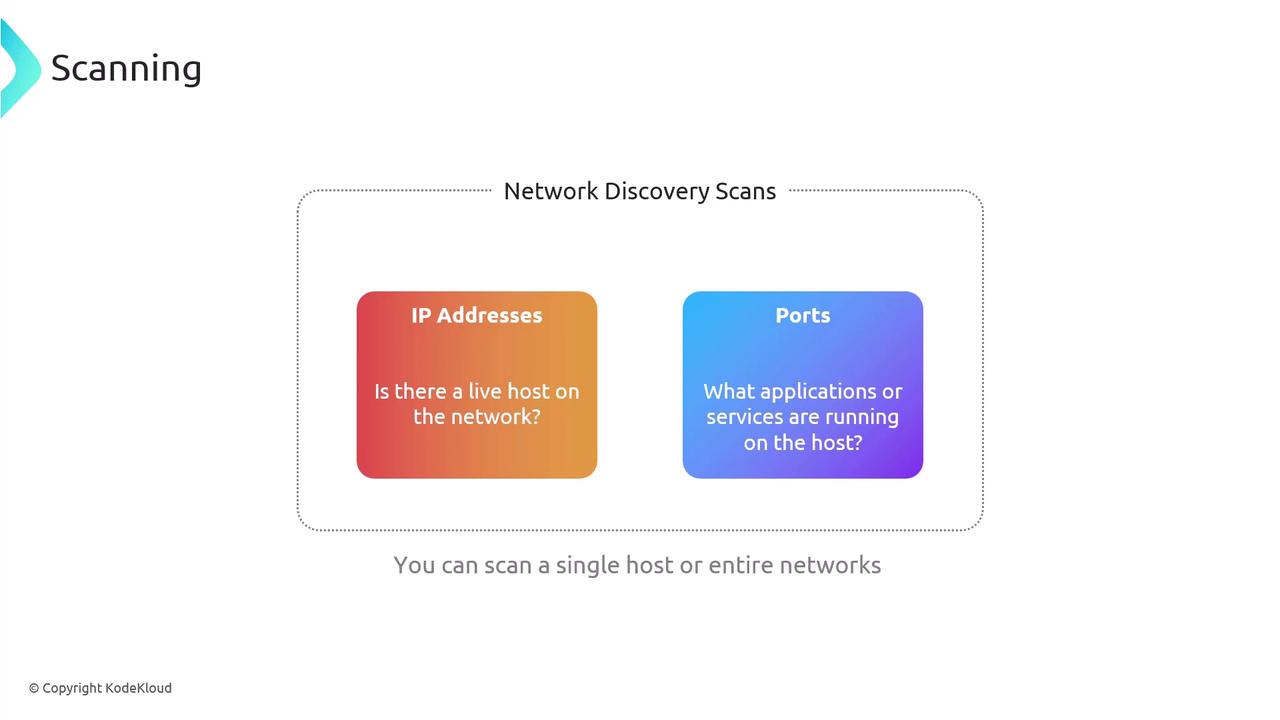
Nmap scans serve two primary functions:- Discovering live hosts by identifying active IP addresses.
- Determining which applications or servers are listening on specific ports.
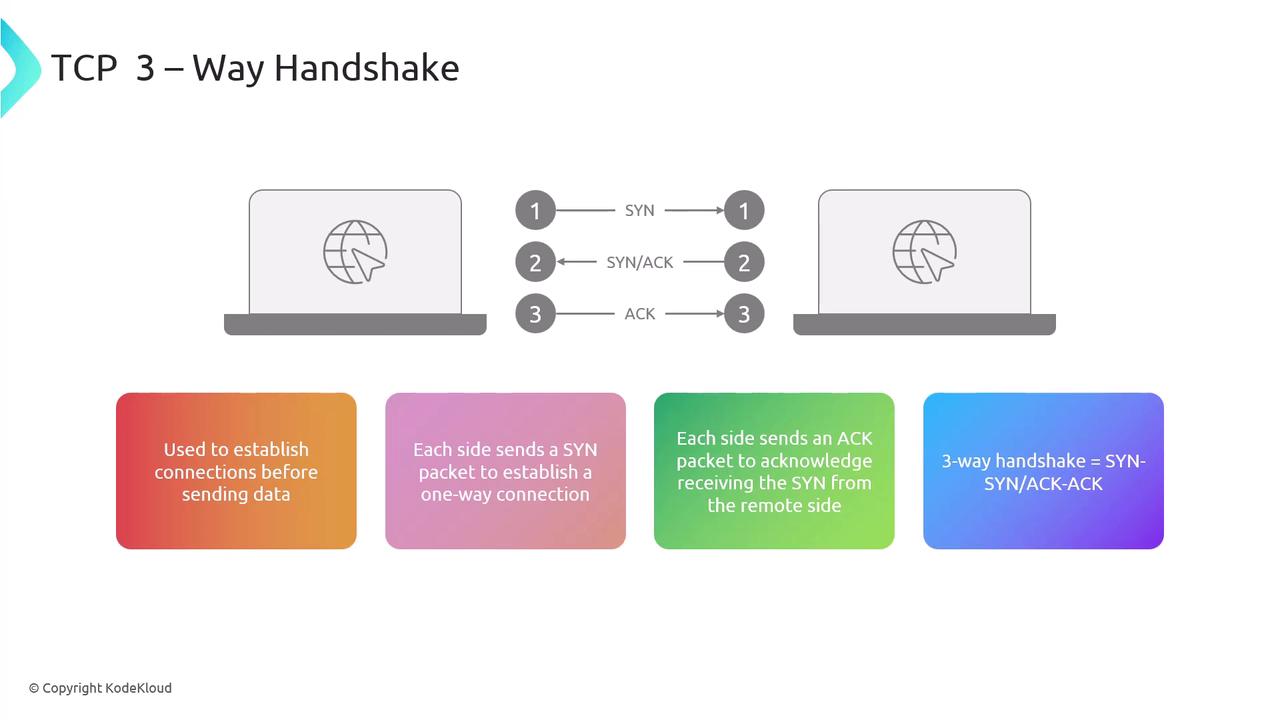
- A SYN packet from the source.
- A SYN-ACK response from the destination.
- A final ACK from the source to complete the connection.
Scanning Techniques with Nmap
When performing network discovery, Nmap offers several switches to modify its behavior:-
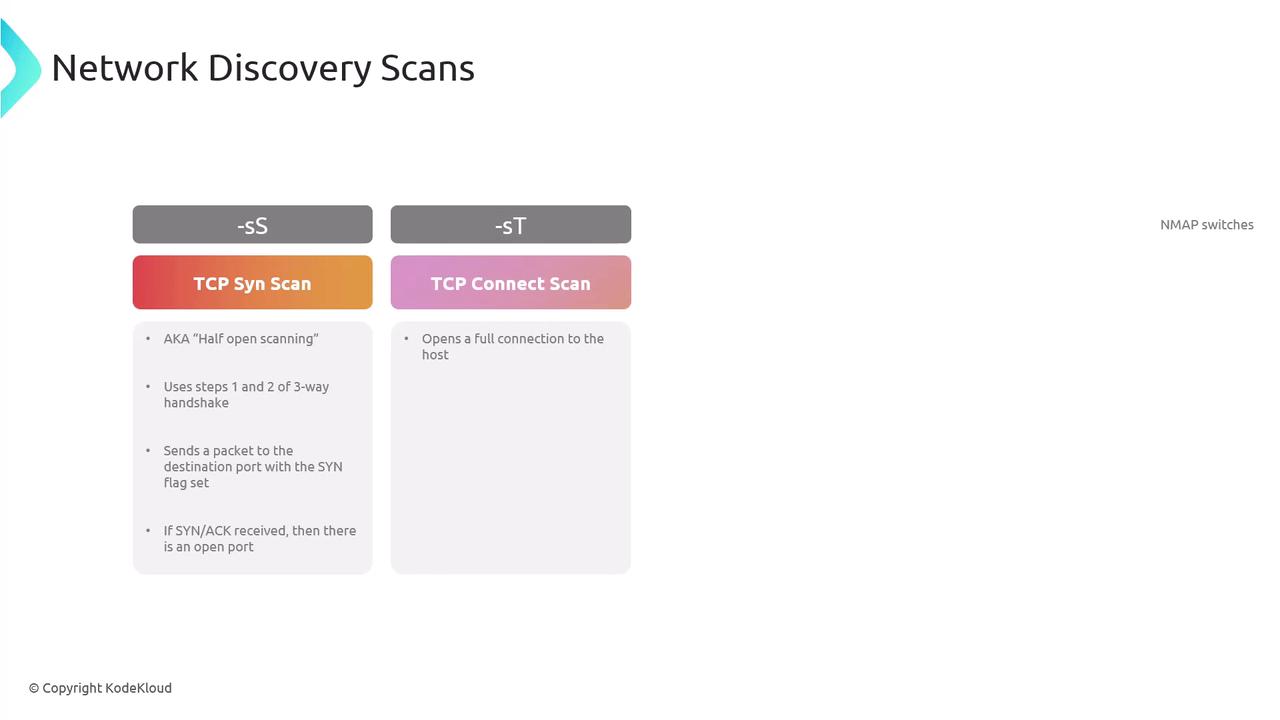
TCP SYN Scan (Half-Open Scan):
Sends a SYN packet and checks for a SYN-ACK reply without completing the full handshake. This stealthy method avoids forming a full TCP connection. -
TCP Connect Scan:
With the-sToption (case sensitive), this scan completes a full TCP handshake.
- Open: The target responded, indicating the port is available.
- Closed: The target responded, but no service is running on the port.
- Filtered: A firewall or filter is blocking the traffic, making it unclear whether the port is open.

Example Nmap Command
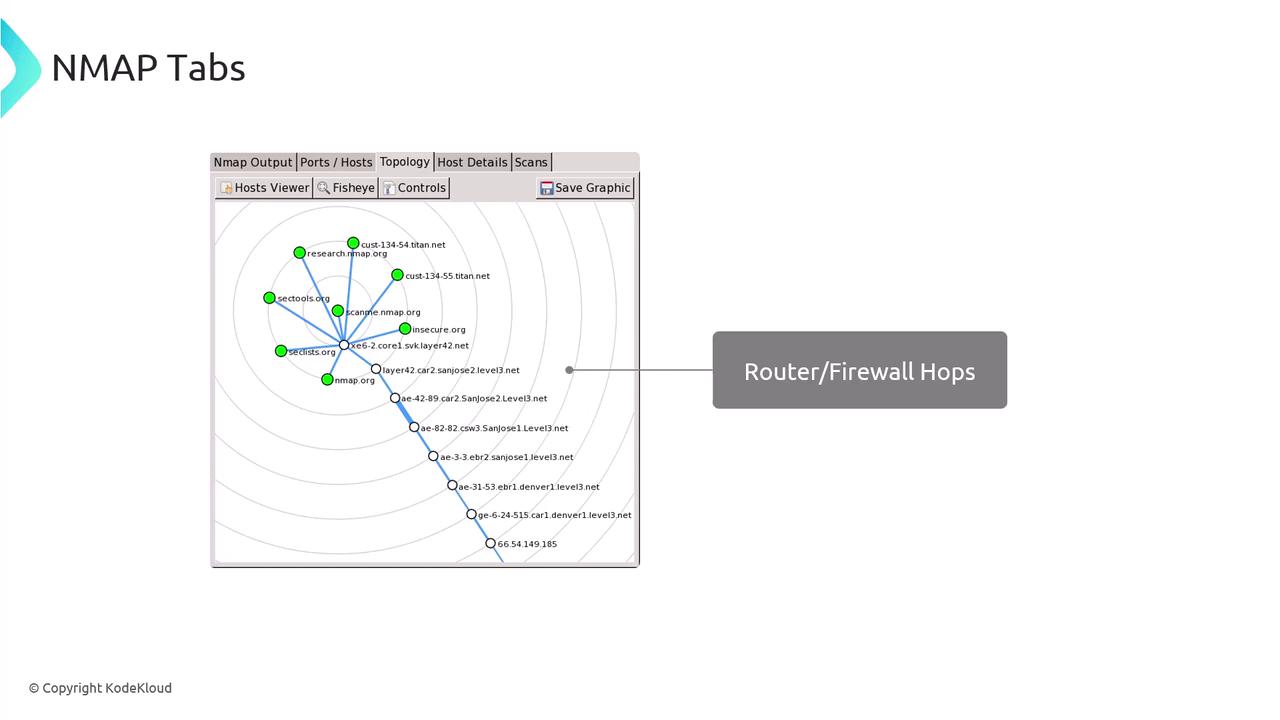
Below is an example command that scans a target, with TCP port 22 open and TCP port 25 closed:-T4increases the scan speed.-Aenables aggressive scanning, including OS detection, version detection, script scanning, and traceroute.-vincreases verbosity for more detailed output.
Lab Walkthrough
Once logged into the KodeKloud Hands-on Labs environment, you can begin with the following questions and exercises to reinforce your learning.Question 1: What is the Primary Purpose of Nmap?
- Monitor system performance
- Scan and map networks
- Design network hardware
- Develop network applications
Exploring Nmap Options
For example, the-p option allows you to specify which ports to scan. Always refer to the official documentation for a comprehensive understanding of available options.
Below is an excerpt from the usage information provided by Nmap:
Question 2: What Does the “-p” Option Specify?
The-p option tells Nmap which port range to scan.
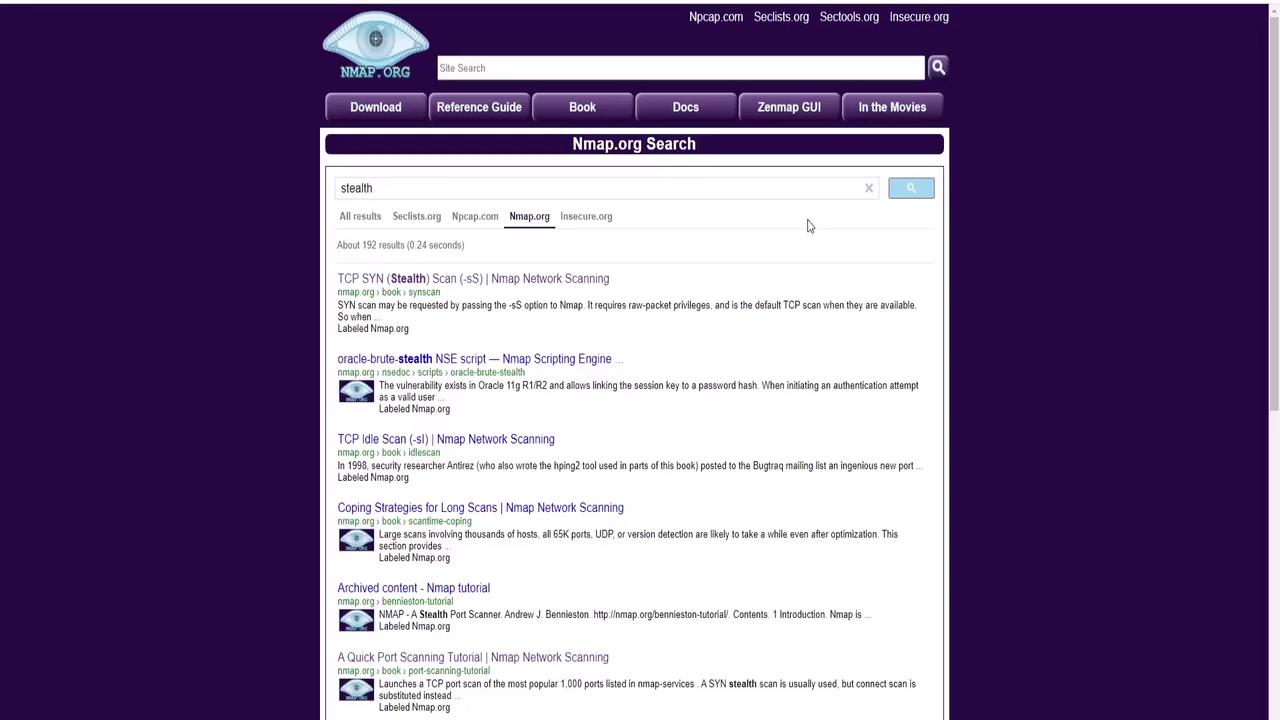
Question 3: Which Option Performs a Stealth Scan?
A stealth scan, also known as a TCP SYN scan, is performed using the-sS option. This scan sends a SYN packet and, if a SYN-ACK is received, indicates an open port without completing the TCP handshake.
Question 4: What Does the “-A” Option Do?
The-A option enables aggressive scanning. This includes OS detection, version detection, script scanning, and traceroute. Note that this option does not affect the scan speed.
Question 5: Which Option Increases Verbosity?
The lowercase-v (verbose) option increases the verbosity level of the scan output by providing more detailed information.
Question 6: How Do You Save Scan Output to a File?
Use the-o option followed by a specifier (for example, -oN for normal output) and a filename. For example:
Lab Activity: Service and OS Detection
-
Determining Nping Echo Service:
Run a basic scan on the test host:A sample output might show:The output indicates that the Nping Echo service is running on port 9929. -
Determining Elite Service:
Run the same scan to observe that the Elite service runs on port 31337. -
OS Detection:
Use additional switches to detect the operating system:The results may indicate that the target system is running Ubuntu Linux. -
Identifying the Web Server:
Run a version scan:A sample output shows:From this output, the web server running on port 80 is identified as Apache HTTPd version 2.4.7.
Additional Resources
For more detailed information, refer to these useful links:Always ensure that you have proper authorization before scanning any network to avoid potential legal issues.