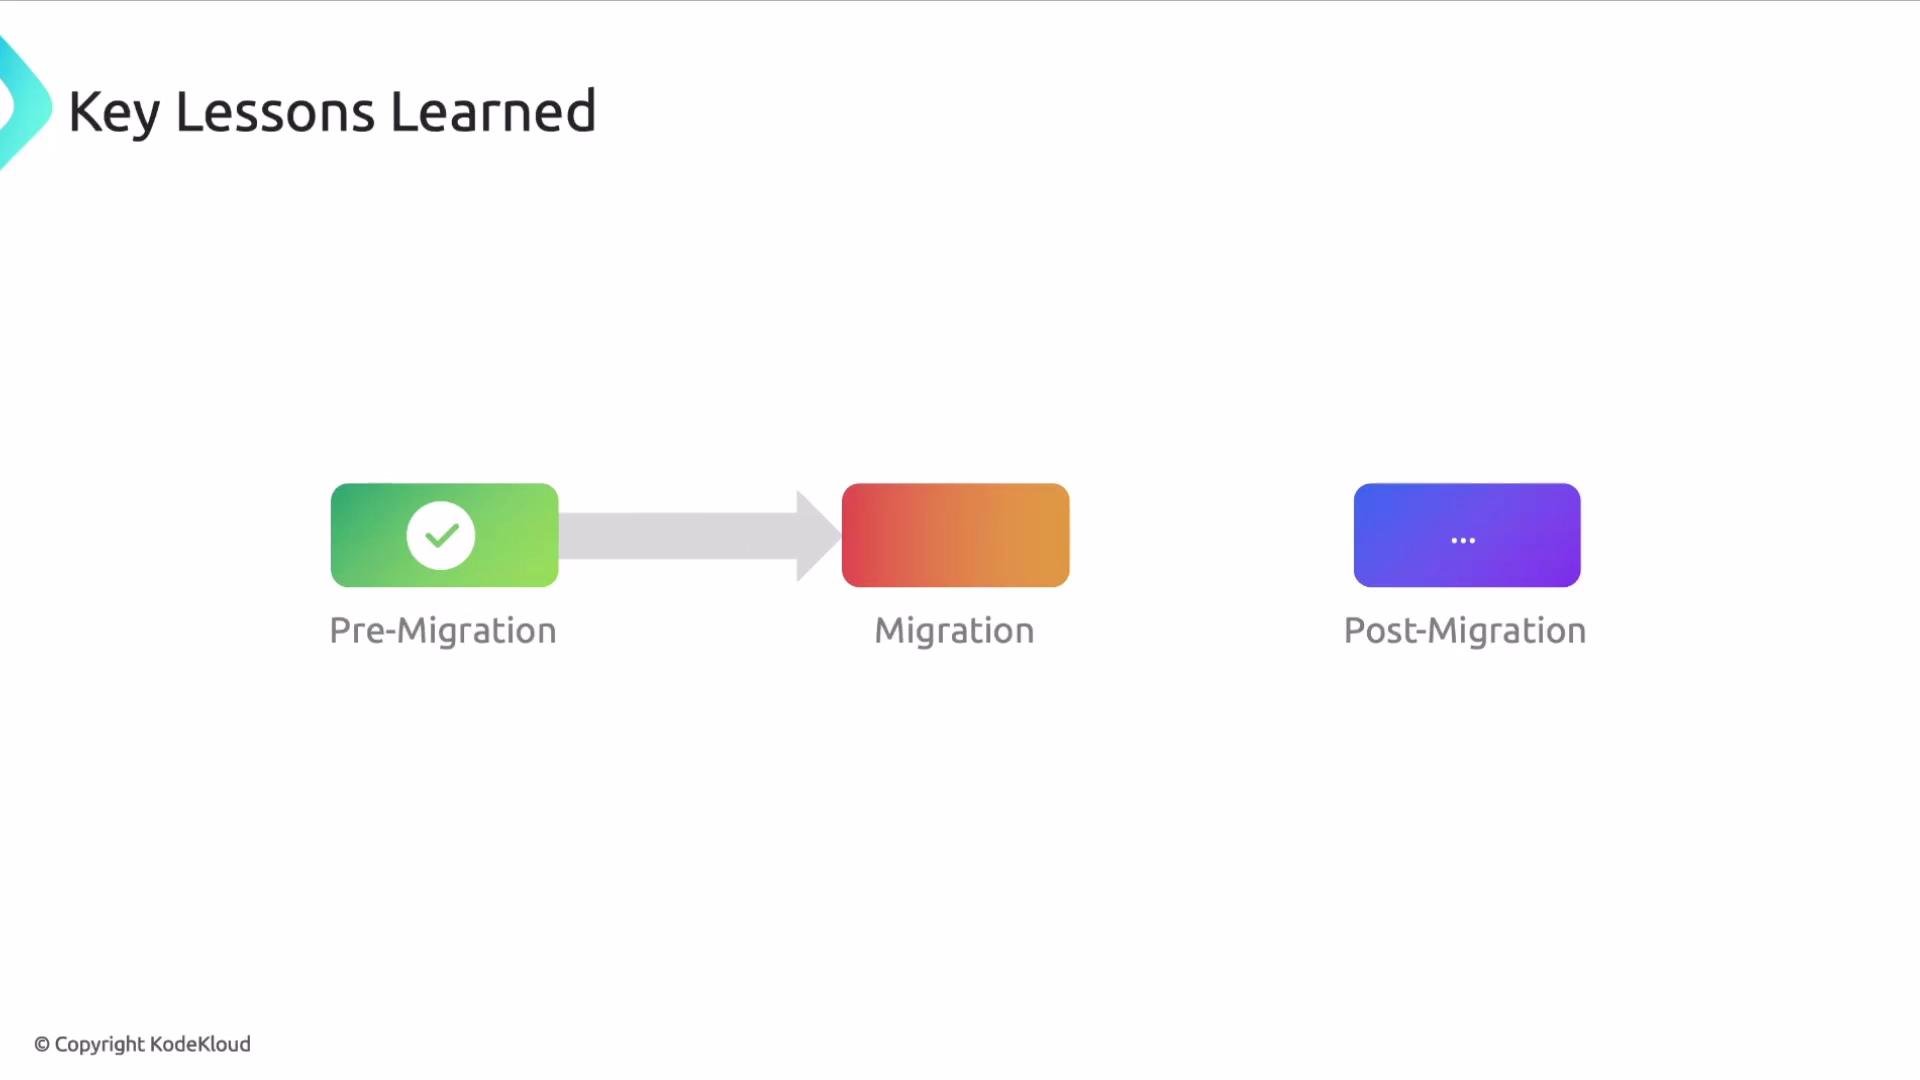
1. Verify compatibility before committing to dates
Compatibility checks are a gating factor. Confirm that every component you plan to migrate is supported by your target technology stack. Teams often run older language runtimes, unsupported OS versions, or legacy libraries that require upgrades before they can be connected to Datadog agents or integrations. Identifying these gaps early prevents schedule slips and difficult conversations with stakeholders.Before announcing timelines, run a compatibility audit across languages, frameworks, agents, and any integration points. Document components that require upgrades, replacements, or configuration changes so deadlines are realistic.
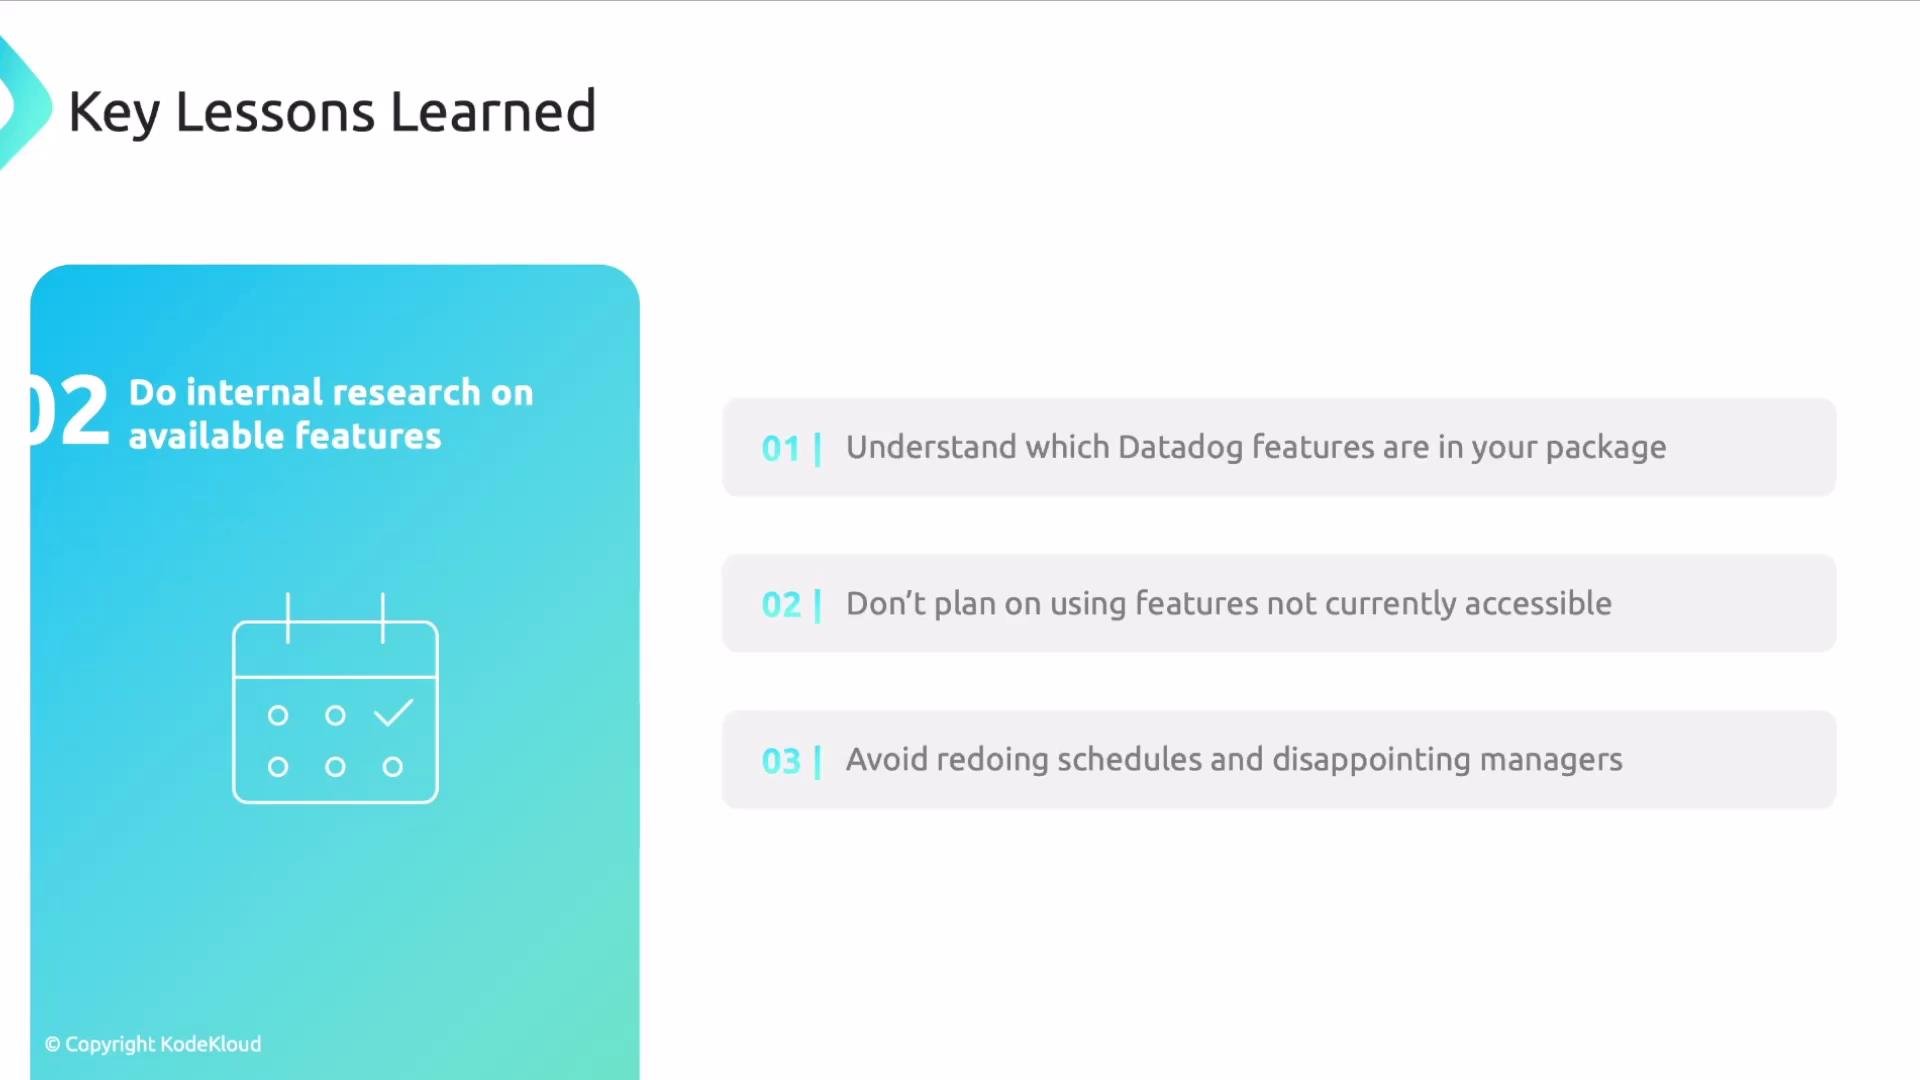
2. Confirm Datadog feature availability for your account
Datadog is feature-rich, but not all features are bundled into every plan. Coordinate with procurement, billing, or platform owners to verify which Datadog capabilities are included in your subscription. Designing solutions around unavailable features results in rework and missed deadlines. At one point in my project I designed a logging solution that depended on a Datadog capability we didn’t have. When I discovered the gap, I had to revise the schedule and present a new plan to leadership—an avoidable delay.Always validate feature availability with your account manager or procurement team before designing workstreams around specific platform features. Planning for unavailable capabilities causes rework and timeline risk.
3. Improve communication channels and cadence
Effective communication reduces surprises. Use at least two channels (for example, Slack and email, or Teams and a shared status board) and keep them active. Create a cross-functional group that includes engineering, SRE, security, and product stakeholders. Schedule a short recurring sync—15 minutes is often sufficient—to report progress and surface blockers. Keep participants engaged by posting concise status updates, asking for help when needed, and requesting brief reports from key owners. This approach exposes issues earlier and fosters cross-team collaboration, which accelerates migration tasks.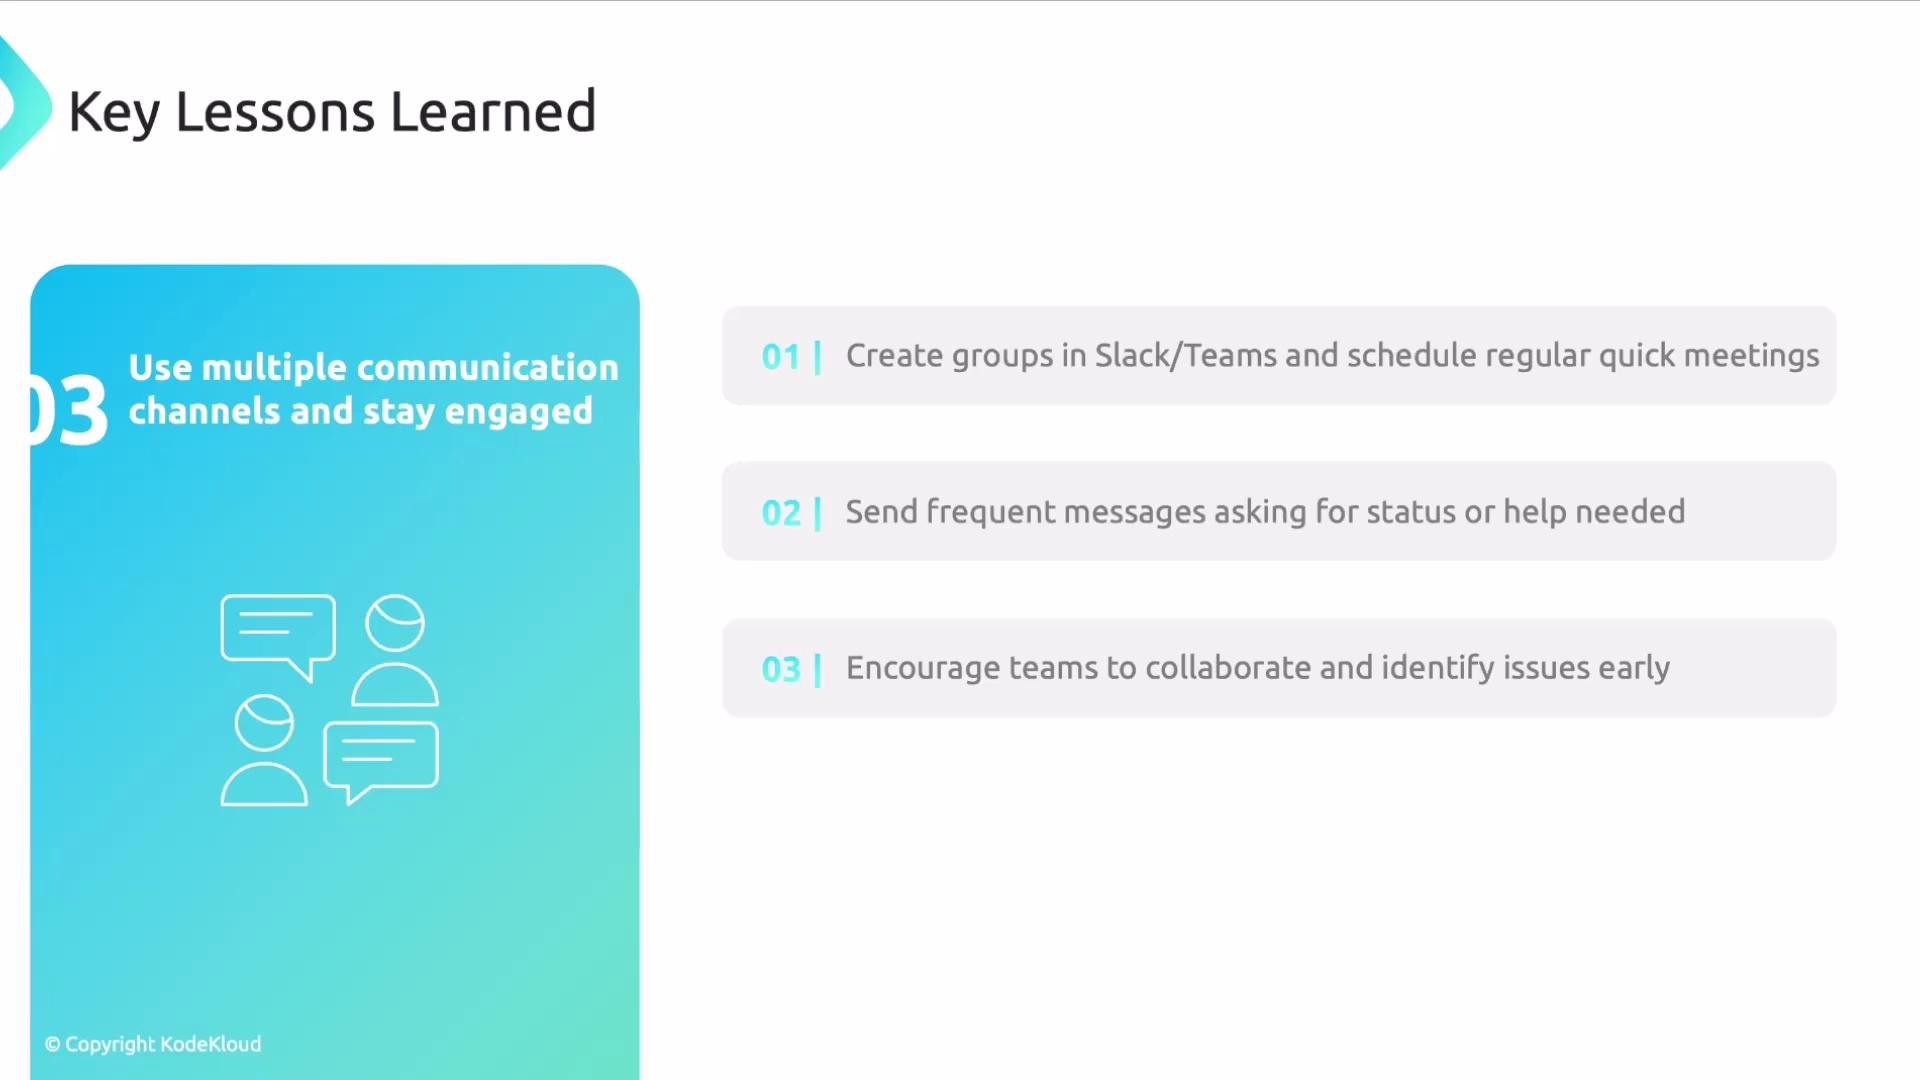
Quick reference: Lessons and recommended actions
These adjustments—verifying compatibility, confirming platform features, and improving communication—reduce surprises and keep your migration on track.
With pre-migration complete, you can begin the migration.