

- Request rate limiting (
limit_req) — controls how many requests a client (usually per-IP) can make over time. - Connection limiting (
limit_conn) — caps the number of simultaneous connections from a client.
curl and ApacheBench (ab).
A diagram illustrating per-IP request and connection limits appears below and is referenced throughout the examples.
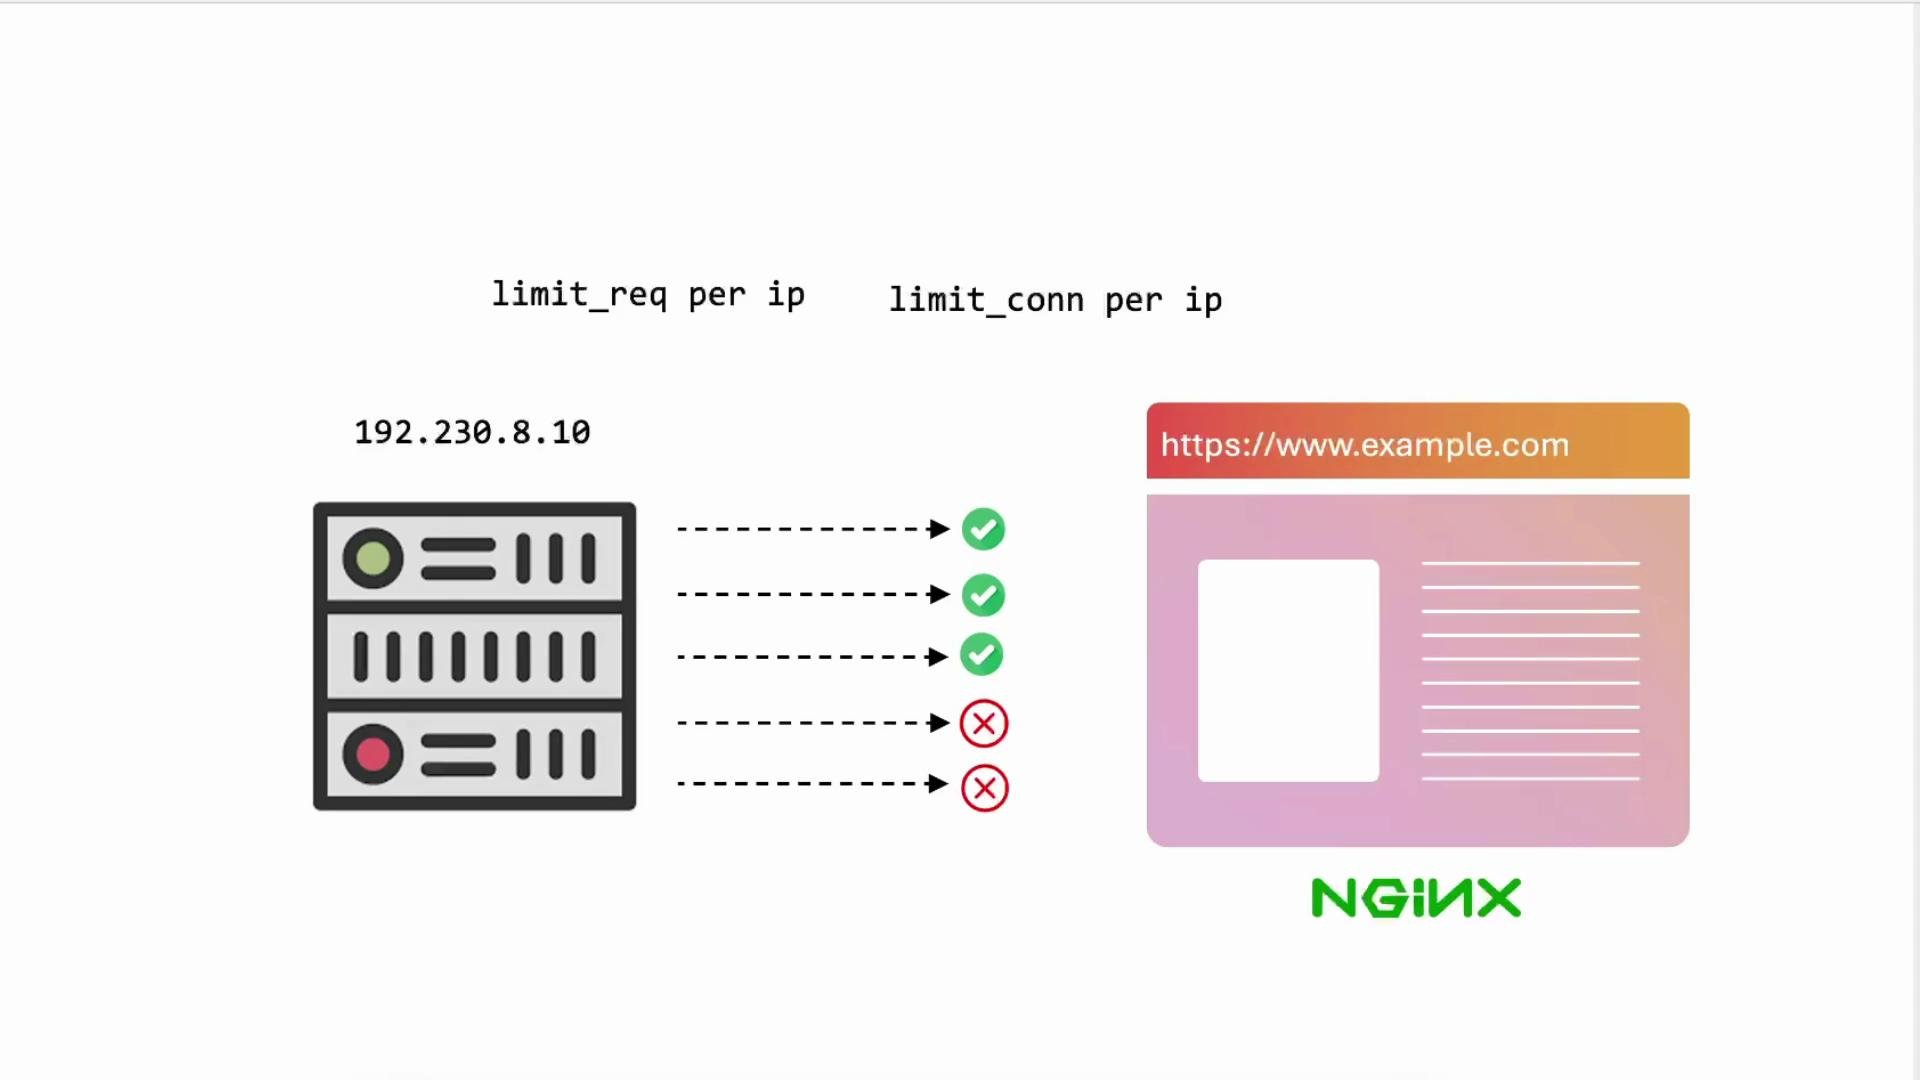
1) Smoke test (no rate limiting)
Begin by verifying basic connectivity from your client node (for examplenode01). Map the server IP in /etc/hosts so you can reach the site by name, then perform a simple request:
200 OK when no rate limiting is configured.
2) Baseline performance with ApacheBench
Use ApacheBench (ab) for quick, single-host load testing. See the official docs: https://httpd.apache.org/docs/2.4/programs/ab.html
Verify ab is installed and run a small test:
3) Add request rate limiting (limit_req)
Request rate limiting is configured in thehttp { ... } context with limit_req_zone, which creates an in-memory shared zone that tracks requests per key (commonly $binary_remote_addr).
Edit /etc/nginx/nginx.conf and add a rate-limiting zone and a status code for exceeded requests:
server block (for example /etc/nginx/sites-available/example-https), typically inside the location / block:
10r/m per IP, many of the rapid requests will be rejected with 429. Example ab output indicating many non-2xx responses:
/var/log/nginx/error.log), for example:
Tuning the request rate
Adjust therate= value to match expected traffic patterns. Examples:
After changing the rate, reload NGINX and re-run
ab to observe how the Non-2xx responses count changes. Increasing the allowed rate will reduce the number of 429 responses.
4) Add connection limiting (limit_conn)
Connection limiting restricts how many simultaneous connections a key (usually per-IP) can open. Configure a connection zone inhttp and apply limit_conn in server or location.
Add the connection zone alongside your request zone:
limit_conn in the site configuration. Example: allow only 1 concurrent connection per client IP:
Testing connection limits with ApacheBench
Useab -c to create concurrent connections. Example:
ab may show increased latency, Non-2xx responses, or timeouts:
ab command to confirm:
Benchmarking tools behave differently:
ab may not open all concurrent TCP connections perfectly simultaneously and results can vary. For more accurate concurrency testing use tools designed for high concurrency (e.g., wrk, siege) and consider running tests from multiple client hosts to simulate distributed load.5) Combined example
A concise combinedhttp section with both rate and connection limits:
server or location block:
Quick reference: key directives
Note: In table cells, examples containing braces or special characters are wrapped in backticks to prevent MDX parsing issues.
6) Summary and next steps
limit_req_zone+limit_reqthrottle how many requests a client can make during a time window (useful for protecting against abuse or sudden spikes).limit_conn_zone+limit_conncap simultaneous connections per key to protect backend resources.- Tune rate and connection values based on real traffic and monitor
/var/log/nginx/access.logand/var/log/nginx/error.log. - For production-like testing use higher-fidelity load tools (
wrk,siege) and distributed clients. - Consider integrating NGINX Plus or upstream rate-limiting modules if you need advanced features (leaky bucket behavior, finer-grained keys, or per-user limits).