

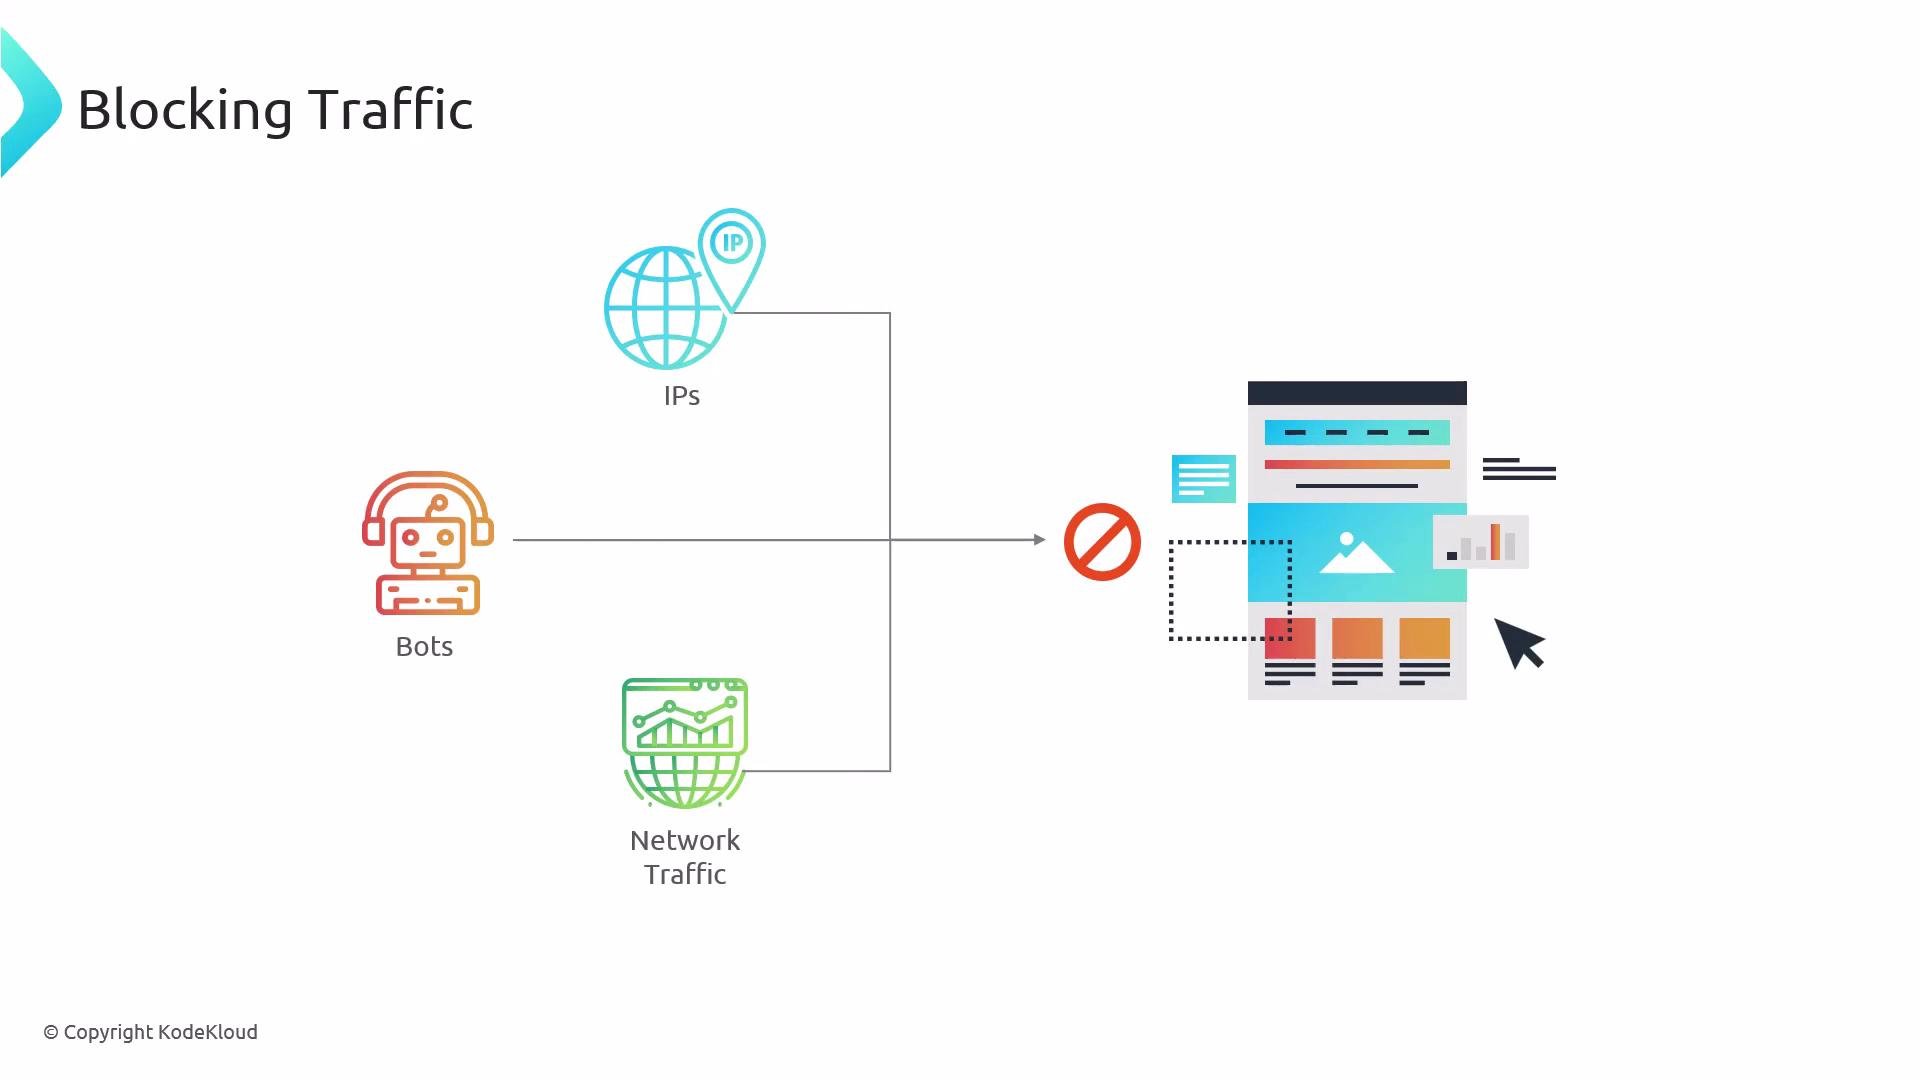
NGINX access control: allow / deny
NGINX uses the http_access module to control access viaallow and deny directives (see the official docs: https://nginx.org/en/docs/http/ngx_http_access_module.html). Place these directives inside http, server, or location blocks to permit or block traffic by IPv4/IPv6 address or CIDR block.
Example — allow two specific IPv4 addresses and deny all other traffic:
/24 range and allow a specific /24 inside a location:
/32— single IPv4 address/24— block of 256 addresses (e.g.,203.0.113.0through203.0.113.255)
CIDR quick reminder:
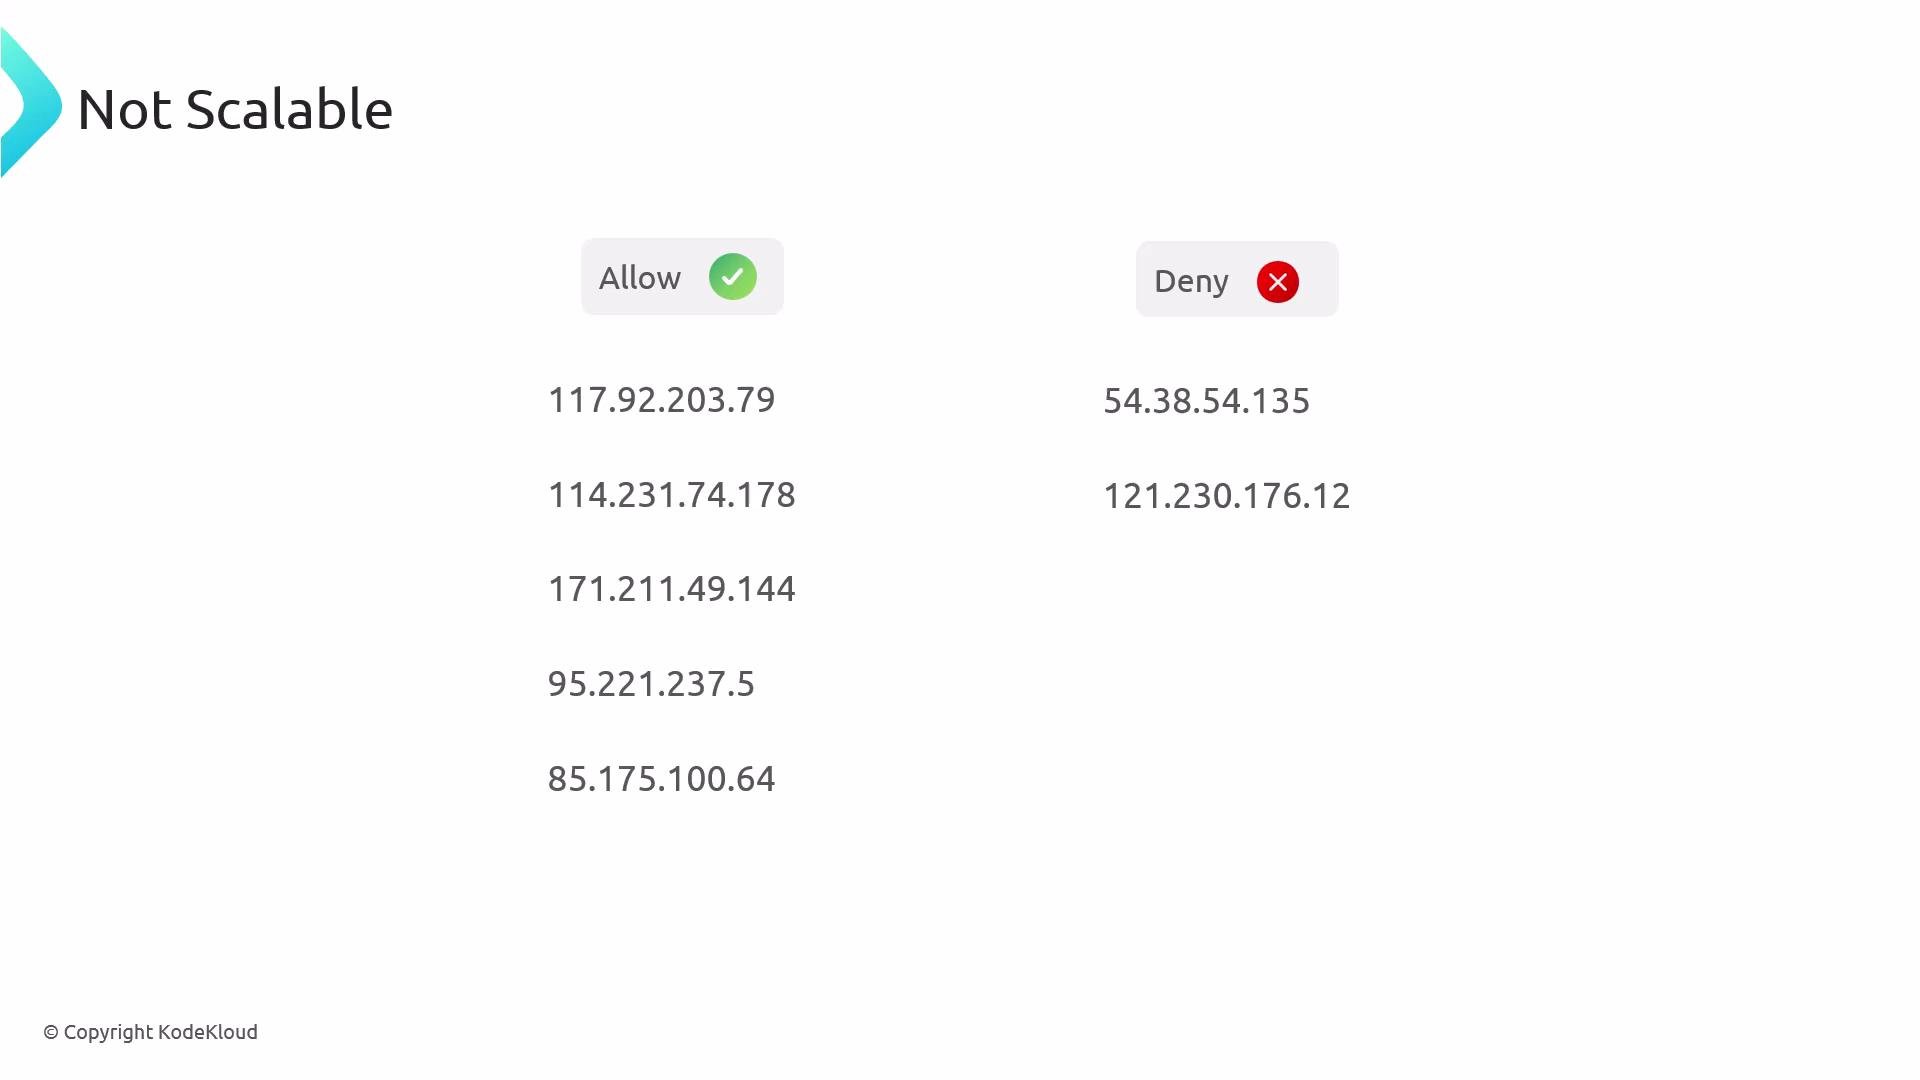
/32 = one IPv4 address; /24 = 256 addresses. Use CIDR notation to manage large address sets instead of listing many single addresses.allow/deny rules directly to NGINX configuration files does not scale well. Attackers rotate IPs, and long lists make configuration brittle and hard to maintain.
Automated blocking with Fail2Ban
For many deployments, using an automated agent to monitor logs and apply short-term bans is more effective than static lists. Fail2Ban (https://www.fail2ban.org) watches log files for suspicious patterns and updates host firewall rules (iptables, nftables, or firewalld) to block offending IPs temporarily.
- Parses logs for configurable regex patterns (filters).
- Applies bans when thresholds are exceeded (jails).
- Unbans automatically after a configured
bantime.
Installing Fail2Ban
Common installation commands:
After installation, create a local override and configure jails:
Example Fail2Ban jails for NGINX
Add jails tojail.local to enable NGINX-related monitoring:
/etc/fail2ban/filter.d. Many filters are included by default.
nginx-http-auth.conf (truncated):
maxretry within findtime) are exceeded, Fail2Ban triggers the ban action.
Managing Fail2Ban and banned IPs
Check jail status and currently banned IPs:Fail2Ban depends on host log files and the host firewall. It may not work as expected in ephemeral container environments or Kubernetes clusters where logs are aggregated or networking is managed by the platform. For containers, consider ingress rate limiting, a Web Application Firewall (WAF), or platform-native network policies.
Quick reference
In this lesson you learned:
- How to use NGINX
allow/denywith CIDR notation to block IPs or ranges. - Why long static lists in NGINX are hard to maintain and scale poorly.
- How Fail2Ban dynamically blocks abusive IPs by monitoring logs and updating firewall rules.
- Basic Fail2Ban configuration patterns and how to inspect/unban IPs.
- Install Fail2Ban (
sudo apt install fail2ban). - Copy
jail.conftojail.localand enable the NGINX jails you need. - Tail
/var/log/fail2ban.logand/var/log/nginx/access.logto verify detection and bans.
- NGINX access module: https://nginx.org/en/docs/http/ngx_http_access_module.html
- Fail2Ban project: https://www.fail2ban.org