

example.com) using Nginx allow / deny directives, and how to use fail2ban to automatically ban IPs that repeatedly fail authentication. The site exposes a protected /admin endpoint that uses HTTP Basic authentication; you can restrict access by IP in Nginx and automatically ban attackers with fail2ban.
Key goals:
- Use Nginx
allowanddenyto permit or block specific IP addresses or CIDR ranges. - Use fail2ban to automatically block IPs that repeatedly submit bad credentials, avoiding large, manually maintained deny lists.
Base Nginx configuration (HTTP -> HTTPS, TLS, headers, protected /admin)
Start with this base Nginx site configuration forexample.com. It redirects HTTP to HTTPS, configures TLS, sets security headers, serves files from a document root, and protects /admin with HTTP Basic auth:
Verify DNS/name resolution and test connectivity
On your client nodes (for examplenode01 and node02) ensure example.com resolves to your Nginx server by editing /etc/hosts:
-k (equivalent to --insecure):
Using
-k disables certificate verification. Only use it for testing; do not use it in production scripts./admin without credentials, Nginx returns 401 Unauthorized:
Manually block a single IP with deny
To block a specific IP (for example node02 with IP 192.231.128.3), add a deny directive in the location / block. Example:
- node01 (allowed) → receives
200 OK. - node02 (denied) → receives
403 Forbidden.
Allow only one IP to access /admin and deny all others
To permit a single management IP (e.g., node01 at 192.231.128.12) to access /admin and deny everyone else, use allow followed by deny all inside the /admin location:
- Each
allowanddenydirective requires a trailing semicolon. - If the allowed client supplies an invalid username/password, Nginx will still return
401 Unauthorizedbecauseauth_basicruns after the allow/deny check.
Allow a whole subnet (CIDR) instead of many single IPs
Instead of maintaining many/32 entries, permit an entire subnet. For example, to allow the 192.231.128.0/24 network (which contains node01 and node02), use:
Remember: include the trailing semicolon:
allow 192.231.128.0/24;
Why not maintain long deny lists? Use fail2ban to automate bans
Manually maintaining longdeny lists in Nginx becomes cumbersome and error-prone. fail2ban monitors logs (including Nginx error logs), detects repeated failures (such as failed HTTP Basic auth attempts), and adds temporary firewall rules (bans) for misbehaving IPs.
Install and configure fail2ban (Debian/Ubuntu example):
nginx-http-auth jail by adding or editing a snippet in /etc/fail2ban/jail.local:
Setting
maxretry = 1 will ban after a single failed authentication attempt. For production, increase maxretry to reduce false positives and tune bantime to suit your environment.nginx-http-auth jail:
When a client accesses
/admin from a browser and submits incorrect credentials, the browser’s sign-in prompt appears. Repeated failed attempts will be detected by fail2ban and the IP will be banned according to your jail settings.
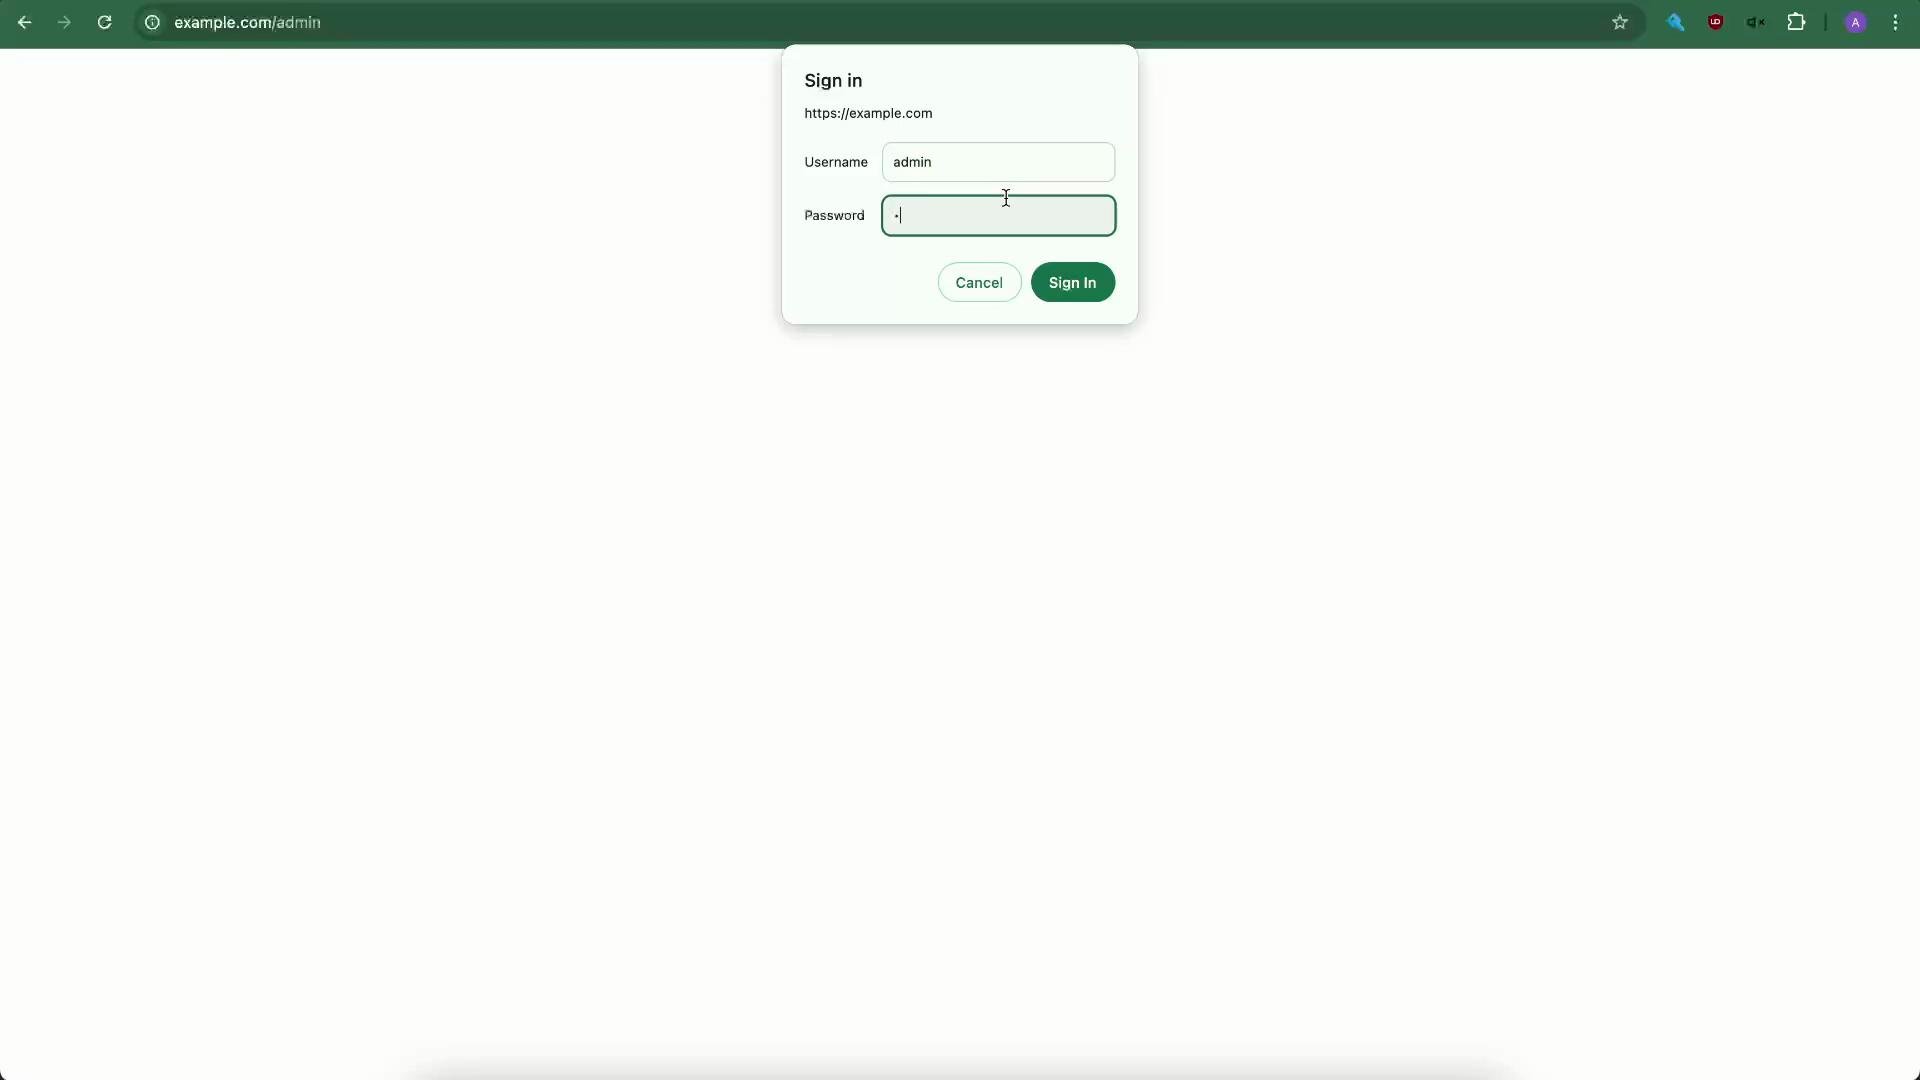
maxretry), fail2ban will add the client’s IP to the banned list and access to /admin (and possibly other HTTP(S) ports) will be blocked until the ban expires or is removed.
Option: Let fail2ban handle blocking instead of large deny lists
If you want Nginx config to remain simple and prefer dynamic blocking, do not add allow / deny rules on the site root. Instead, rely on fail2ban jails to block offenders. Example server config without allow/deny:
Summary & best practices
- Use Nginx
allow/denyfor small, static lists of trusted or blocked IPs. - Use CIDR ranges (
/24,/16, etc.) to cover networks instead of many/32entries. - For automated handling of attackers (e.g., repeated failed HTTP Basic auth attempts), use fail2ban to monitor Nginx logs and apply temporary bans.
- Tune fail2ban
maxretryandbantimeto balance security and the risk of false positives in your environment.