

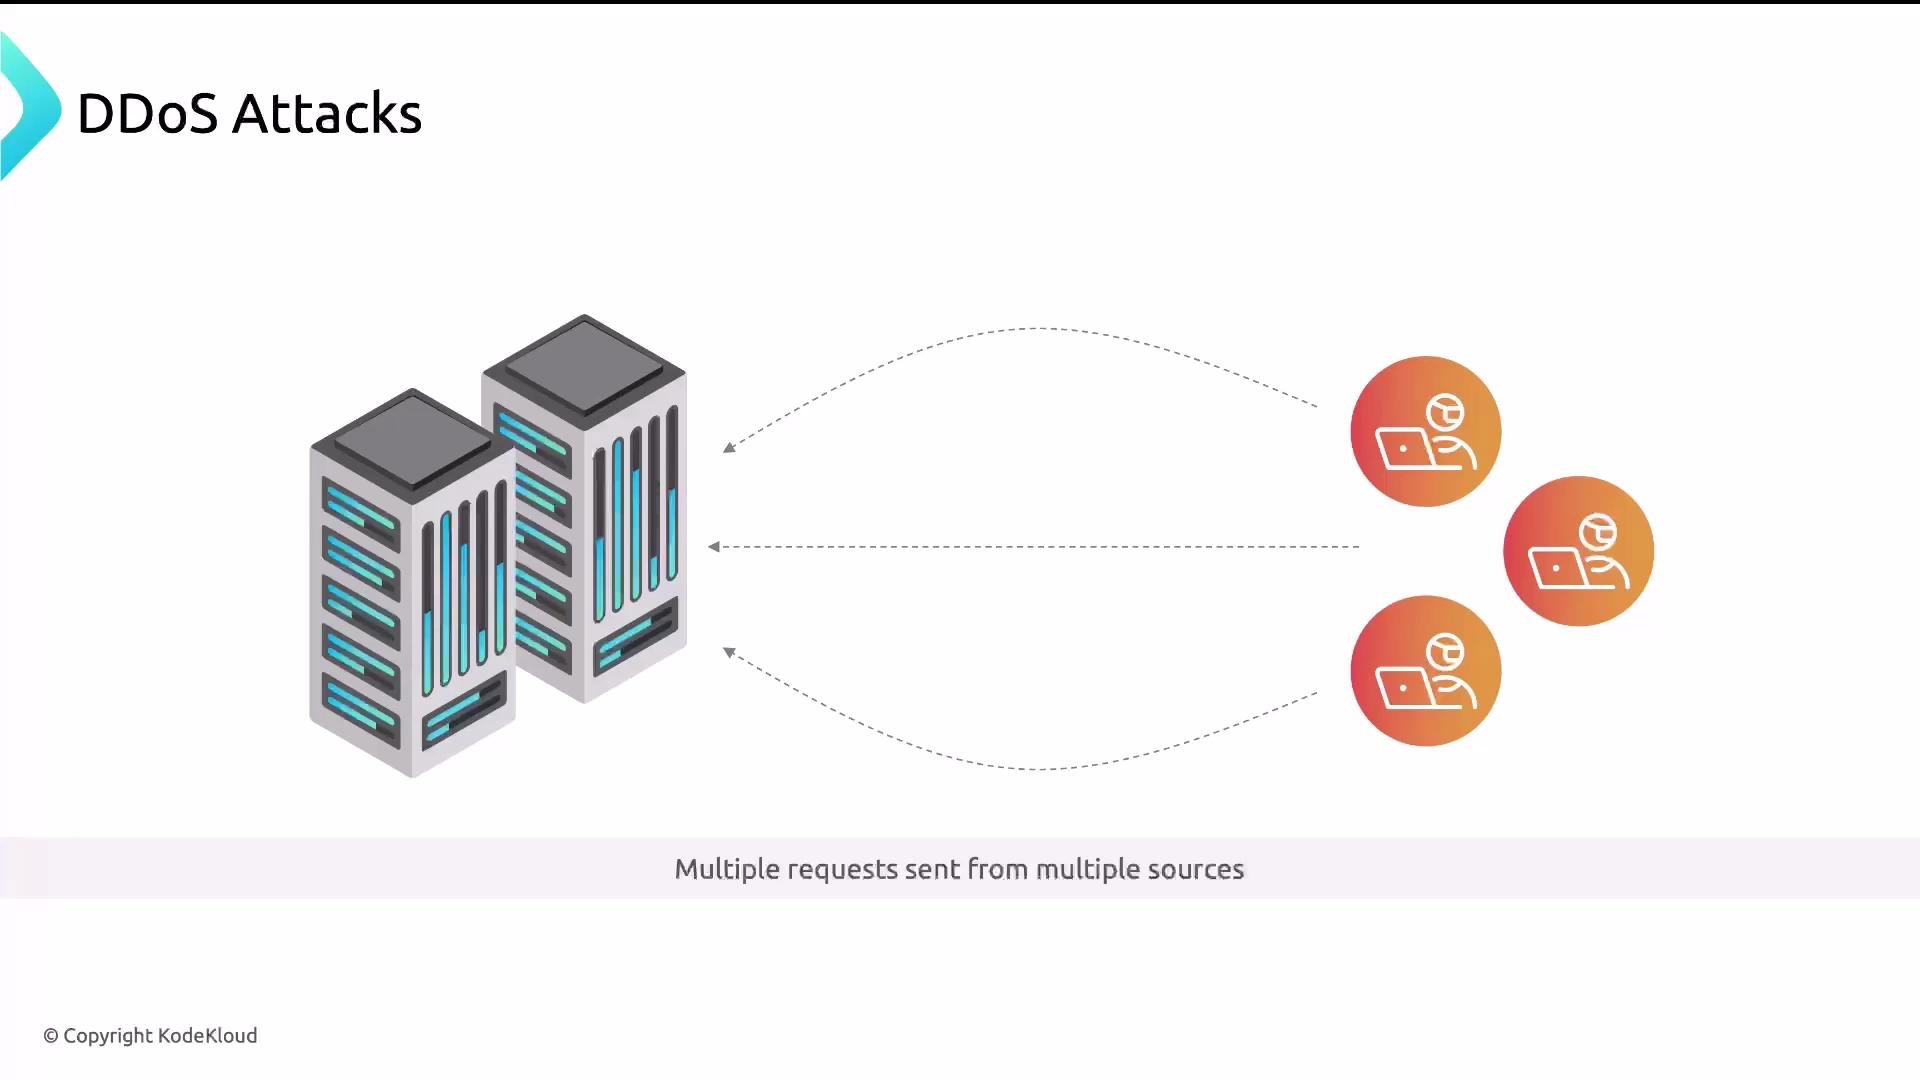
- DDoS — massive volumes of requests from many sources.
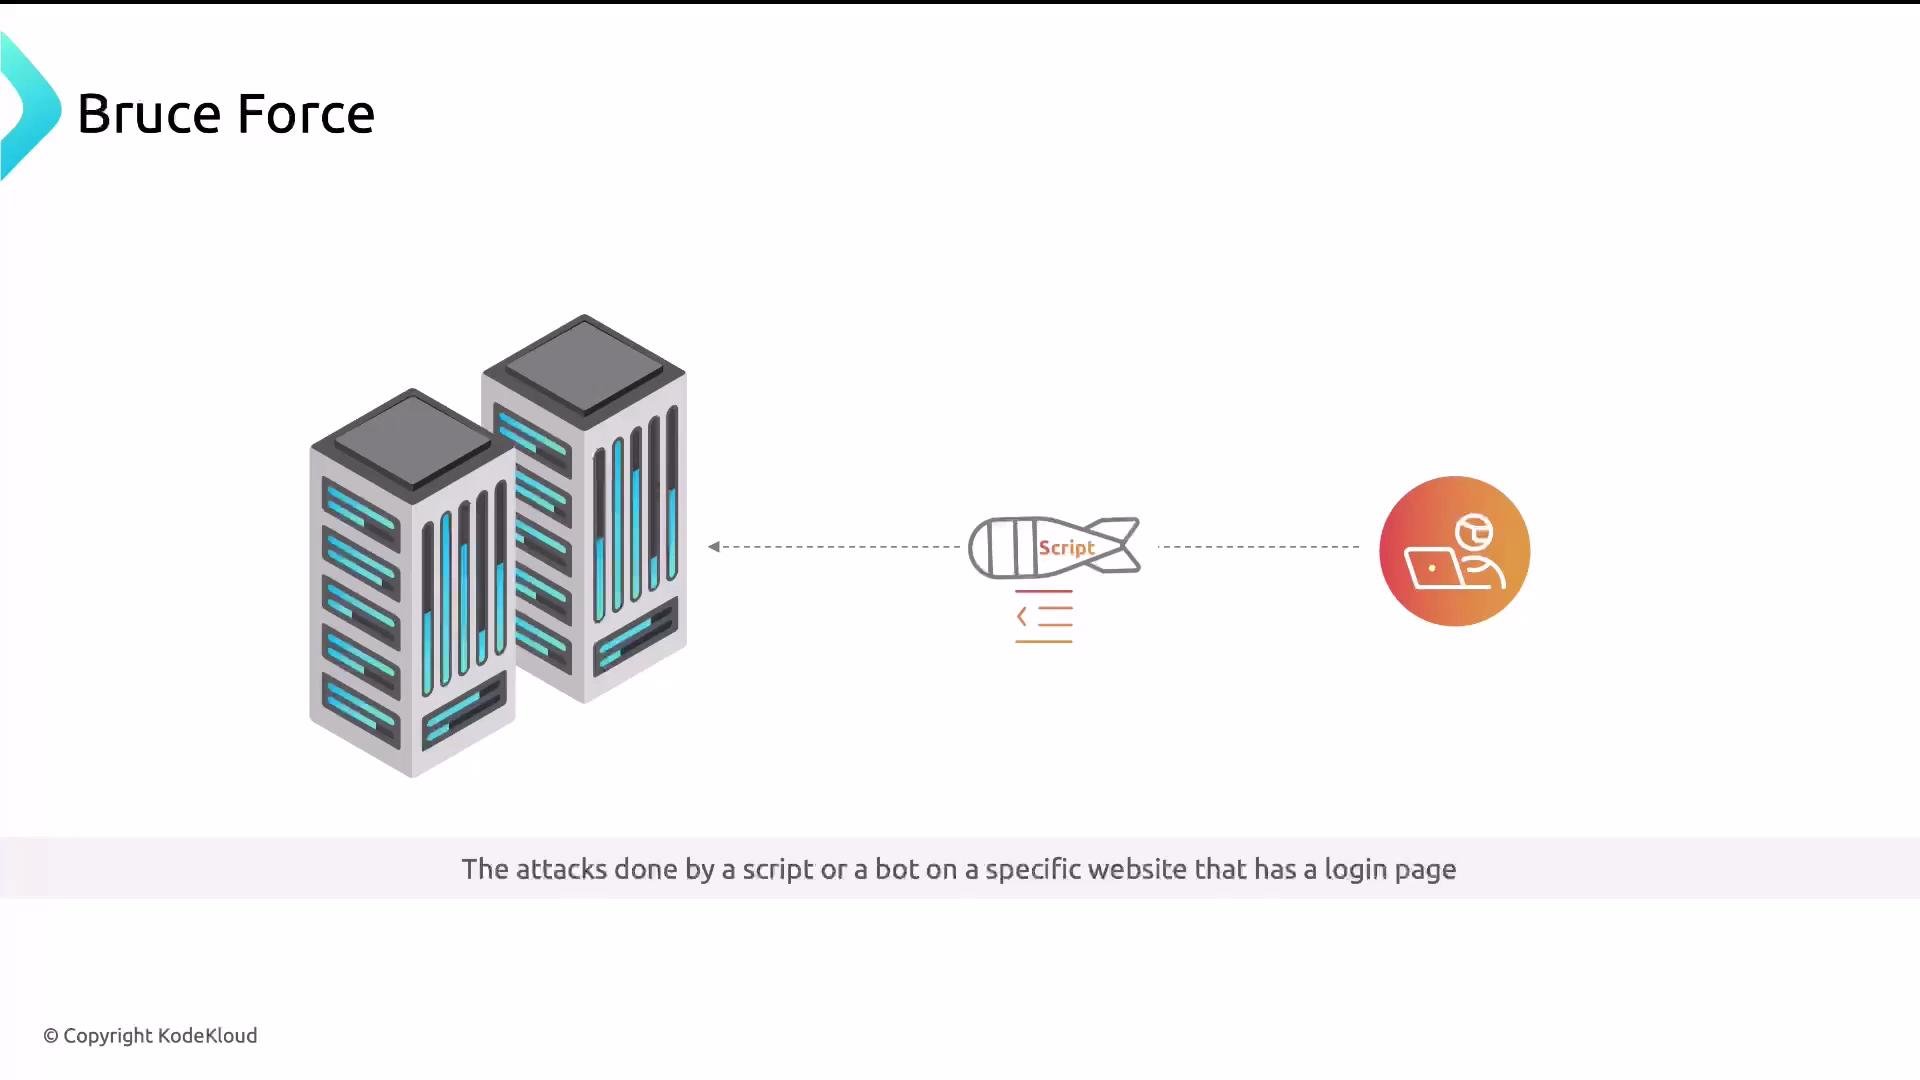
- Brute-force attacks — automated scripts try many credentials on a login endpoint.
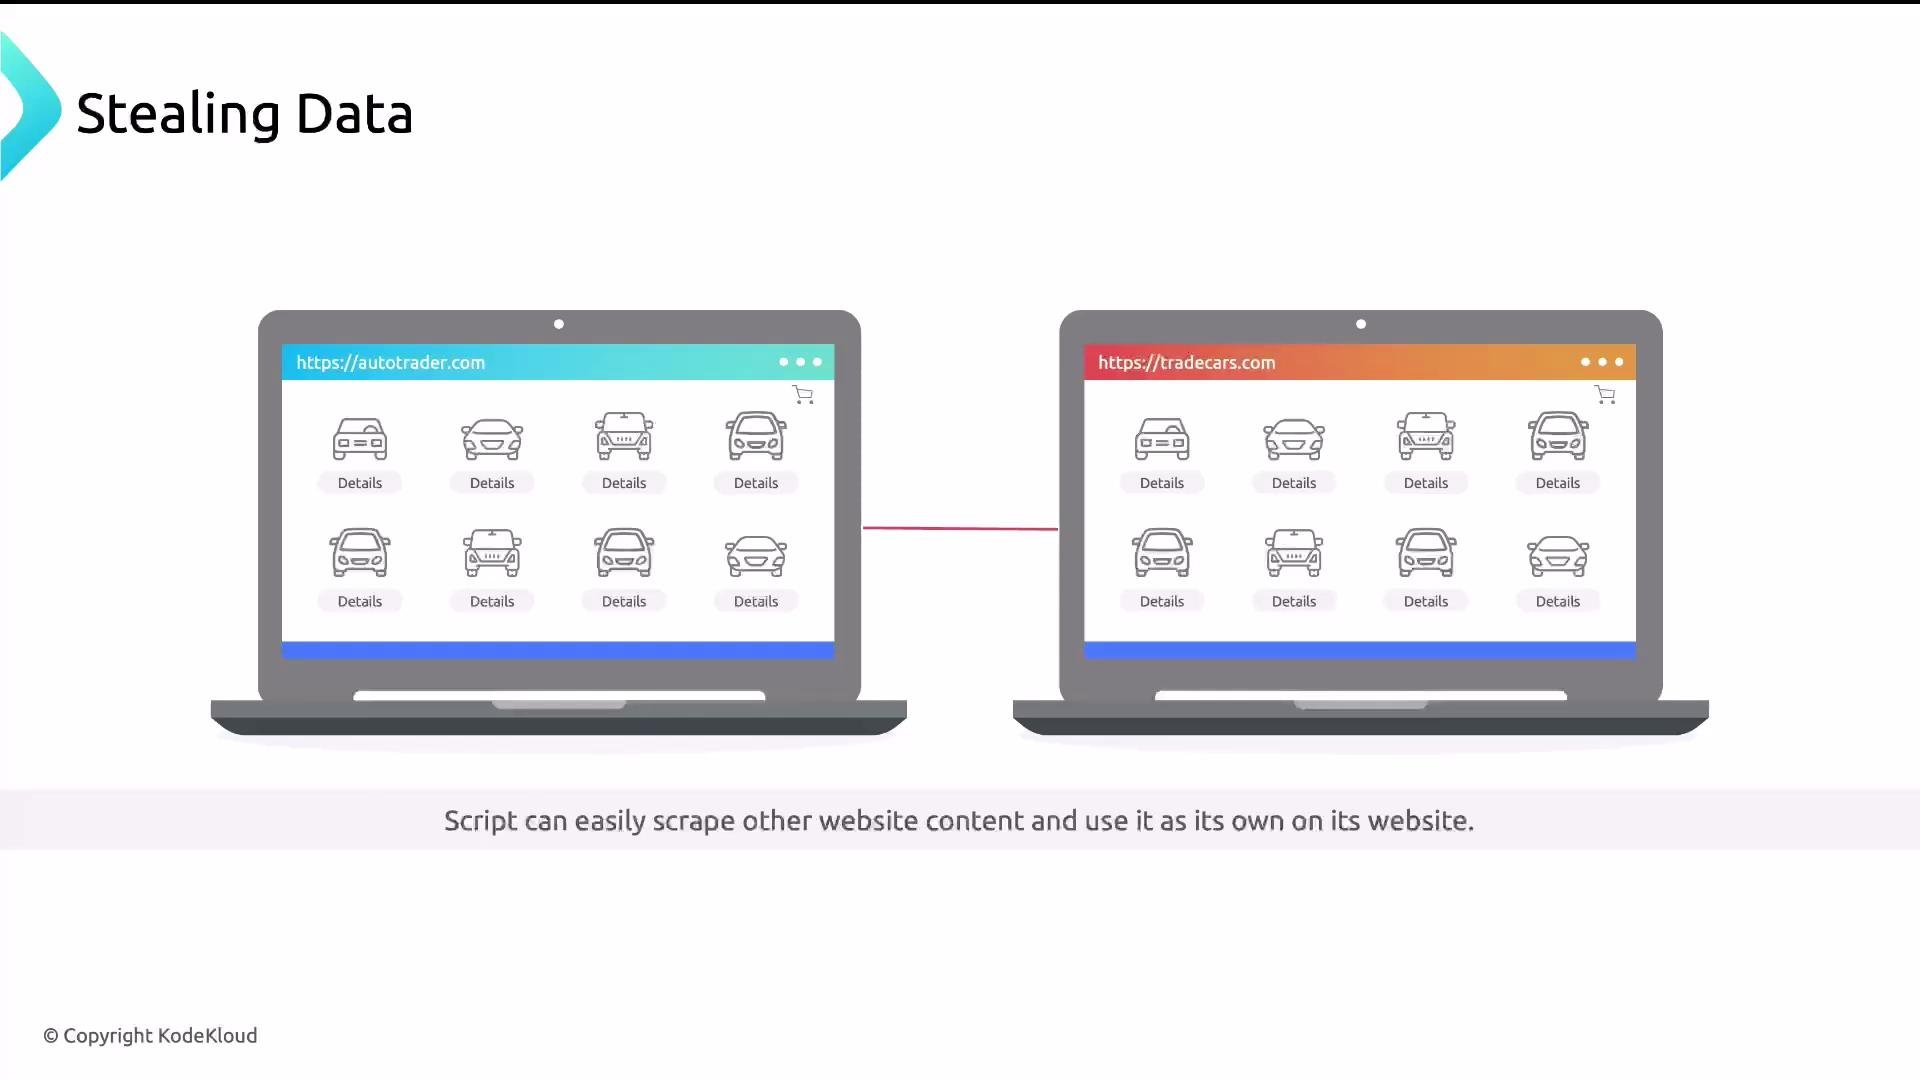
- Web scraping — bots extract valuable content (product listings, images, pricing) and republish it elsewhere.
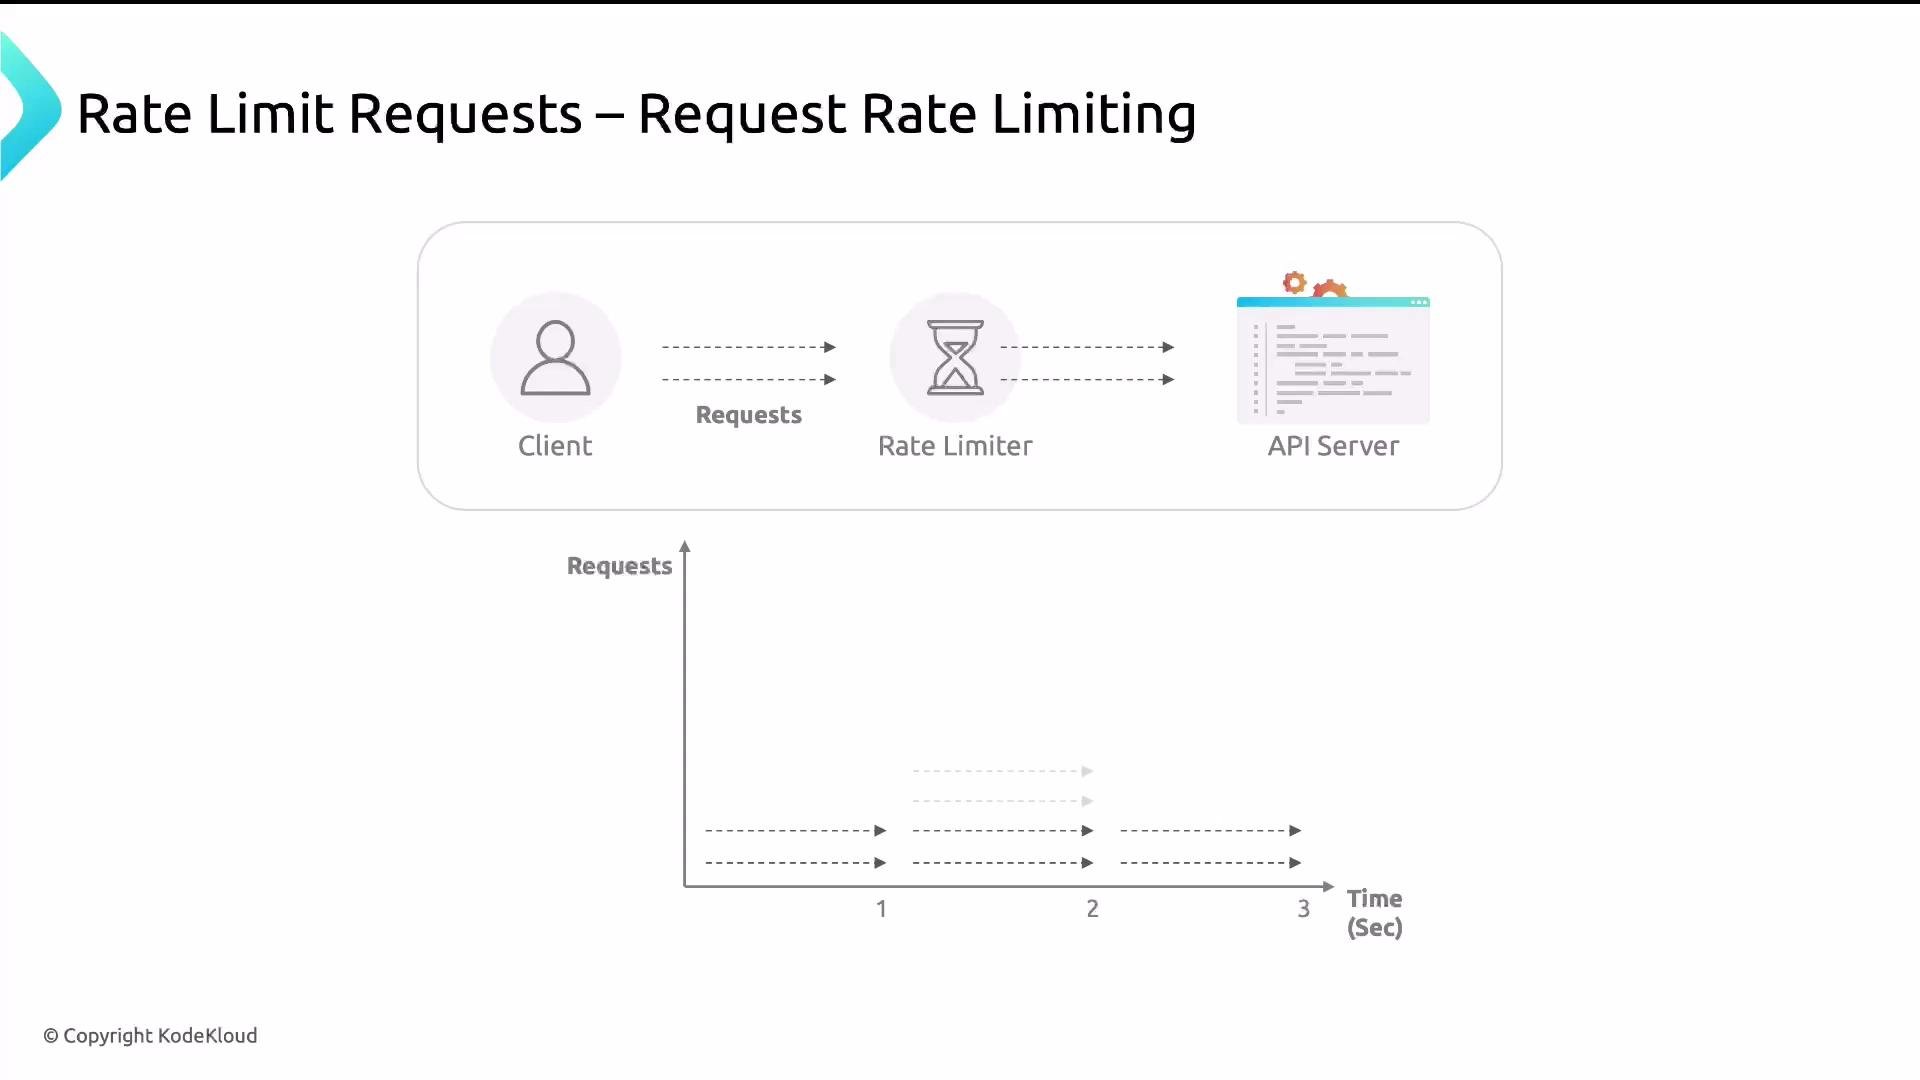
- API overuse — a client issues too many requests in a short time, degrading service for others.
- Identify the client: commonly by IP address (
$remote_addror optimized$binary_remote_addr), API key, or user identifier. - Measure time between requests and count requests in a time window.
- Enforce thresholds (delay, reject, or drop requests) for clients that exceed limits.
- Request rate limiting (
limit_req) — controls the number of requests per time unit (e.g., 2 requests per minute). Implements a token/leaky-bucket style smoothing algorithm withburstandnodelaytuning. - Connection rate limiting (
limit_conn) — caps concurrent connections per client (e.g., 1 connection per IP).
burst and nodelay. The limit_req set of directives smooths spikes rather than enforcing a hard fixed-window reset.
$binary_remote_addr— compact binary representation of the client IP (faster than the string form).zone=req_limit_per_ip:10m— shared memory zone name and size (10 MB) used to store client counters.rate=2r/m— allowed rate (2 requests per minute). You can user/sfor per-second rates (e.g.,1r/s).limit_req_status 429— set the response code for rejected requests to HTTP 429 (Too Many Requests). Nginx defaults to 503, so 429 is preferred for clarity.limit_req zone=req_limit_per_ip;— activates the rate limit in alocationorservercontext.
burstconfigures how many requests above the rate can be queued temporarily.nodelayforces immediate processing of burst requests without delays (but still enforces the extra capacity). Example withburst:
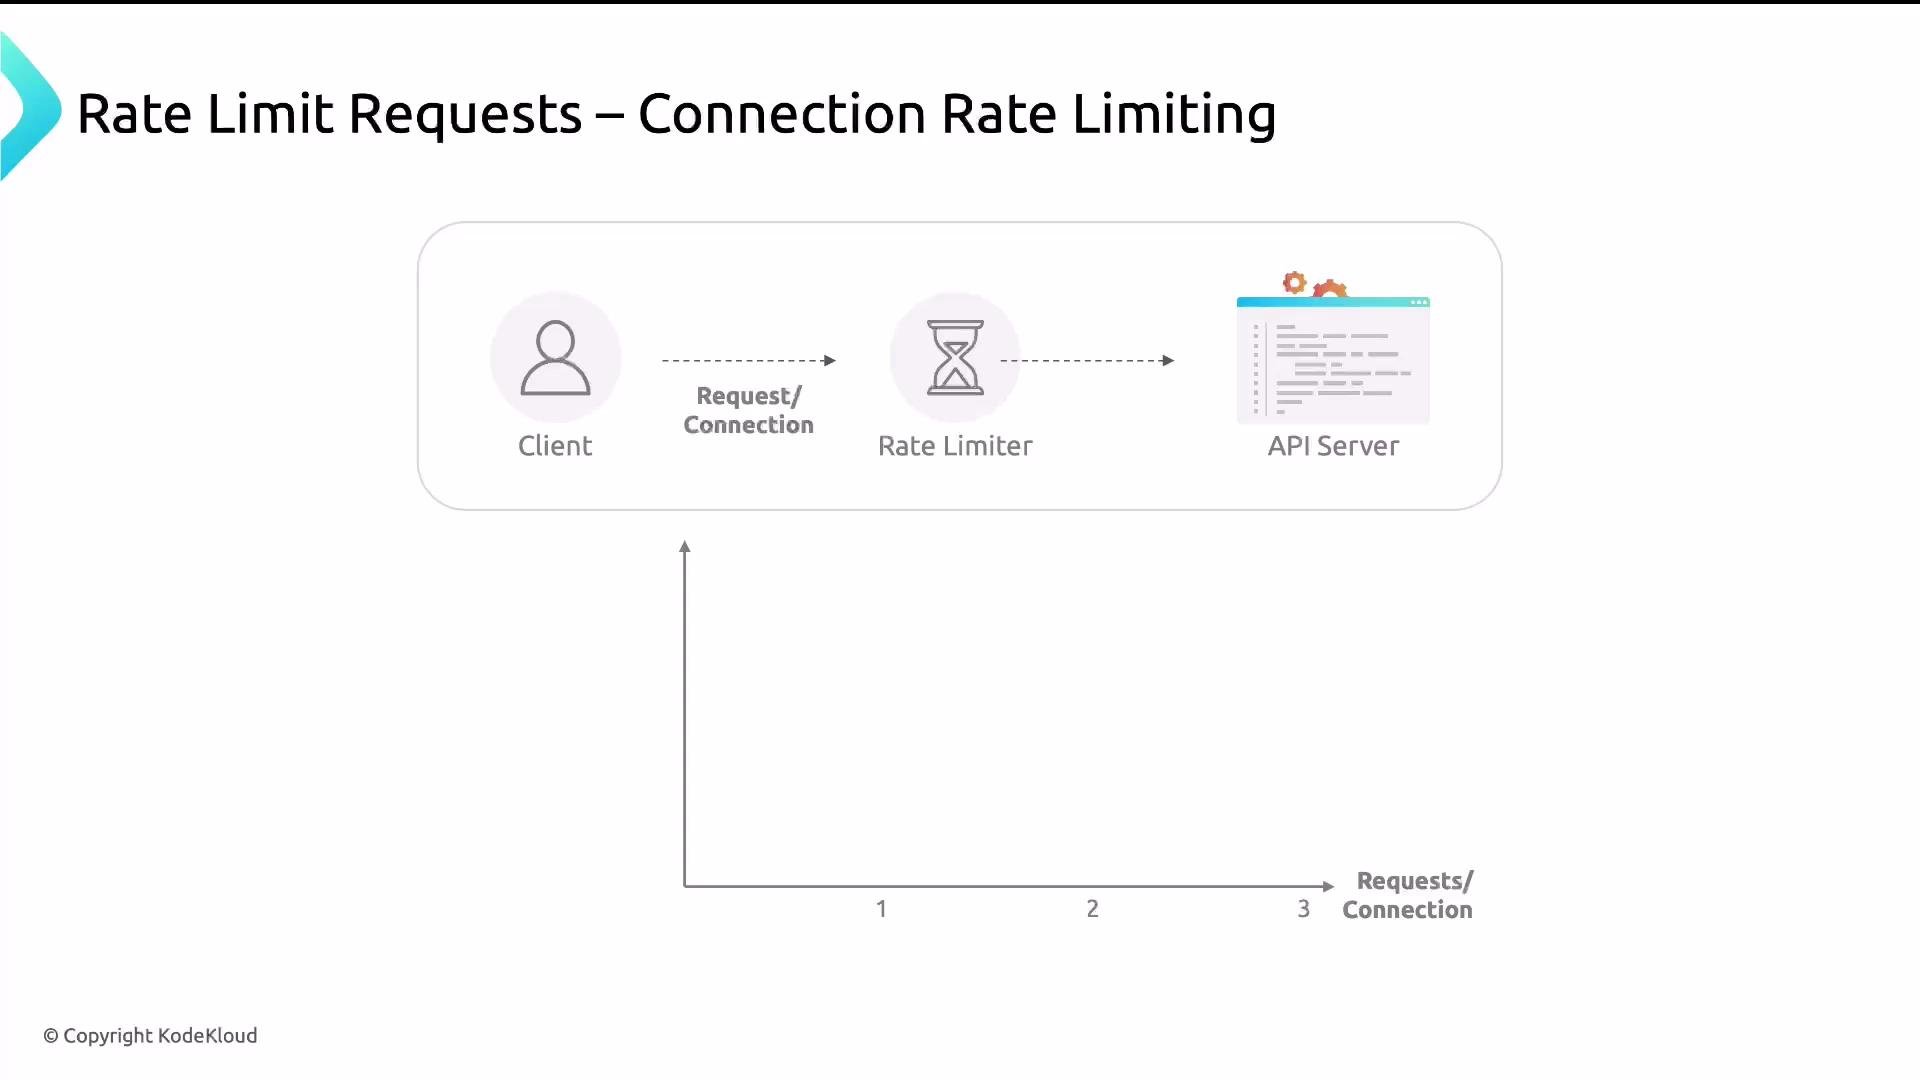
limit_conn_zone— defines the shared memory zone and the key used to identify clients (here$binary_remote_addr).limit_conn_status 429— HTTP status for exceeded connection limits.limit_conn conn_limit_per_ip 1— maximum concurrent connections allowed per key. Increase the number to permit more simultaneous connections for legitimate clients.
Best-practice notes
Choose an appropriate shared memory zone size (for example,
10m) based on the expected number of distinct clients you need to track. Shared zones are per Nginx instance (shared across worker processes on the same host) and are not synchronized across multiple machines — for distributed deployments use a centralized rate-limiting layer or an external store if you need cross-instance coordination.- Prefer
429for clarity when rejecting clients (limit_req_status/limit_conn_status). - Apply stricter limits only to sensitive endpoints (login, admin, API write endpoints), and more permissive rules to public, high-traffic pages.
- Combine rate limits with other controls: authentication, WAF rules, IP blacklists, and CDN edge-rate limiting for better resilience.
- Monitor rejected and delayed requests (
error_log, metrics) and adjust limits based on real traffic patterns to avoid false positives.
- Nginx rate limiting (official docs): https://nginx.org/en/docs/http/ngx_http_limit_req_module.html and https://nginx.org/en/docs/http/ngx_http_limit_conn_module.html
- DDoS (Wikipedia): https://en.wikipedia.org/wiki/Distributed_denial-of-service_attack
- Brute-force attack (Wikipedia): https://en.wikipedia.org/wiki/Brute-force_attack
- Web scraping (Wikipedia): https://en.wikipedia.org/wiki/Web_scraping
limit_req for request smoothing and limit_conn for concurrent-connection caps, and tune the values to match your application’s traffic and resiliency requirements.