

1. Install the Kubernetes plugin
Go to Manage Jenkins -> Manage Plugins and install the plugin that provides Kubernetes cloud support.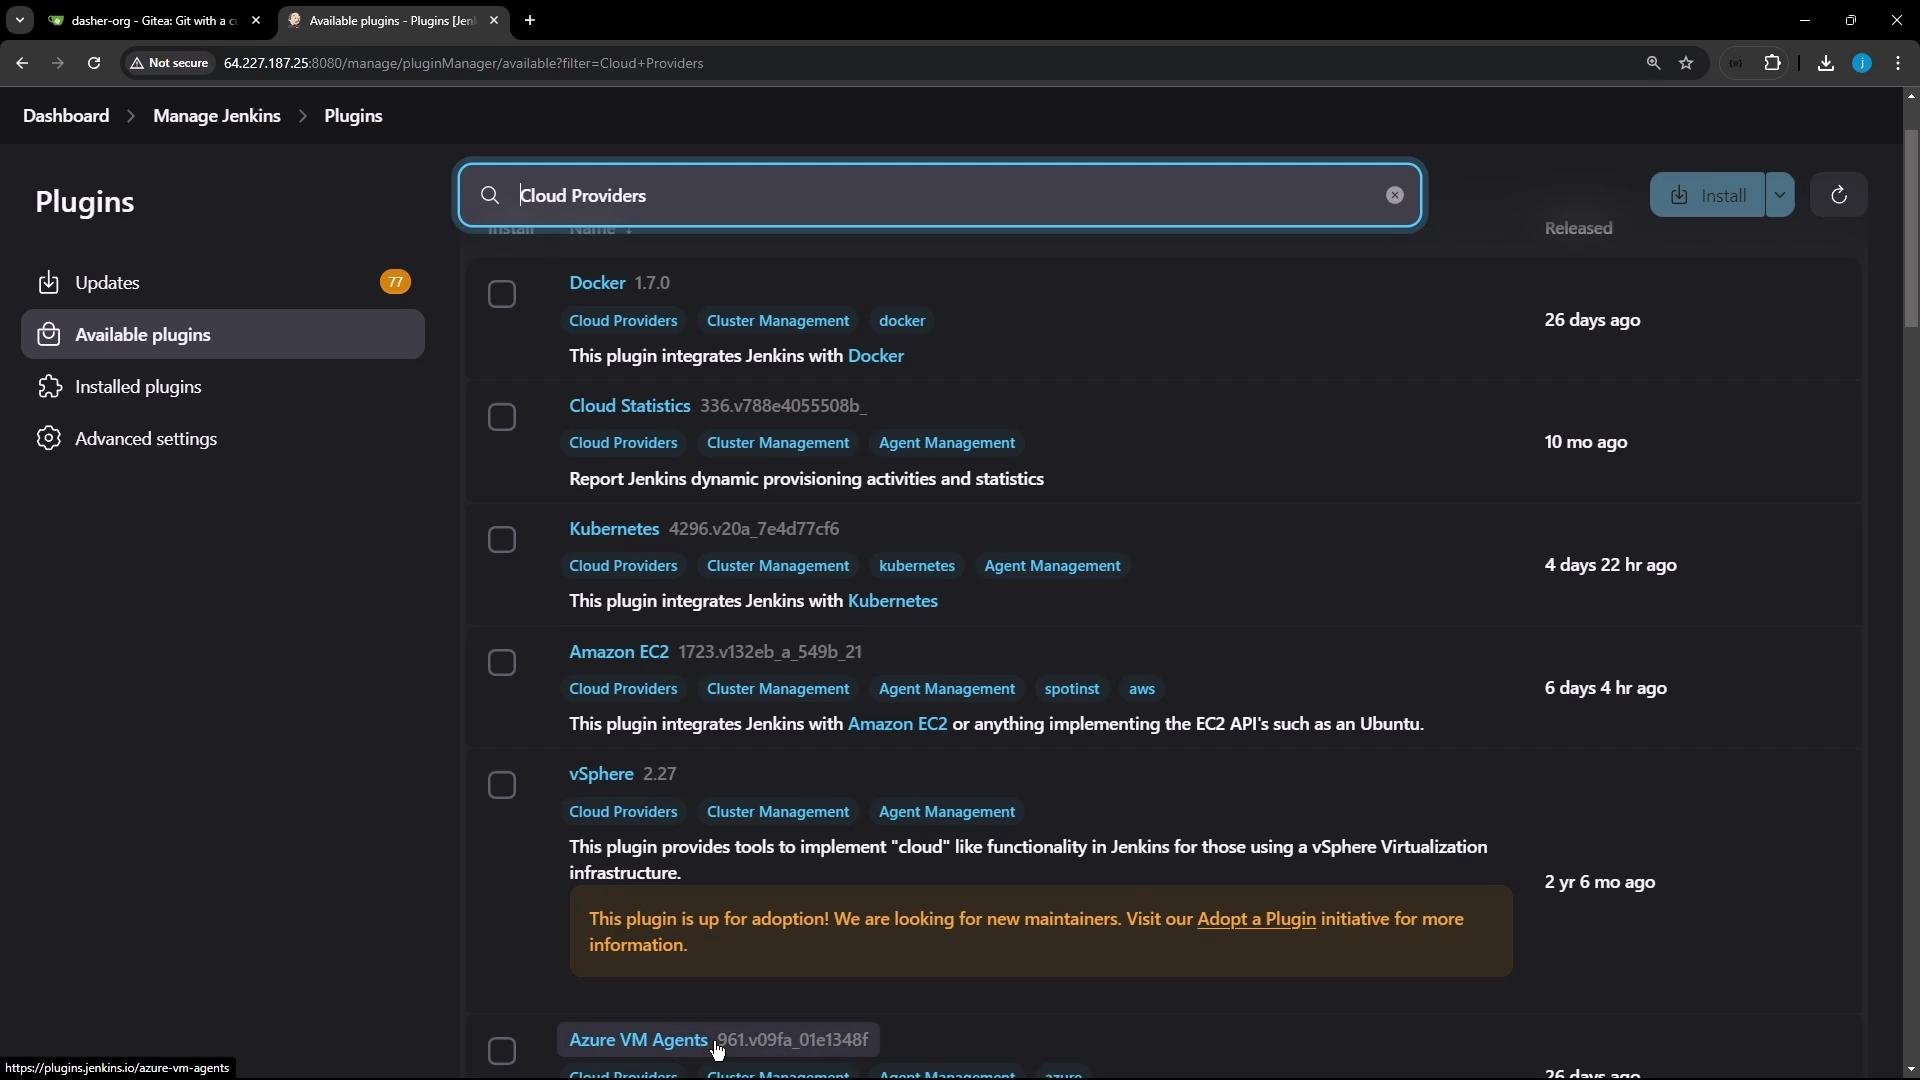
.hpi or use the jenkins-plugin-cli tool. Example local files from my machine:
jenkins-plugin-cli:
2. Common pipeline primitives (quick reference)
These keywords appear frequently when using Kubernetes agents in Jenkins pipelines.3. Prepare Kubernetes credentials (recommended: least-privilege)
When adding a Kubernetes cloud you can either upload an entire kubeconfig (not recommended if it contains cluster-admin credentials) or provide the Kubernetes API server URL and a restricted credential (recommended). The secure approach:- Create a namespace for Jenkins (e.g.,
jenkins). - Create a service account in that namespace.
- Generate a long-duration token for the service account.
- Add the token to Jenkins as a Secret Text credential and use it in the cloud configuration.
Use least-privilege credentials: create a dedicated service account in a single namespace for Jenkins instead of using an admin kubeconfig.
Create a namespace, service account, token, and bind privileges
Commands to set up a restricted service account for Jenkins:kubectl create token as shown above.
Add the token to Jenkins as a credential:
- Kind: Secret text
- Secret: paste the token value
- ID: e.g.
k8s-jenkins-agent-token - Description: optional
4. Configure the Kubernetes cloud in Jenkins
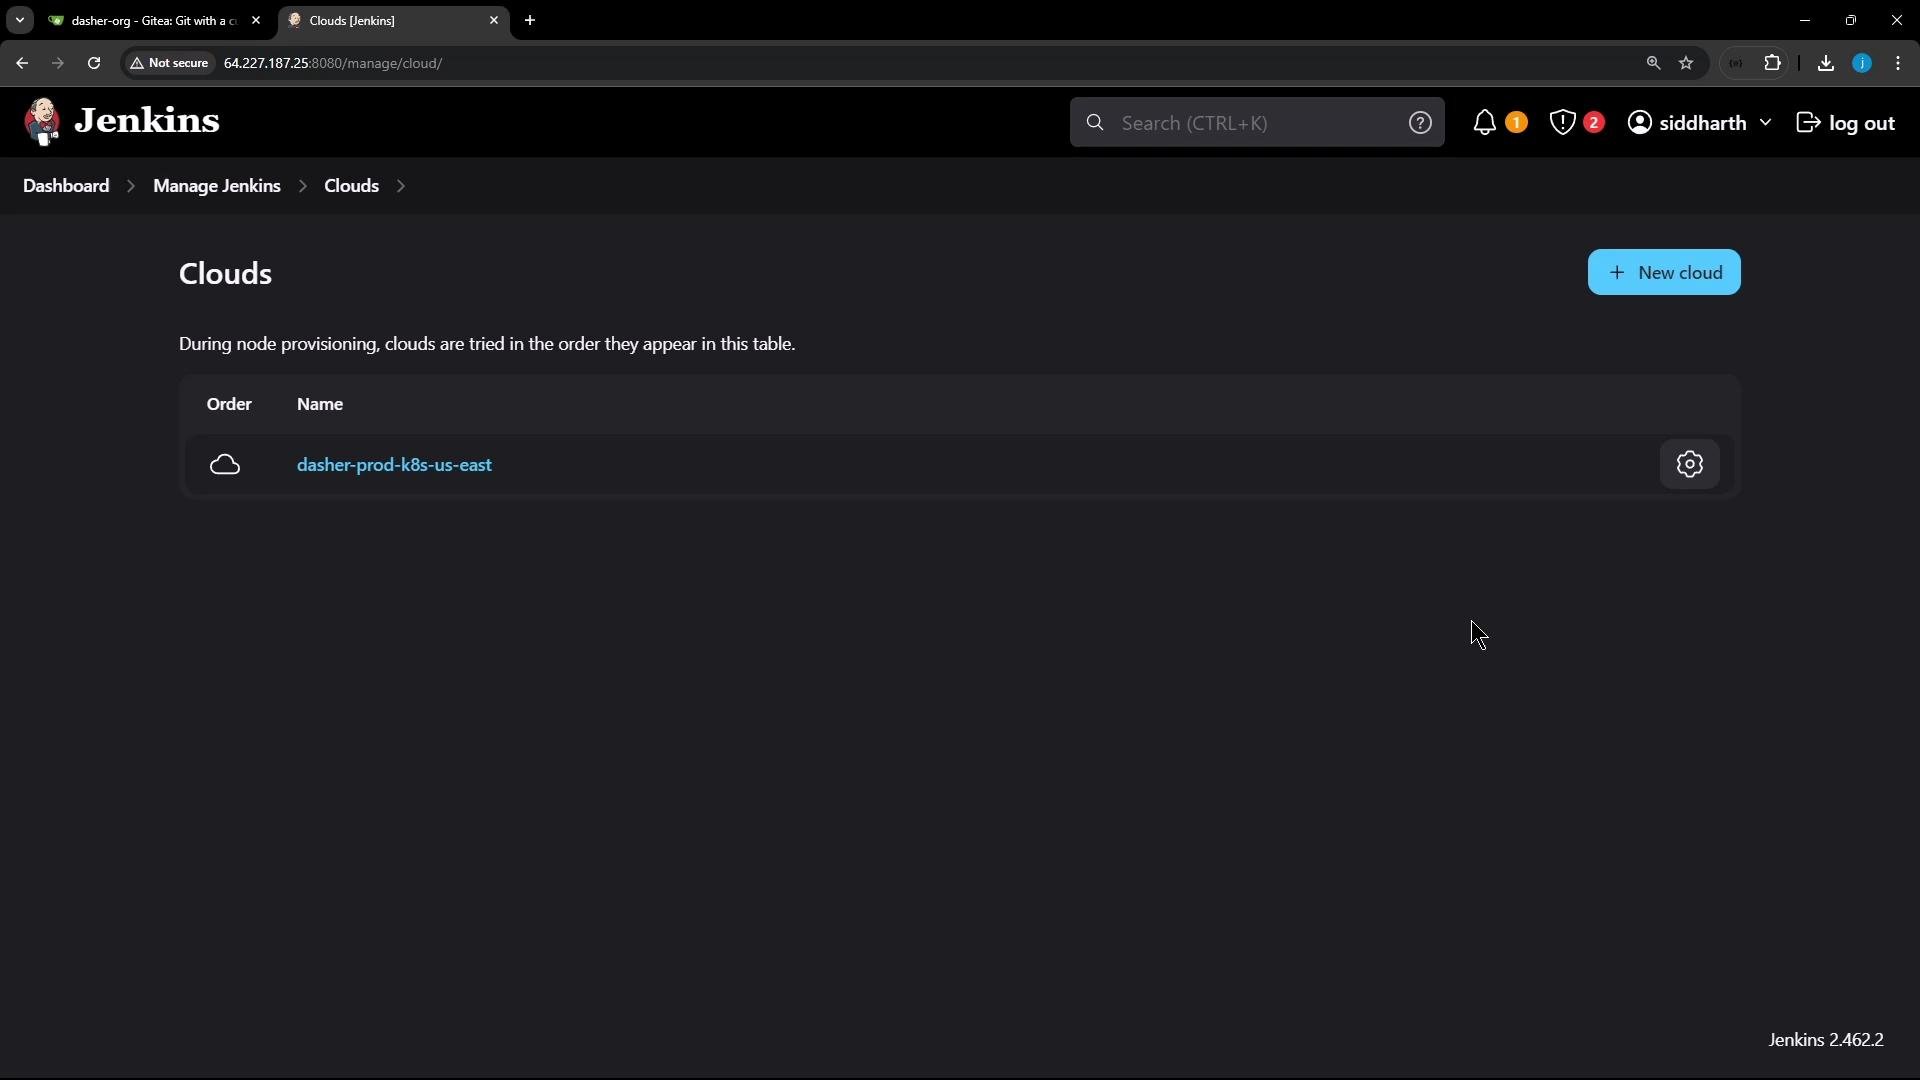
After the plugin is installed, go to Manage Jenkins -> Configure System -> Clouds (or Manage Jenkins -> Clouds depending on Jenkins version). Add a new cloud and select “Kubernetes”. In the cloud configuration provide:
If Jenkins cannot validate the cluster certificate, either upload the CA certificate in the cloud options or temporarily disable TLS verification (not recommended for production).
If you set everything correctly, click “Test Connection” to validate Jenkins can talk to the Kubernetes API.
Disabling TLS verification is insecure. Only use it for short-term debugging in a trusted environment. For production, upload the cluster CA certificate or ensure certificates are valid.
5. RBAC: Grant the service account the needed permissions
Without proper RBAC, the token will fail with 403 Forbidden responses. For example:jenkins namespace, bind an appropriate role. A simple binding to the admin ClusterRole scoped to the namespace:
Role with minimal verbs (e.g., get, list, watch, create, delete) for resources such as pods, pods/exec, services, configmaps, and bind it to the service account.
Note: If you scope the service account to only the jenkins namespace, testing another namespace (e.g., jenkins-123) will return 403 — this is expected behavior for least-privilege credentials.
6. Connectivity options and agent lifecycle
- By default, agent pods connect back to Jenkins over the JNLP (TCP) port. If your Jenkins instance disables the TCP agent port, configure WebSocket or Direct Connection.
- WebSocket agents use HTTP(S), which is useful where TCP is blocked.
- You can set a custom Jenkins URL in global settings if Jenkins is reachable behind a different endpoint.
- Pod labels allow easy filtering and organization for created agent pods.
- Pod retention:
- Never (default): delete pods after build completes.
- On Failure: keep pods if the build fails for debugging.
- Always: retain pods regardless of outcome.
7. Test by running jobs
Create or run a pipeline that requests a Kubernetes agent (via label orpodTemplate) and confirm Jenkins creates a pod in the jenkins namespace. Verify pod creation using:
Useful links and references
- Jenkins Kubernetes plugin: https://plugins.jenkins.io/kubernetes/
- jenkins-plugin-cli (Plugin installation manager tool): https://github.com/jenkinsci/plugin-installation-manager-tool
- Kubernetes documentation: https://kubernetes.io/docs/