- Extract reusable helpers (e.g., Slack notifications)
- Simplify and structure stages for clarity
- Spin up a new feature branch for future enhancements
- Verify the pipeline in both classic and Blue Ocean views
Recap: Jenkins Multibranch Pipeline
Log in to your Jenkins instance and find the multibranch Organization Folder containing the solar-system repository. This setup automatically discovers and builds branches as they appear in your Git server.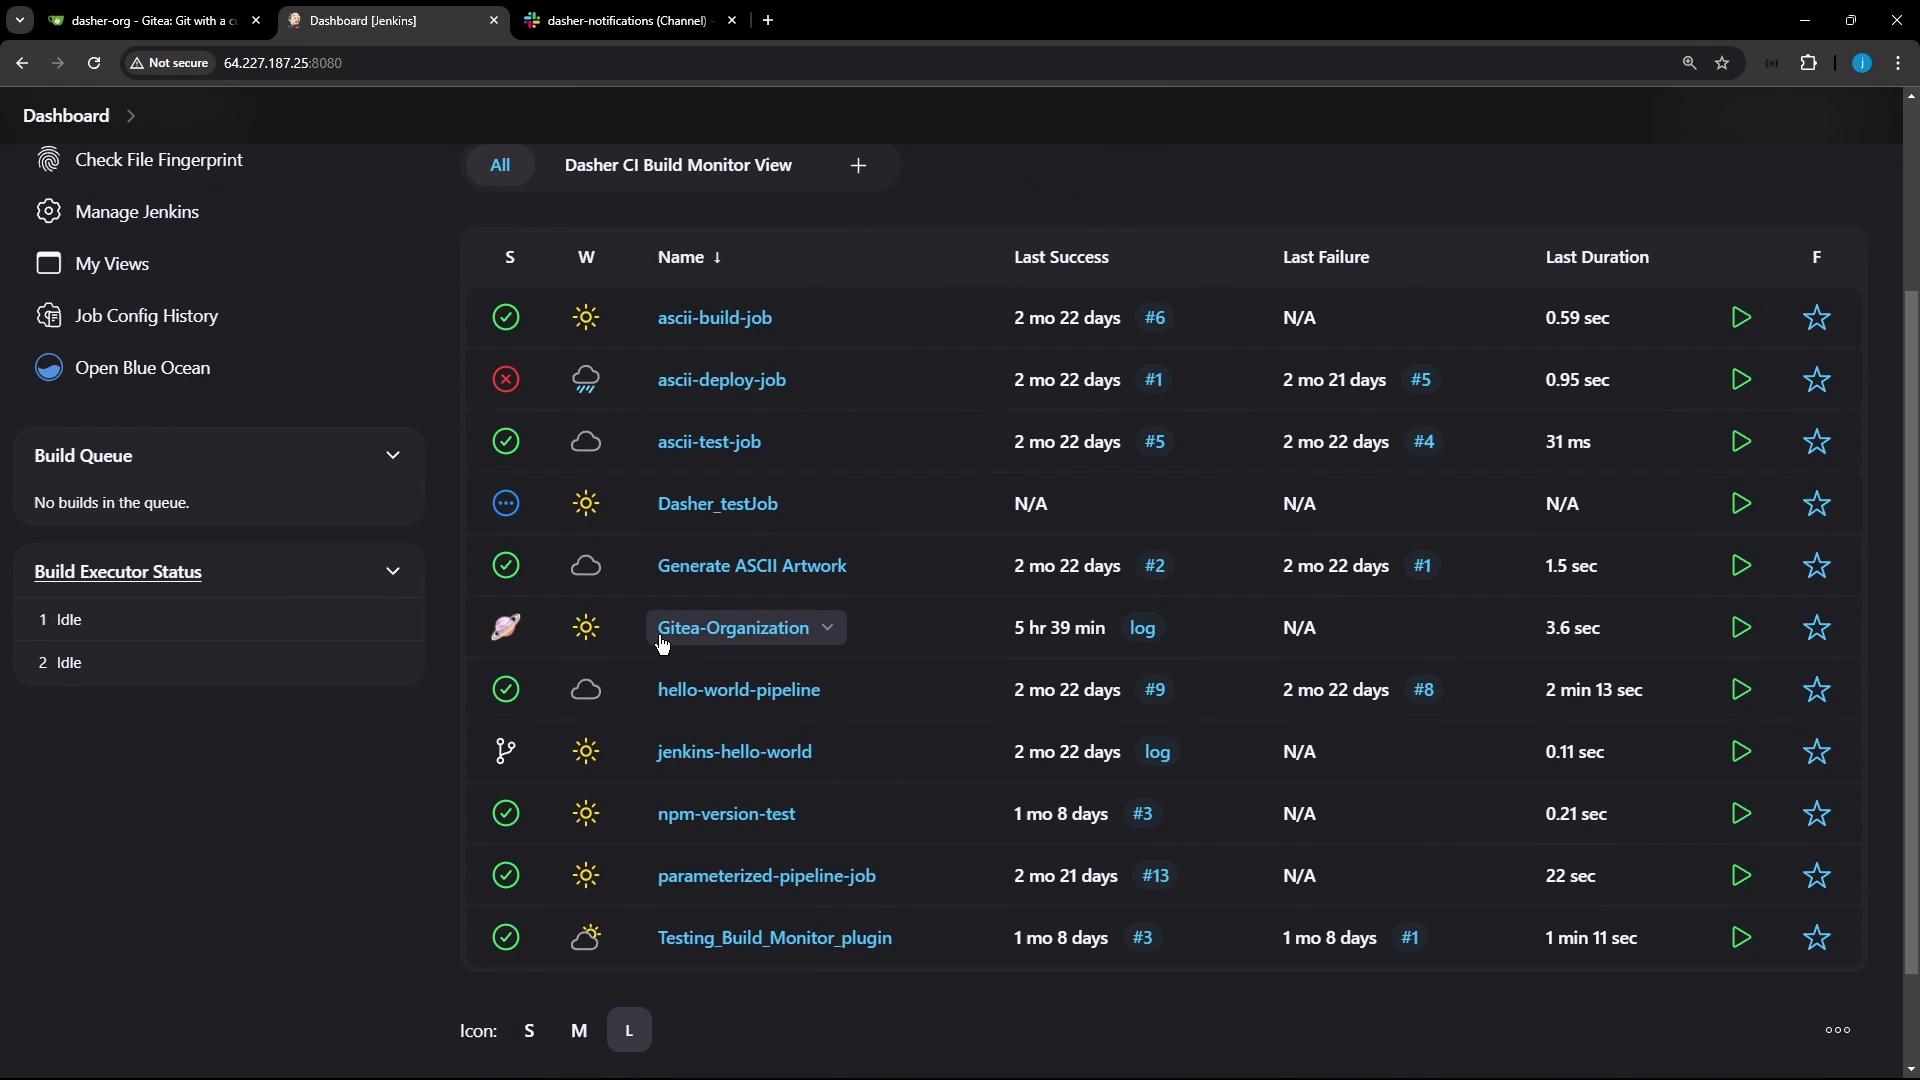
feature/enabling-slack.

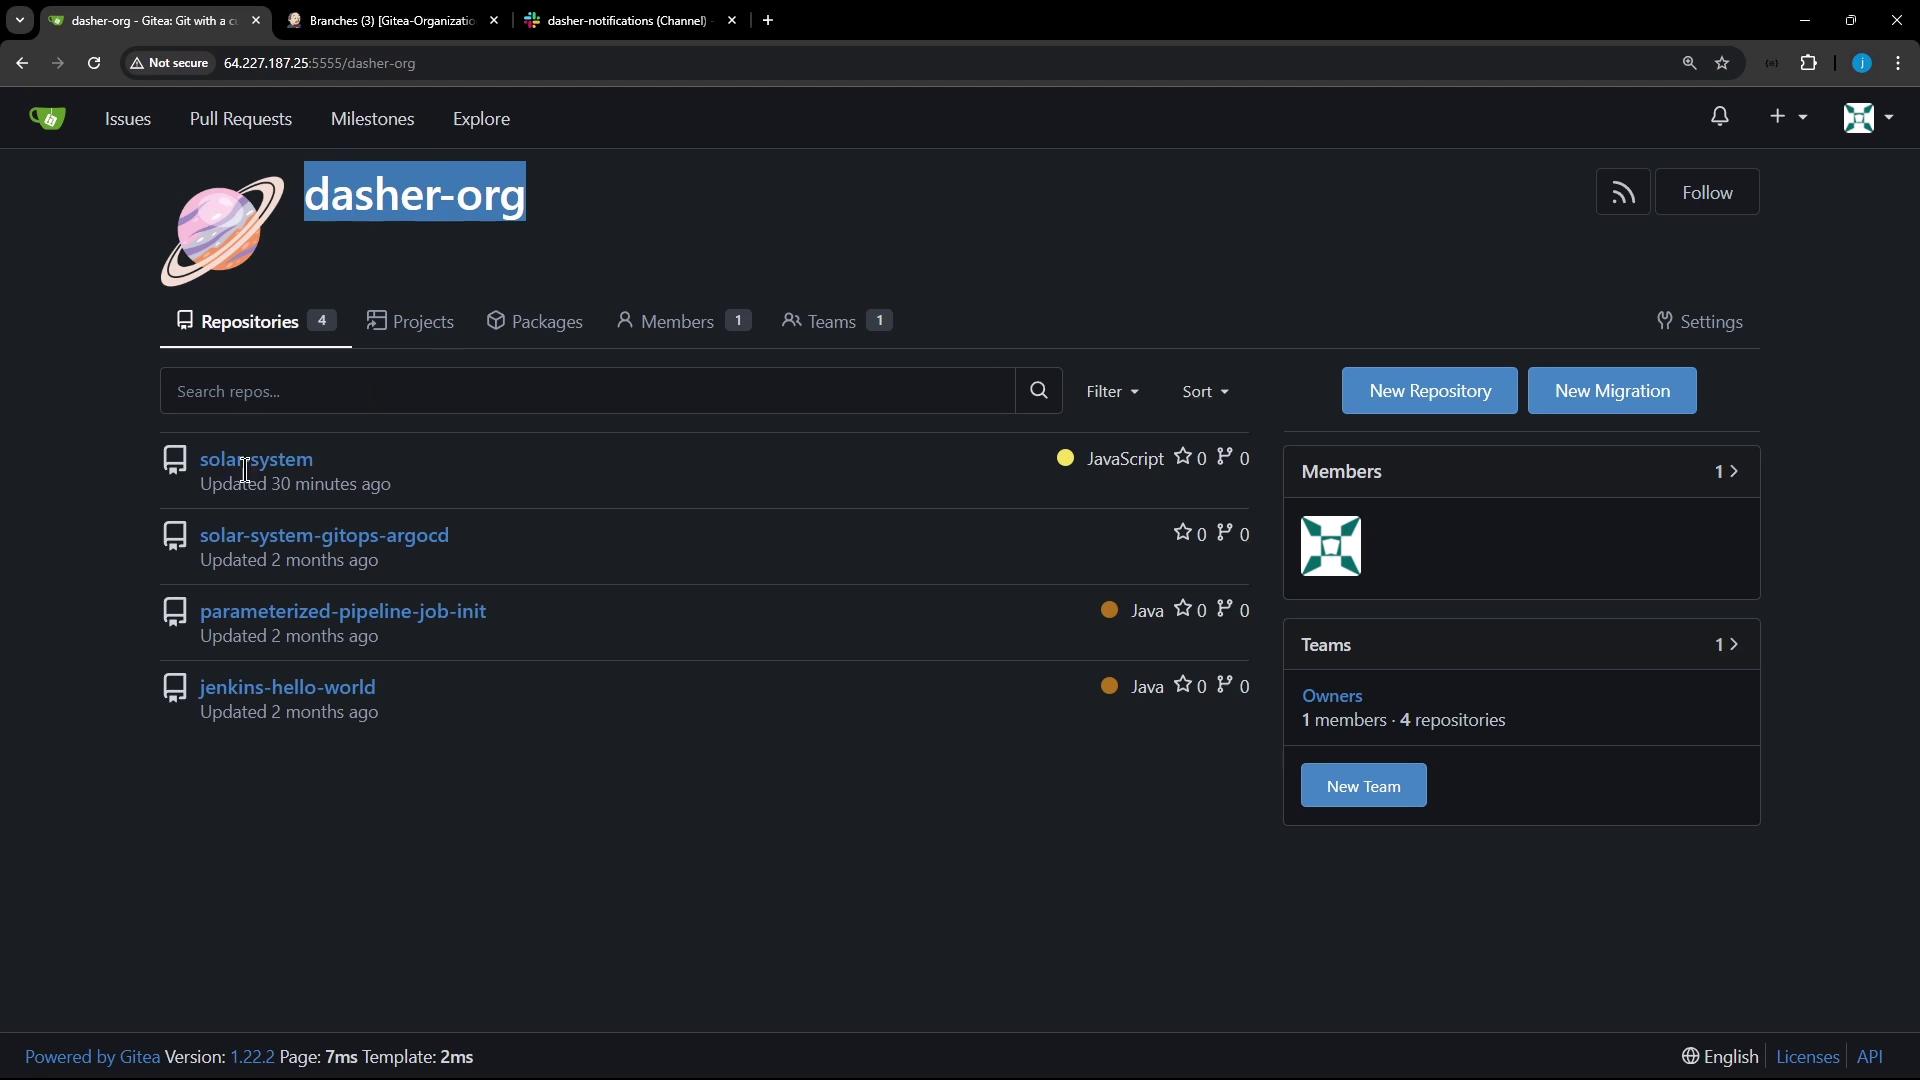
feature/enabling-slack branch.

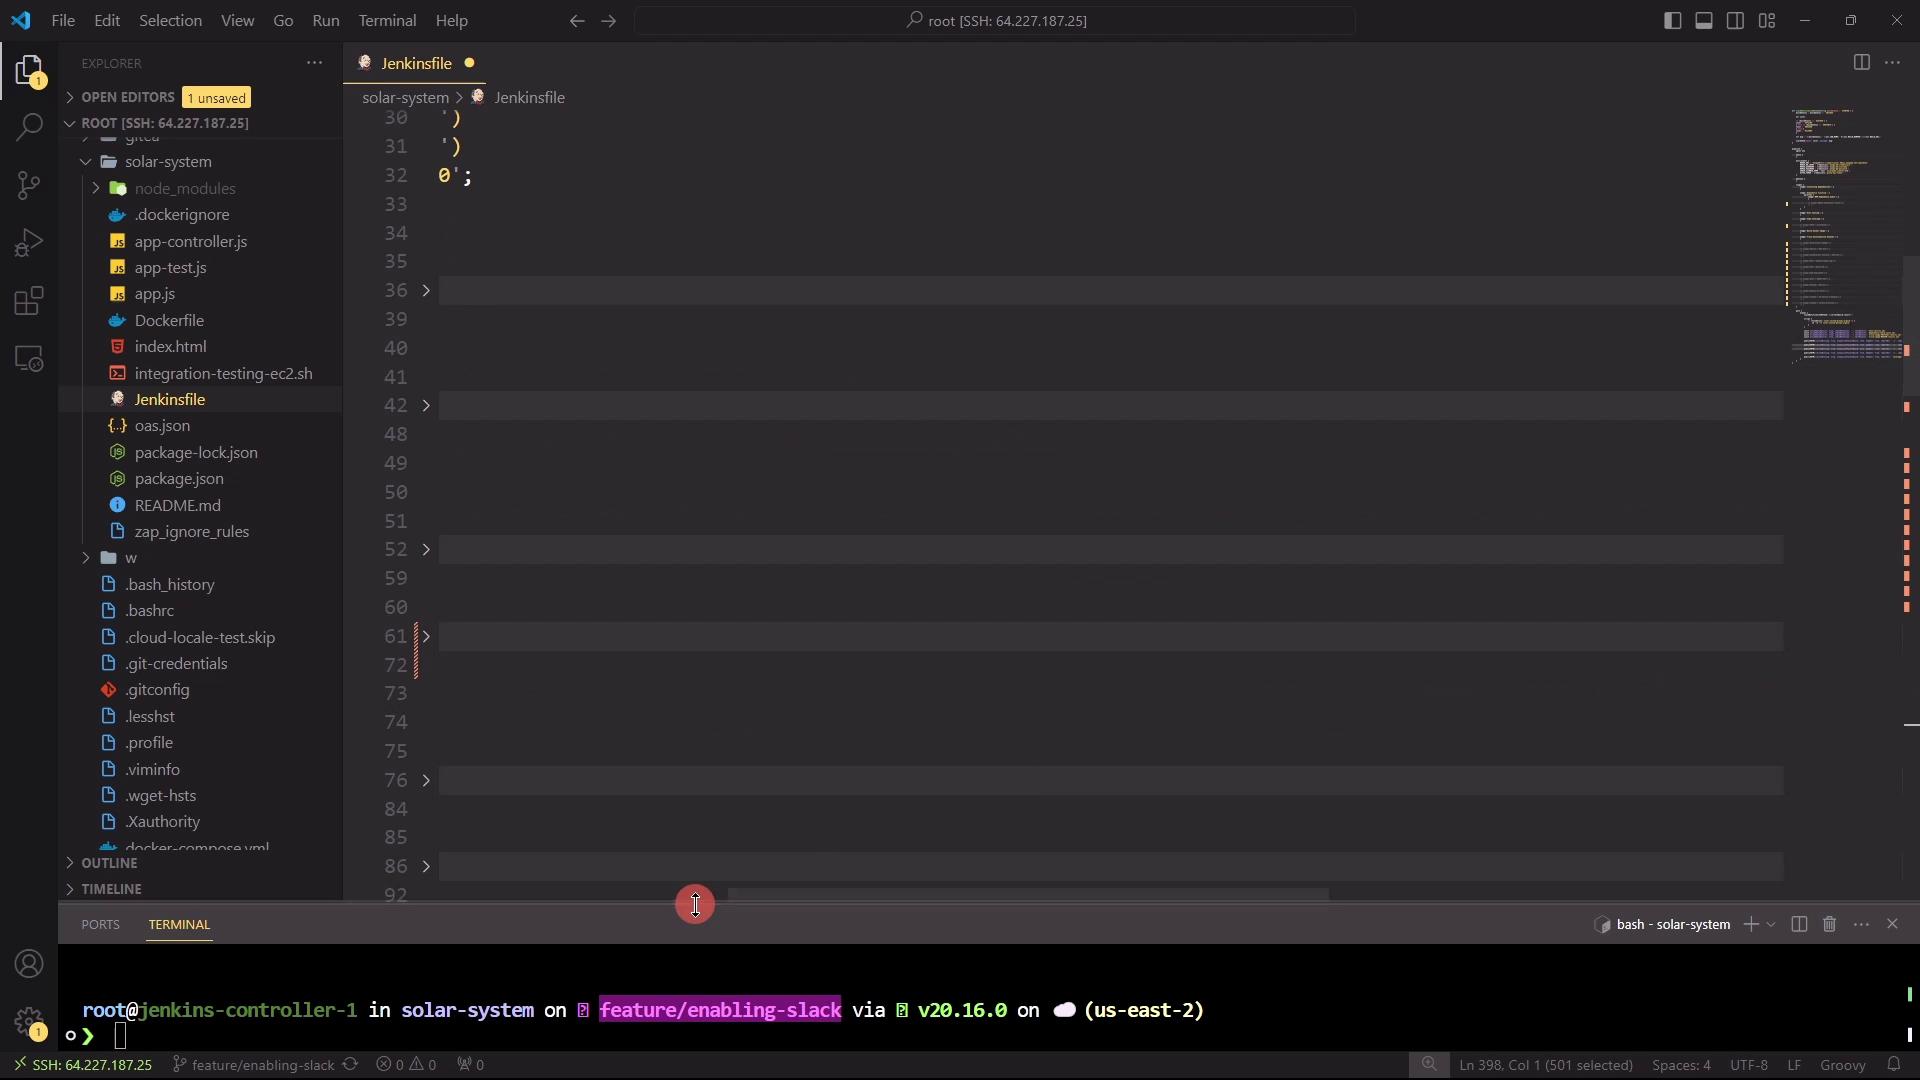
Step 1: Open the Jenkinsfile in VS Code
Switch your local repo tofeature/enabling-slack and open Jenkinsfile in Visual Studio Code (or your preferred editor).
Ensure you have the following installed on your Jenkins agents:
- Node.js & npm
- Docker Engine
- Trivy scanner
- Slack Notification Plugin
Step 2: Extract Slack Notification Helper
To avoid repeatingslackSend calls and status logic, define a reusable helper function at the top of your Jenkinsfile:
post block.
Step 3: Simplify Pipeline Structure
We’re focusing on five key stages for our advanced demos. Comment out or remove any extra stages. The new skeleton looks like this:Key Pipeline Stages Summary
| Stage | Purpose |
|---|---|
| Installing Dependencies | Install npm modules without audit |
| Dependency Scanning | Run npm audit in parallel |
| Unit Testing | Execute unit tests |
| Code Coverage | Generate coverage report (non-blocking) |
| Build Docker Image | Build container for deployment/testing |
| Trivy Vulnerability Scanner | Scan image, export HTML & JUnit reports |
Step 4: Create a New Branch for Advanced Demos
Instead of modifyingfeature/enabling-slack, spin up a fresh feature branch:
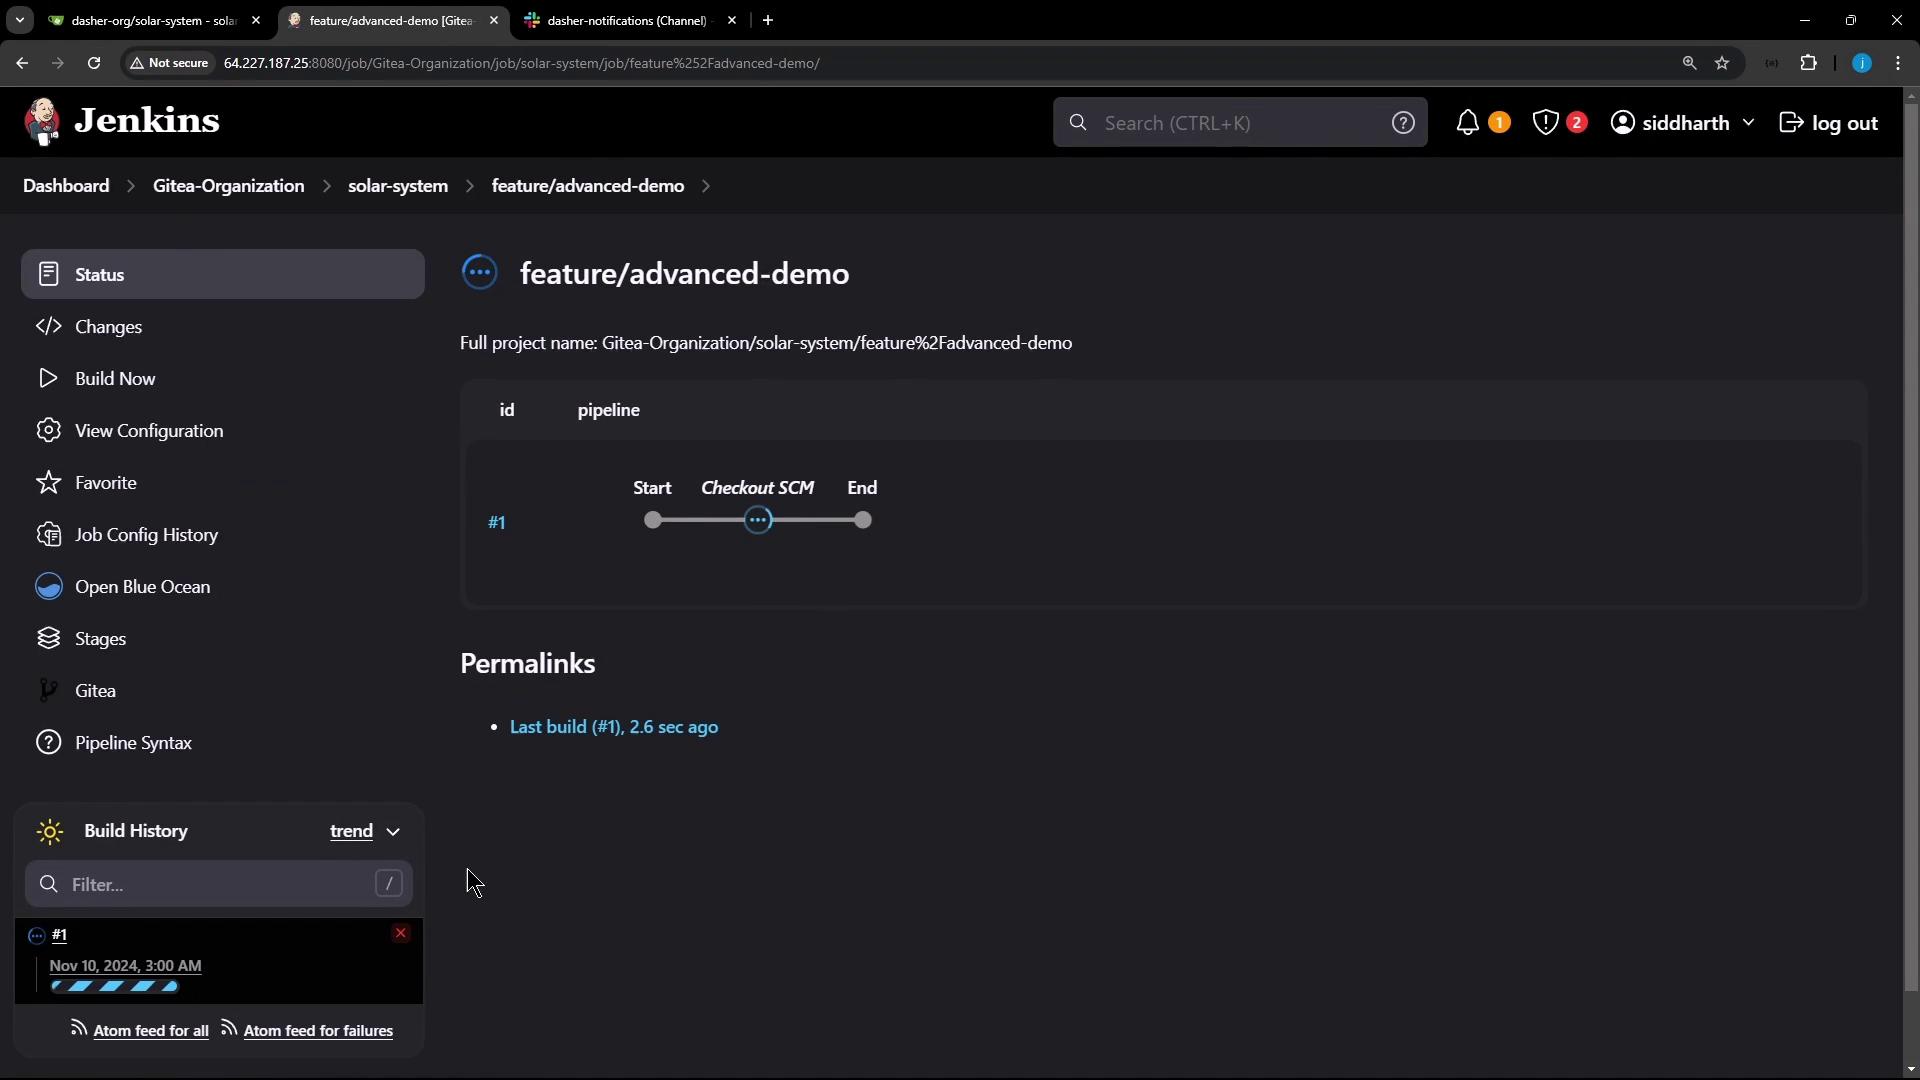
Step 5: Verify in Blue Ocean
Open the Blue Ocean UI to get a visual representation of your streamlined pipeline. You should now see only the core stages instead of the full, unfiltered list.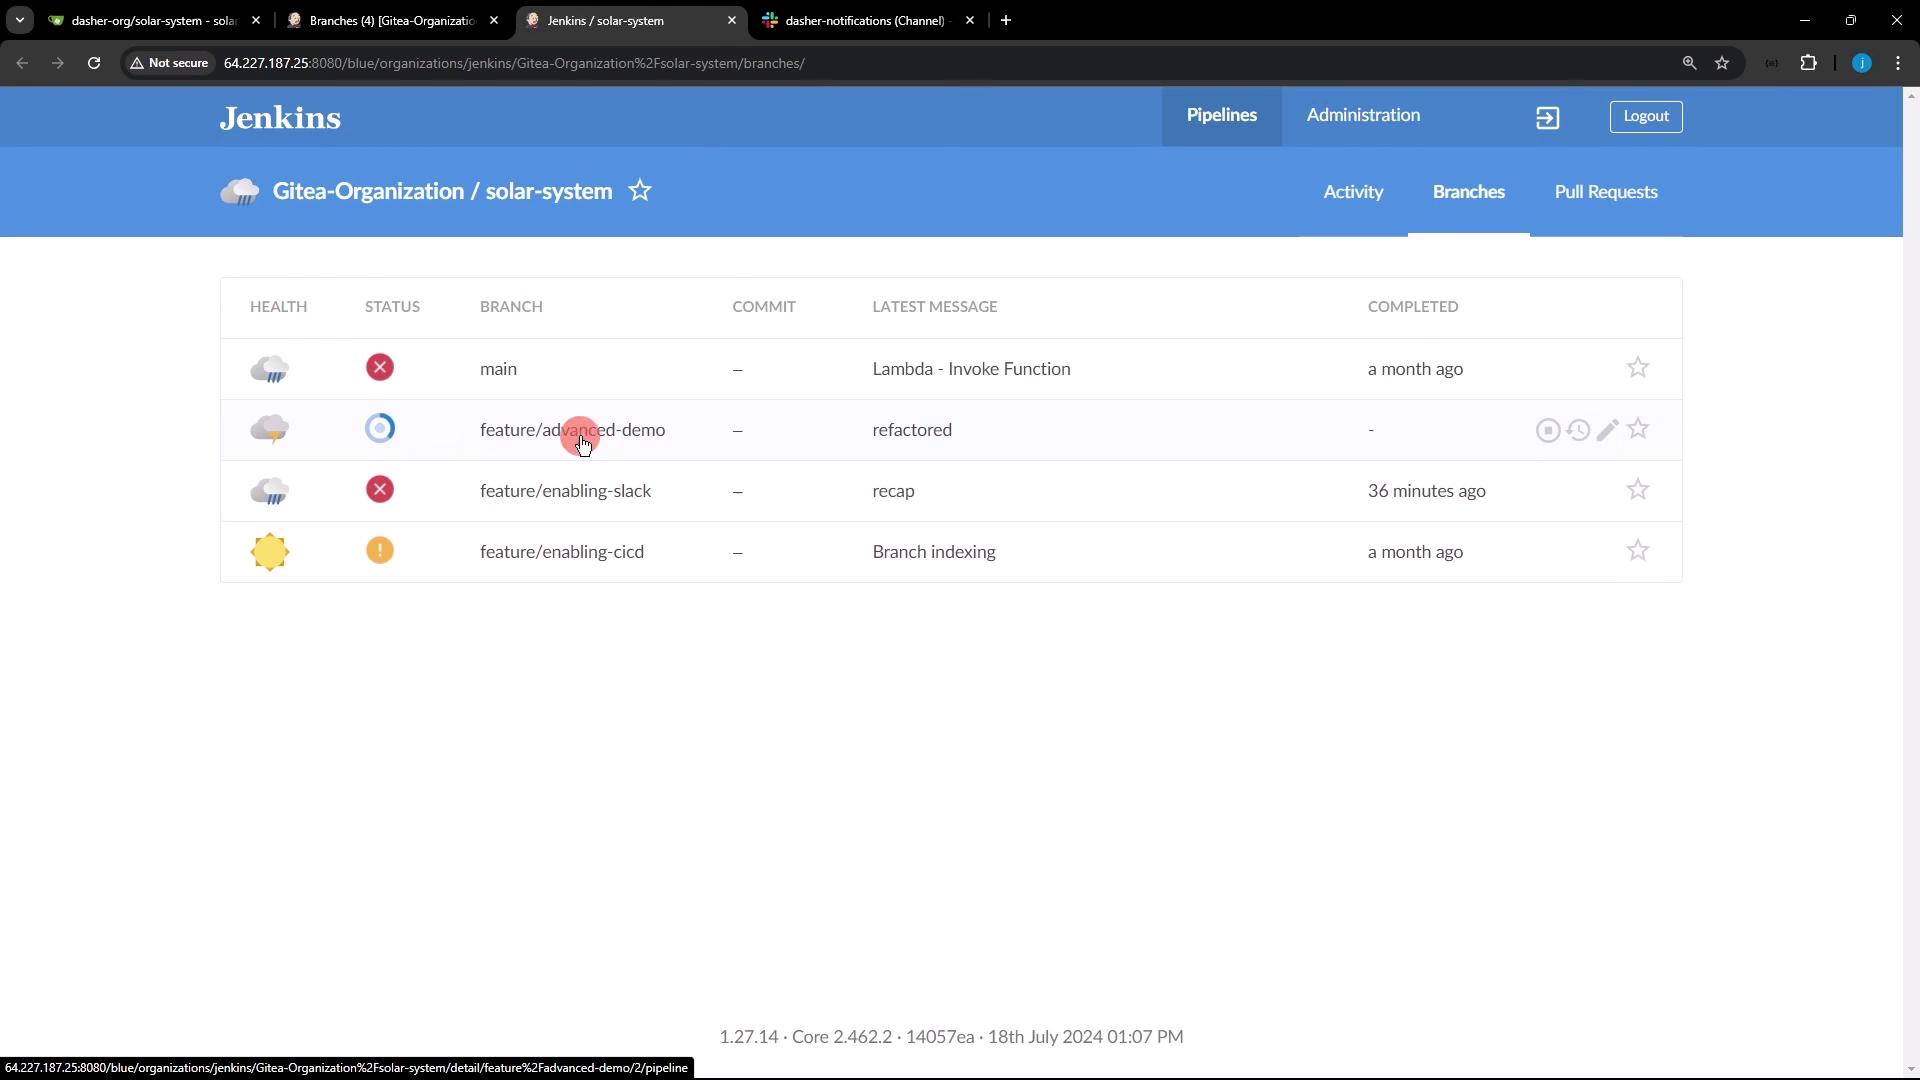
With your Jenkinsfile refactored and a dedicated branch in place, you’re all set to explore advanced pipeline features in upcoming sessions.
Links and References
- Jenkins Pipeline Syntax
- Slack Notification Plugin
- Trivy: A Simple and Comprehensive Vulnerability Scanner
- Blue Ocean Plugin