

Jenkinsfile to run selected Node.js stages inside a Kubernetes pod by referencing a k8s-agent.yaml pod specification file stored in the repository. This keeps the pod spec versioned alongside your code and lets you run Node.js-related steps inside a container while leaving non-containerized stages (for example Docker or privileged Trivy scans) to run on the controller.
What you’ll do:
- Add a
k8s-agent.yamlpod spec at the repository root. - Update the
Jenkinsfileto use the Kubernetes declarativeagentwithyamlFile. - Run Node.js stages inside the pod (default container
node-18) and run other stages on the controller usingagent anyat the stage level.
solar-system) while editing.
Existing Jenkinsfile (before refactor)
This is the top of the originalJenkinsfile used as the starting point:
1) Create the Kubernetes pod spec file (k8s-agent.yaml)
At the repository root create k8s-agent.yaml. This minimal pod spec provides two Node.js containers that remain running (using cat and tty: true) so Jenkins can exec into them. Save the following content into k8s-agent.yaml:
node-18 as the pipeline default container.
Keeping a small
k8s-agent.yaml in the repo improves reproducibility. You can extend this pod spec with init containers, environment variables, or volume mounts later (for example to inject credentials or cache layers).2) Update the Jenkinsfile to use the Kubernetes agent
Replace the top-level agent any with a Kubernetes agent block that references the YAML file and sets a defaultContainer:
cloudmust match a configured Kubernetes cloud in your Jenkins Kubernetes plugin.yamlFilepoints to the pod spec file in the repository (k8s-agent.yaml).defaultContainerdesignates the container where shell steps run by default (node-18).
Make sure the Jenkins Kubernetes cloud name (
cloud 'dasher-prod-k8s-us-east') matches a configured Kubernetes cloud in your Jenkins settings. If it does not match, pod provisioning will fail.3) Run only Node.js stages inside the Kubernetes pod
Change the stages that depend on Node.js to run inside the pod (they will run in thenode-18 container by default). For stages that need to run on the controller (for Docker builds, privileged Trivy scans, etc.), specify agent any at the stage level.
Example Node.js stage implementations after the refactor:
- Installing Dependencies (runs inside Kubernetes pod, default
node-18):
- Dependency scanning (parallel branch with NPM audit):
- Unit Testing (with retry):
- Code Coverage (allow failures so coverage reporting won’t break the pipeline):
- Docker build or Trivy scans (run on controller or appropriate agent): declare
agent anyat the stage level.
Stage placement quick reference
4) Commit and push
Commit bothk8s-agent.yaml and the modified Jenkinsfile to your feature branch and push. Depending on your SCM hooks, the pipeline should be triggered automatically.
When the pipeline runs, Jenkins will:
- Fetch the
k8s-agent.yamlfile from the repository. - Provision a pod on the configured Kubernetes cloud using the pod spec.
- Mount a shared
workspacevolume so all containers in the pod share the same workspace across stages. - Execute Node.js stages inside the
node-18container (default), allowing artifacts and dependencies installed during one stage to be available to subsequent stages in the same pod.
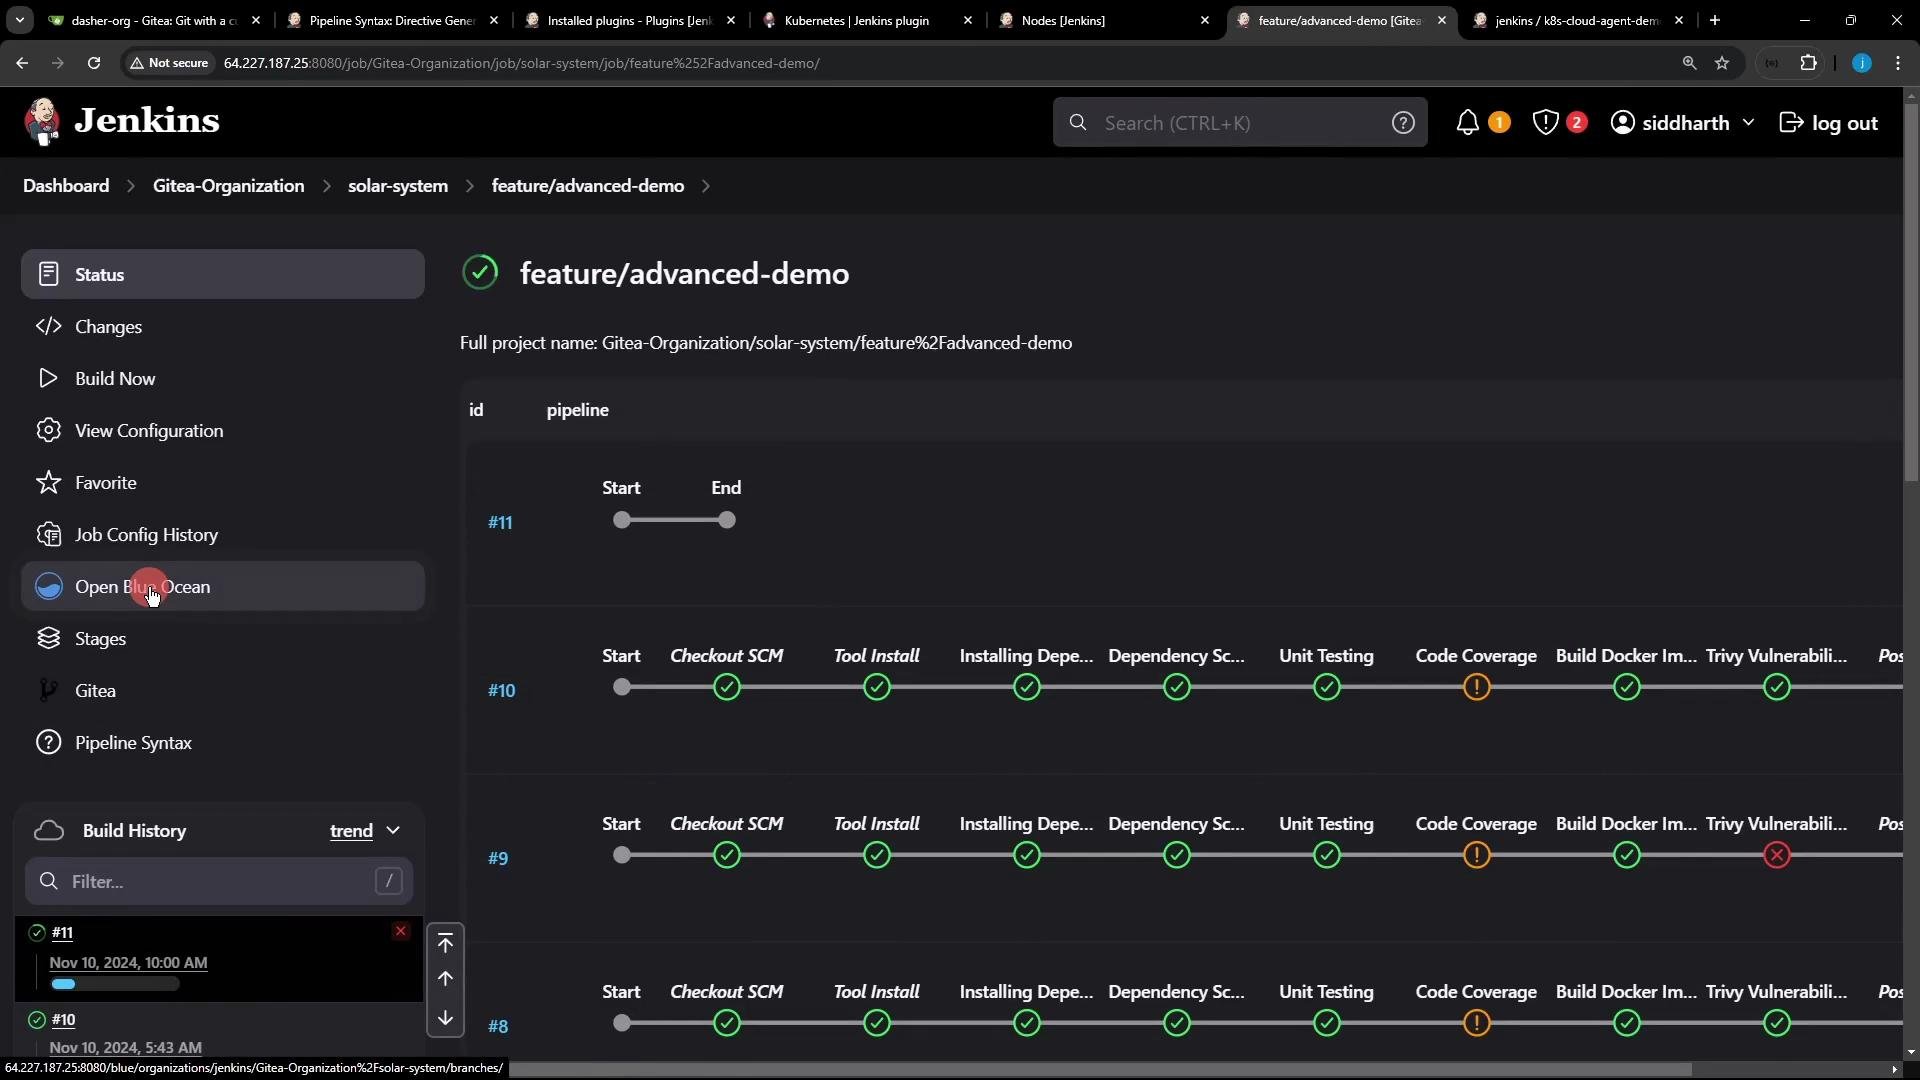
Example console output highlights
During a run you’ll see Jenkins load the shared library, retrieve the YAML, and provision the pod. Example excerpts (shortened):- Loading library and obtaining the YAML:
- Pod spec created by the plugin (excerpt):
- Sample
Installing Dependenciesoutput:
- Sample
npm auditoutput:
- Sample test and coverage output:
workspace volume in the pod, dependencies installed in the “Installing Dependencies” stage persist for subsequent stages without re-installing.
Summary and best practices
- Use
agent { kubernetes { yamlFile 'k8s-agent.yaml' } }to keep a reusable pod spec in your repository instead of embedding YAML inside theJenkinsfile. - Select a
defaultContainer(for examplenode-18) for Node-based stages. - Override stage-level
agentwithagent anyfor steps that must run outside the pod (Docker builds, privileged scans). - A single pod with multiple containers and a shared
workspacevolume lets you reuse artifacts and installed dependencies across stages, reducing duplication and improving pipeline speed. - You can add more containers to the pod and switch containers within stages using
container('container-name') { ... }if you need different runtimes or tools in different stages.
Links and references
- Jenkins Kubernetes plugin: https://plugins.jenkins.io/kubernetes/
- Kubernetes pod specification: https://kubernetes.io/docs/concepts/workloads/pods/pod/
- Trivy (Aqua Security): https://github.com/aquasecurity/trivy
- Node.js Docker images on Docker Hub: https://hub.docker.com/_/node