

stash and unstash Pipeline steps to move files between stages within a single pipeline run. This technique is commonly used to cache build artifacts or dependency directories (for example, node_modules) so later stages, possibly running on different agents, can reuse them without repeating expensive operations.
stasharchives a set of files from the current workspace so they can be restored later in another stage of the same pipeline run.unstashrestores a previously created stash by name into the current workspace.- By default, stashes are discarded at the end of the pipeline run. Use persistent artifact storage (or plugins that support retention) if you need data to persist across separate runs.
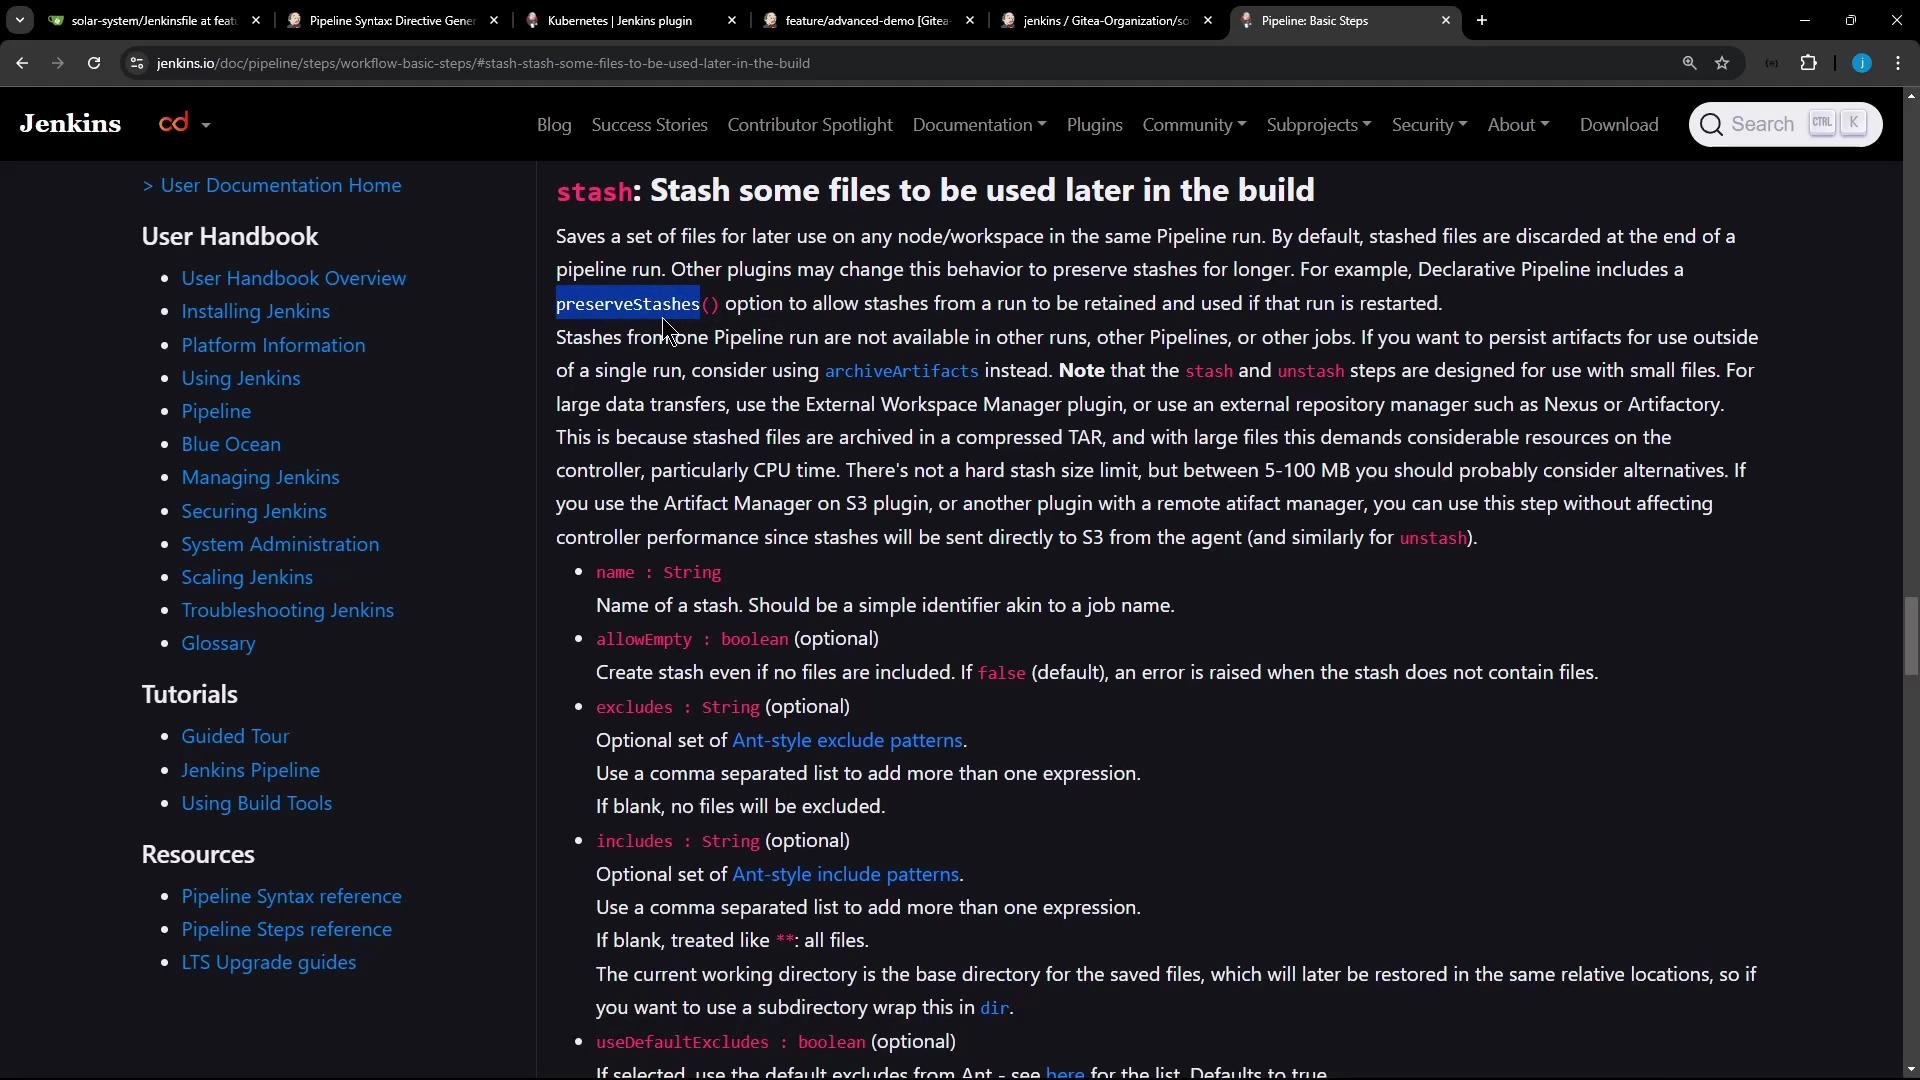
Stashes are specific to a single pipeline run. If you want to retain artifacts between runs, consider using persistent artifact storage or plugins that support preserving stashes.
Typical workflow
- Install dependencies or create artifacts in an early stage.
stashthe produced files (e.g.,node_modules/**) immediately after they are created.unstashthe named stash in a later stage, even if that stage runs on a different agent.- Continue with tests or other tasks using the restored files.
Example: Node.js pipeline before and after stashing
Initial Jenkinsfile fragment (before stashing):npm install so the installed dependencies are archived for later stages:
npm install entirely and rely solely on the previously stashed node_modules, remove the install step and unstash instead:
Console output (example excerpts)
From the stage that creates the stash:Why use stash + unstash
- Enables moving files between stages that run on different agents (e.g., different nodes, Docker containers, or Kubernetes pods).
- Avoids repeating expensive operations like re-installing dependencies during the same pipeline run.
- Keeps workspaces clean by allowing you to store only the required files and restore them on demand.
Quick comparison: stash vs archived artifacts
Notes and gotchas
- Keep your
includes/excludesprecise. Stash patterns use Ant-style globs (e.g.,node_modules/**). Over-broad patterns increase stash size and transfer time. - Stashes are per-run and ephemeral. To reuse artifacts across separate builds, use
archiveArtifacts, an external cache, or a plugin that retains stashes. - Some filesystem issues (rename, locking) can surface during install; stashing can help avoid repeating a problematic step within the same run but does not fix the underlying filesystem issue.
- If your pipeline creates many or very large stashes, consider using a persistent caching mechanism (artifact repository, shared volume, or build cache) for efficiency.
Stashed files are discarded when the pipeline run finishes. Do not rely on
stash for long-term caching across separate builds—use artifact storage or a caching plugin for persistent reuse.Best practices
- Stash only what is necessary (e.g.,
node_modules/**rather than**). - Name stashes clearly (e.g.,
solar-system-node-modules) so they are easy to reference in later stages. - Use
options { retry(n) }around fragile steps like installs to reduce flakiness before stashing. - Monitor stash sizes and transfer times; large stashes may negate the performance benefits.
Links and references
- Jenkins Pipeline Steps: stash
- Jenkins Pipeline Steps: unstash
- archiveArtifacts step (for persistent build artifacts)
stash and unstash to move files between stages inside the same Jenkins pipeline run—an effective way to cache dependencies and reduce redundant work.