

kubernetes agents that provision pods on demand. Examples show inline Pod YAML embedded in the pipeline; you can also use reusable pod templates configured in the Kubernetes cloud.
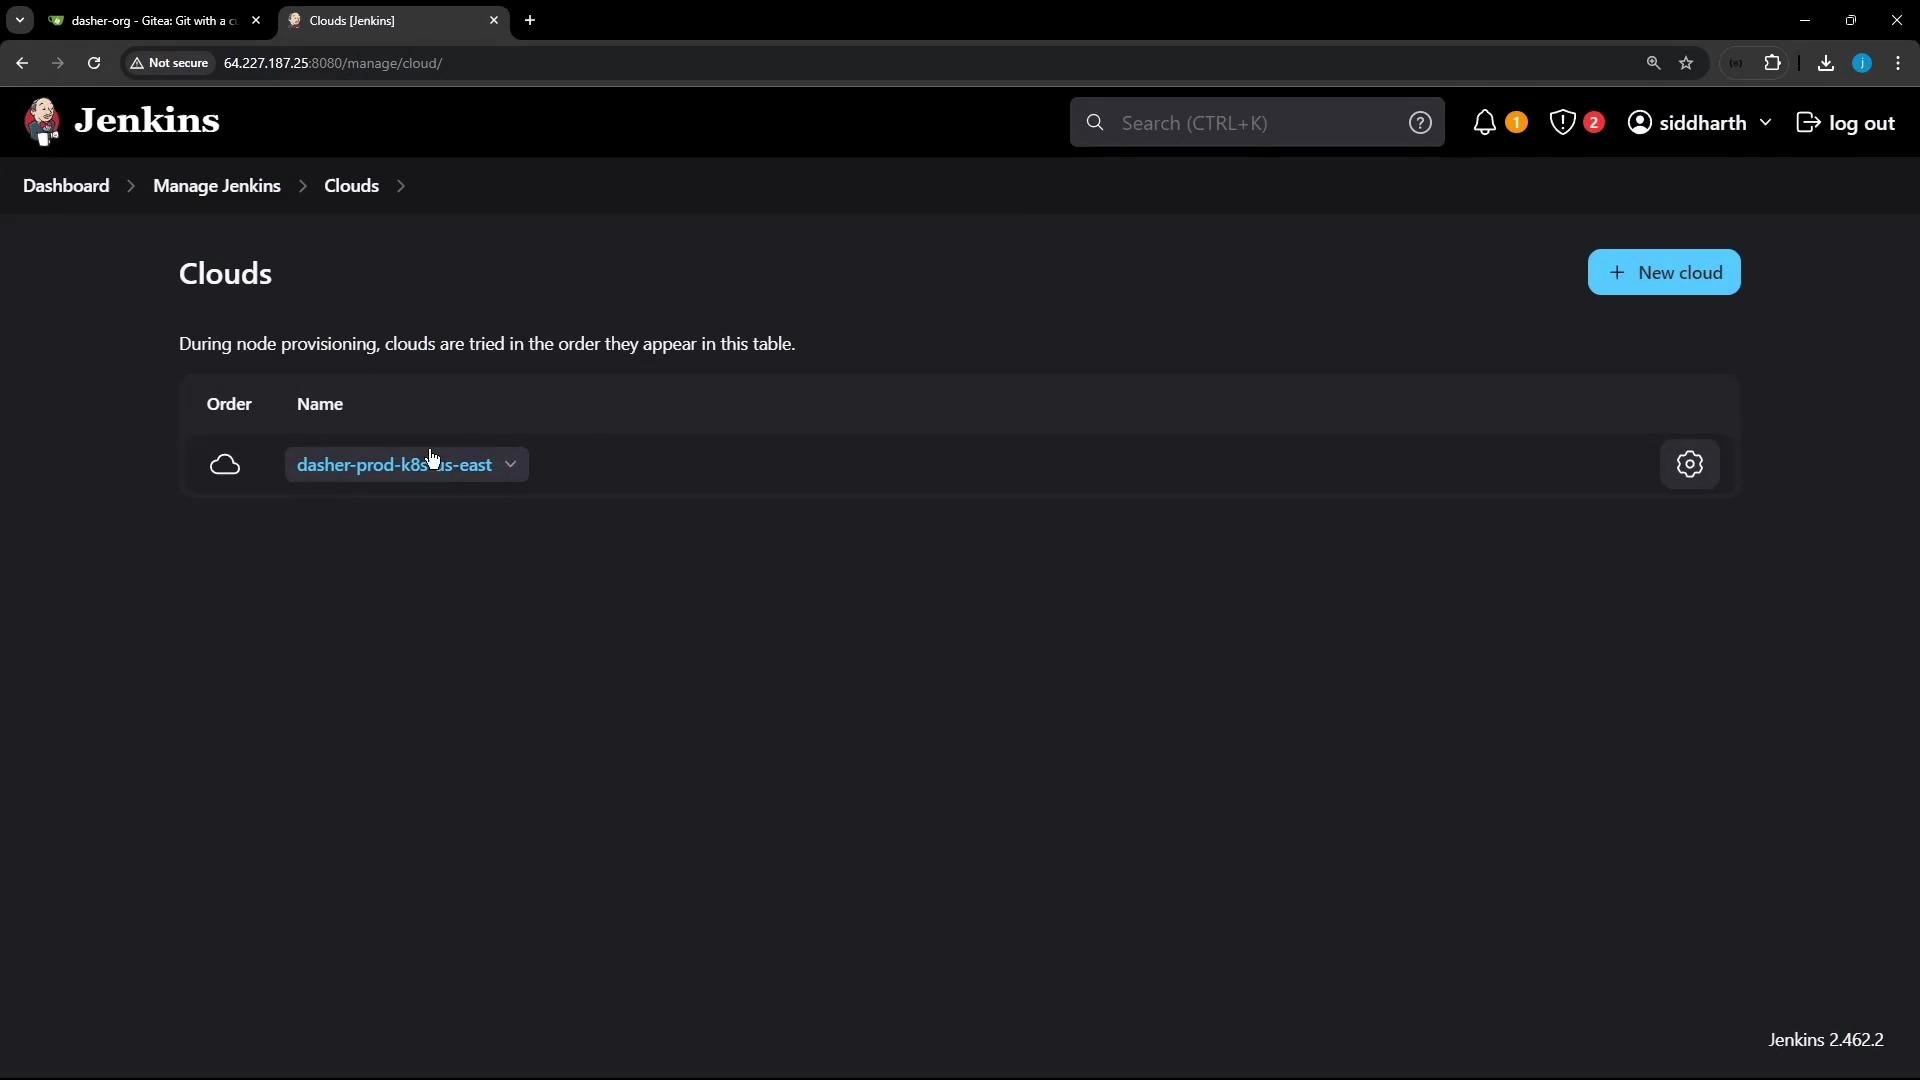
Create the Pipeline Job
Create a new Pipeline job: Dashboard → New Item → Pipeline. For the examples below we use Declarative Pipeline syntax with an inline YAML Pod definition inside theagent { kubernetes { yaml '''...''' }} block.
Basic single-container example
This example demonstrates a minimal pod with a single Ubuntu container. The container runssleep infinity so the pod remains available briefly for inspection while the build runs. We set defaultContainer so pipeline steps execute in that container unless overridden.
Pod retention: If the Kubernetes cloud’s Pod Retention is set to
Never, pods created for builds are deleted immediately when the build finishes. If you need to inspect a pod after a run, set retention appropriately or adjust the pipeline to pause before completion.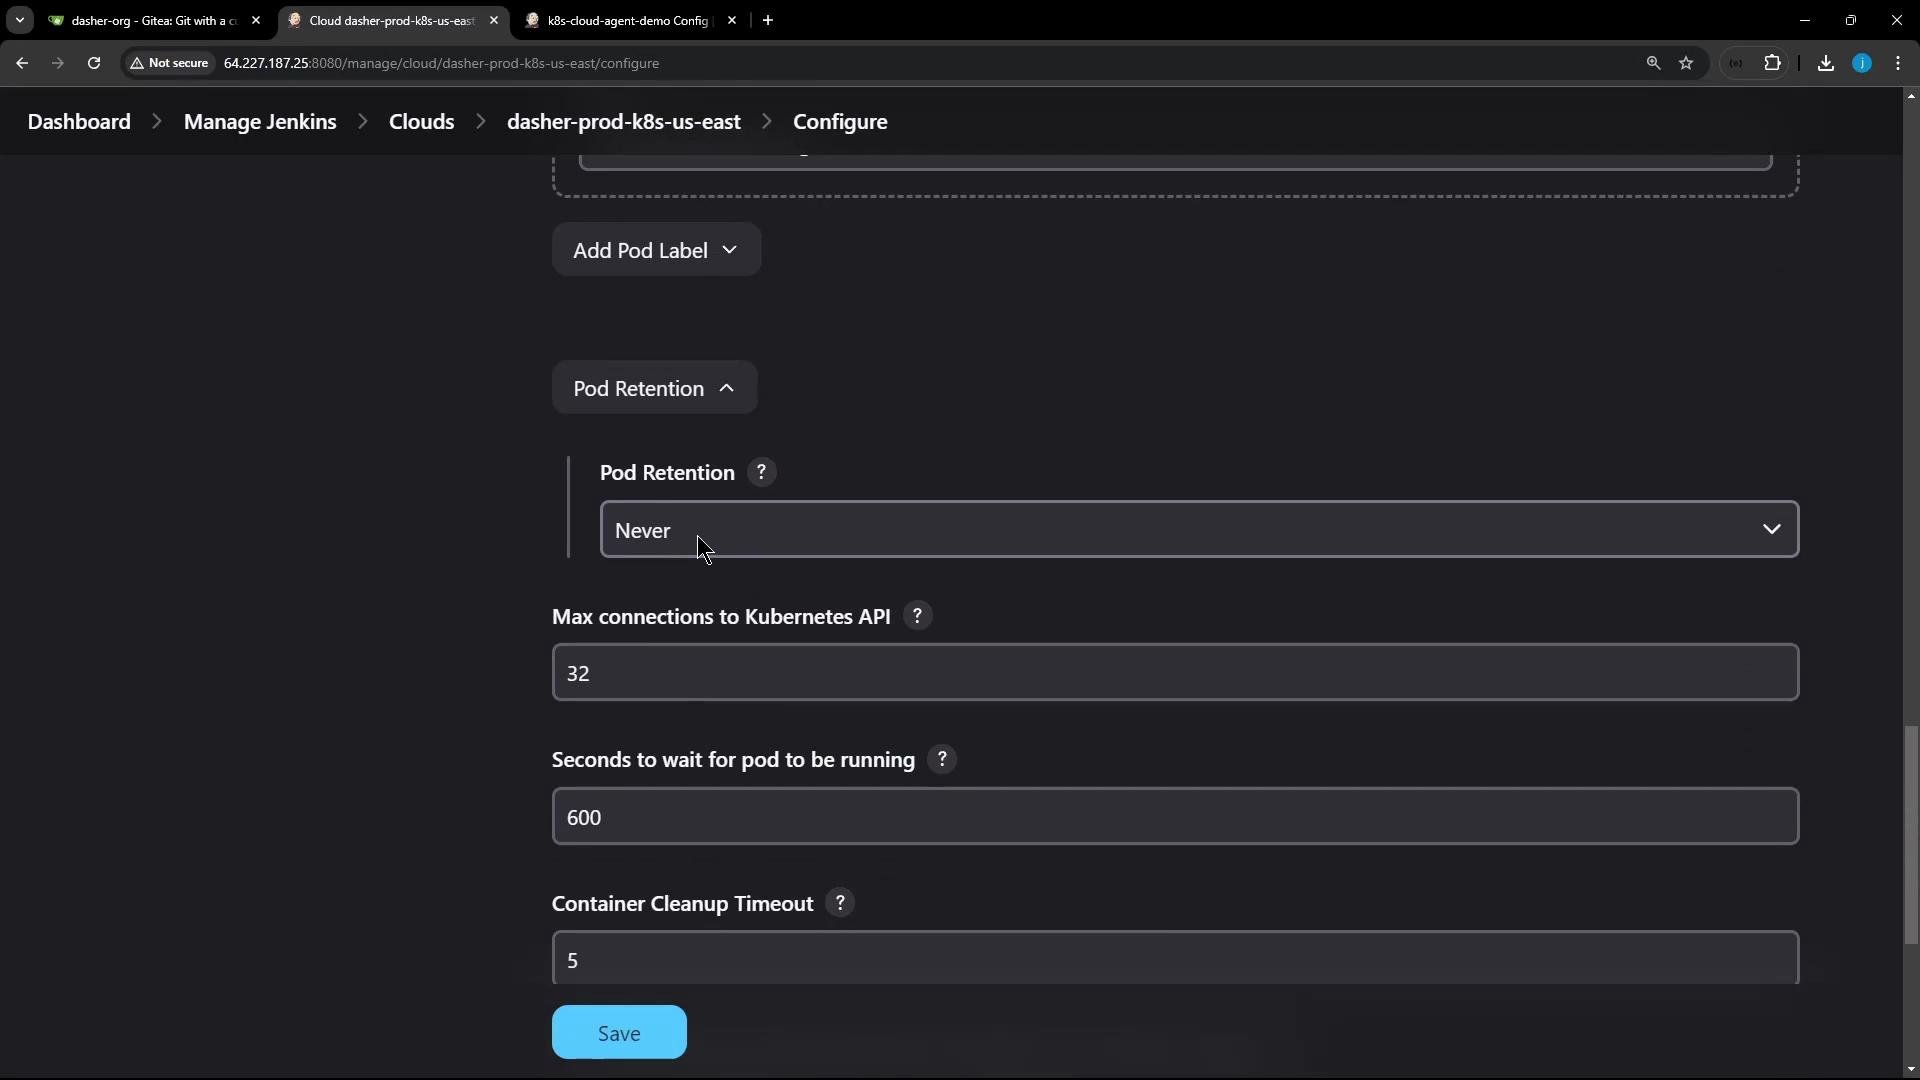
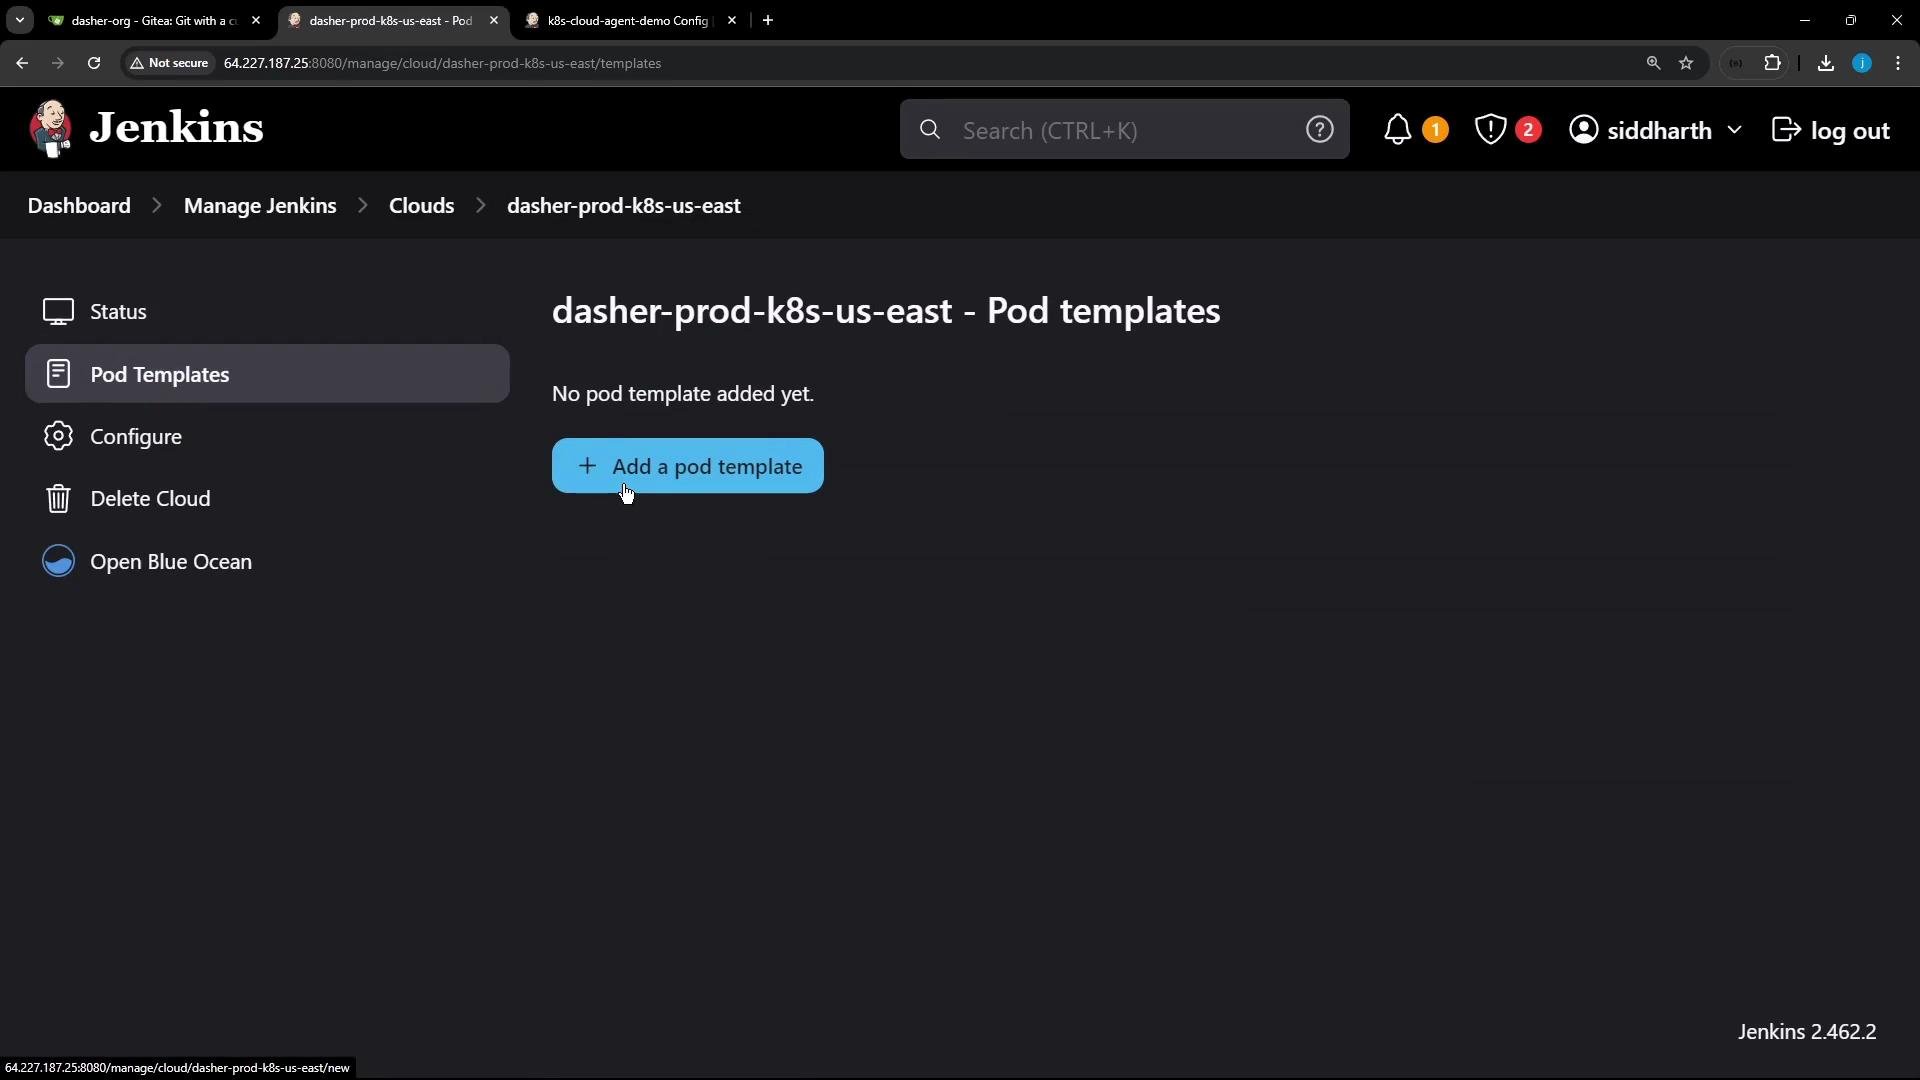
Pod templates vs inline YAML
You can either:- Define pod templates in the Kubernetes cloud configuration (reusable, managed centrally), or
- Provide inline YAML in the pipeline (convenient for per-job customization).
Selecting the Kubernetes cloud
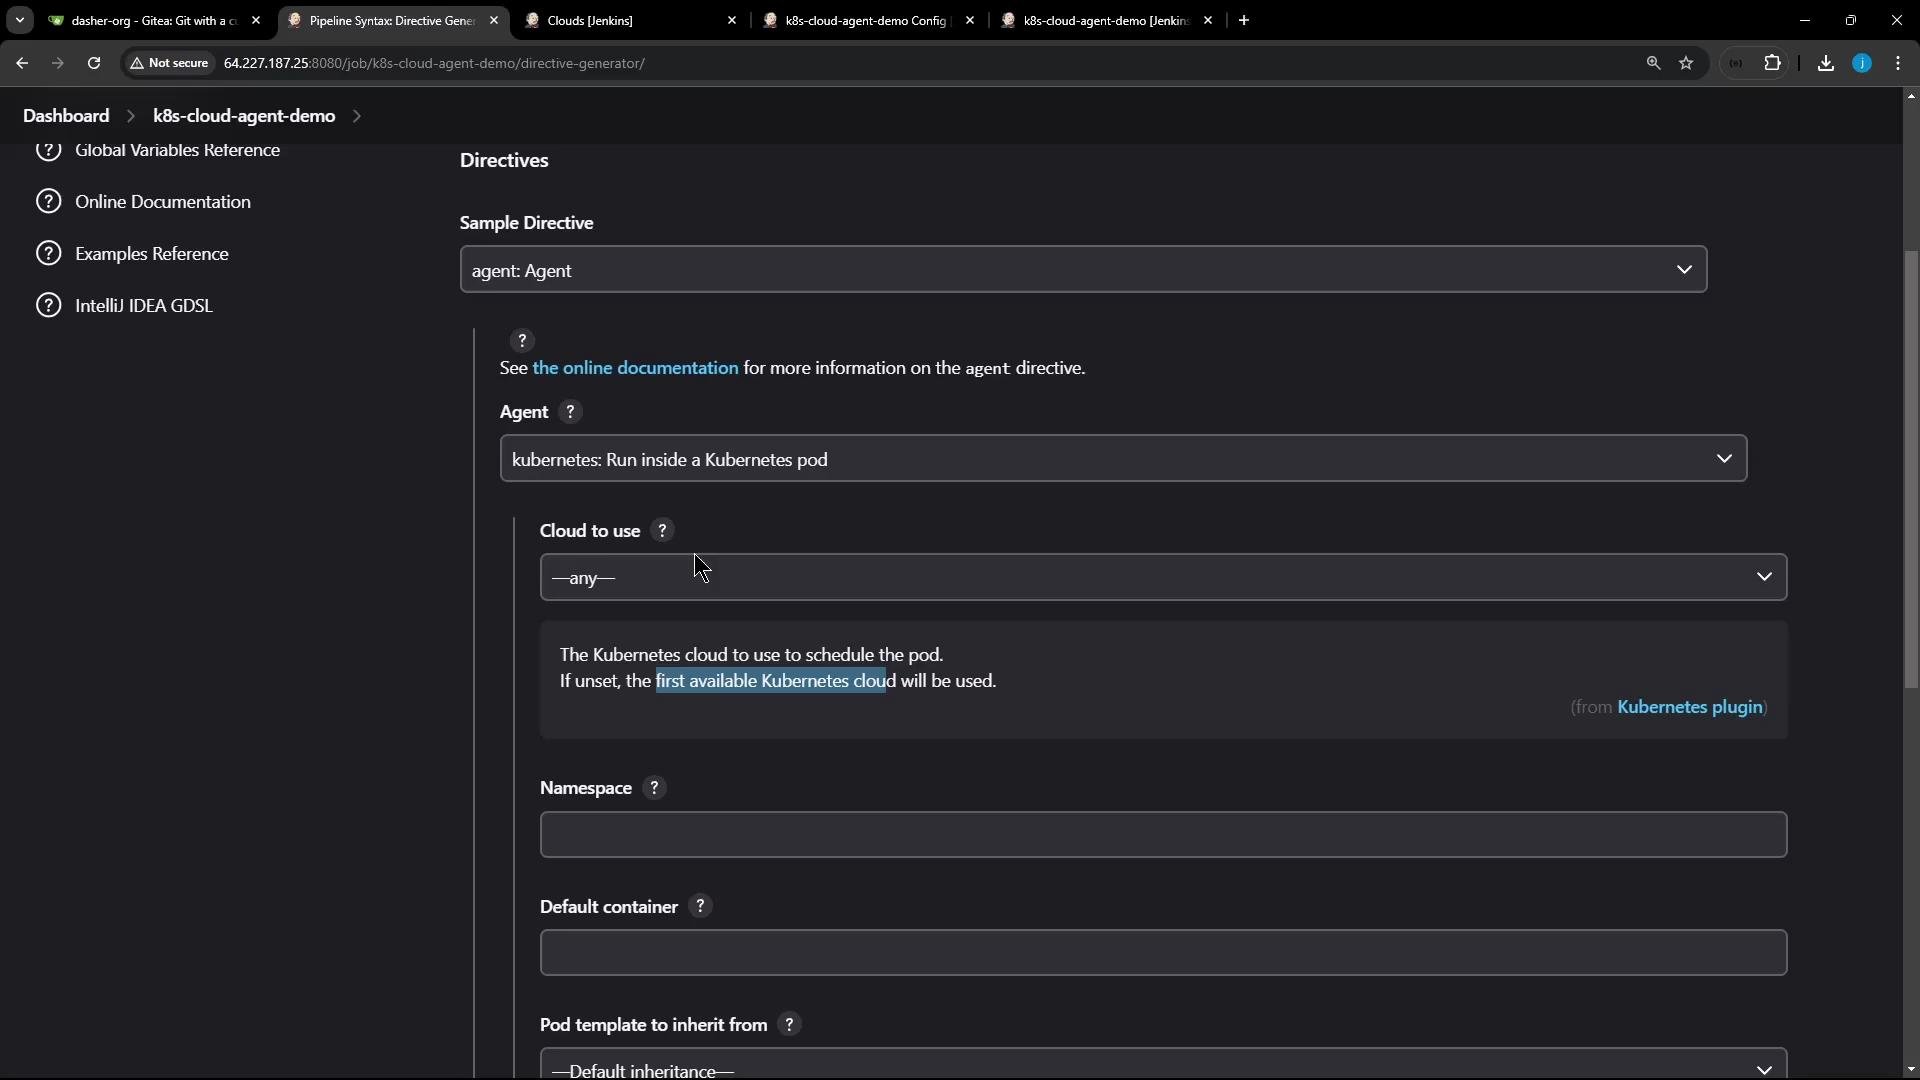
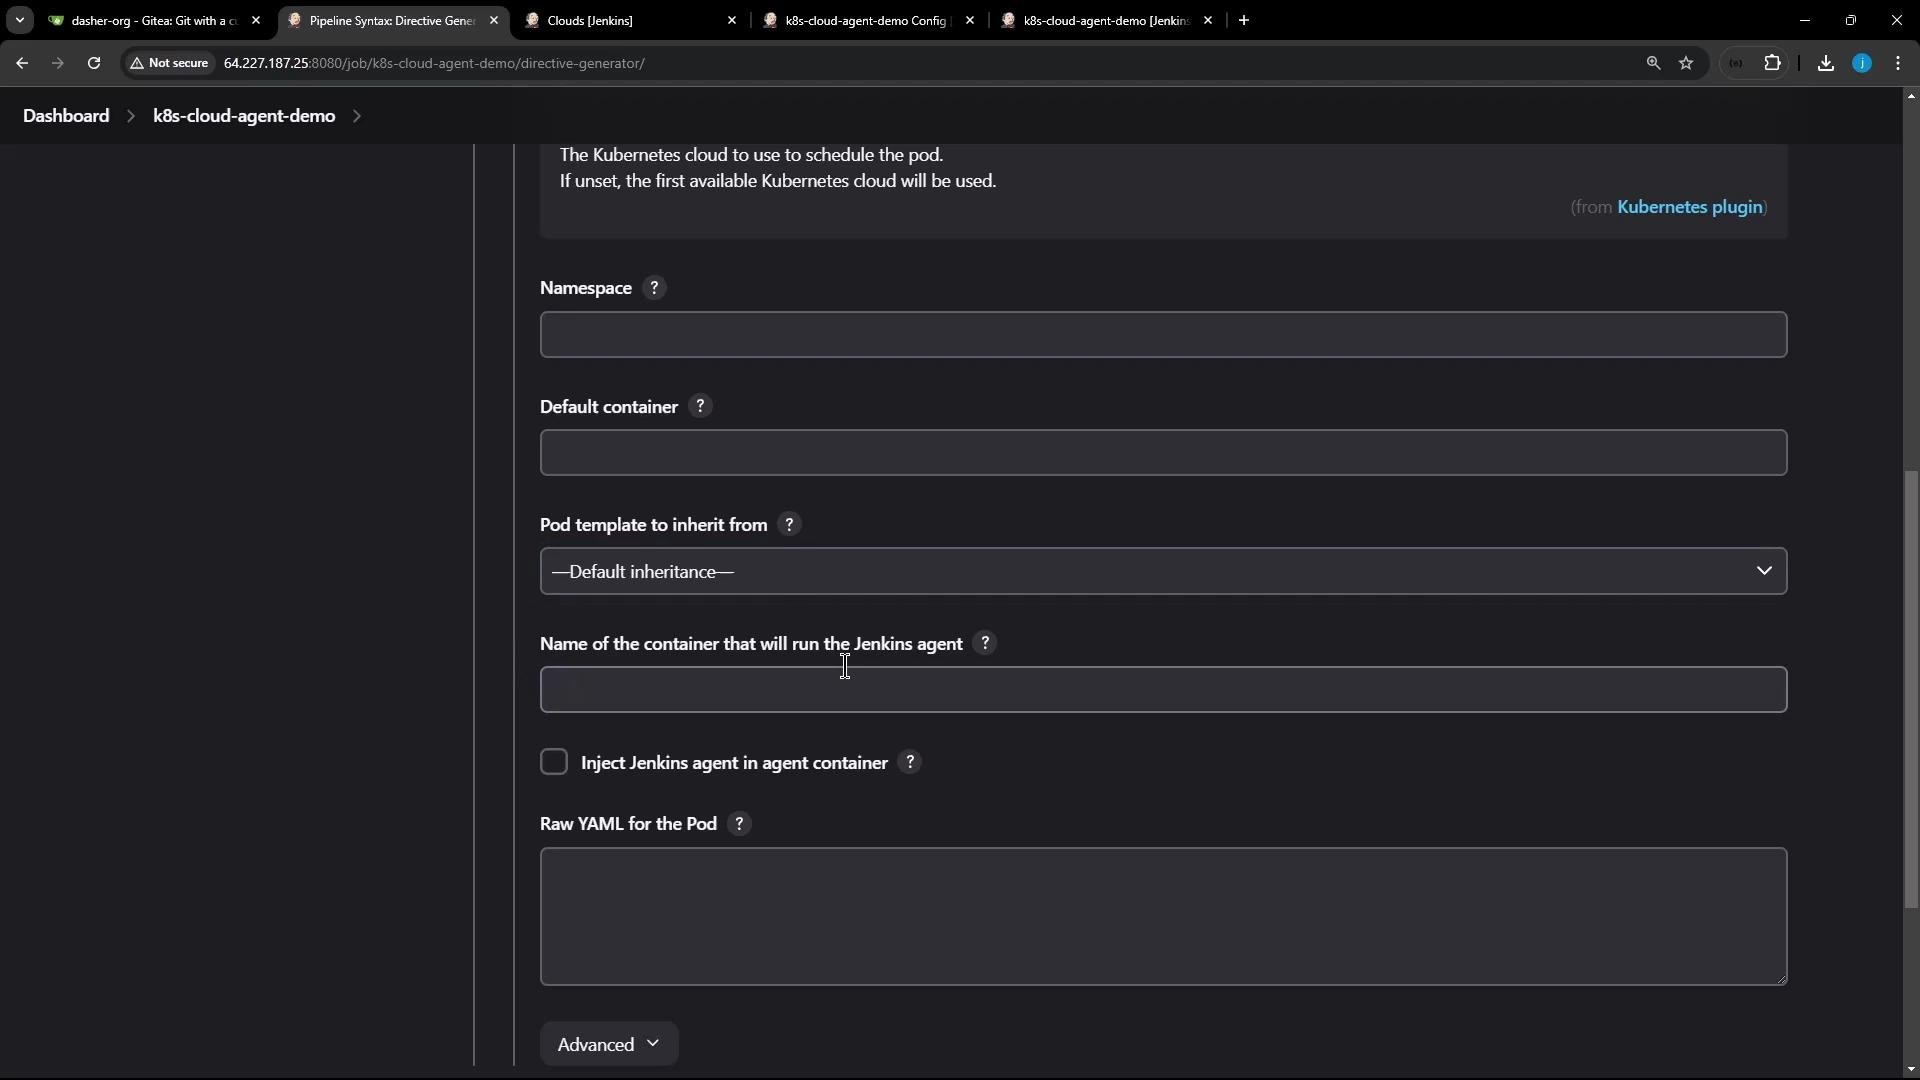
If multiple Kubernetes clouds are configured, explicitly select one using thecloud option inside the kubernetes agent block. If omitted, the plugin uses the first configured Kubernetes cloud.
The Pipeline editor / directives UI exposes fields like Cloud to use, Namespace, and Default container to help configure these options.
Multi-container pod example
To run different runtimes in the same pod (for example, a utility container with Node.js and a separate container for the agent), define multiple containers in the Pod YAML. UsedefaultContainer to make most steps run in one container, and use the container('name') { ... } block to target a different container for specific steps.
Below is a pipeline that provisions two containers: ubuntu-container (default) and node-container. The Print Node Version stage runs explicitly inside node-container to access node and npm.
- If the
defaultContainerlacks the runtime you need (e.g.,node), steps will fail withnode: not found. Always target the correct container withcontainer('name') { ... }when you need a specific runtime.
node is executed in the Ubuntu default container (console output, cleaned):
Inspecting pods and events from the cluster
While a job is running, inspect Pod status, logs and cluster events with kubectl. Example assumes the Jenkins namespace isjenkins.
Pod details added by the plugin
Every provisioned pod includes:- The containers you defined plus the Jenkins inbound agent (jnlp) container injected by the plugin.
- Workspace volume (typically
emptyDir). - Environment variables and arguments to start the jnlp agent.
- Resource requests/limits and any
securityContextyou configured. - Pod events that show lifecycle steps from schedule → pull → start → terminate.
Quick reference: Inline YAML vs Pod Template
Conclusion
The Jenkins Kubernetes plugin provisions ephemeral pods per build, enabling flexible, isolated build environments. Best practices:- Use inline YAML for job-specific setups or pod templates for central reuse.
- Set
defaultContainerfor typical steps and usecontainer('name') { ... }for specialized runtimes. - Inspect lifecycle and debugging information with
kubectl get poandkubectl get events. - Remember pod retention settings (e.g.,
Never) may delete pods immediately after build completion.
Consider Pod Security Admission (PSA) and cluster policies when designing pod specs. Avoid running containers as root where possible; prefer images that run as non-root users and add a
securityContext in your pod YAML when needed. See Kubernetes PSA docs: https://kubernetes.io/docs/concepts/security/pod-security-admission/