

- Defining workflows in
.github/workflows - Provisioning an App Service
- Splitting build and deploy jobs
- Securing credentials with GitHub Secrets

1. Setting Up GitHub Actions
Workflows live in the.github/workflows folder. They can compile code, run tests, build artifacts, and deploy—all triggered by GitHub events or manual dispatch.
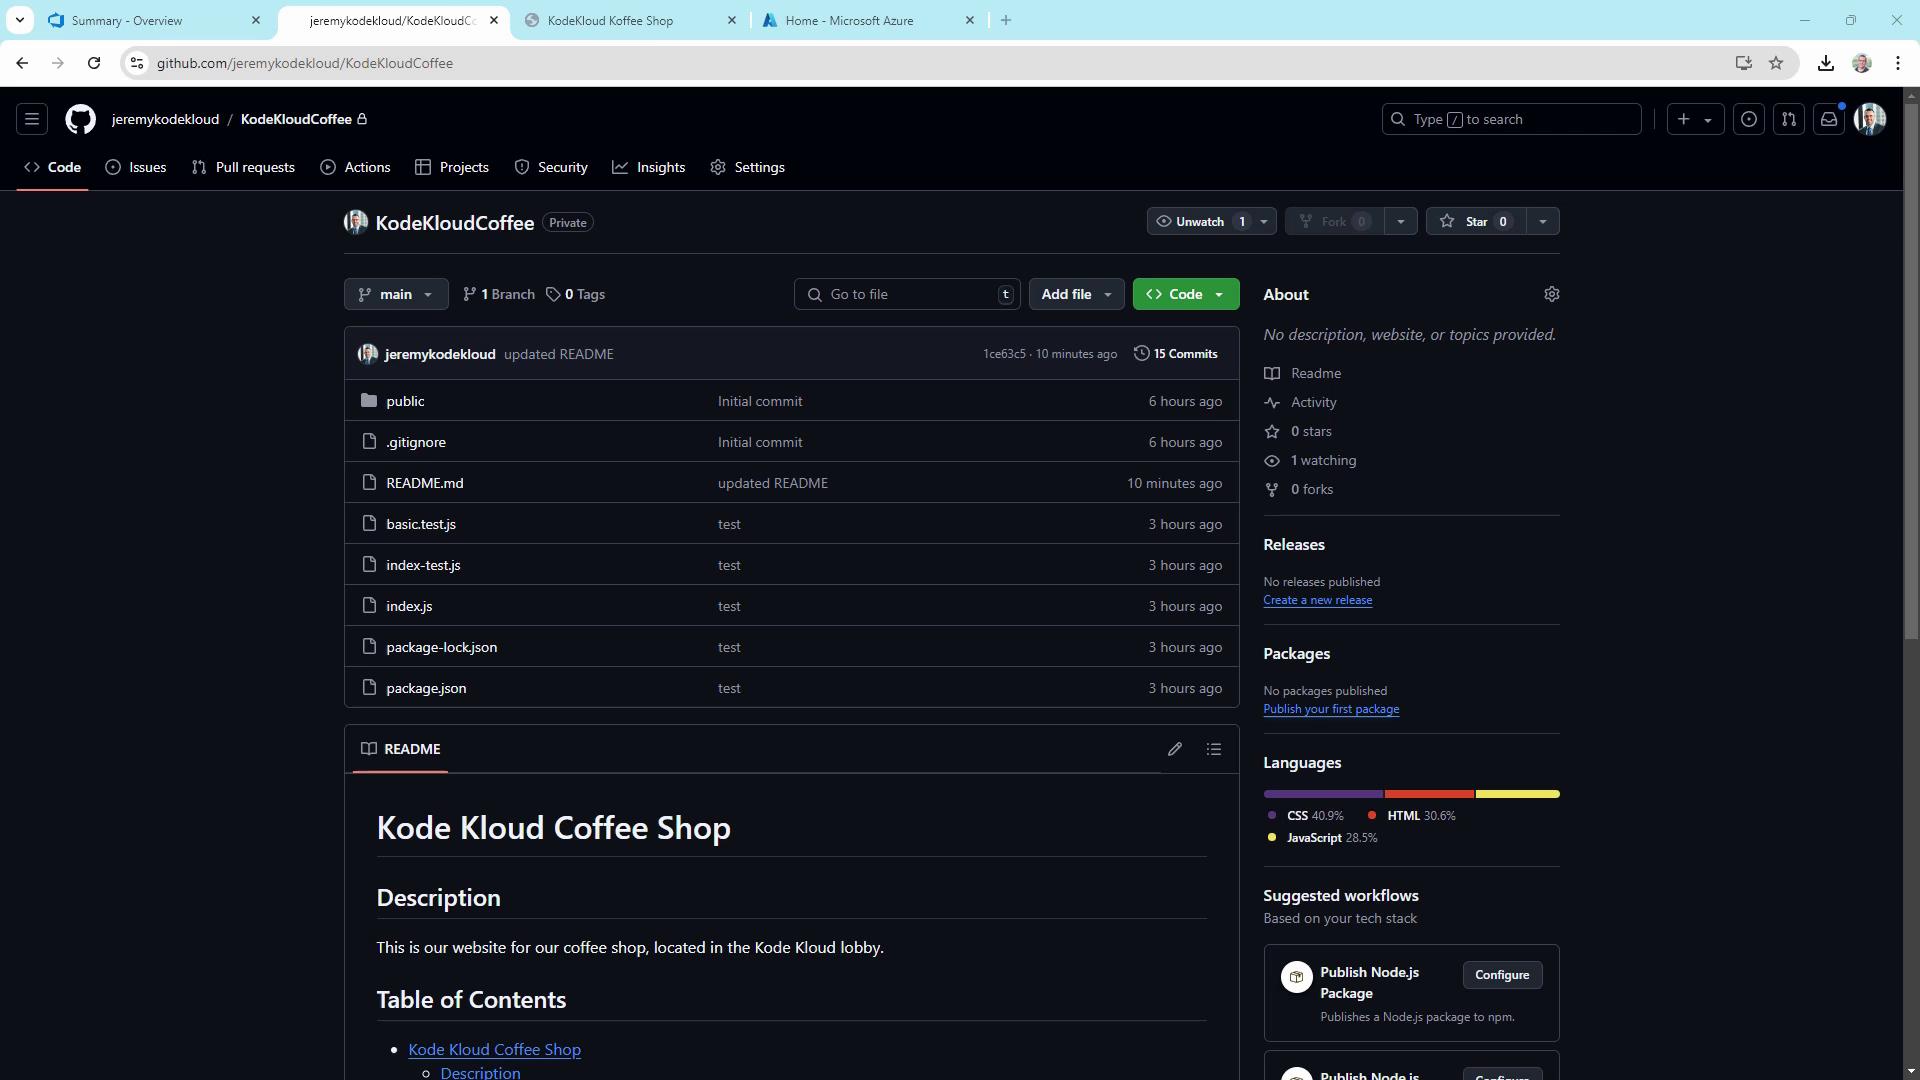
Here’s our sample repo structure for KodeKloudCoffee:
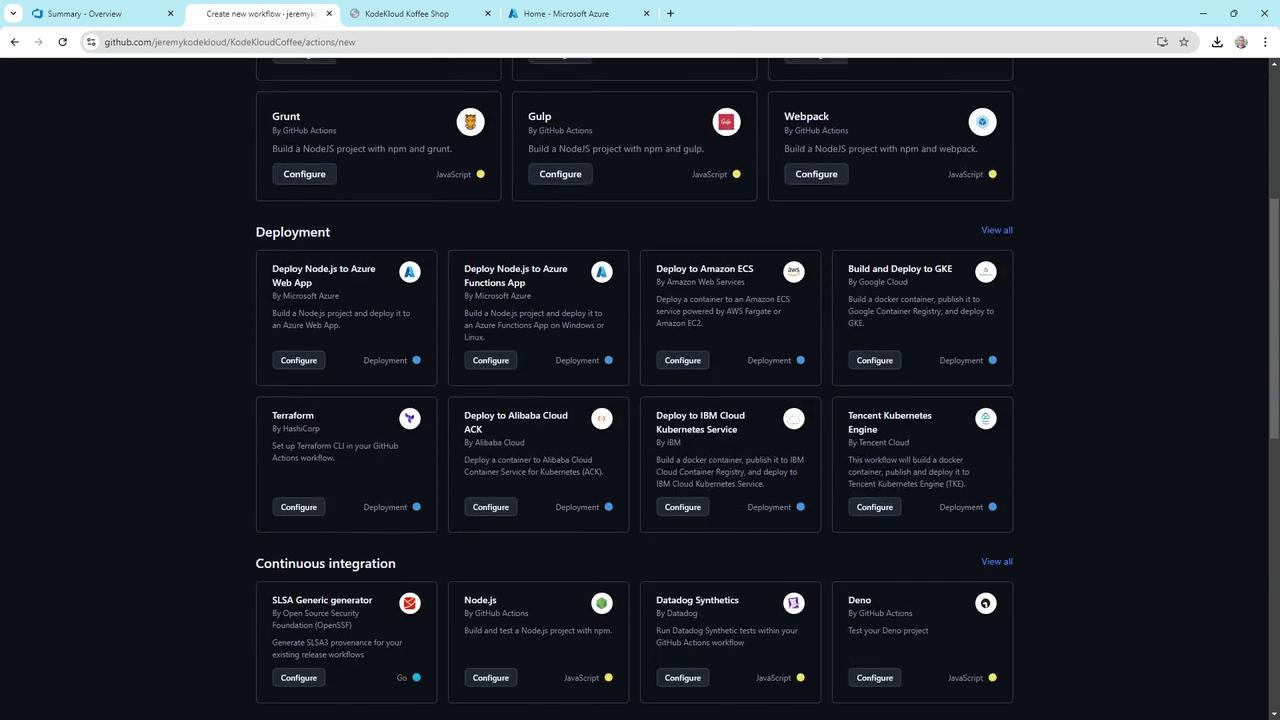
1.1 Simple Deploy-to-Azure Workflow
This minimal workflow runs on every push tomain, sets up Node.js, builds, and tests your app.
2. Provisioning an Azure Web App
Create an Azure App Service to host your Node.js site. In the Azure portal:- Go to App Services > Create.
- Configure basics:
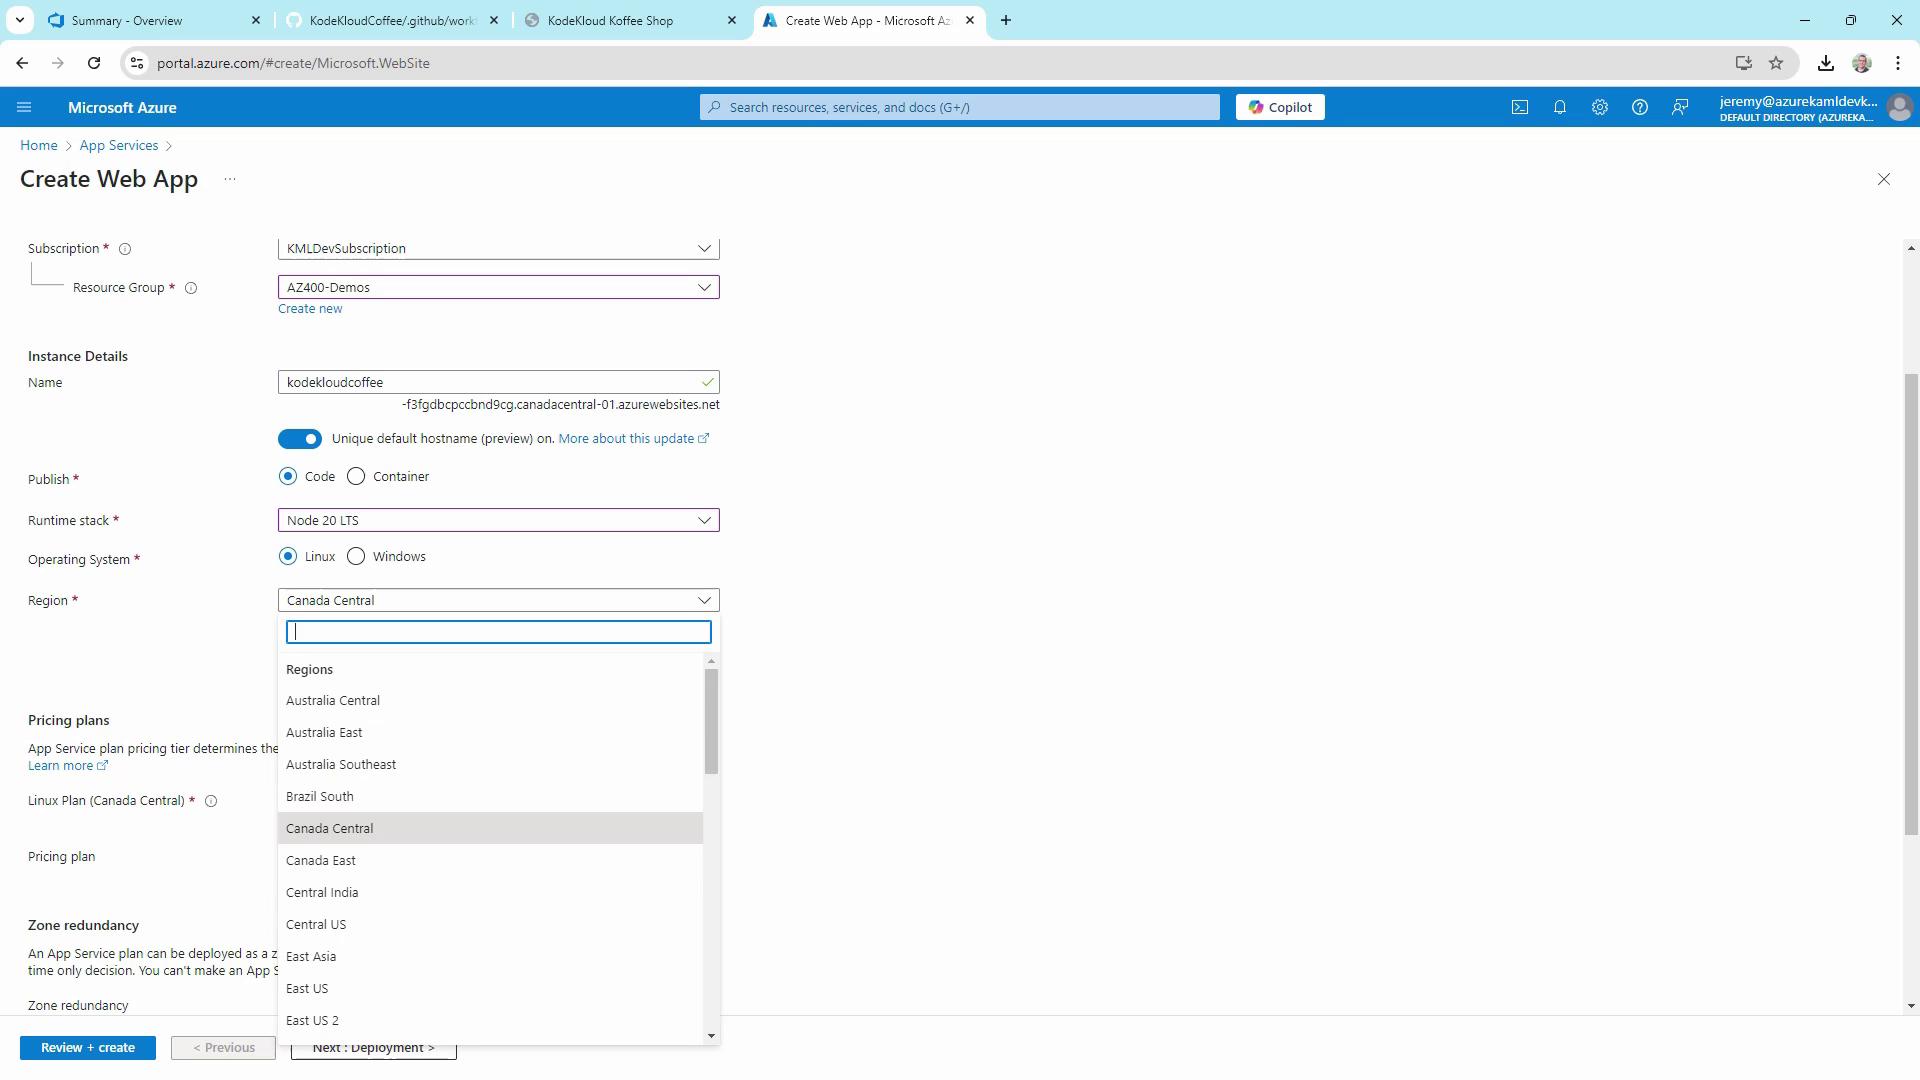
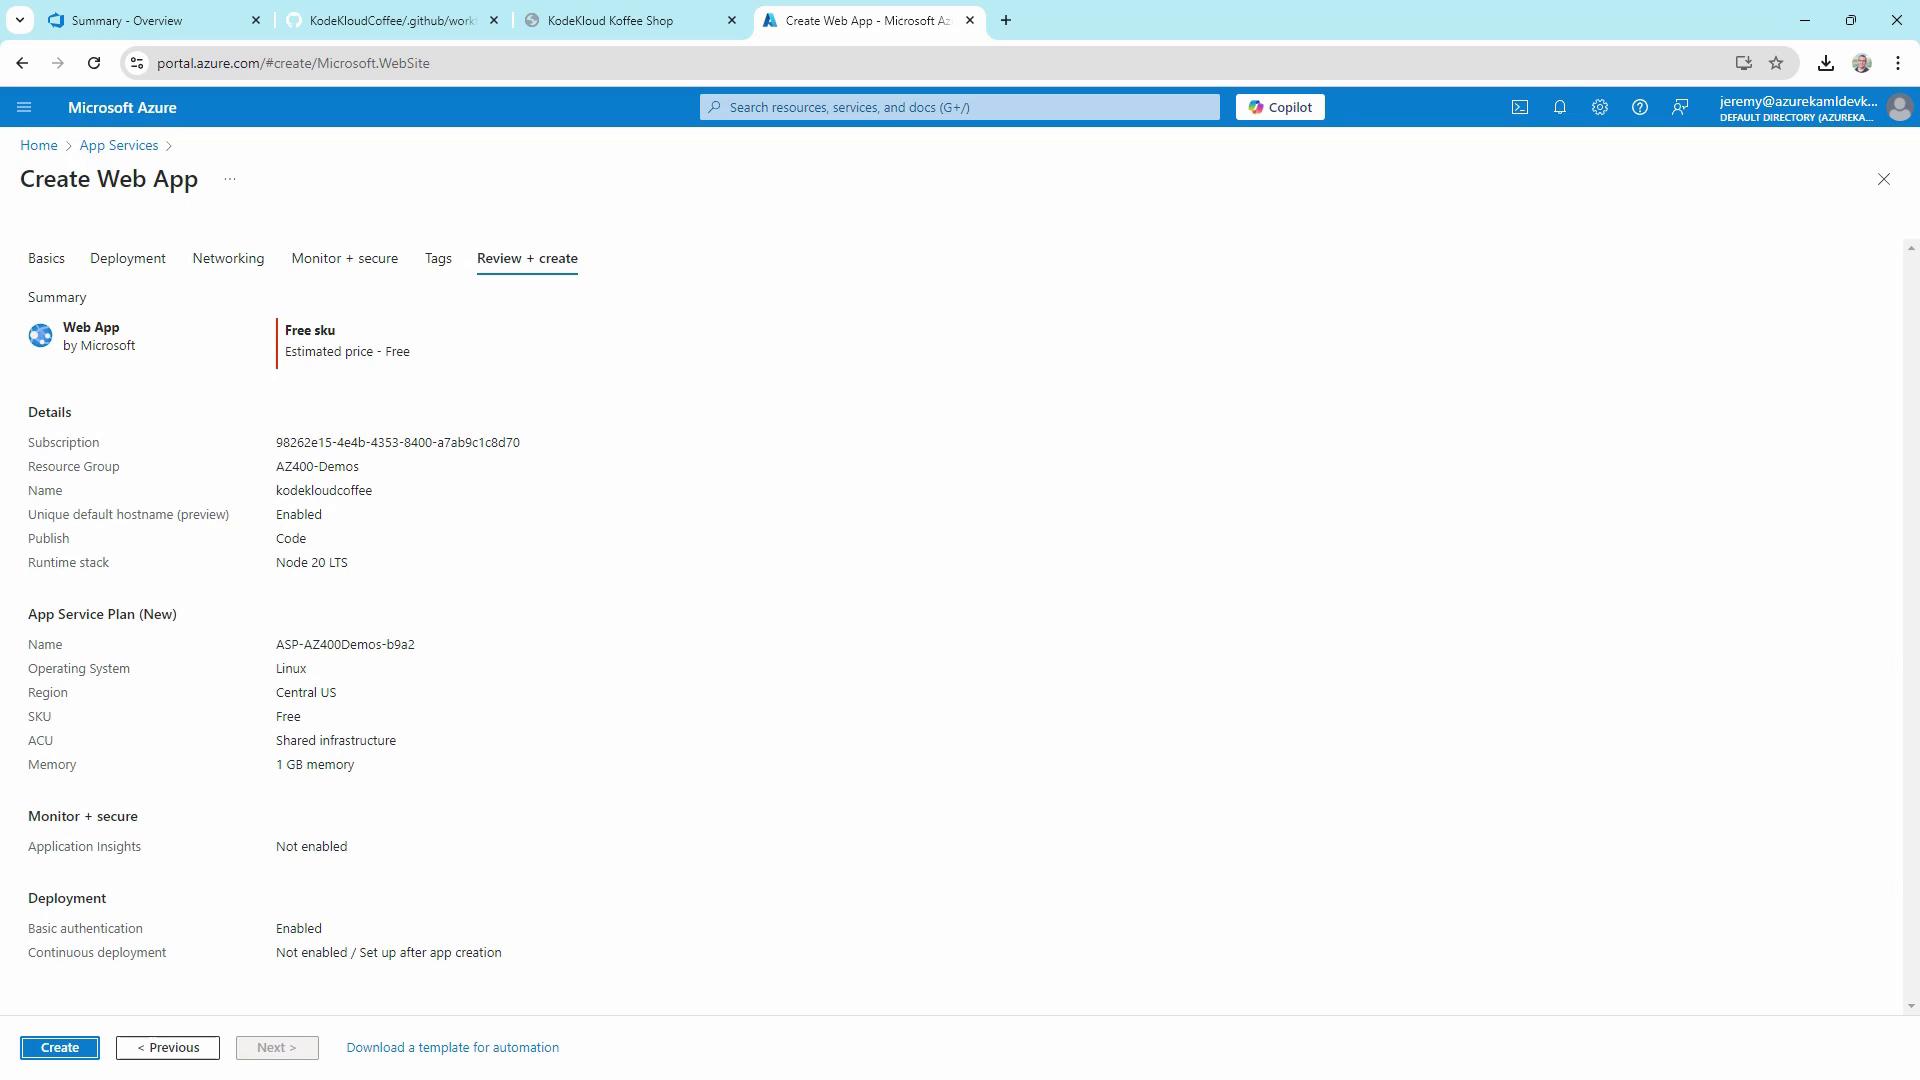
- Choose a pricing plan (Free tier is fine) and click Review + create:
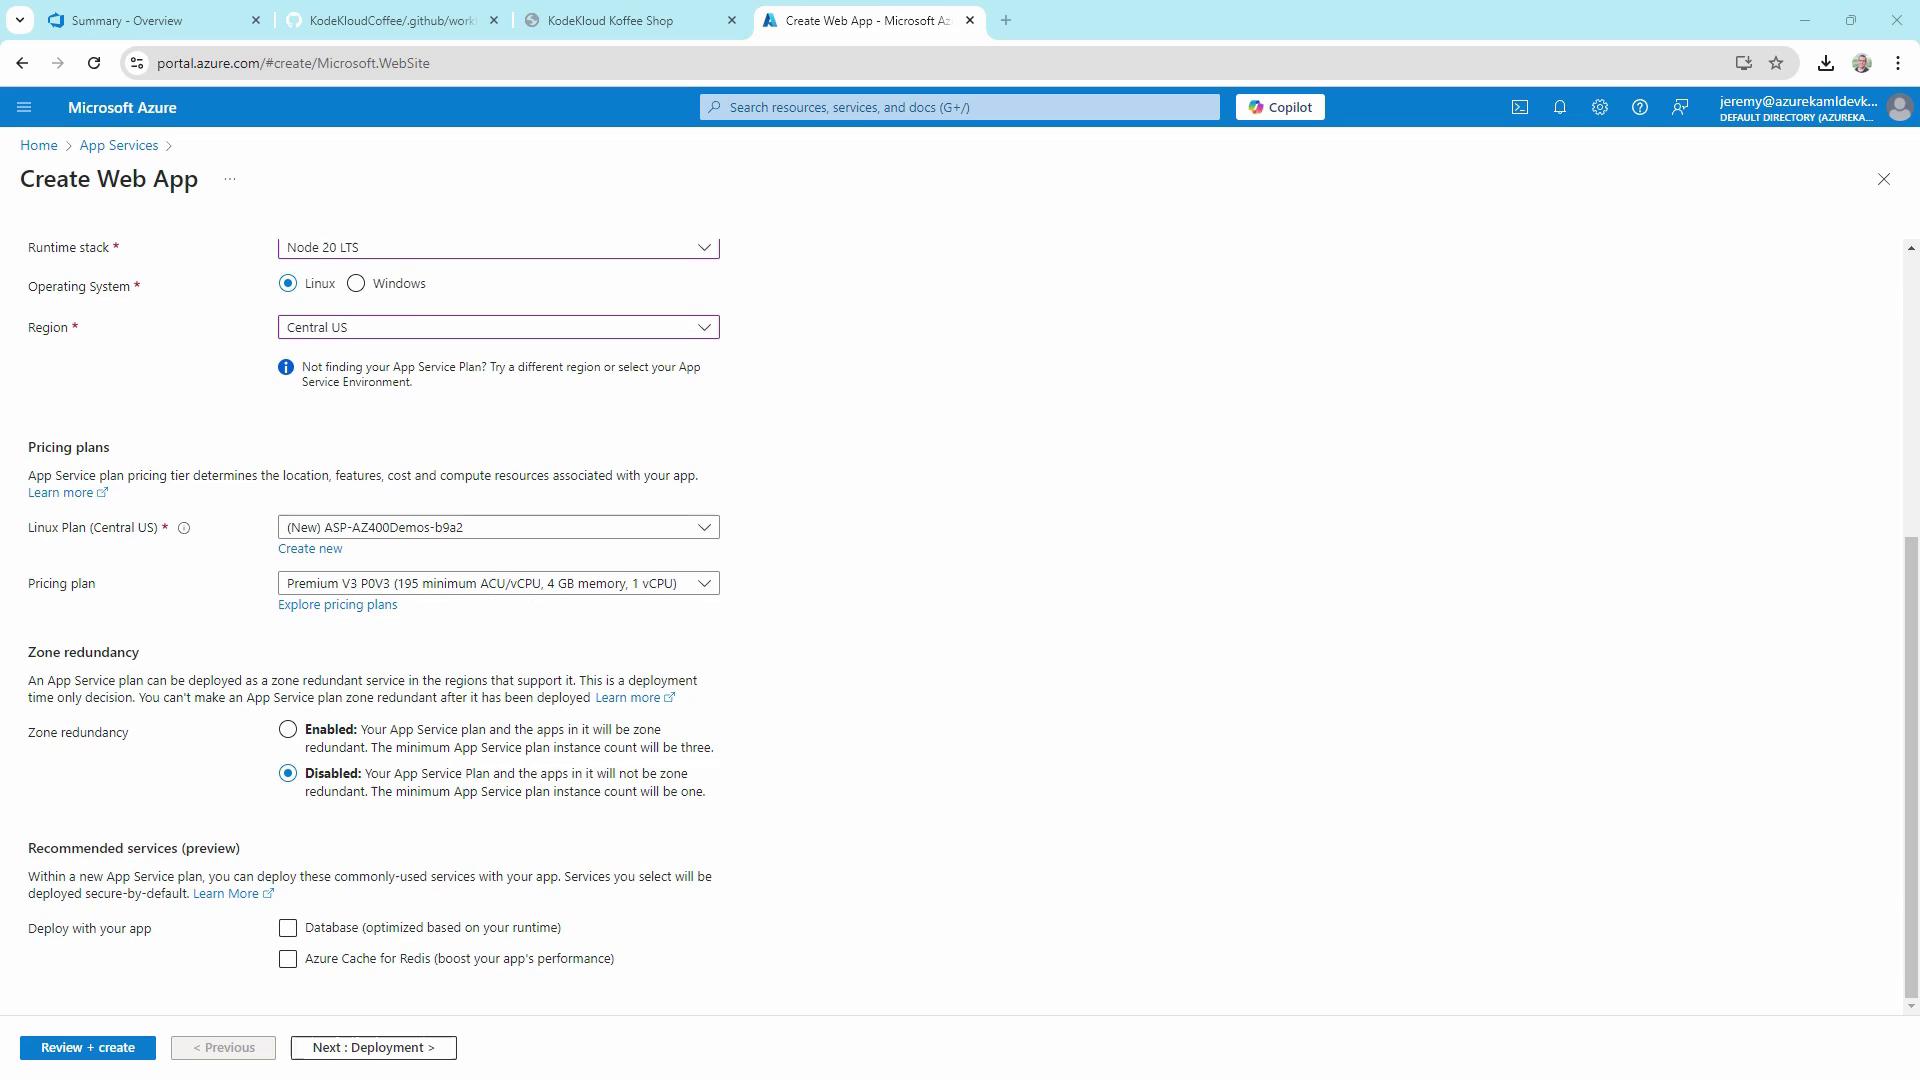
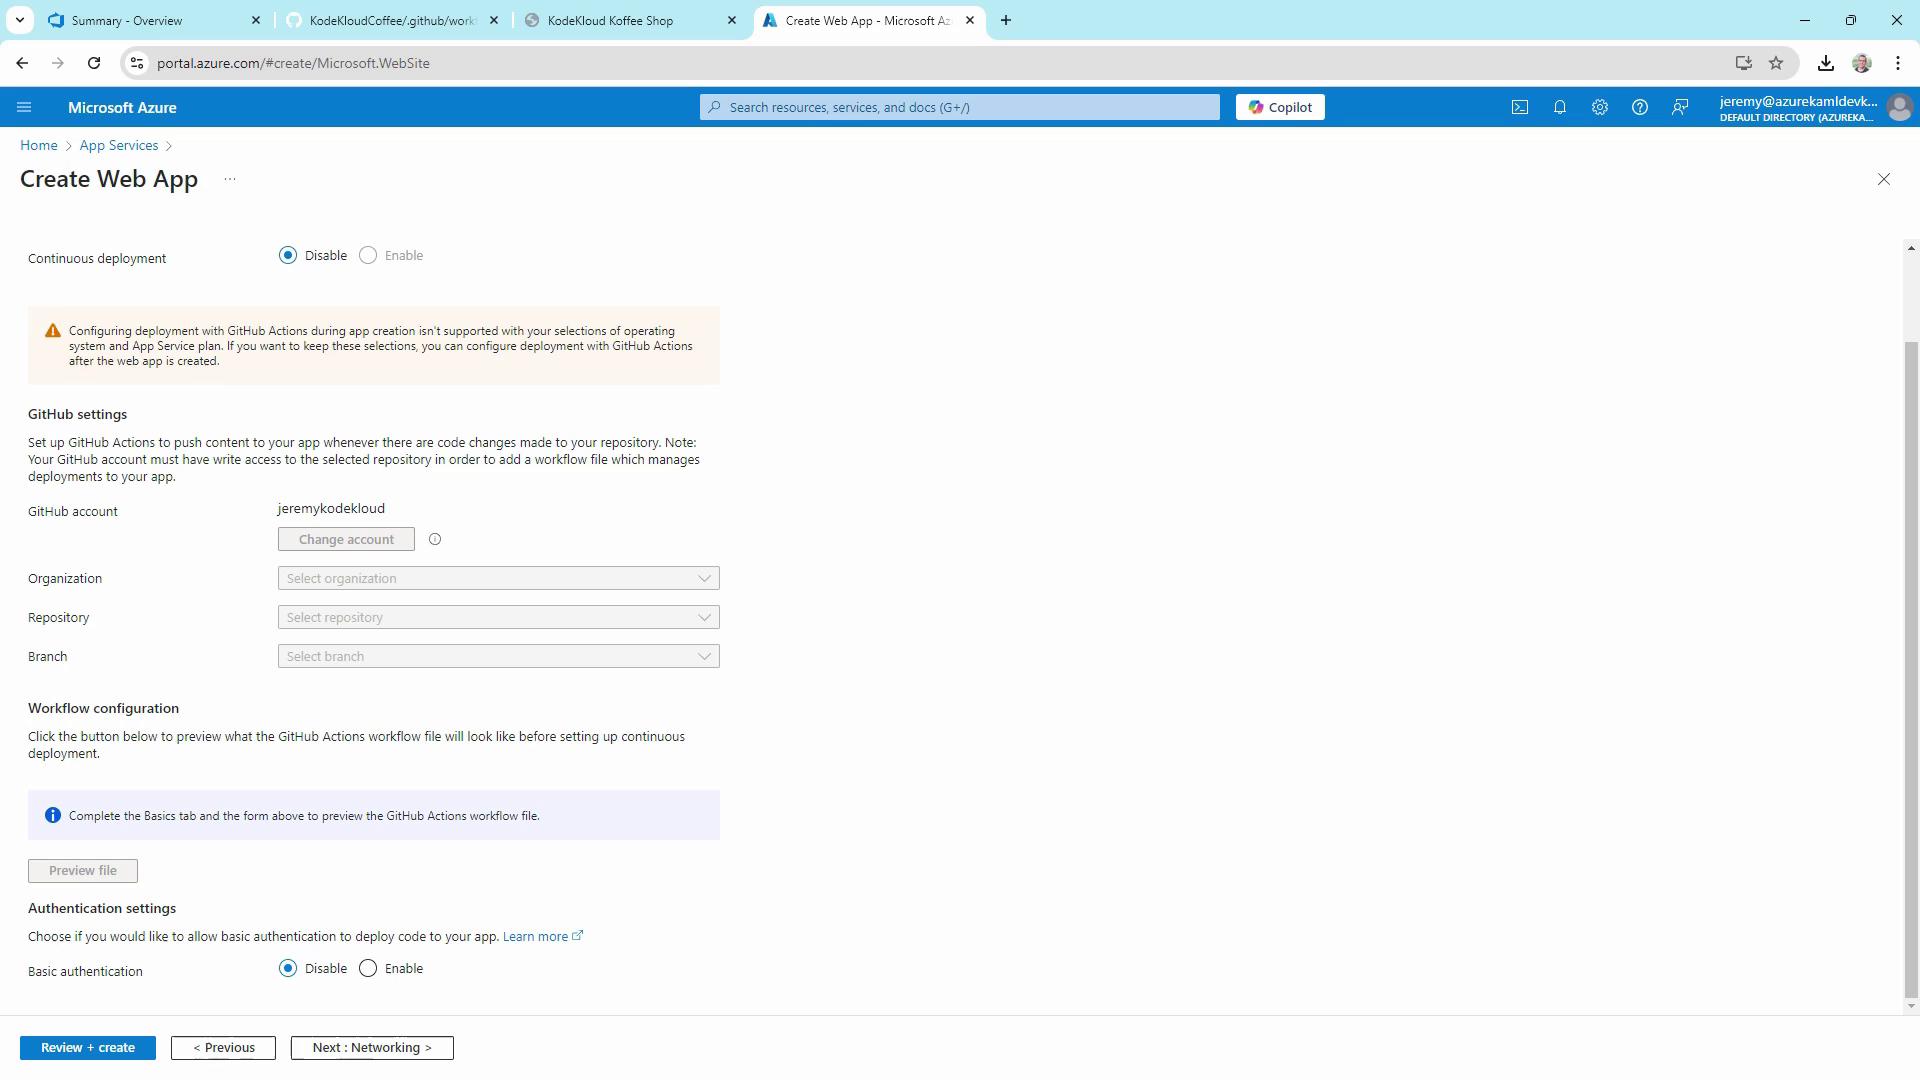
Linux apps don’t support automatic GitHub Actions setup in the portal. We’ll configure our CI/CD workflow manually below.
- Skip the “Get GitHub Actions” prompt and click Create:
- Once provisioning completes, download the Publish Profile (XML). Store this file securely outside your repo.
3. Extending the Workflow for Azure Deployment
Enhance the workflow to split build and deploy, add manual triggers, environment variables, and use the Azure Deploy action.4. Configuring GitHub Secrets
- In your repo, navigate to Settings > Secrets and variables > Actions.
- Click New repository secret:
- Name:
AZURE_WEBAPP_PUBLISH_PROFILE - Value: Paste the contents of your downloaded publish profile XML
- Name:
- Commit your updated workflow file (
main.yml). This triggers the pipeline.
5. Observing the Pipeline
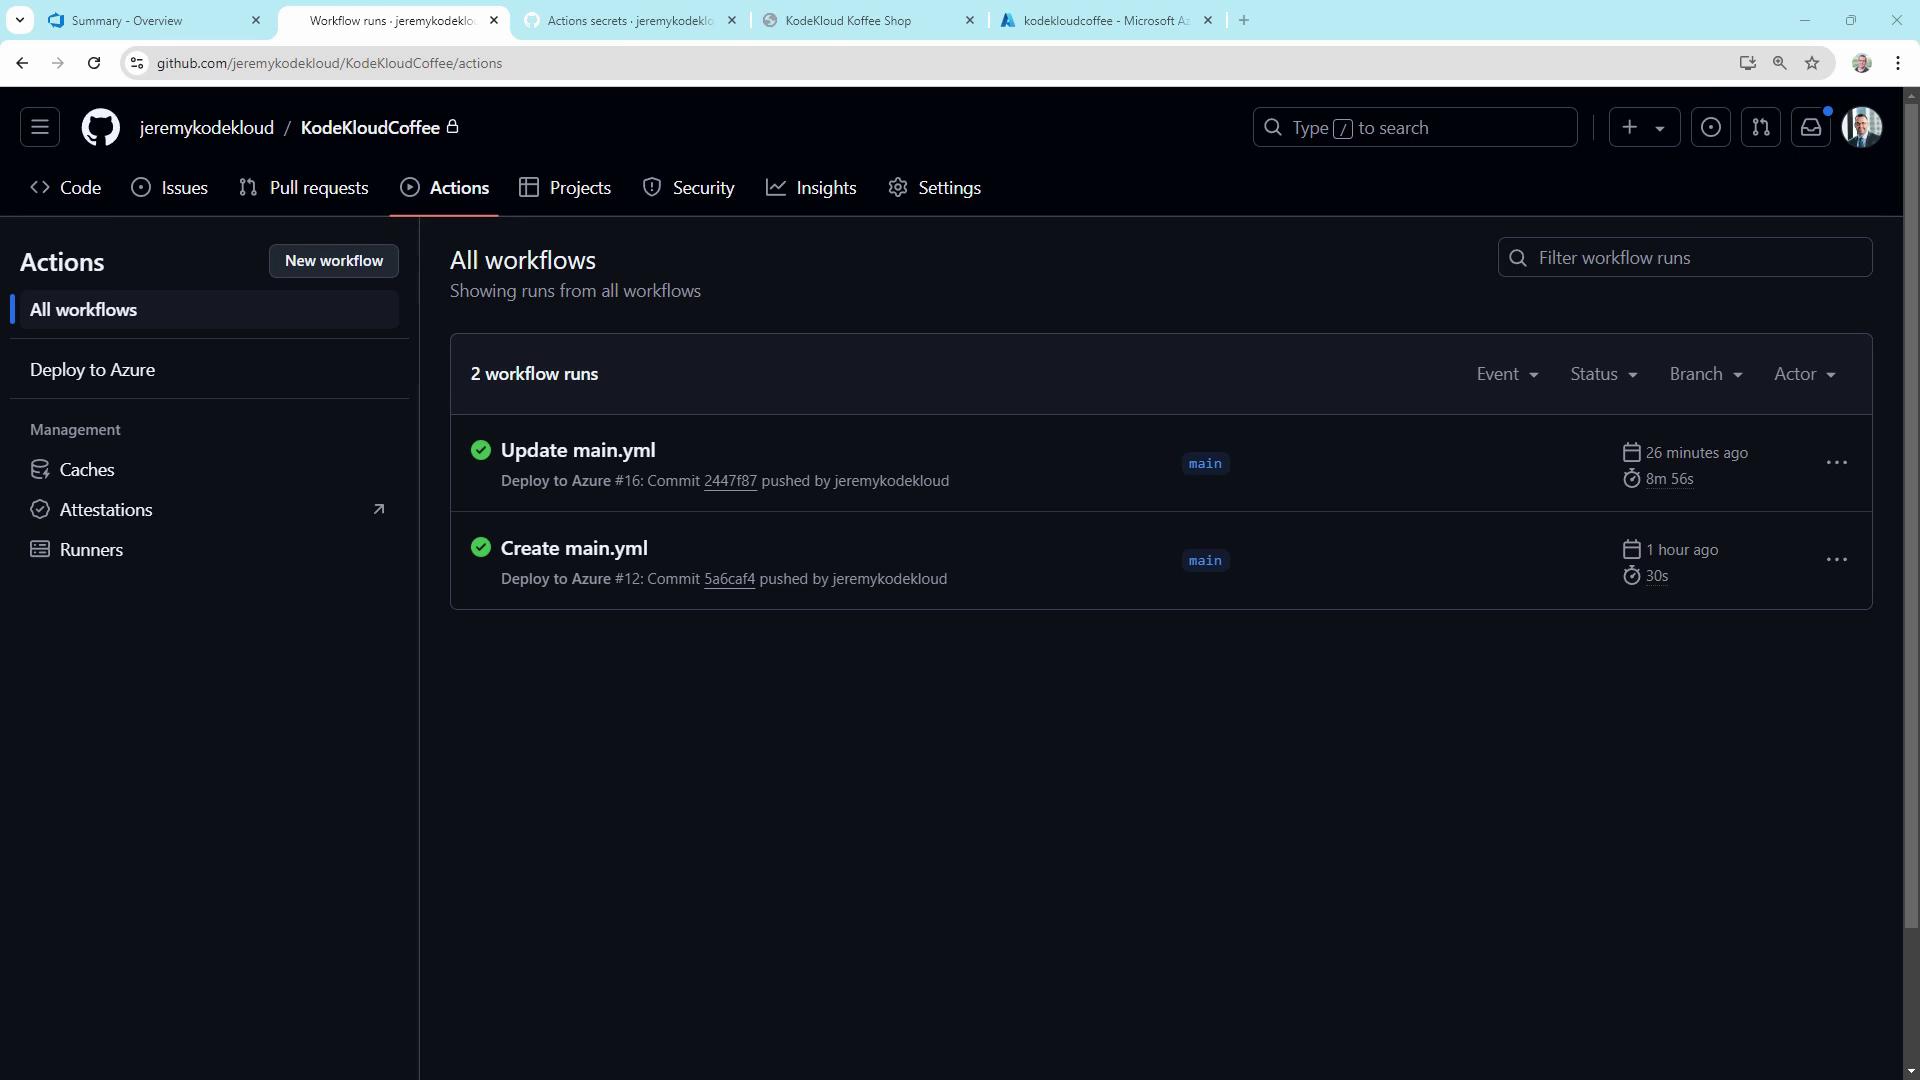
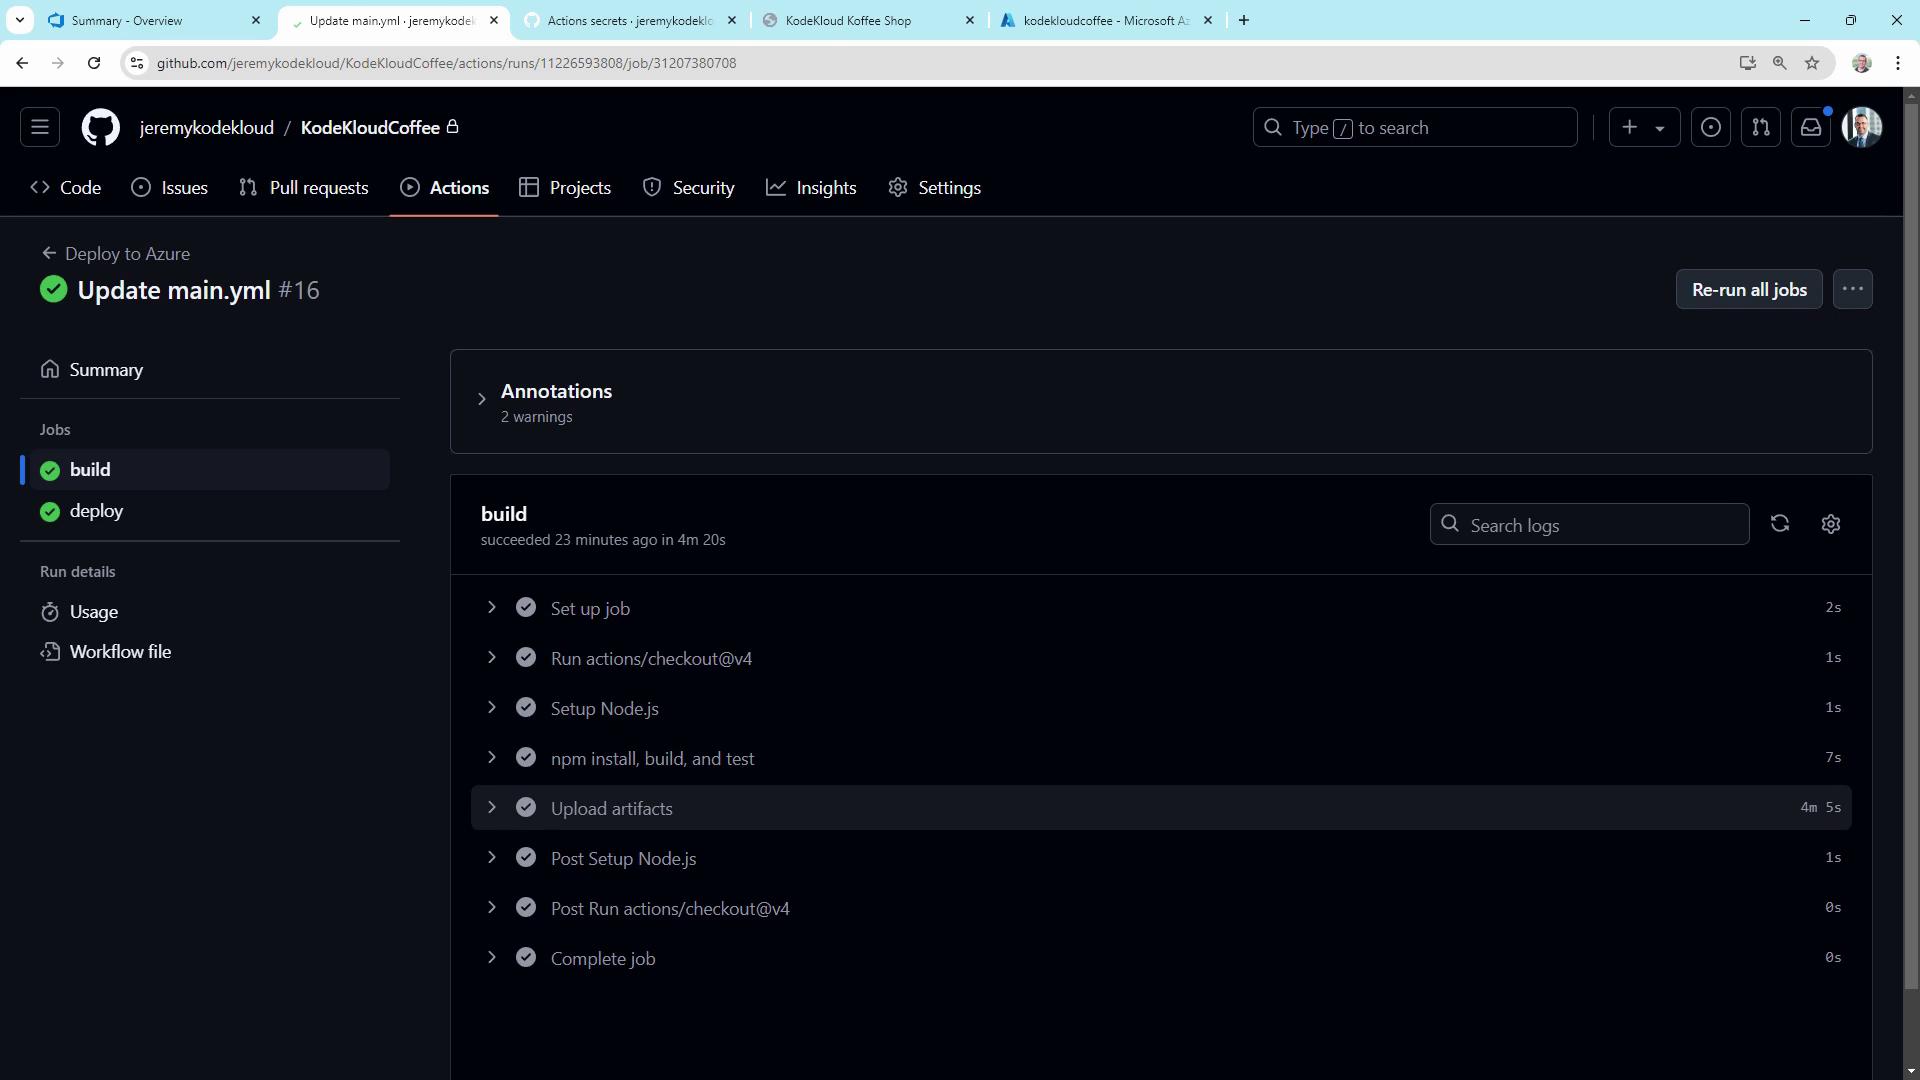
After you push, open the Actions tab to view your workflow runs. You’ll see two jobs—build and deploy—linked by theneeds dependency:
6. Verifying in Azure
In the Azure portal, open your App Service and check Deployment Center or Logs to confirm a successful release: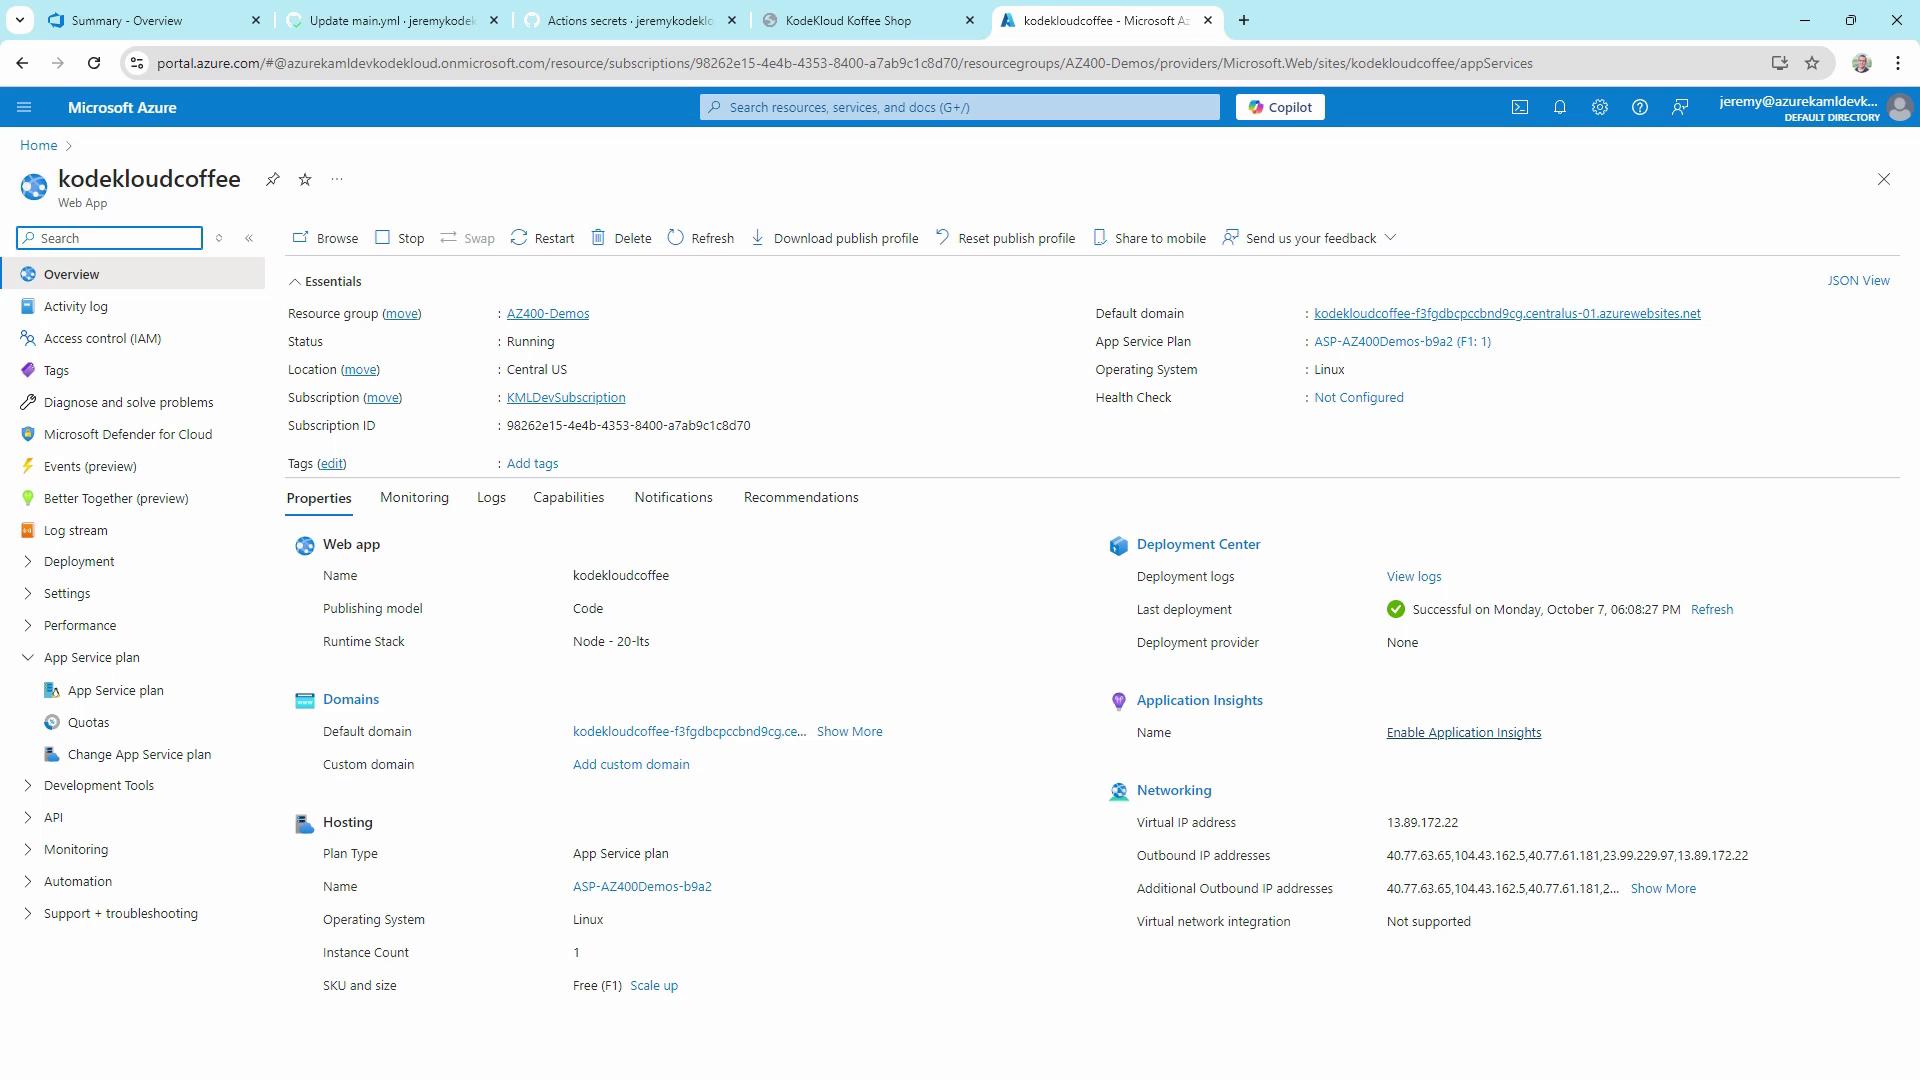
main.
Recap
- Defined multi-trigger GitHub Actions workflow with
pushandworkflow_dispatch. - Separated build and deploy jobs for clarity and efficiency.
- Cached dependencies, ran tests, and uploaded build artifacts.
- Deployed to Azure App Service using
azure/webapps-deployand a publish profile stored in GitHub Secrets.
Links and References
- GitHub Actions Documentation
- Azure App Service Documentation
- actions/setup-node
- azure/webapps-deploy