Ensure you have a local clone of your Azure Repos repository and the latest Git version installed. You will also need sufficient permissions to push changes back to the remote.
1. Recovering with Git commands
All standard Git recovery commands work seamlessly with Azure Repos. Here are common scenarios:
Example: Recover a deleted branch named
feature-x
Avoid using
git push --force on shared branches—it can overwrite history and disrupt other collaborators. Use --force-with-lease when you need safer history rewrites.2. Restoring deleted branches in the Azure Repos UI
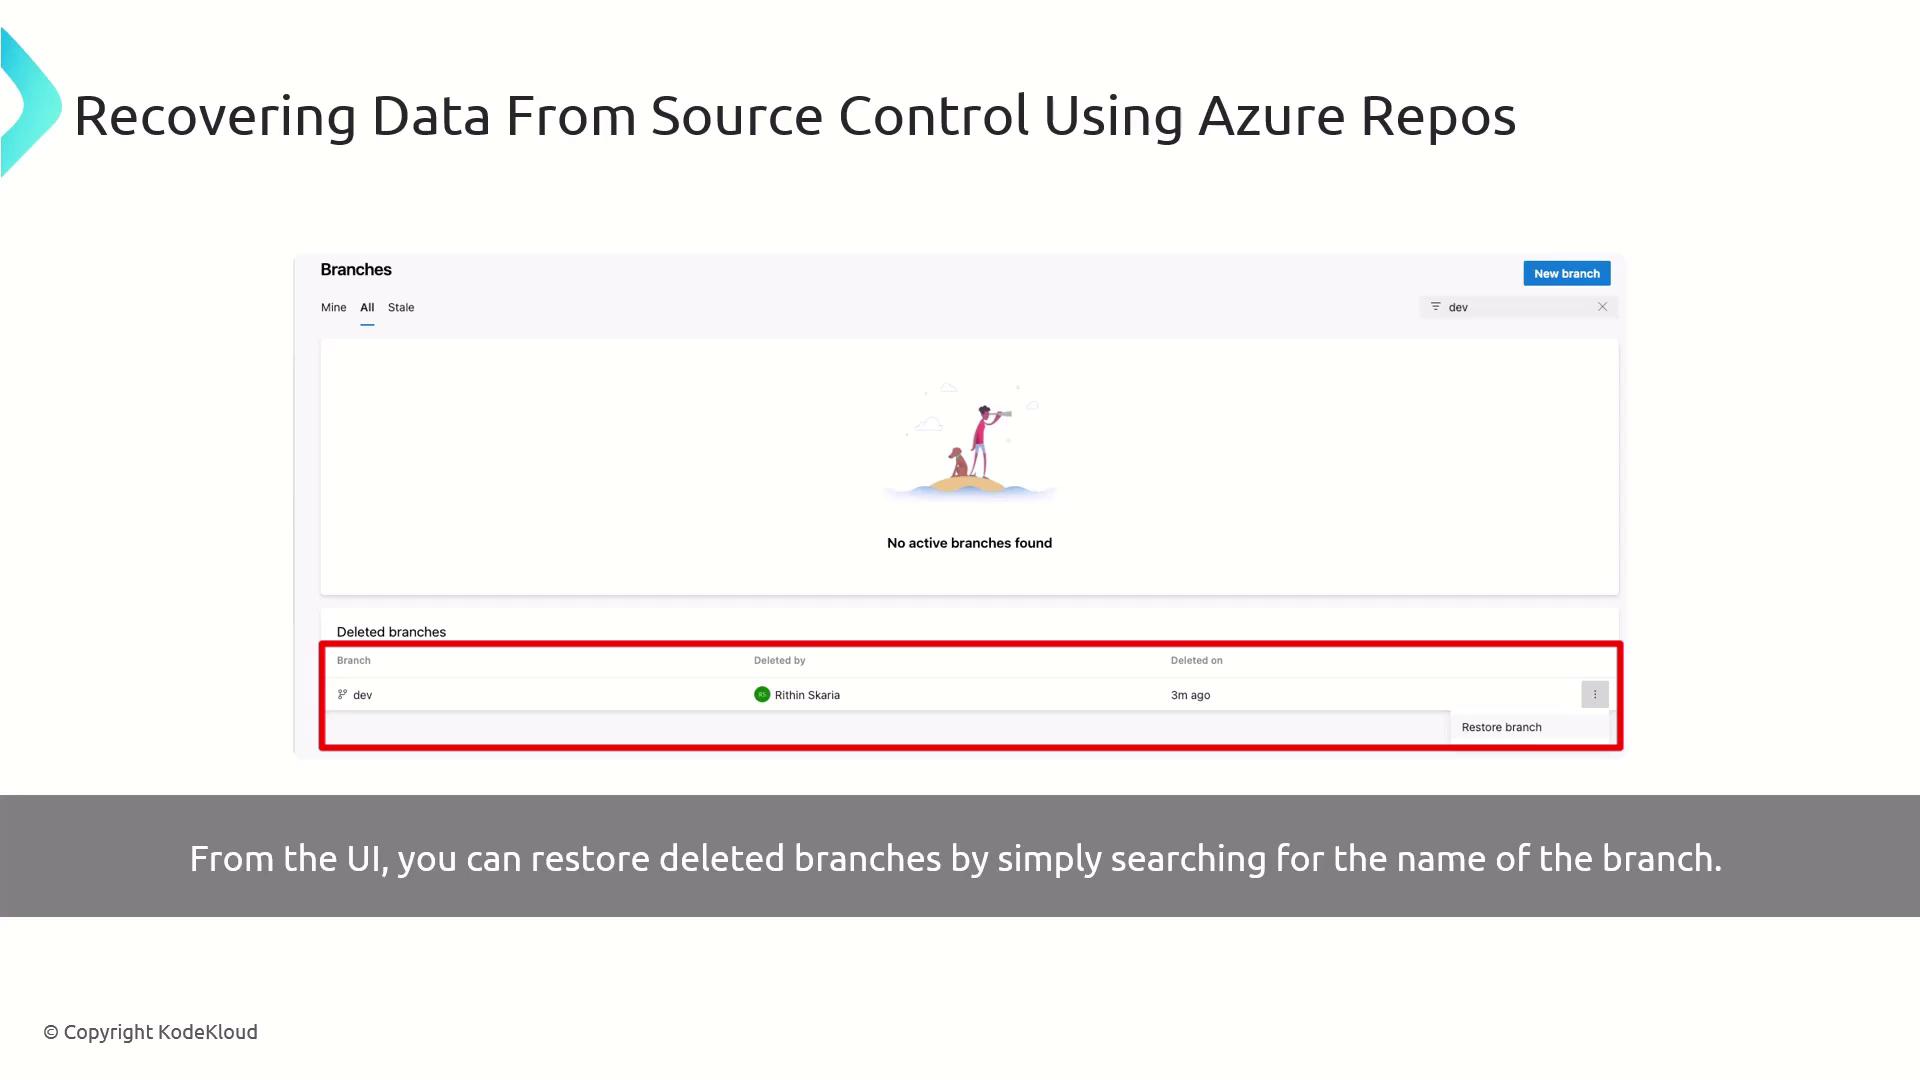
If you prefer a visual approach, Azure Repos provides a point-and-click interface to restore branches:- In Azure DevOps, navigate to Repos > Branches.
- Toggle Show deleted branches in the filter bar.
- Search for the branch name (e.g.,
dev). - Click Restore next to the deleted branch.