

- Installing the release-notes extension
- Creating and configuring an Azure Pipelines YAML
- Generating, copying, and committing the release notes

1. Install the “Generate Release Notes (Crossplatform)” Extension
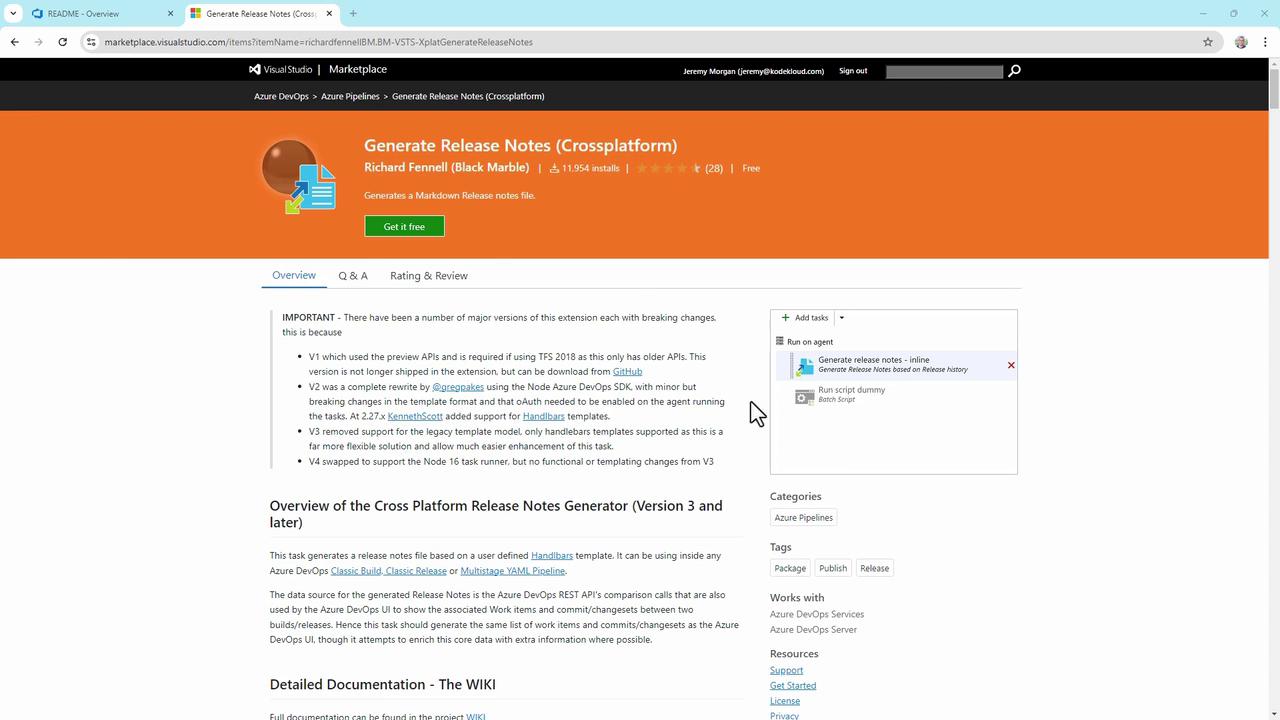
- Go to the Visual Studio Marketplace.
- Search for Generate Release Notes (Crossplatform) by Richard Fennell.
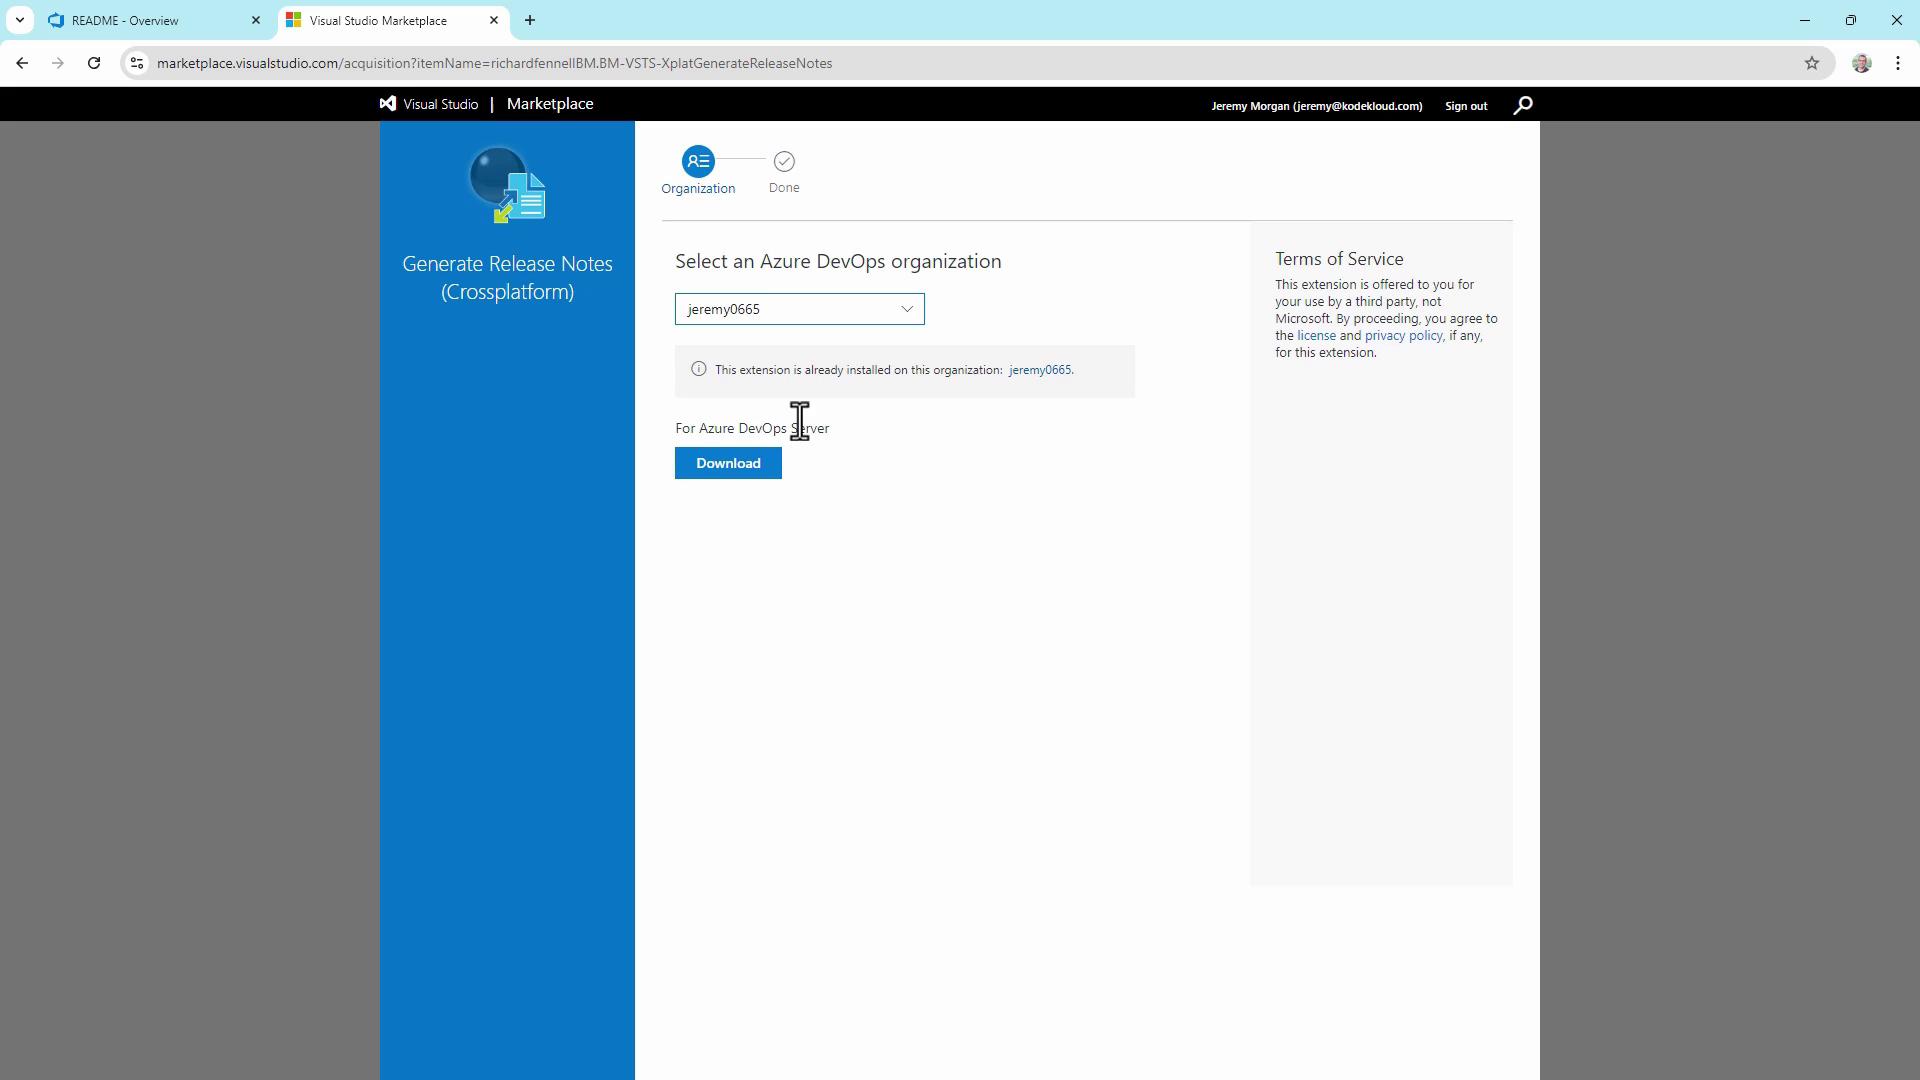
- Click Get it Free and select your Azure DevOps organization.
If you’re running Azure DevOps Server (on-prem), download the extension package directly from its Marketplace page and upload it to your server.
2. Create a Starter Pipeline
- In Azure DevOps, navigate to Pipelines → Create Pipeline.
- Choose Azure Repos → your TestWeb repository.
- Select Starter pipeline to scaffold a basic
azure-pipelines.yml.

3. Add the Generate Release Notes Task
Extend your YAML to generate and publish release notes in four steps:
4. Edit and View in Visual Studio Code
For easier editing, clone the repo locally and open azure-pipelines.yml in VS Code. You’ll find all tasks, including the release-notes steps, in one file.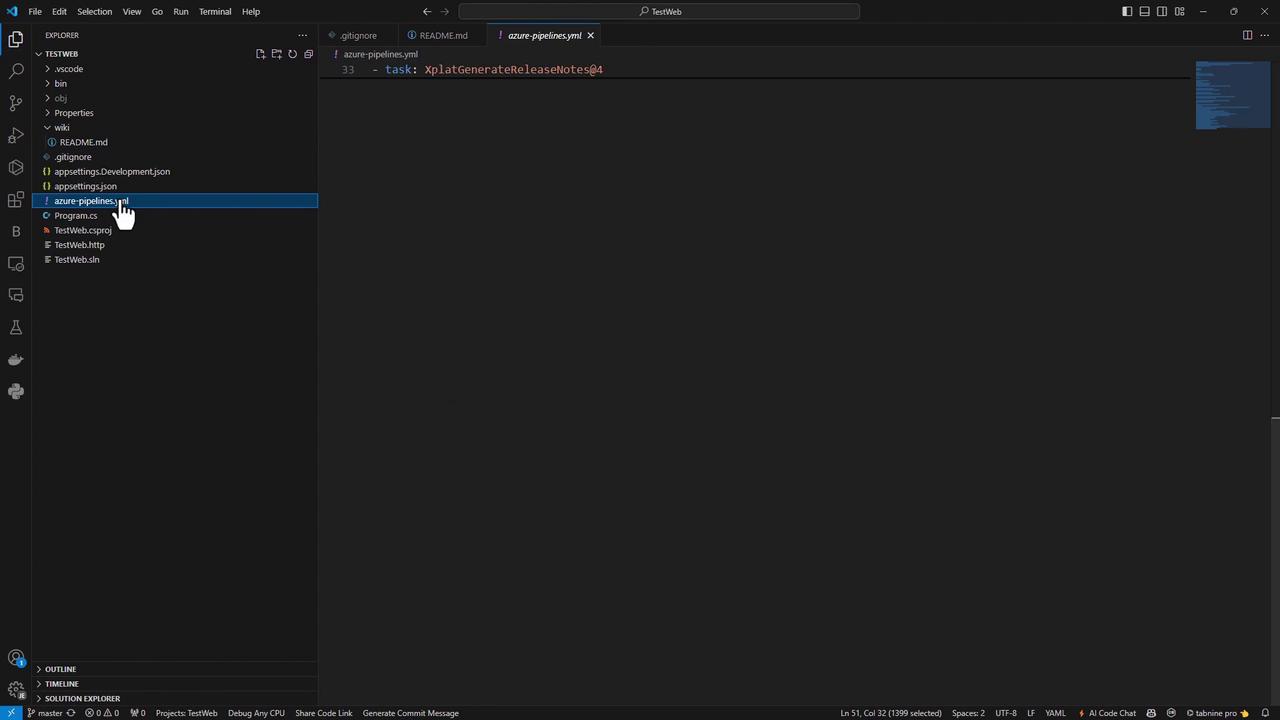
5. Review Logs and Verify the Wiki
After another run, confirm the copy step output: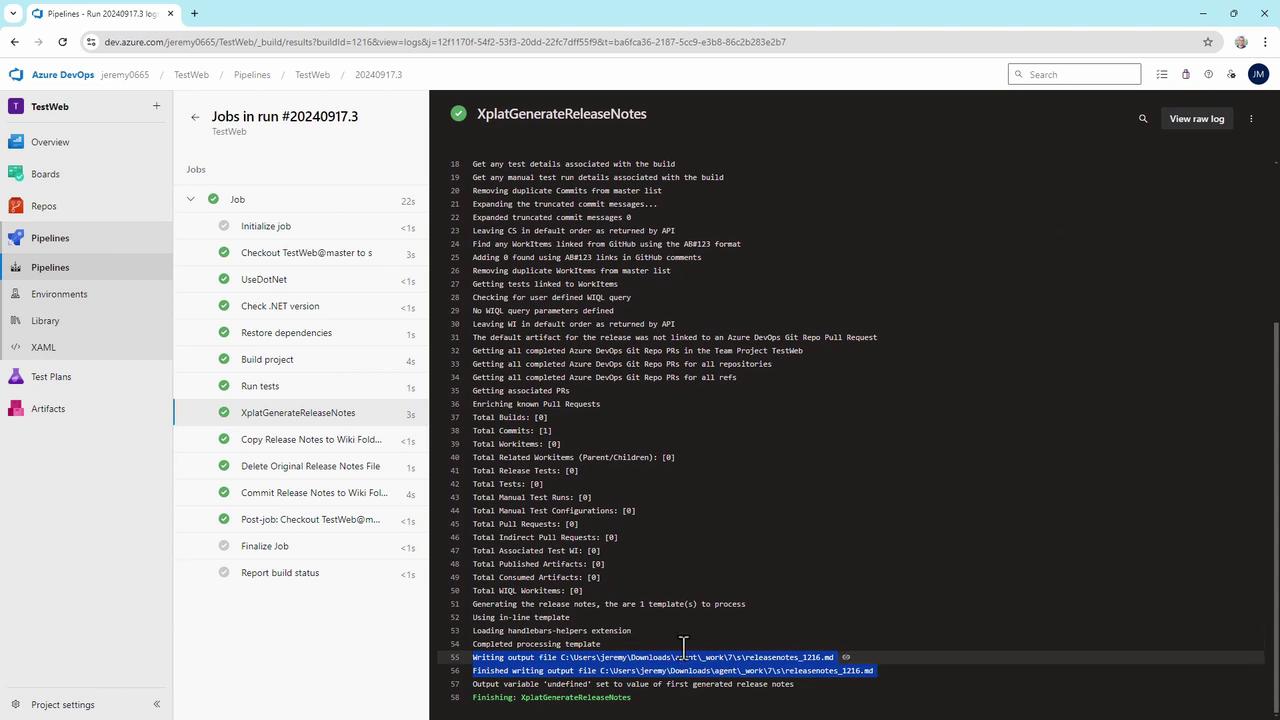
releasenotes_<BuildId>.md page:
This template shows build number, branch, author, and commit. Extend the Handlebars template to include work items, pull requests, changelogs, or custom fields from Azure Boards.
With this setup, every commit to
master triggers a pipeline that generates and publishes release notes to your Azure DevOps Wiki—fully automated, CI-safe, and effortless to maintain.
Links and References
- Generate Release Notes Extension (MarketPlace)
- Azure Pipelines YAML Reference
- Azure DevOps Wiki Documentation