

Why Use YAML Pipelines?
- Version your pipeline in source control
- Enable pull-request reviews for CI/CD changes
- Reuse templates and parameters across projects
- Support complex, multi-stage workflows
- Align with DevSecOps best practices
Pre-Migration Checklist
Before you begin, review and document every aspect of your existing Classic Pipeline: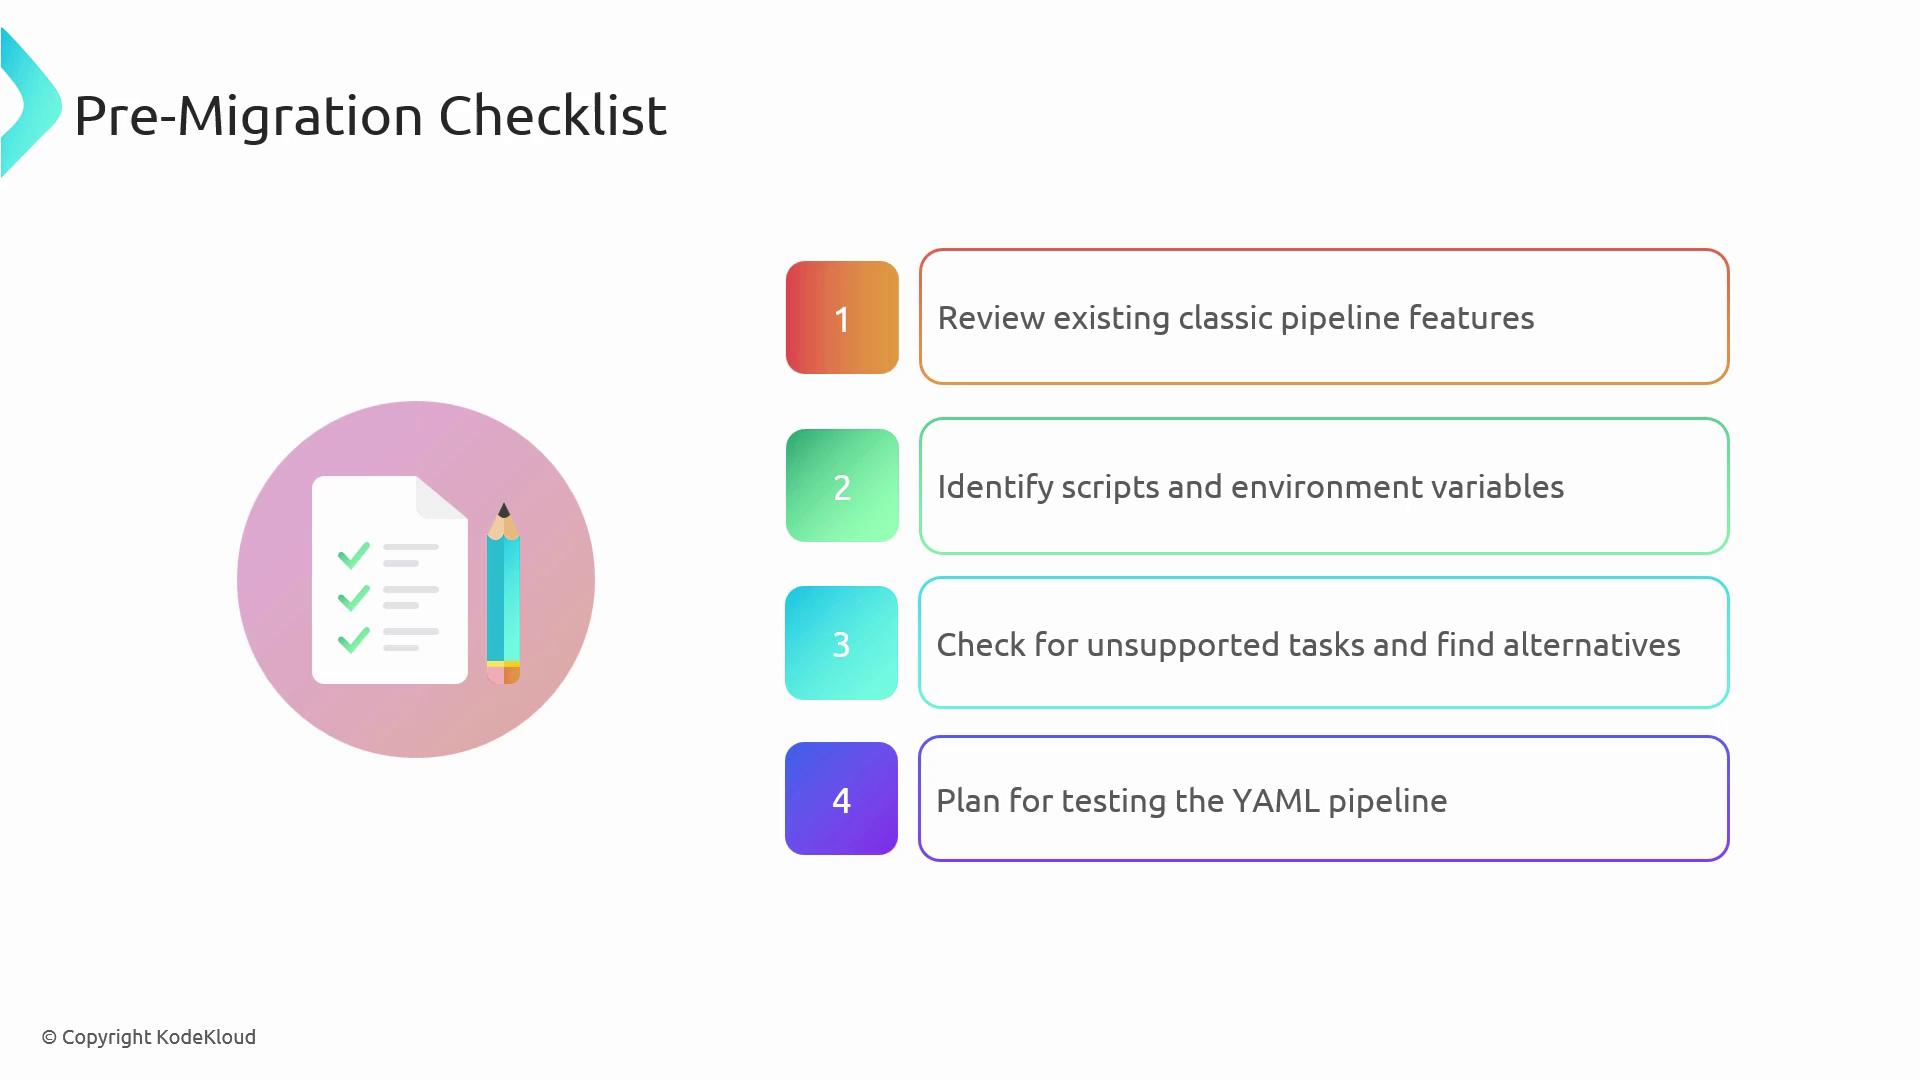
Migration Process
Follow these steps to convert a Classic pipeline stage into YAML.1. Export or View Generated YAML
In the Classic pipeline, locate the Terraform deployment step and view its YAML equivalent. For example:2. Create a New YAML Pipeline
Copy the generated snippet into a newazure-pipelines.yml file. Customize triggers, variables, and steps to fit your environment:
Use the Validate feature in the Azure Pipelines UI to catch syntax errors before running the pipeline.
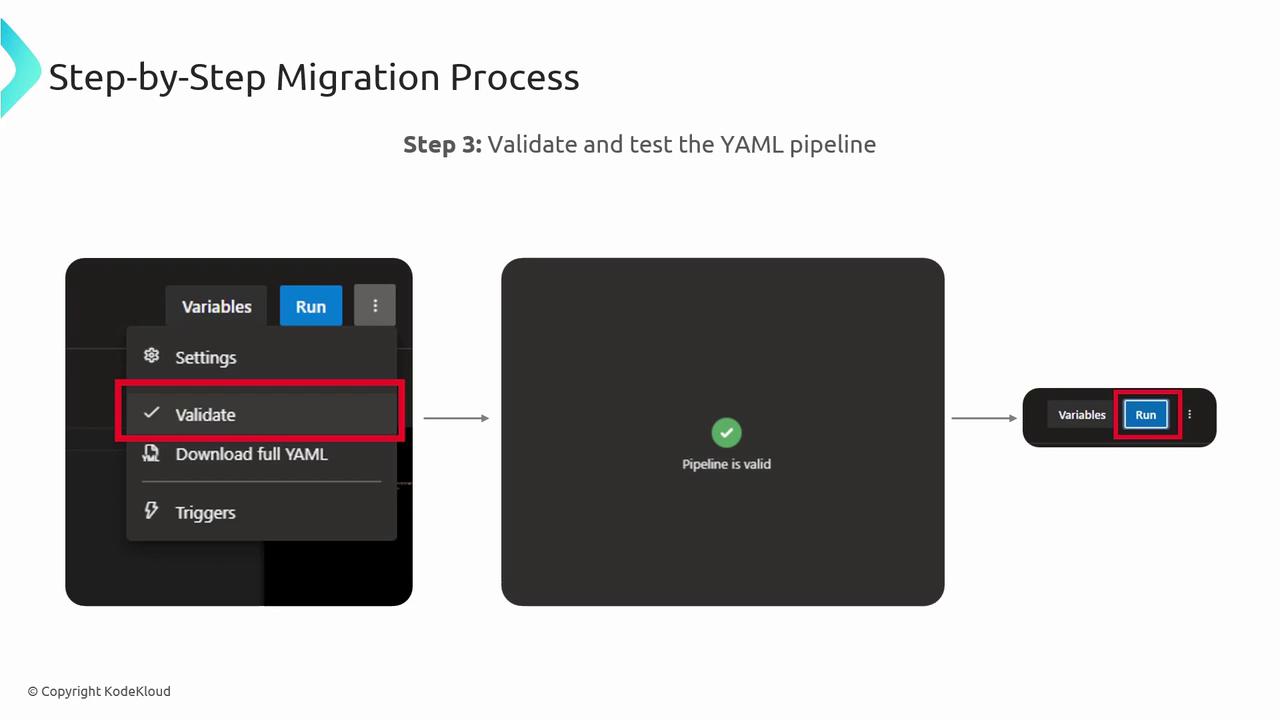
Challenges and Solutions
Migrating real-world pipelines often surfaces these challenges: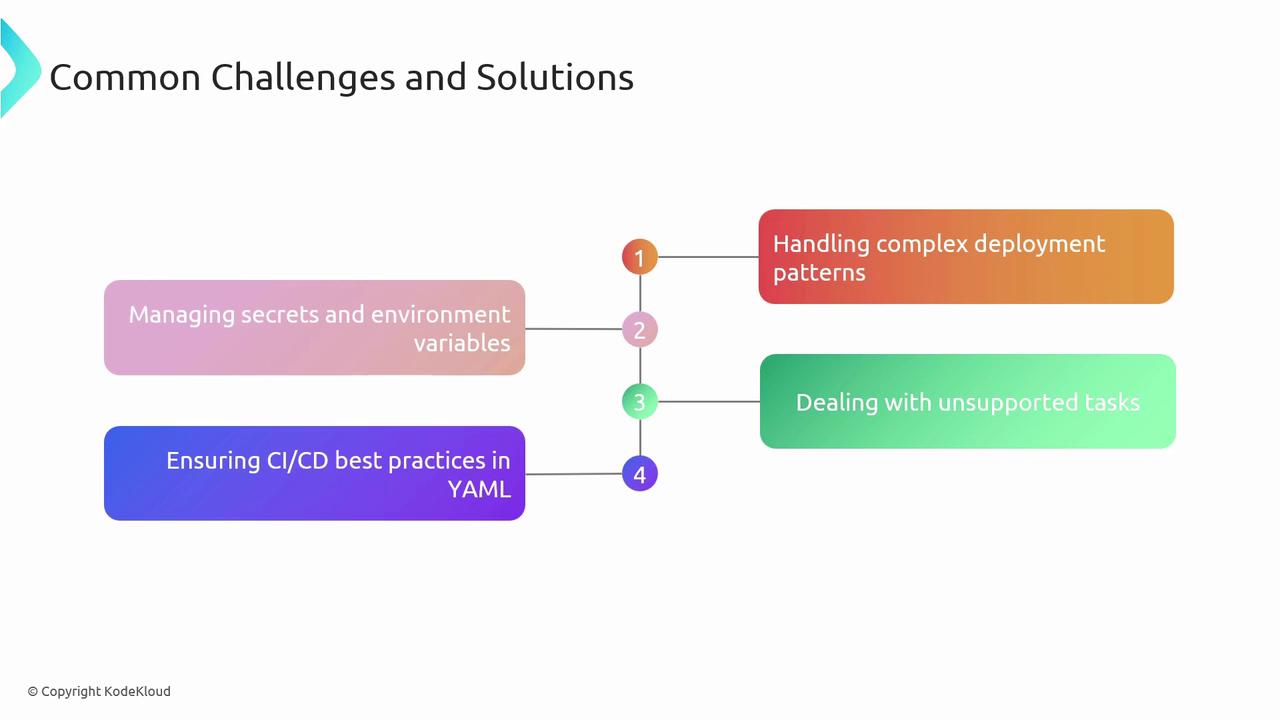
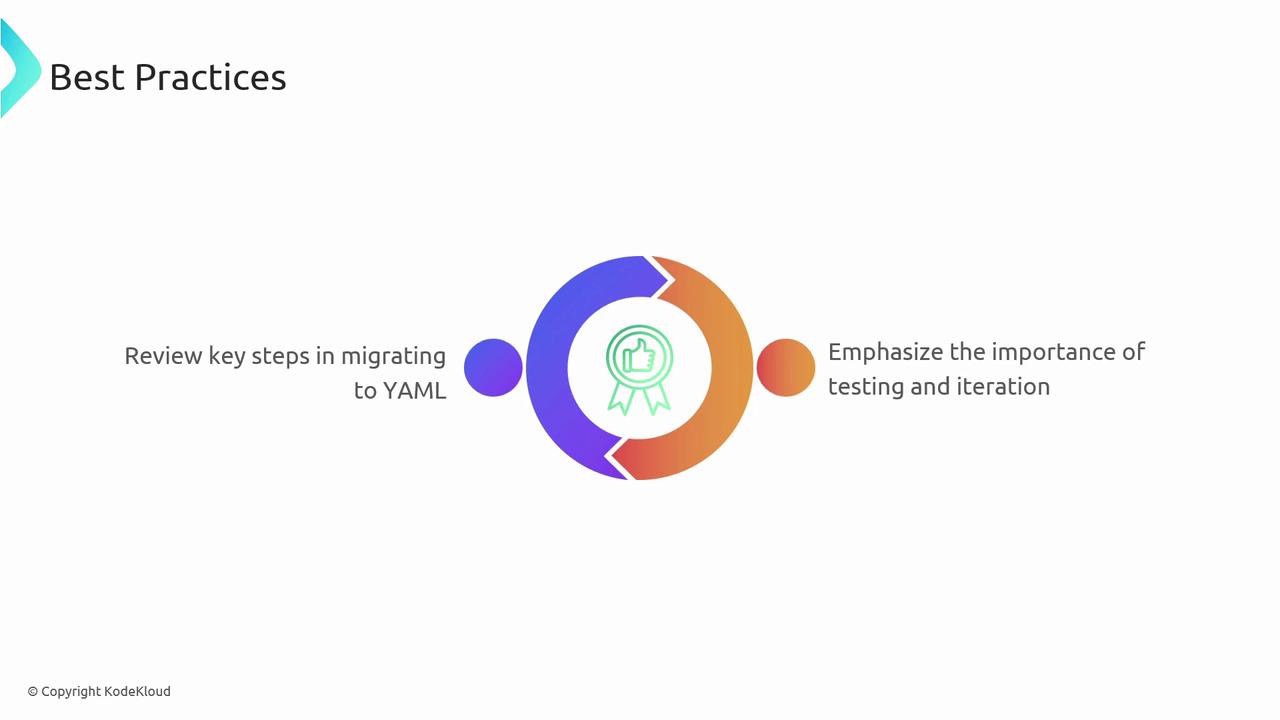
Best Practices
- Review and replicate every Classic step in YAML
- Validate and test in an isolated branch before merging
- Use templates and reusable modules for consistency
- Document pipeline changes via pull requests
References
- Azure Pipelines documentation
- YAML schema for Azure Pipelines
- Azure DevOps Developer Community
- azure-devops-docs on GitHub