

- Scalability: Scale agents up or down on demand
- Consistency: Bundle all dependencies to avoid “works on my machine” issues
- Isolation: Keep each build environment separate
- Portability: Move containers across hosts with minimal effort
Prerequisites
- Docker Desktop for Windows (install guide)
- Docker switched to Windows containers (Docker icon → Switch to Windows containers)
- Azure DevOps organization, project, and a Personal Access Token (PAT)
1. Create a Basic Container Agent
1.1 Initialize Folder & Dockerfile
Open PowerShell: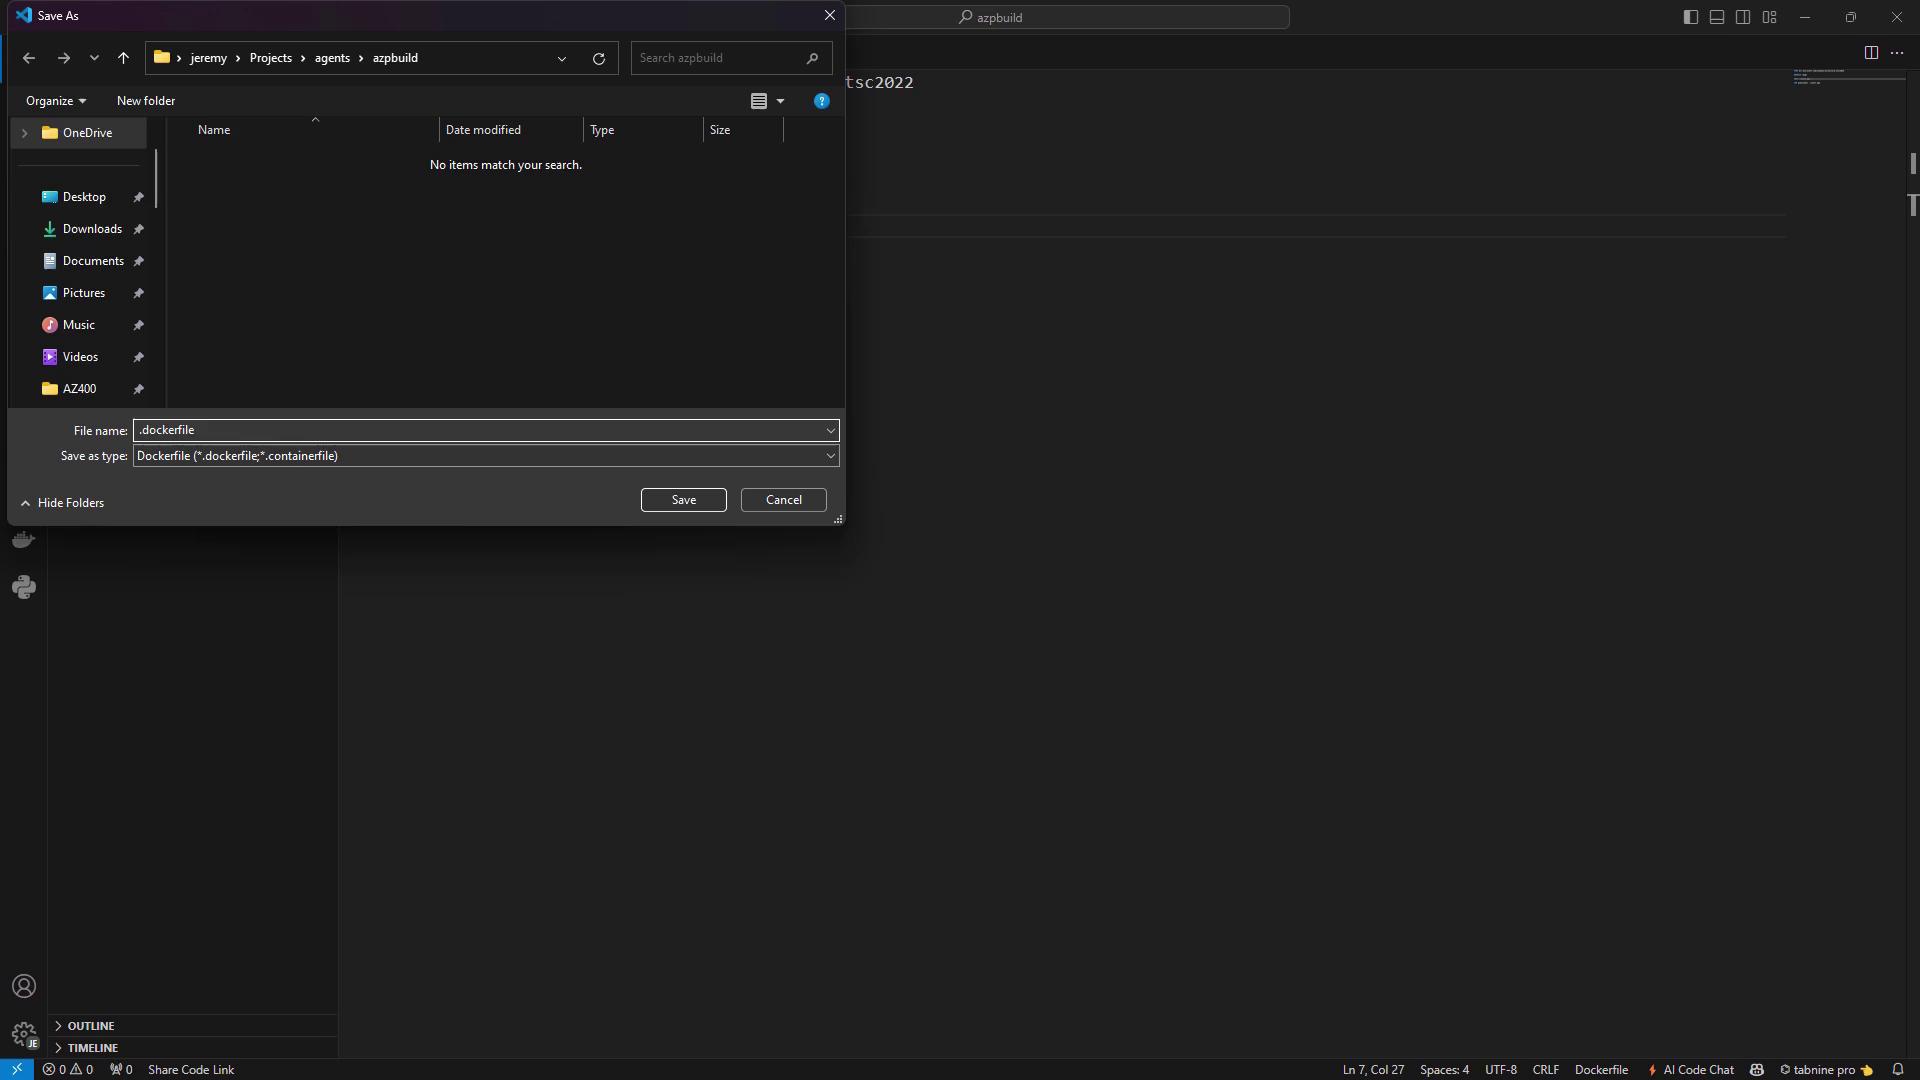
1.2 Add the start.ps1 Script
Place this next to your Dockerfile. It downloads, configures, and runs the agent:
For better security, mount your PAT via
AZP_TOKEN_FILE instead of passing it directly.1.3 Build and Run the Container
2. Verify the Agent in Azure DevOps
Navigate to Project settings → Agent pools → Default → Agents. Confirm Docker Agent - Windows is listed.3. Test with a Simple Pipeline
Create azure-pipelines.yml:4. Limitation: .NET Builds on Server Core
A plain Server Core image shows queued .NET pipelines: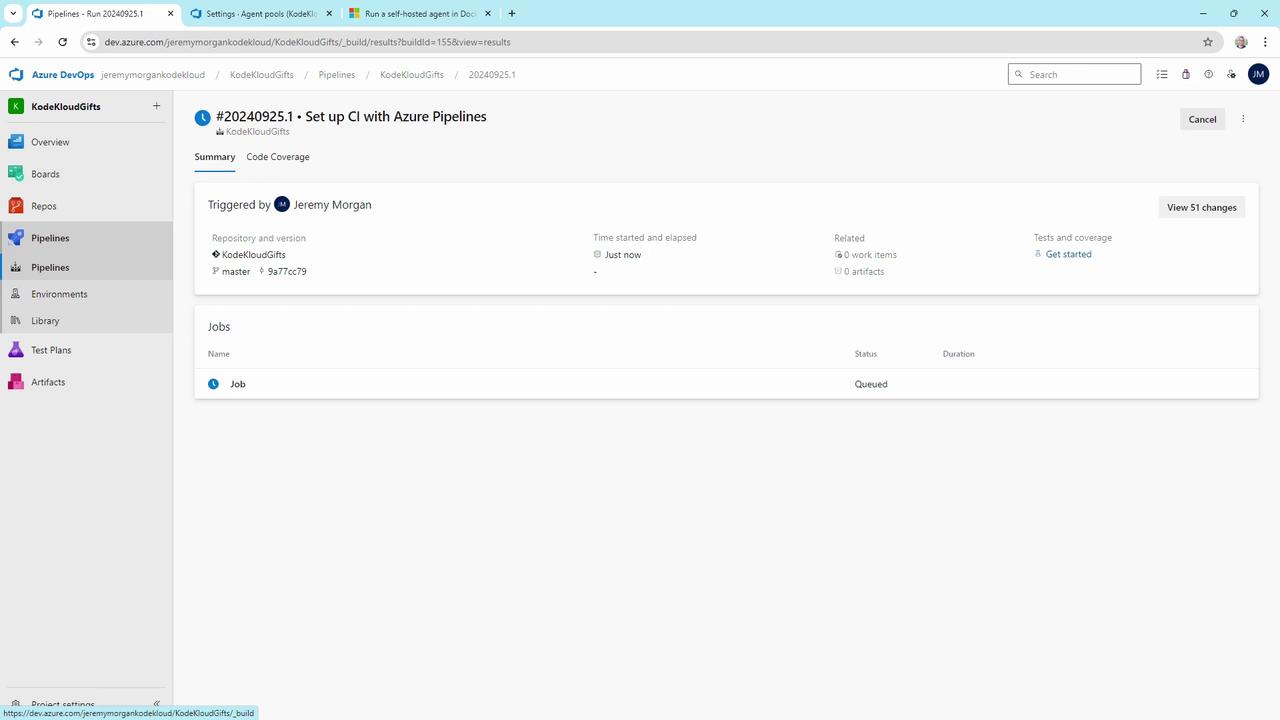
The Server Core base lacks MSBuild, .NET SDK, and build tools. It reports zero capabilities and cannot pick up .NET jobs.
5. Enhance the Image with .NET SDK & Build Tools
Switch to the .NET SDK image and install Visual Studio Build Tools:6. Build an ASP.NET Core Application
Use this pipeline to restore, build, and test an ASP.NET Core solution:Base Image Comparison
Conclusion
Containerized Windows agents deliver portability, consistency, and scalability for Azure DevOps pipelines. By basing your image on the .NET SDK, adding Visual Studio Build Tools, and updatingPATH, you unlock MSBuild and SDK capabilities for seamless ASP.NET Core builds.
Links and References
- Docker Desktop for Windows
- Azure Pipelines agent documentation
- Azure DevOps Documentation
- mcr.microsoft.com/dotnet/sdk Docker Hub