

1. Create an Azure DevOps Project
- Sign in to Azure DevOps.
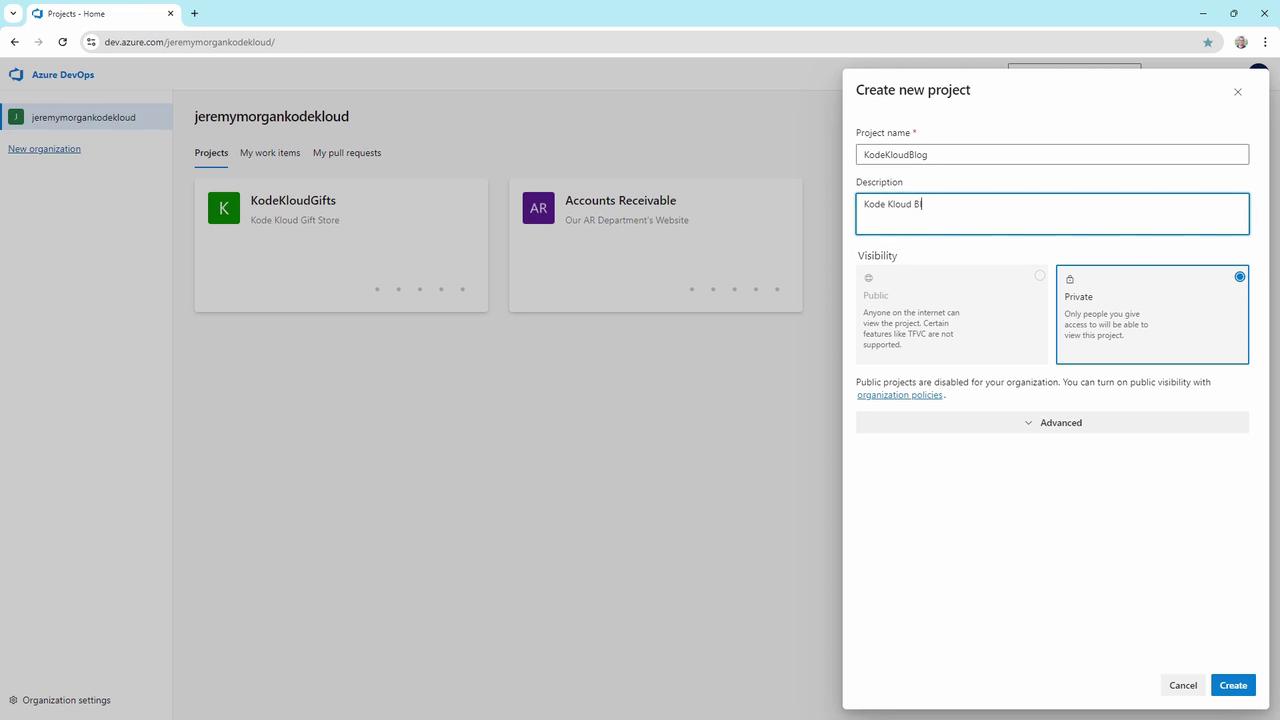
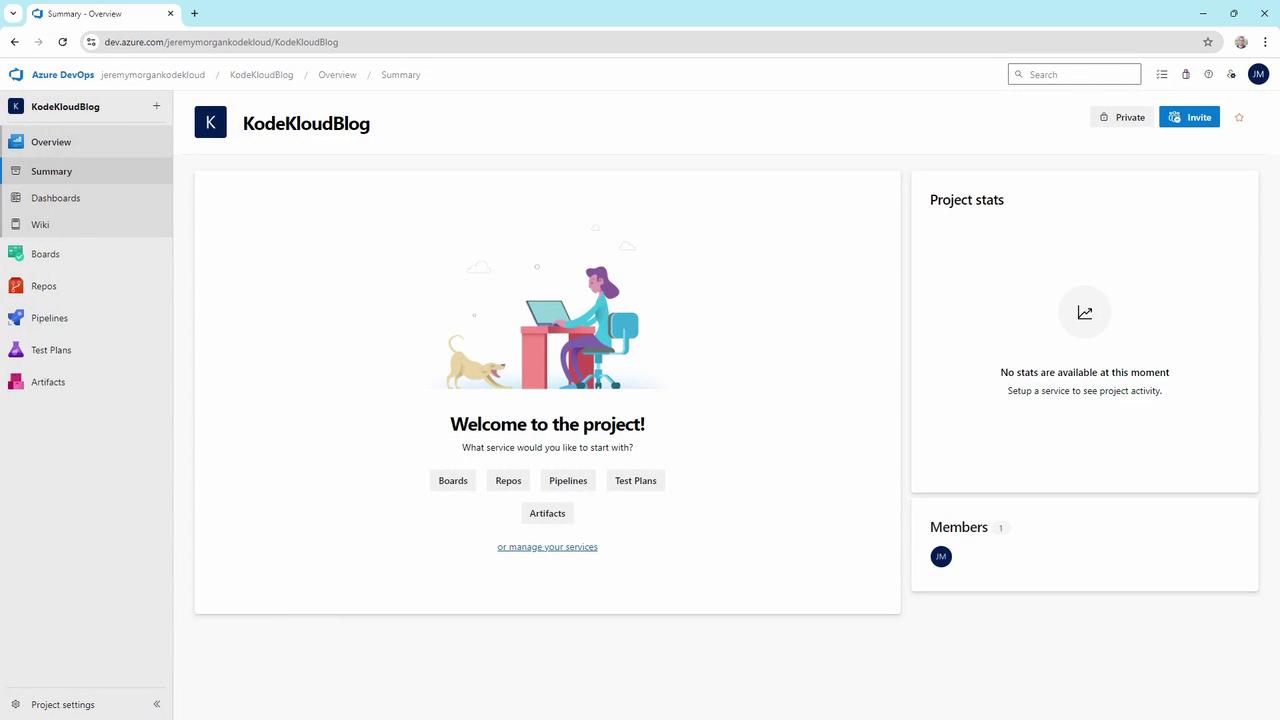
- Click New project, name it KodeKloudBlog, and create.
2. Initialize the Repository
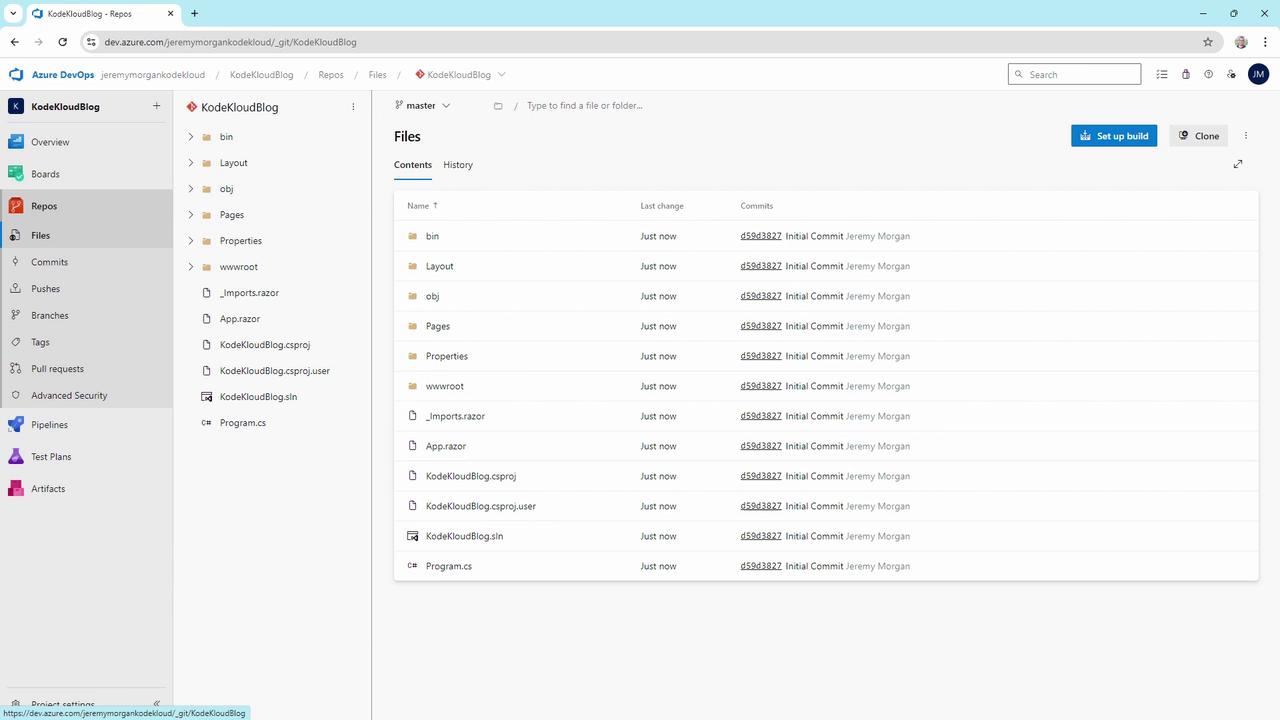
- In your new project, go to Repos and create a Git repository.
-
Clone it locally:
- Copy your Blazor WebAssembly app into this folder.
-
Commit and push:
3. Create the Build Pipeline
3.1 Scaffold the Pipeline
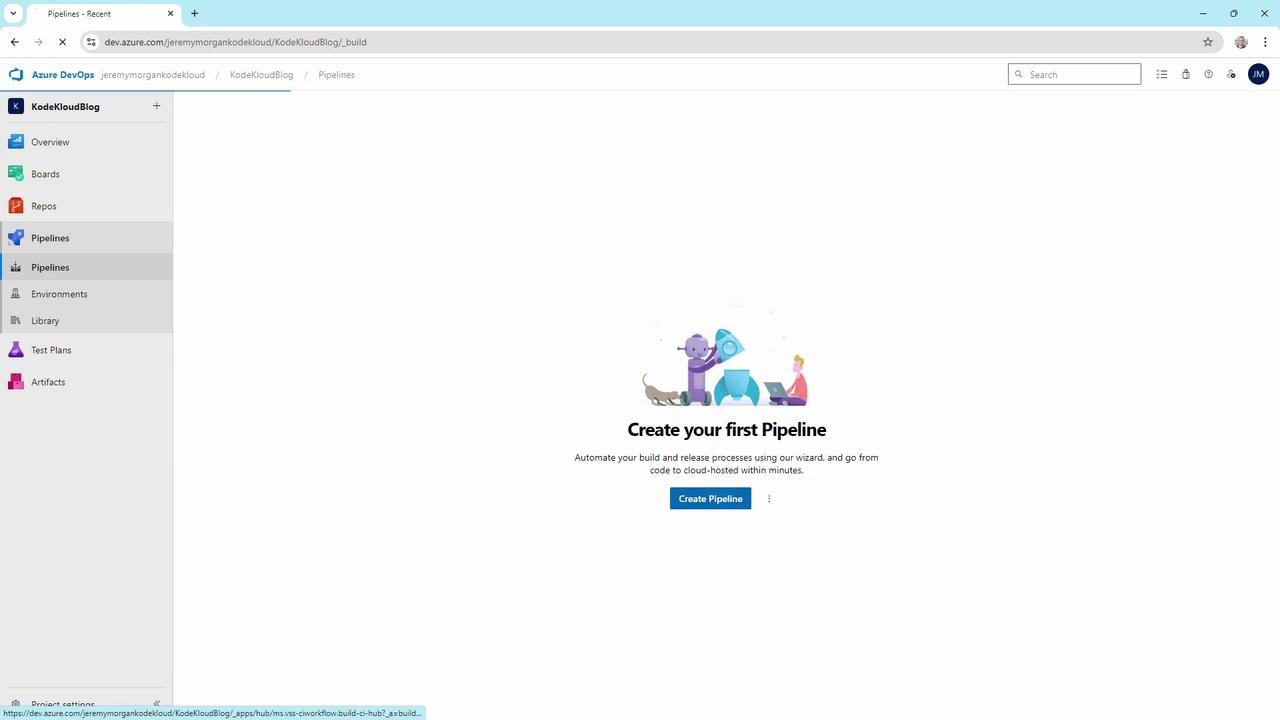
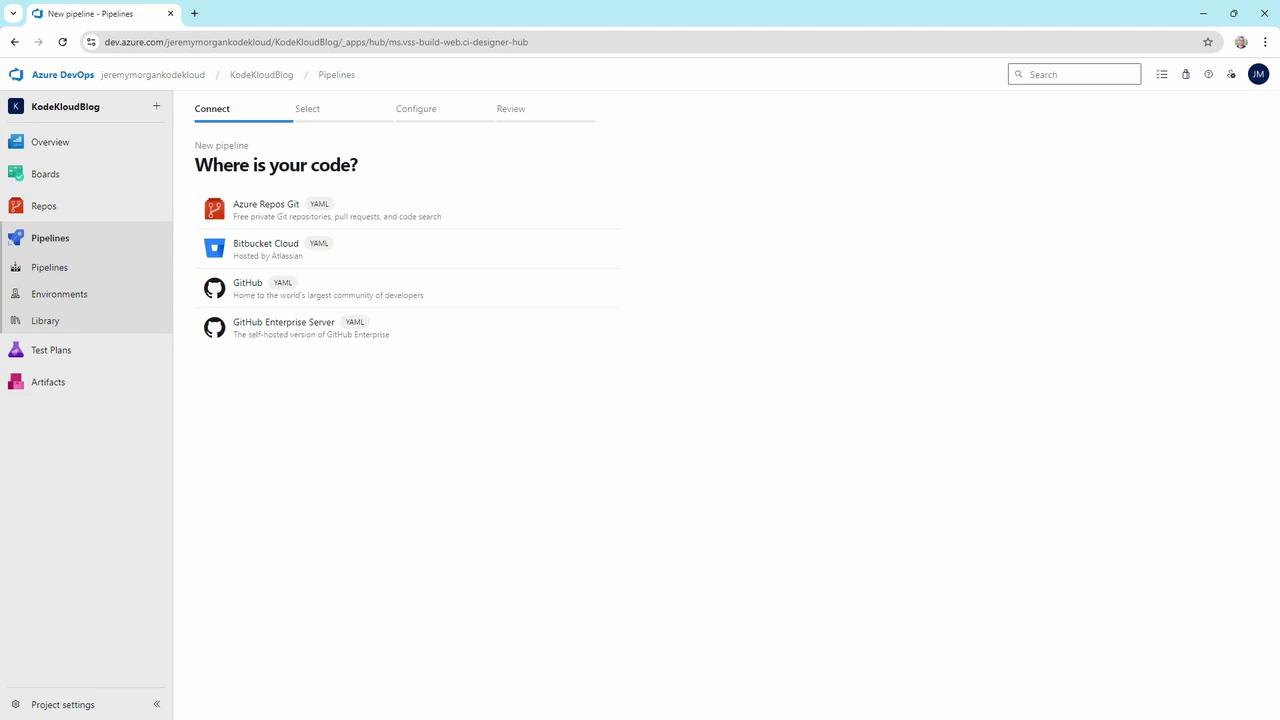
- Navigate to Pipelines > Create Pipeline.
- Select Azure Repos Git as the source.
-
Choose the ASP.NET Core template and review the YAML:
3.2 YAML Variables
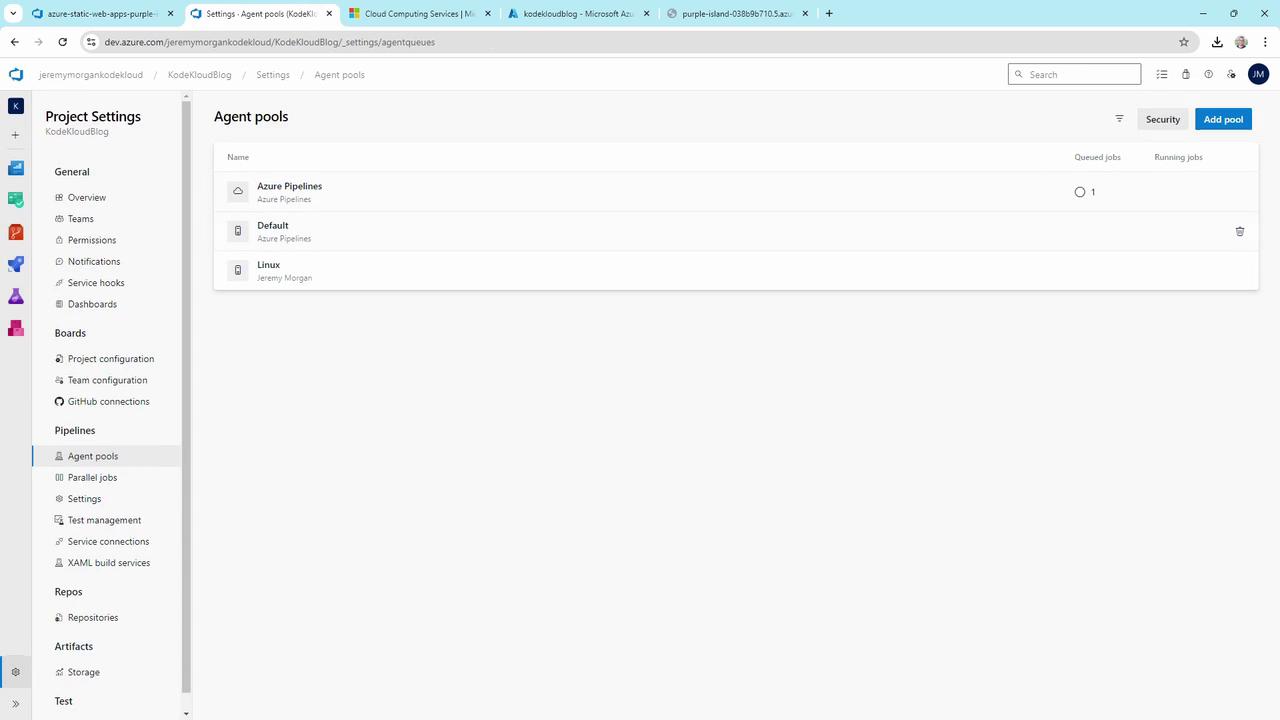
Ensure your project has access to either Microsoft-hosted agents or self-hosted agents. Check Project settings > Agent pools to verify availability.
3.3 Run and Inspect
- Save and run the pipeline.
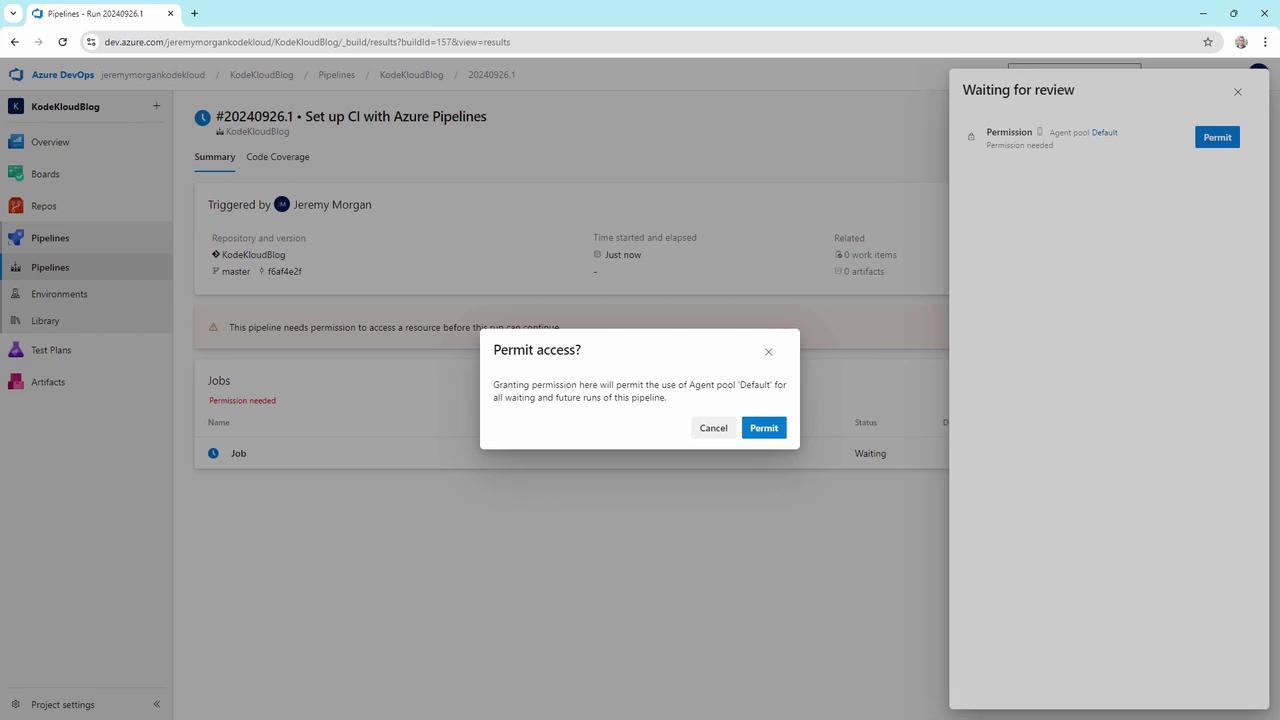
- If prompted to grant permissions for the agent pool, approve to continue.
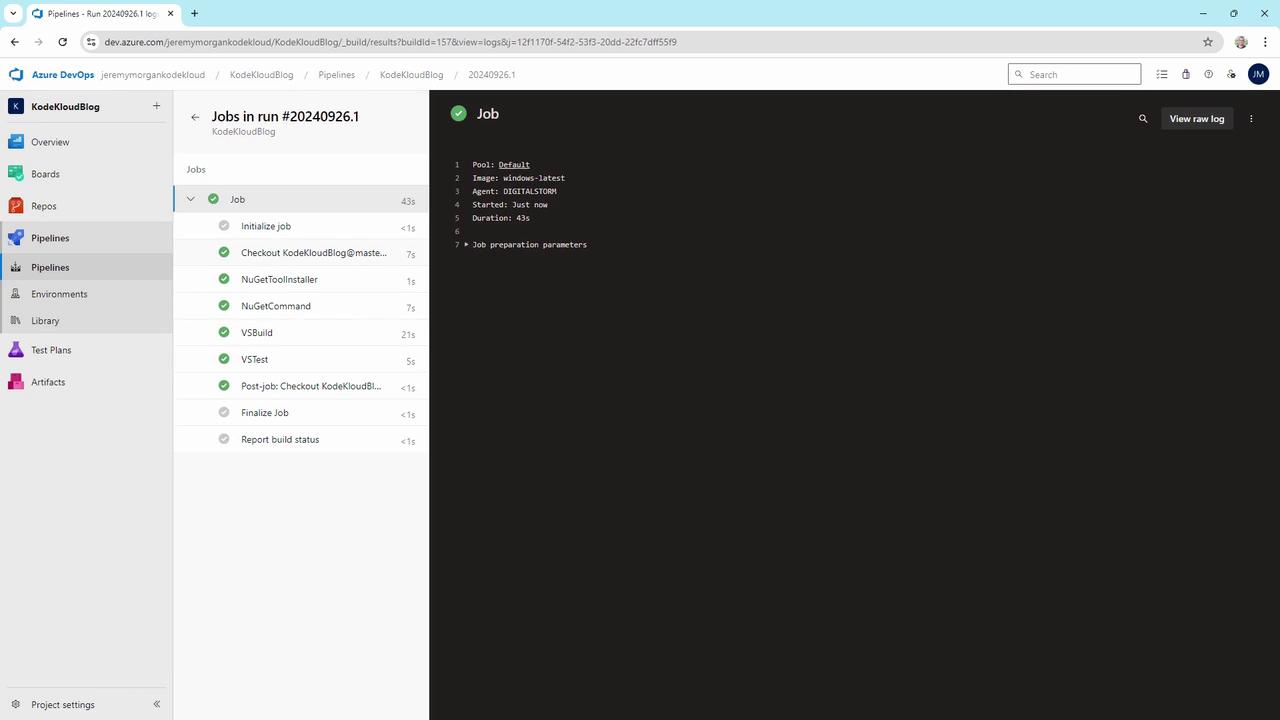
- After completion, click the build to see each step’s logs:
4. Deploy to Azure Static Web Apps
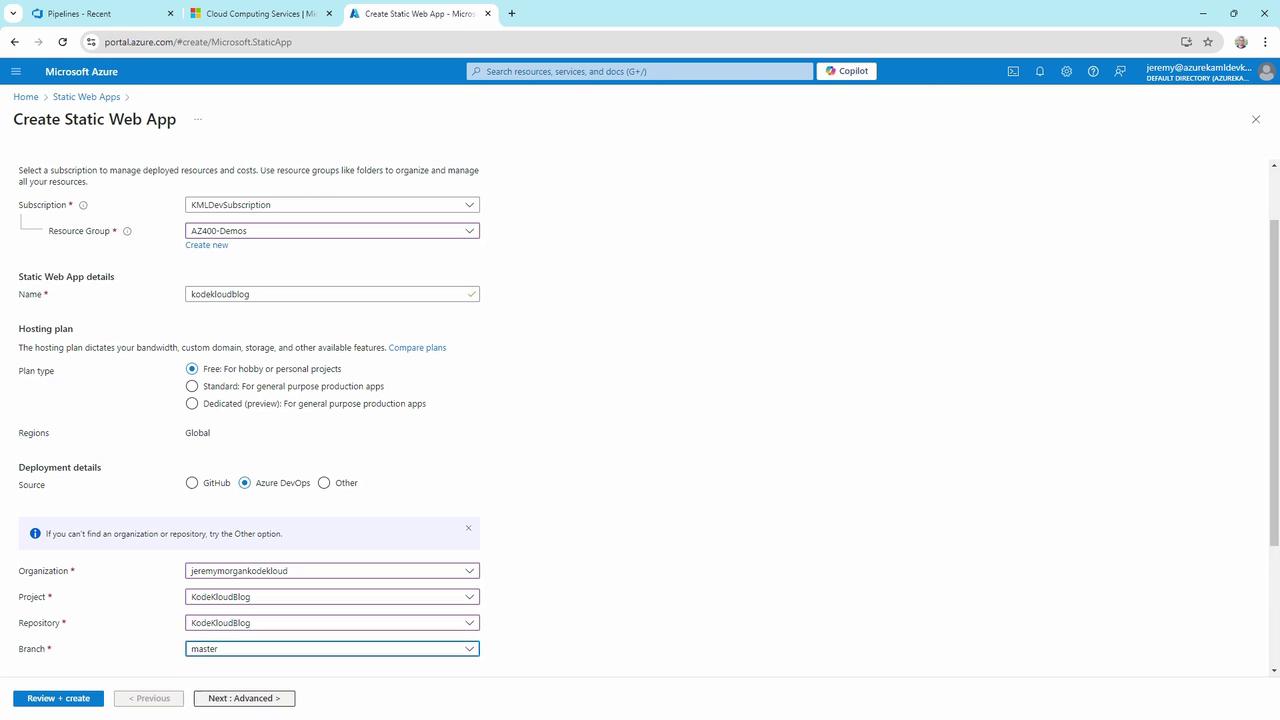
- In the Azure portal, search Static Web Apps > Create.
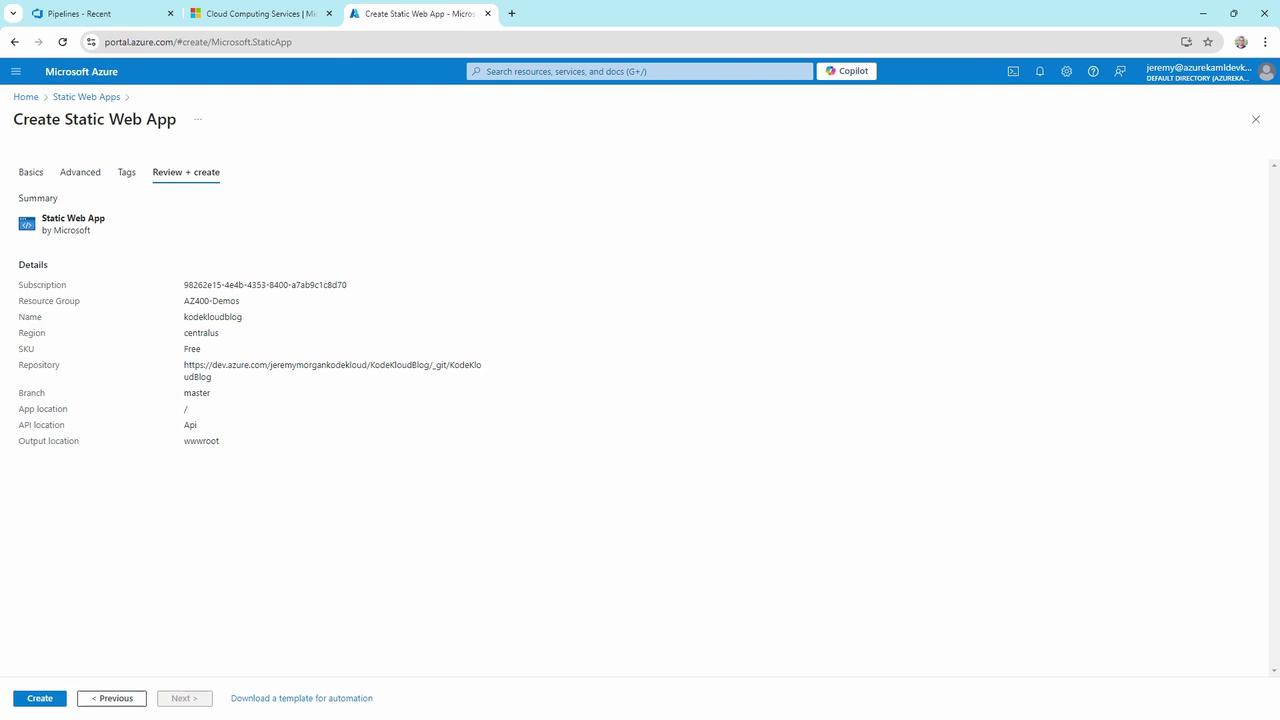
- Configure subscription, resource group, and name (e.g., KodeKloudBlog).
- Choose Free plan.
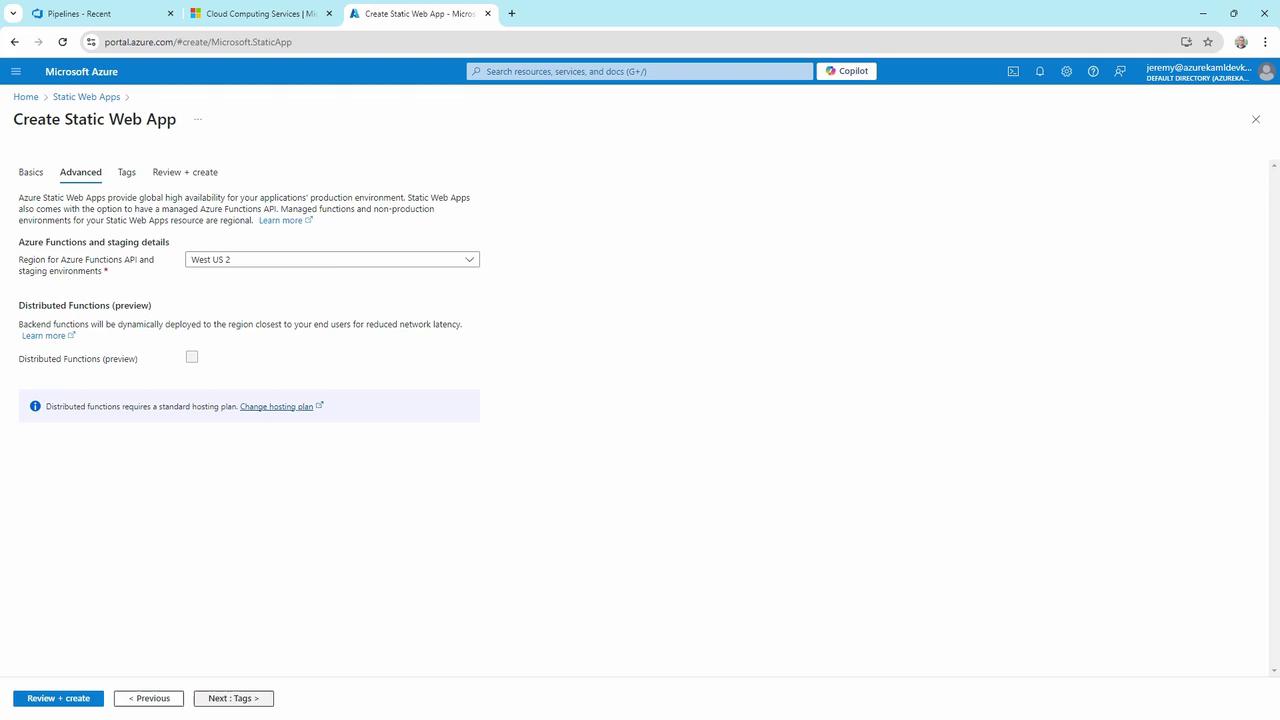
- Under Deployment Details, select Azure DevOps, then your organization, project, repo, and branch.
5. Adjust the Static Web App Pipeline
Edit the generated YAML to ensure the right VM image and paths: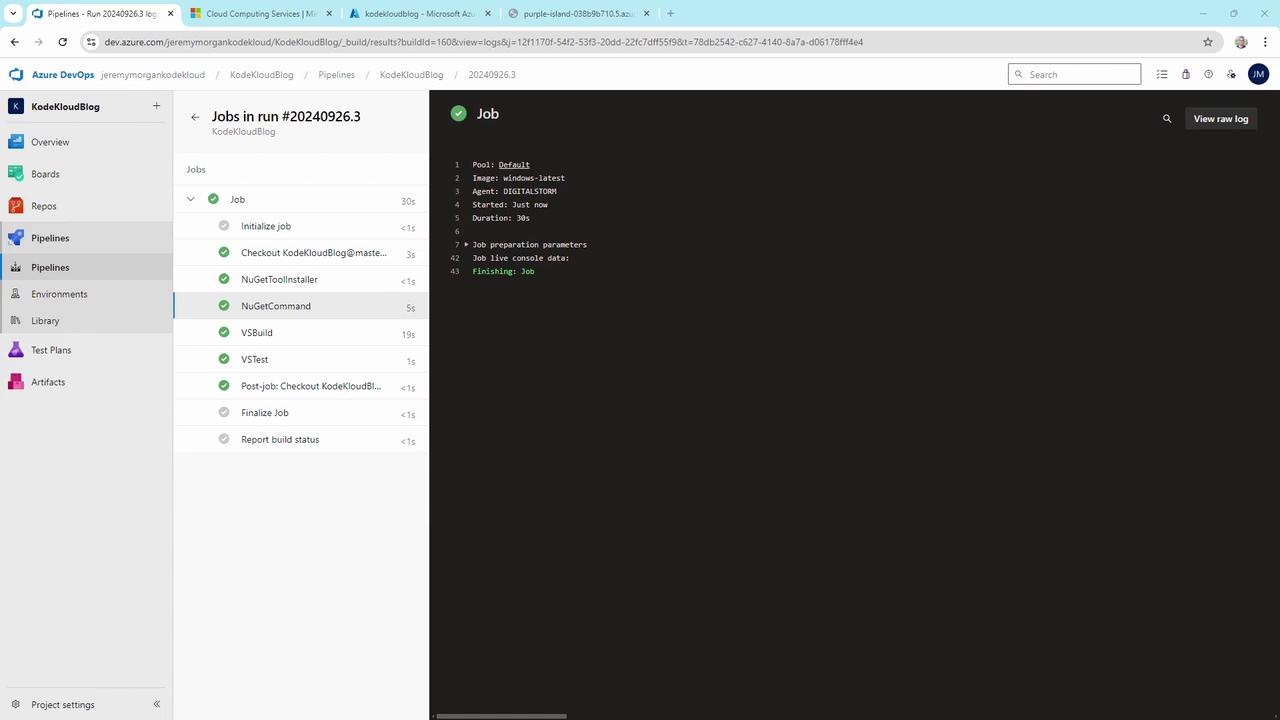
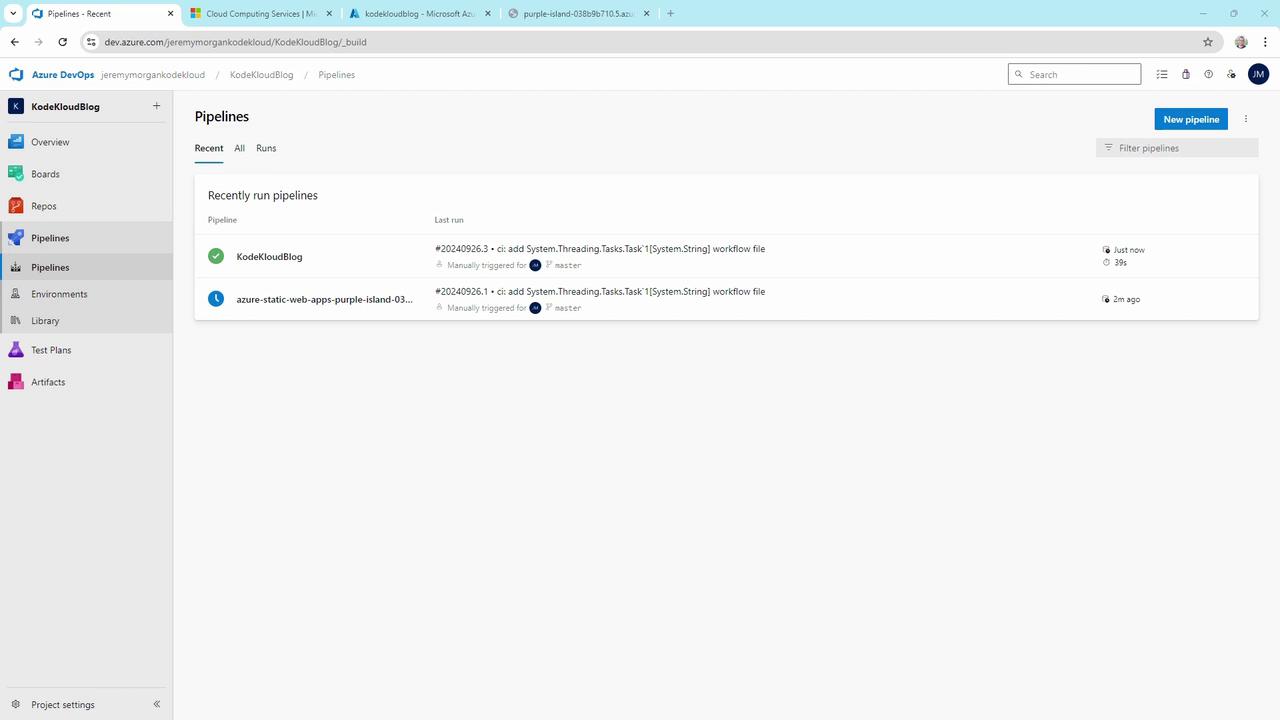
If all agents are busy, your builds queue: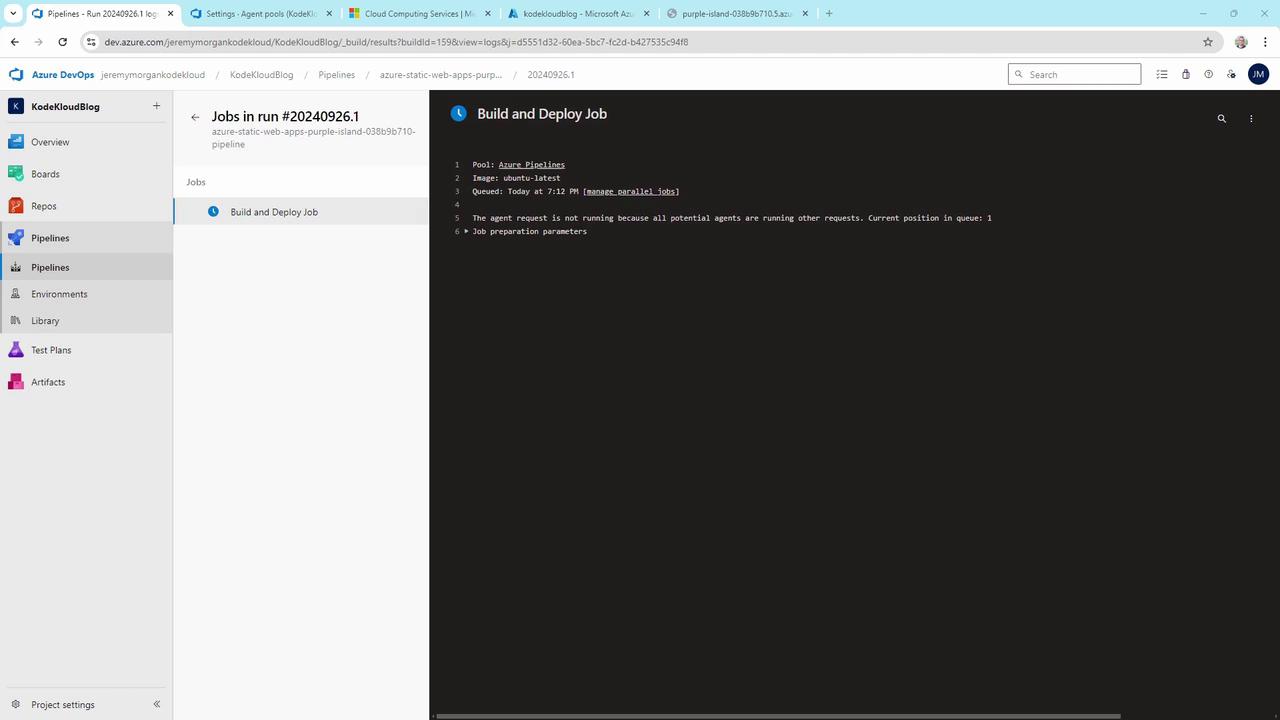
6. Verify the Live Site
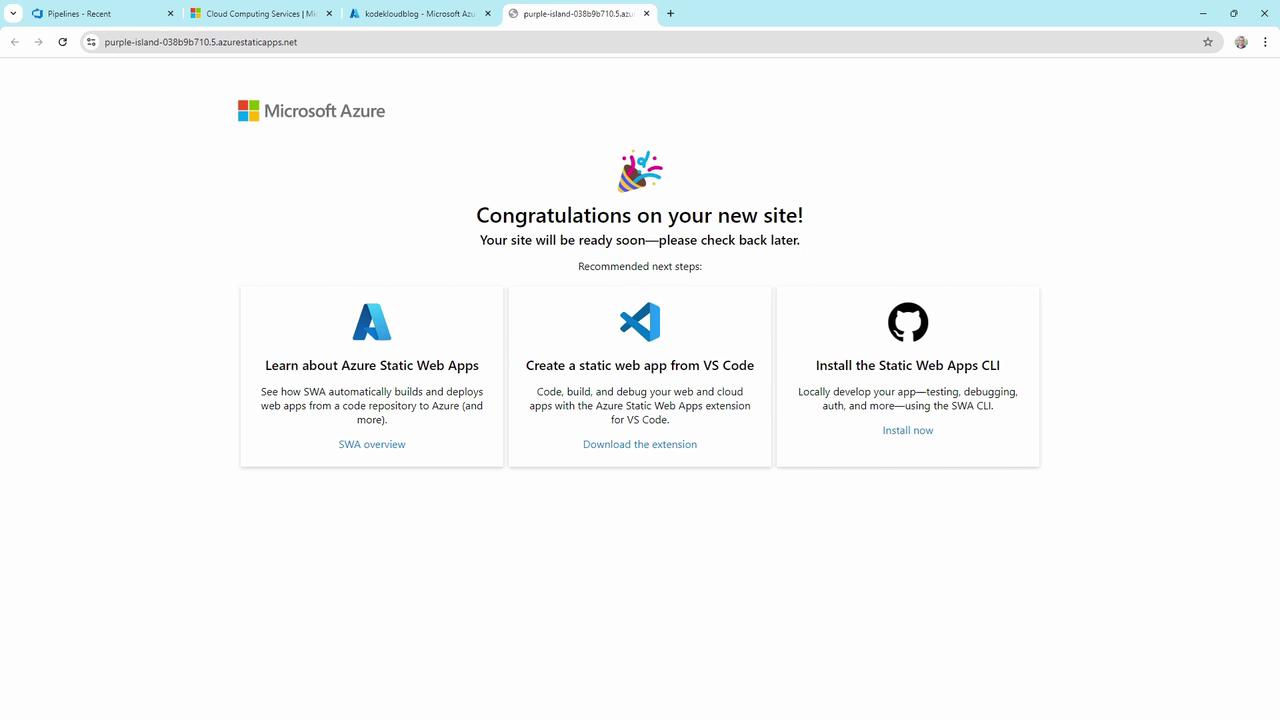
Browse to your Static Web App URL and confirm the Blazor app is live: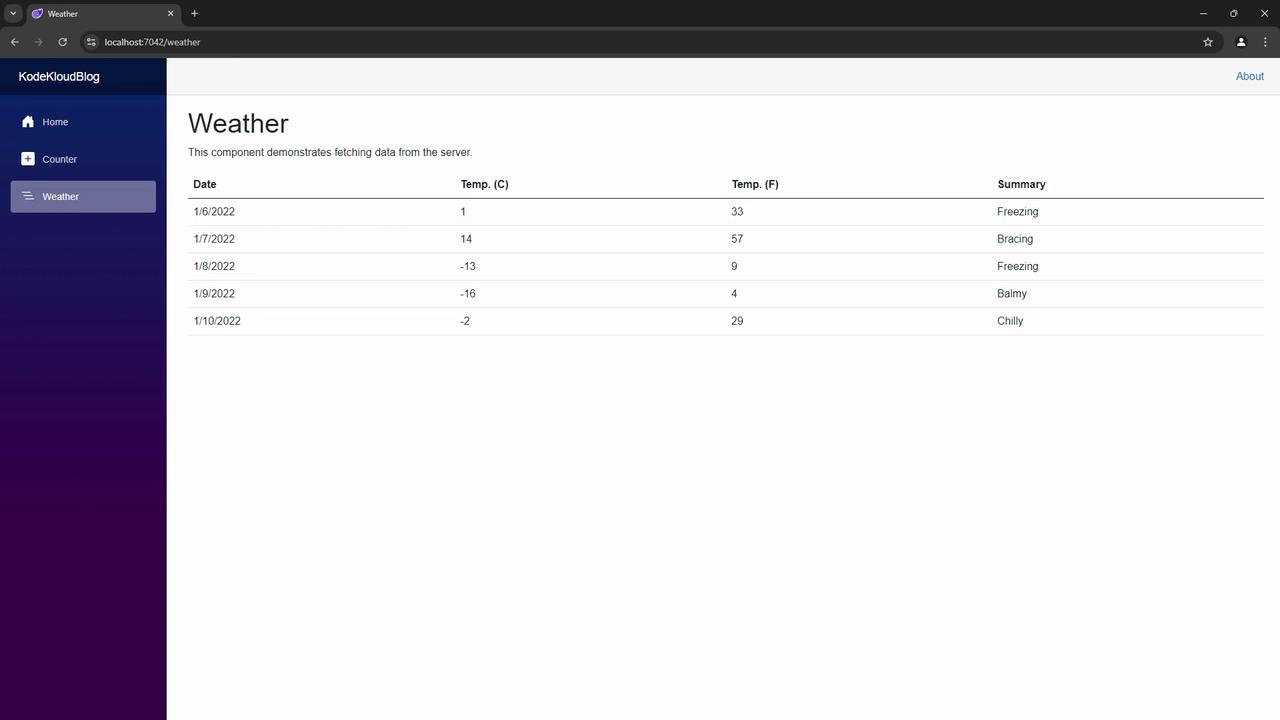
7. Continuous Updates via Git
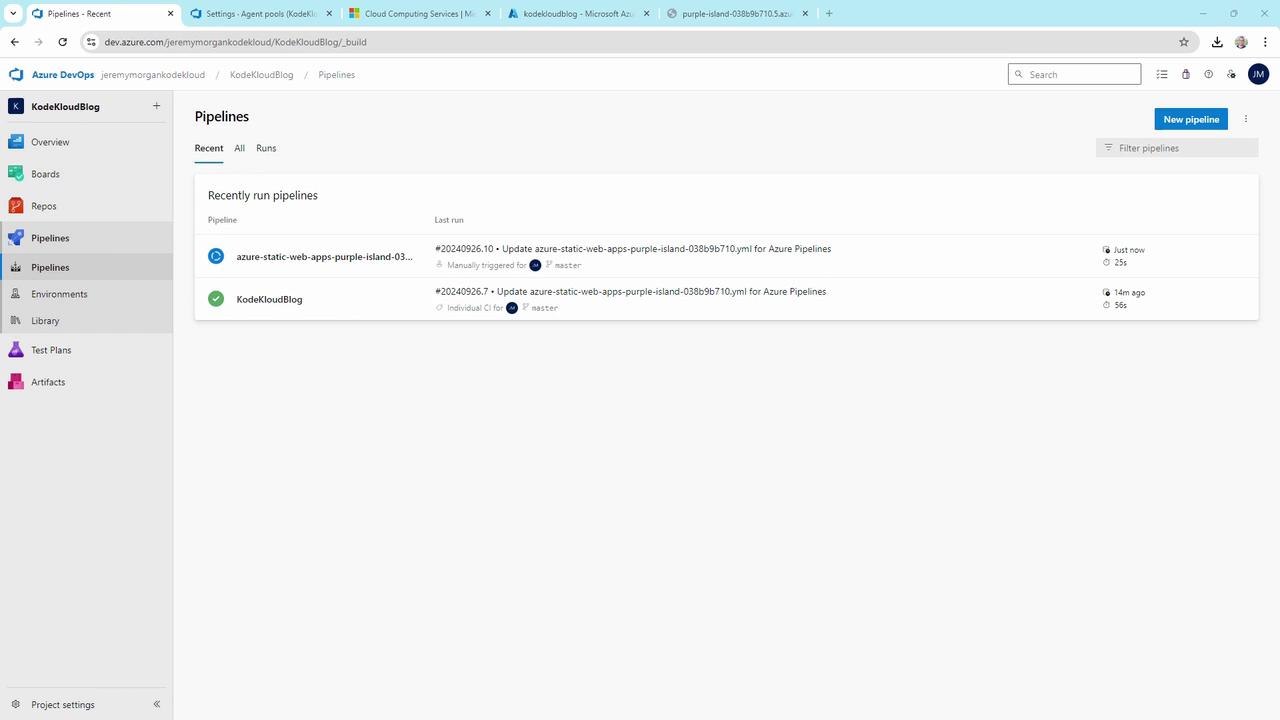
Any commit tomaster now triggers the CI/CD pipelines automatically.
-
Modify Pages/Home.razor:
-
Push the update:
Recap
Your automated workflow now ensures code changes flow seamlessly from Git to production.