

- Scaffold a .NET class library (
KodeKonvert). - Configure NuGet package metadata in Visual Studio.
- Build and pack the library.
- Generate a GitHub Personal Access Token (PAT).
- Register GitHub Packages as a NuGet source.
- Push your
.nupkgto GitHub Packages. - Consume the package in a new Blazor WASM project.
1. Scaffold the .NET Class Library
- Open Visual Studio.
- Create a new Class Library project.
- Rename the project to KodeKonvert.
- Target .NET 8.0 and confirm a successful build:
2. Configure NuGet Package Metadata
In Solution Explorer, right-click KodeKonvert → Properties → Package. Set the following values: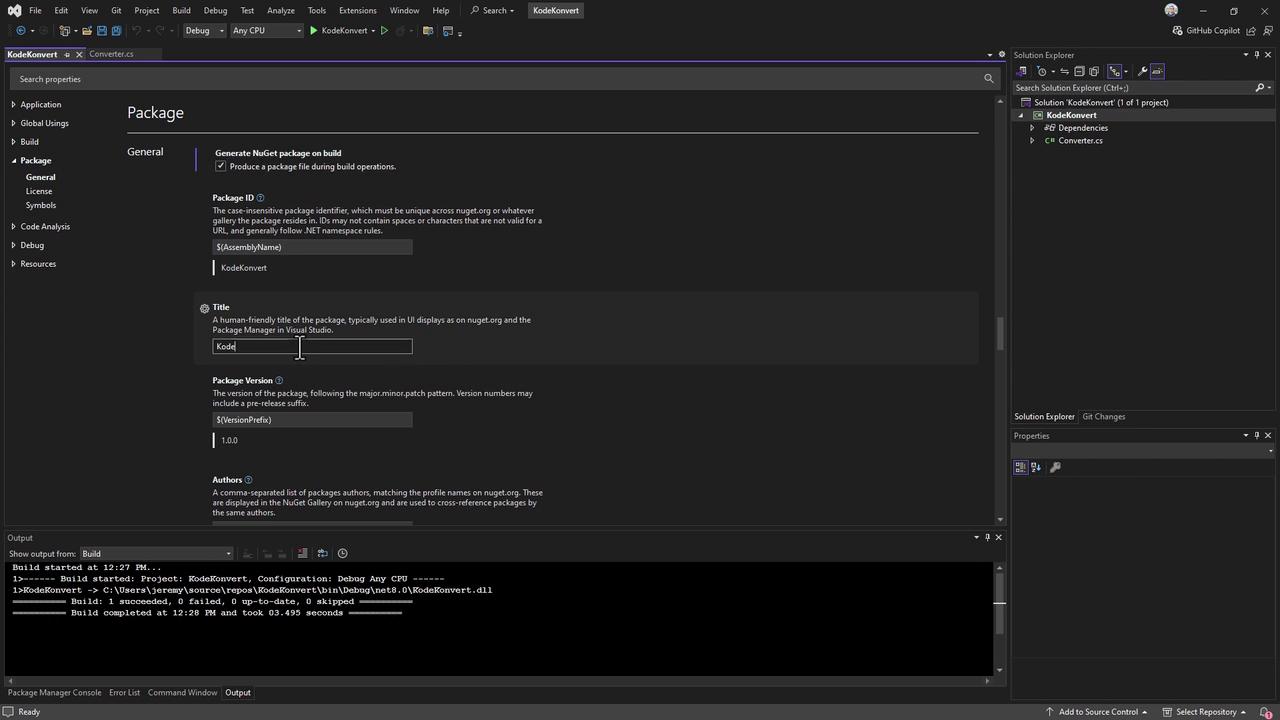
3. Build and Pack the Library
From your terminal:.nupkg file for later steps.
4. Generate a GitHub Personal Access Token
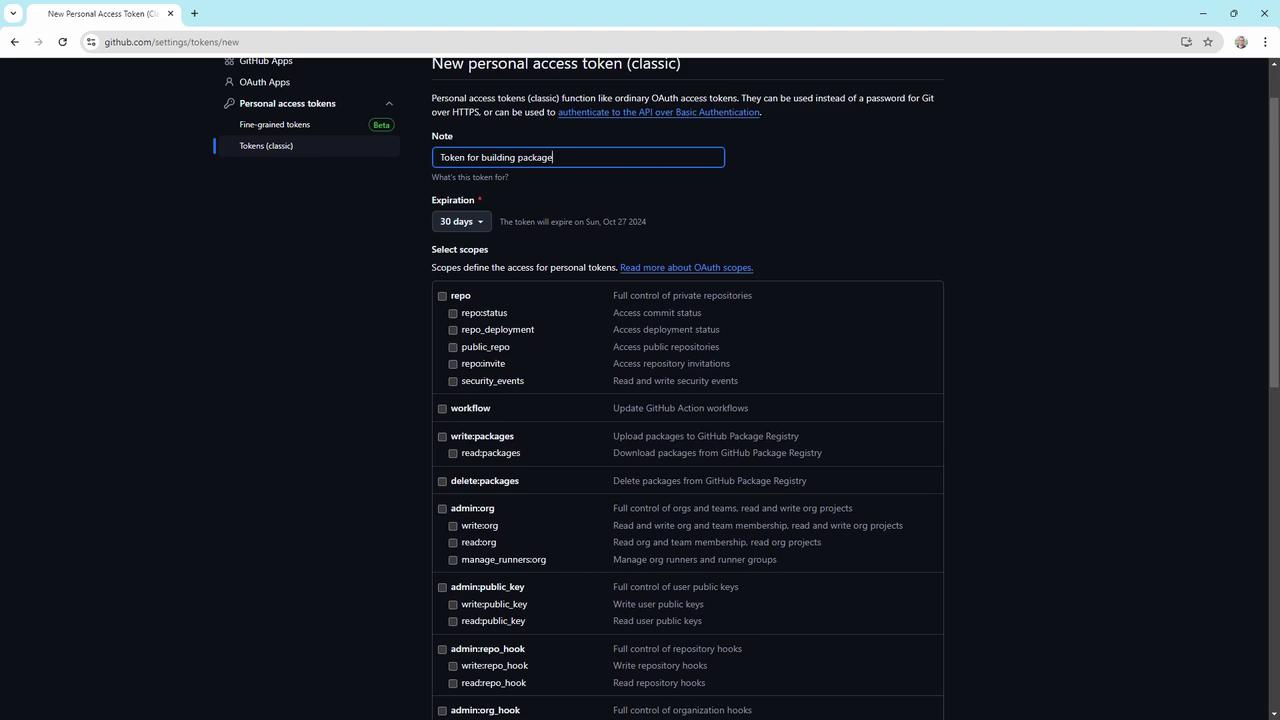
- In GitHub, navigate to Settings > Developer settings > Personal access tokens.
- Click Generate new token (classic or fine-grained).
- Assign minimal scopes:
read:packageswrite:packagesrepo(only if you publish from a private repo)
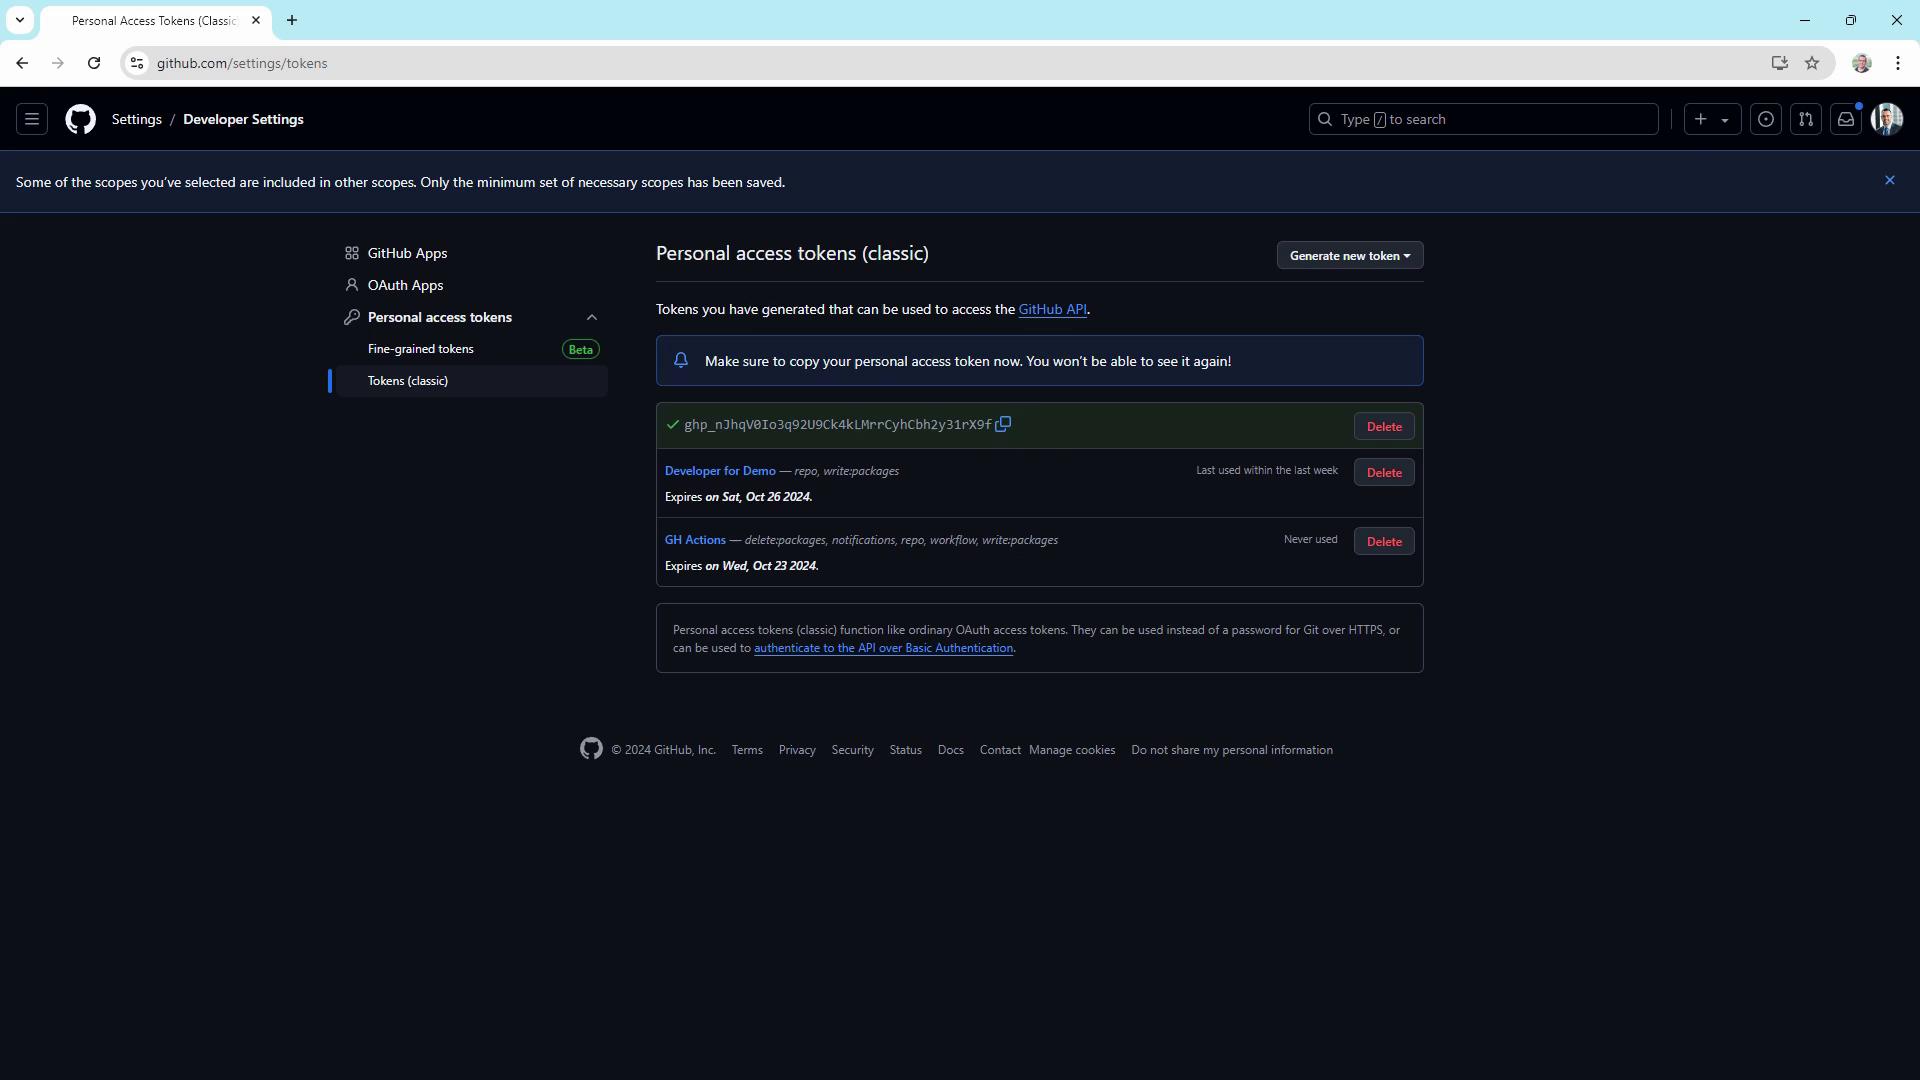
- Copy the token once when presented.
Store your PAT securely; you’ll need it to authenticate your NuGet source and to push packages.
5. Register GitHub Packages as a NuGet Source
Add the GitHub Packages feed to your NuGet configuration:Using
--store-password-in-clear-text will save your PAT in plain text. Ensure your machine is secure.6. Publish the Package
Push the.nupkg to your GitHub Packages feed:
KodeKonvert v1.0.0 is listed.
7. Consume the Package in a Blazor WASM App
- Create a Blazor WebAssembly project:
- Ensure the GitHub NuGet source is available:
- Add your package:
KodeKonvert APIs in your Blazor components.