

1. Configure Your Identity
Before you make any commits, set up your name and email. These values appear in each commit’s metadata.Use
--global to apply settings across all repositories on your machine. To override identity per-repo, omit --global and run the commands inside the repository directory.2. Initialize a Git Repository
-
Create and enter a new project folder:
-
Initialize Git:
Output:
-
Create a file and check status:
You should see
hello.txtlisted as an untracked file. -
Stage and commit:
-
Review your commit history:
Example output:
Common Git Commands
3. Branching and Feature Workflows
-
Create and switch to a new branch:
Output:
-
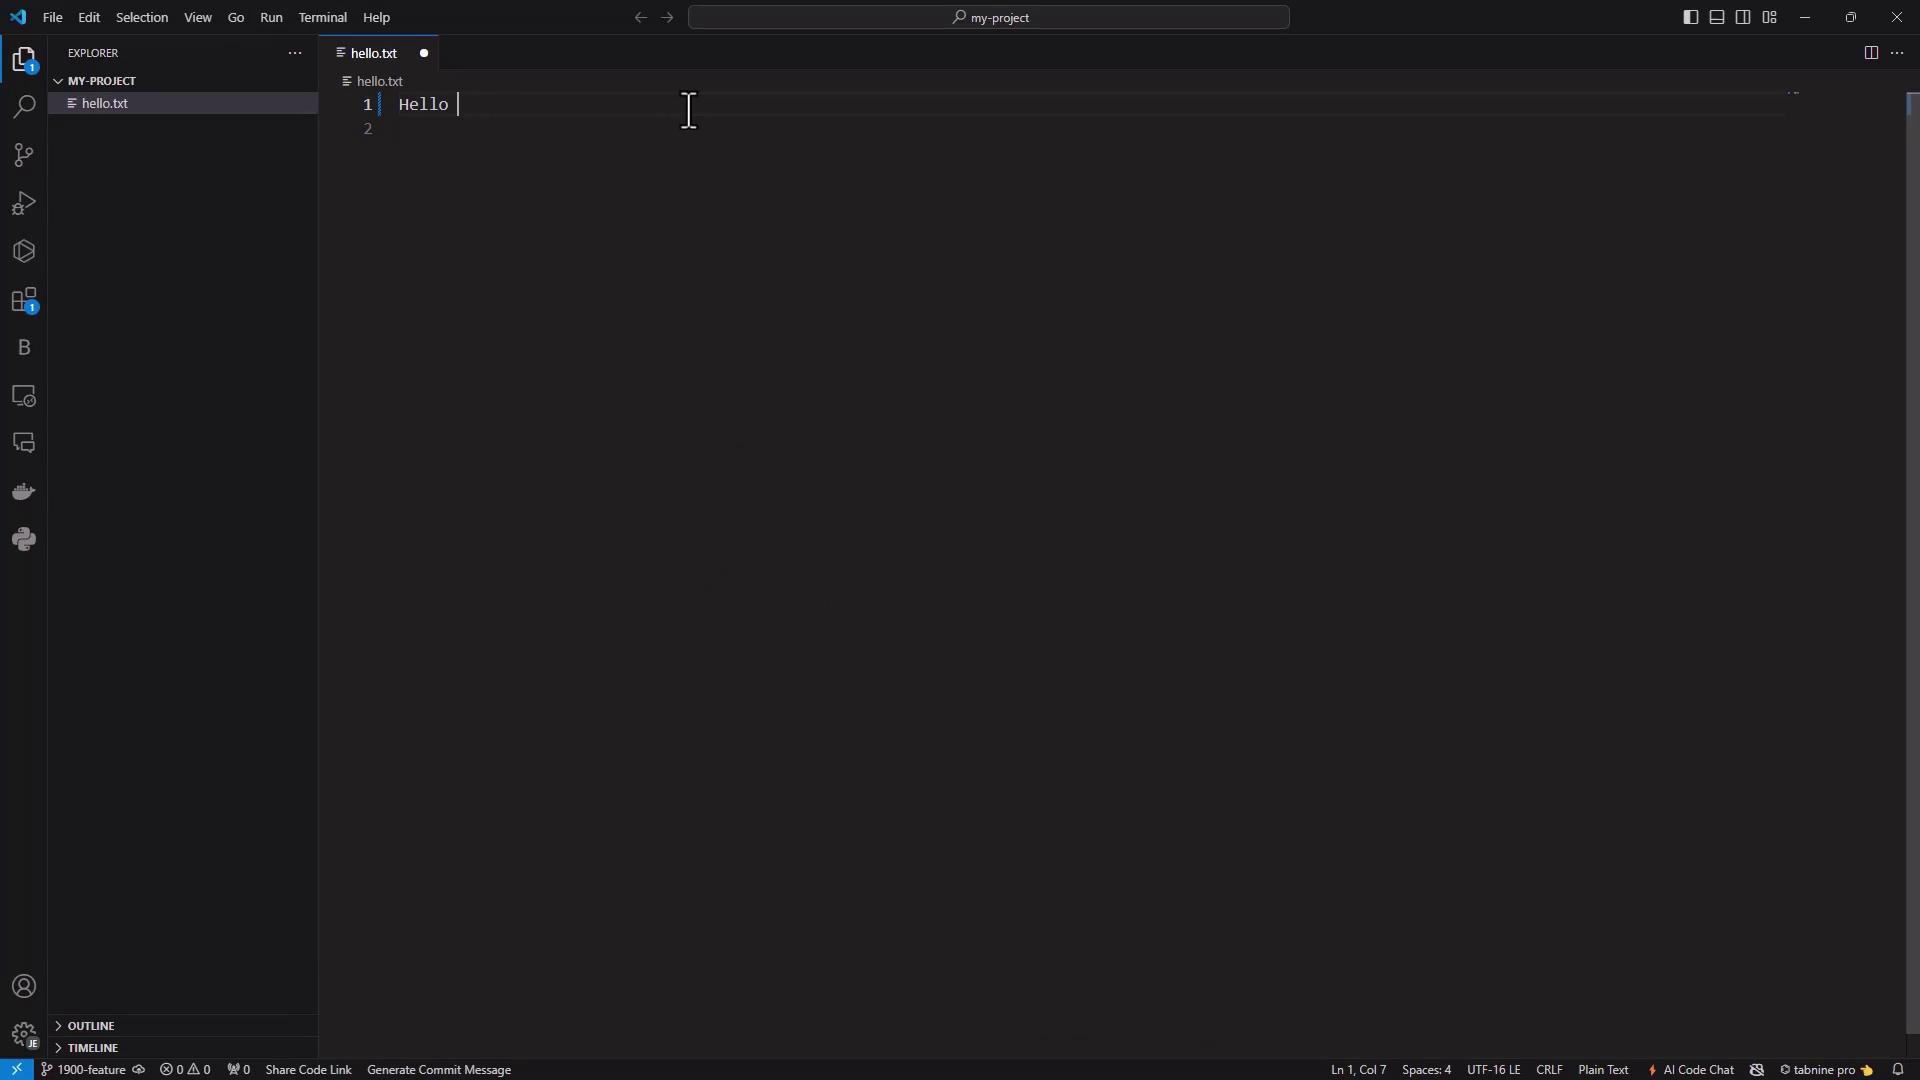
Update
hello.txtto: -
Stage and commit your change:
- Visualize the branch history:
Output:
4. Merging Changes Back into Master
Switch tomaster and merge:
5. Cloning a Remote Repository
5.1 From GitHub
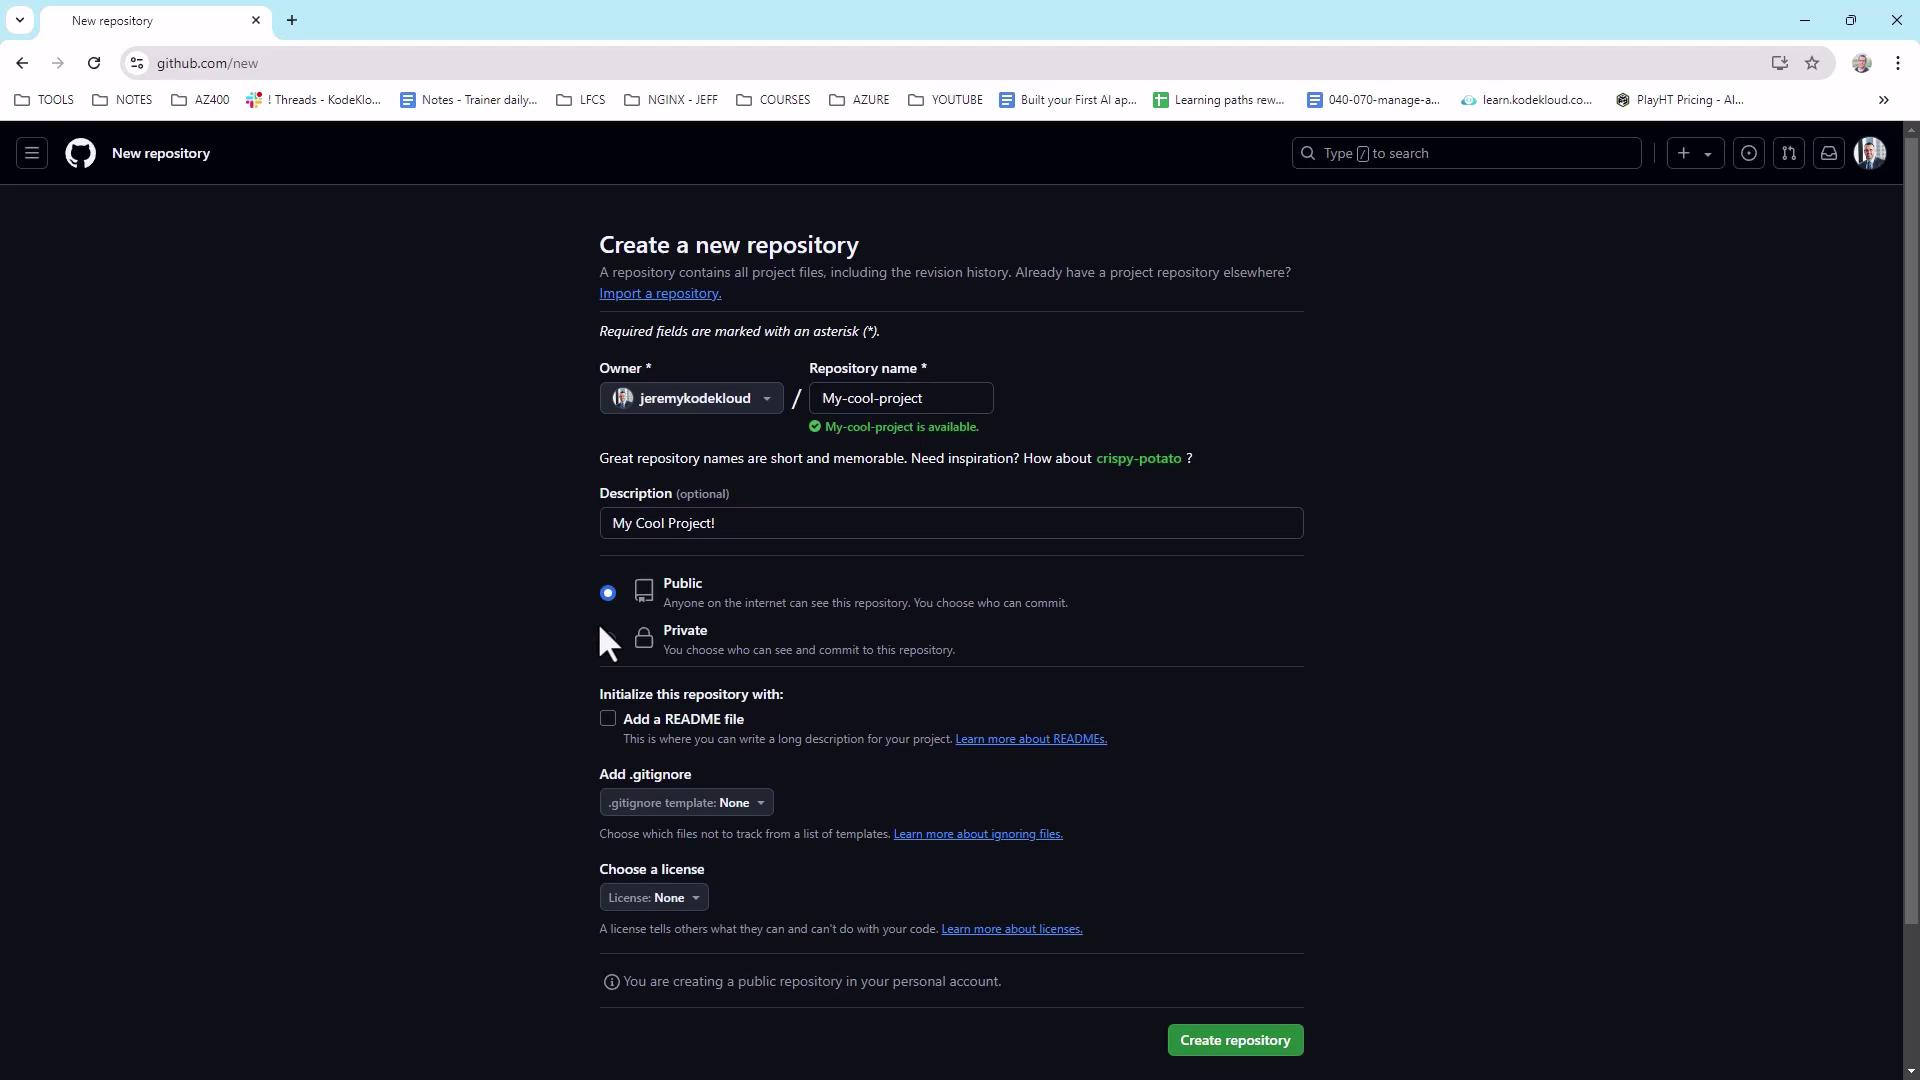
- On GitHub New Repository, create my-cool-project (private), initialize with a README.
-
Clone via HTTPS:
-
Add, commit, and push a file:
You’ll now see
hello.txtin your GitHub repo.
5.2 Using Visual Studio Code
Open the cloned folder in VS Code. The Source Control view shows your changes: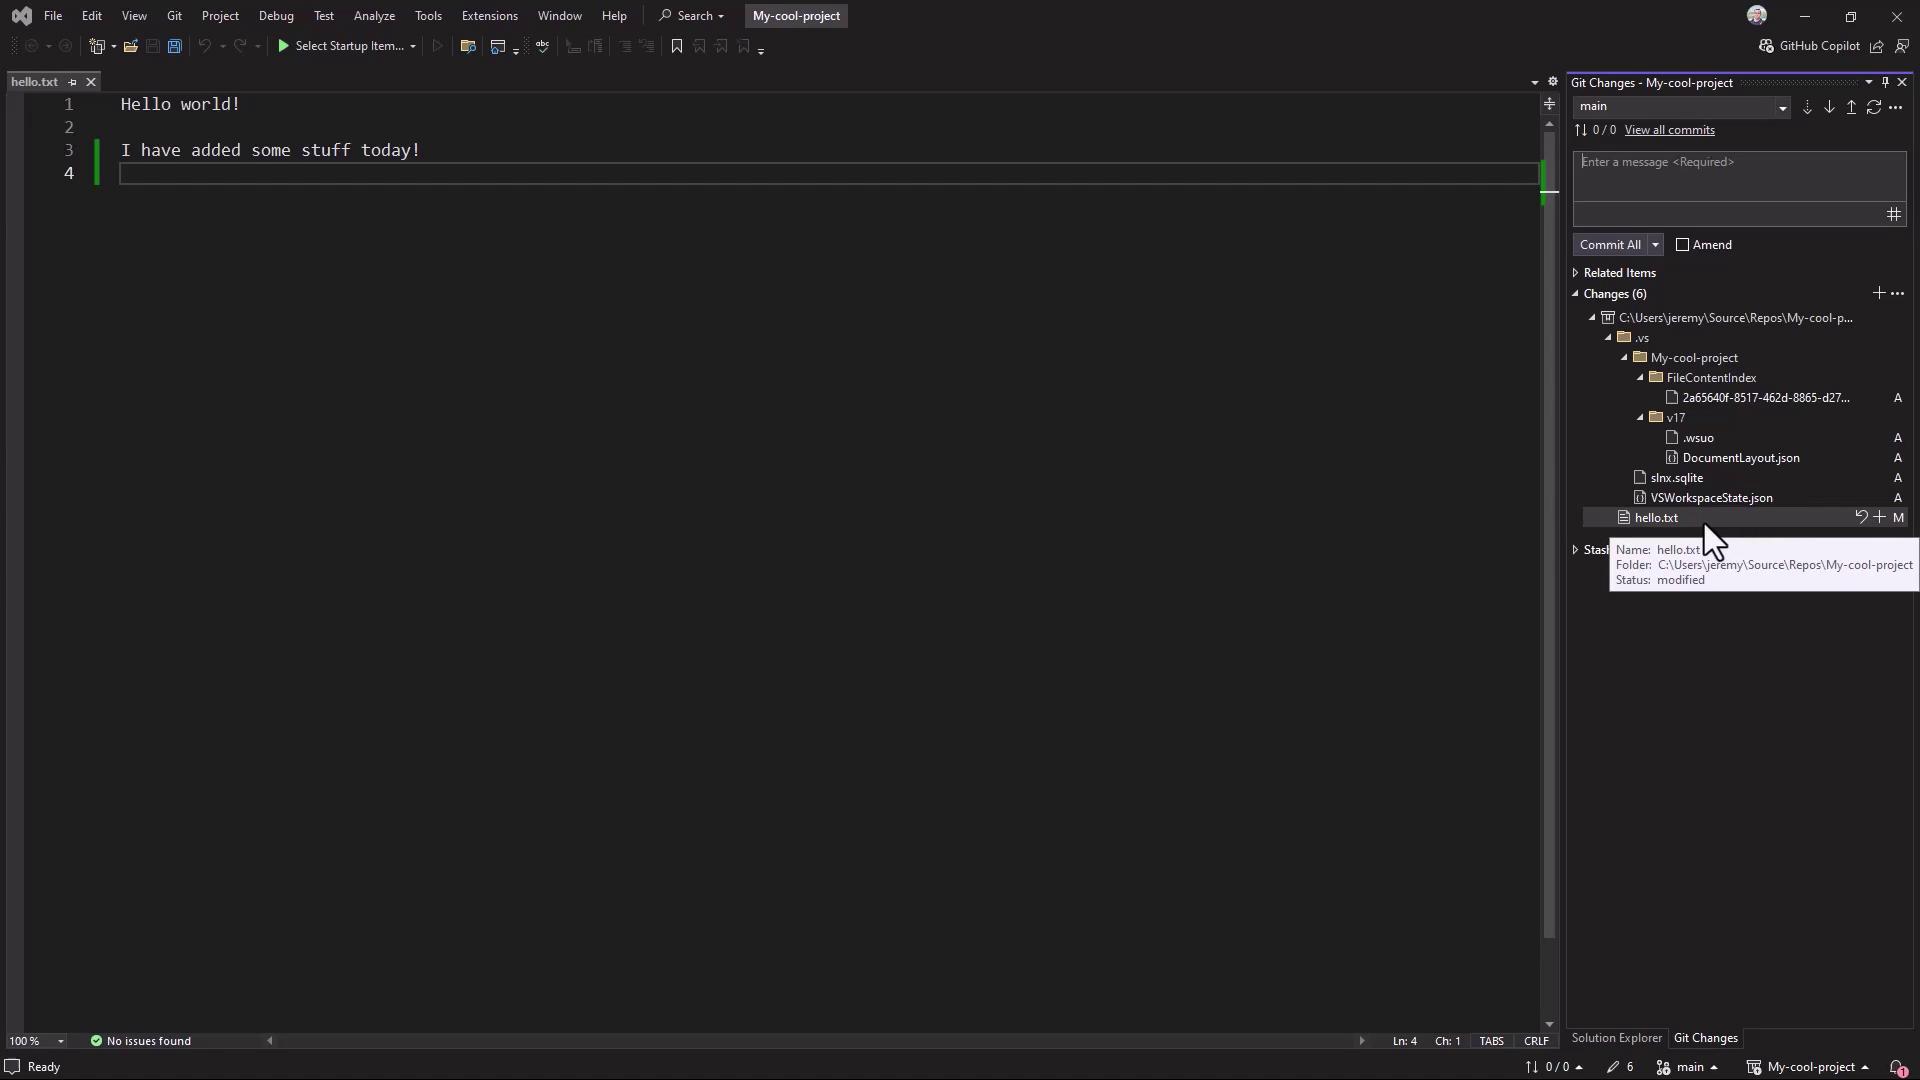
5.3 Inside Visual Studio
In Visual Studio, use the Git Changes window to stage, commit, and push: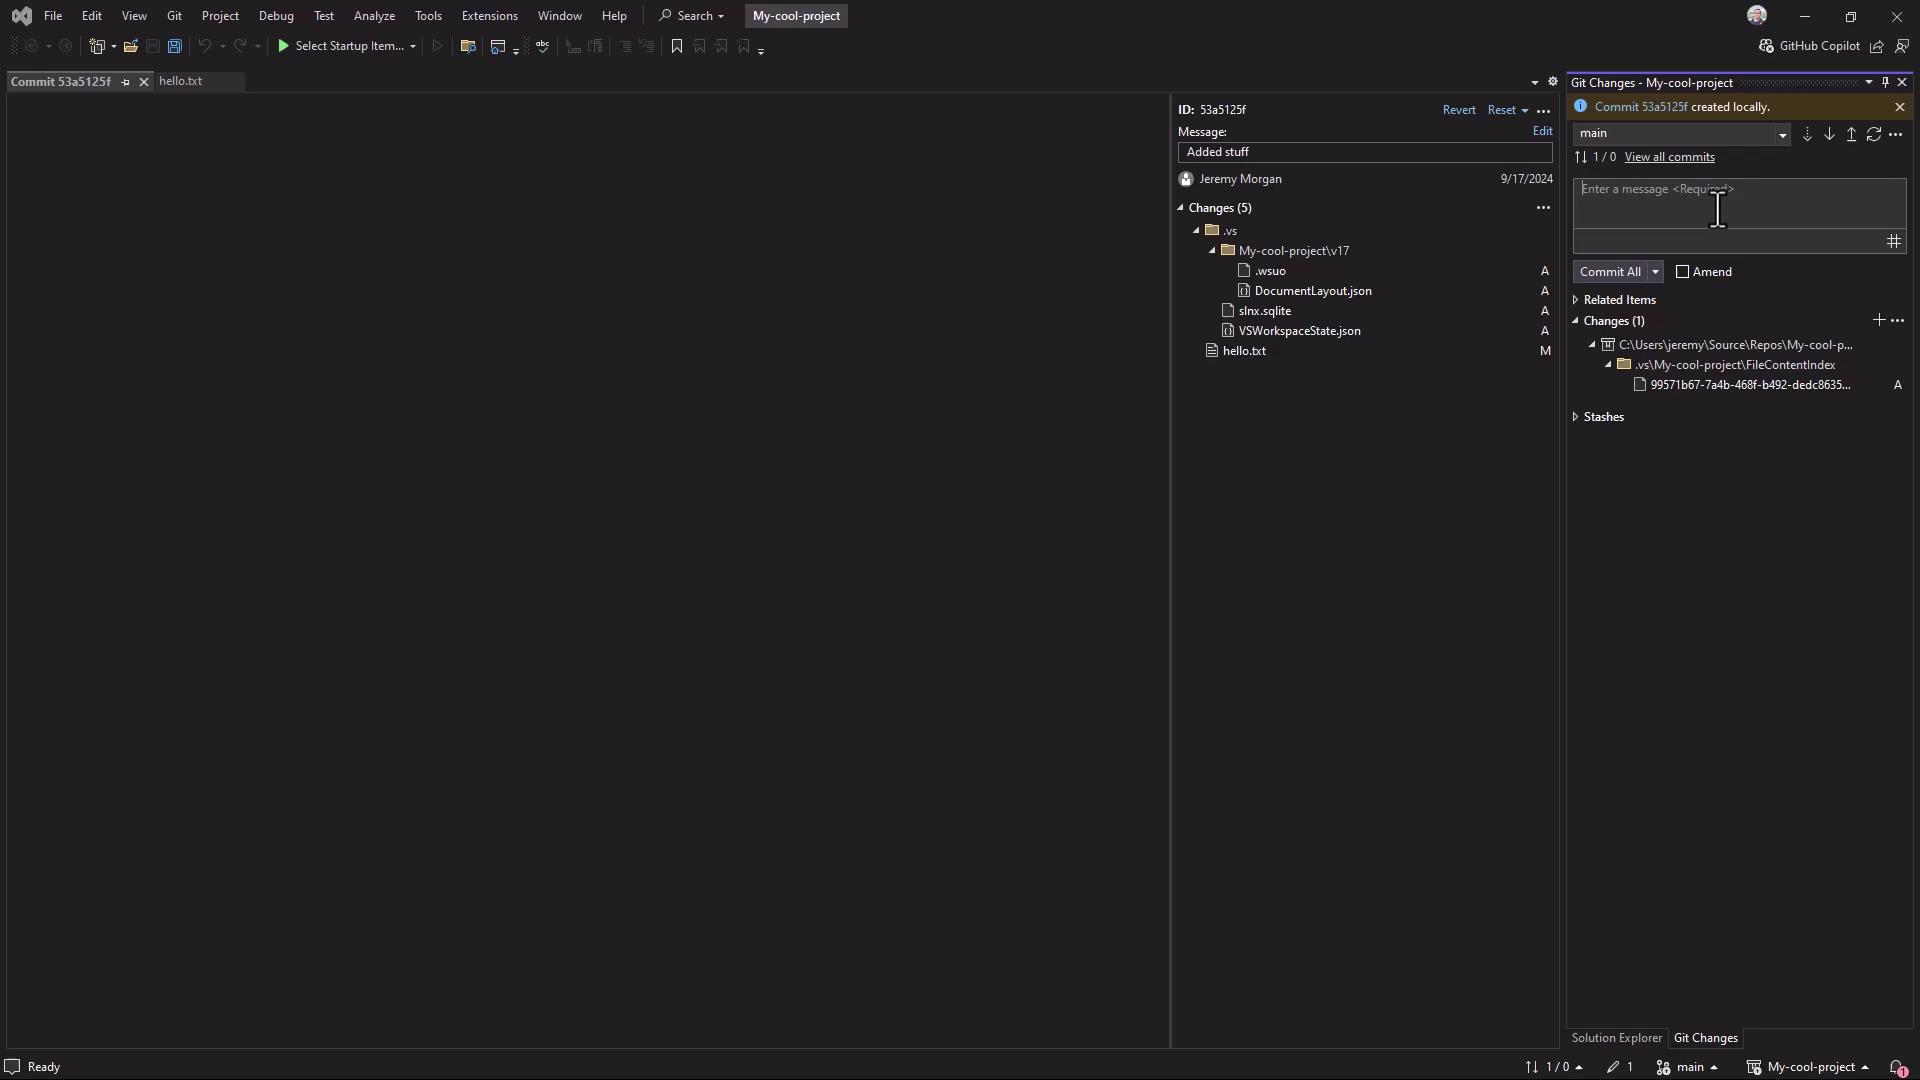
5.4 Cloning from Azure Repos
6. GUI Client: GitHub Desktop
GitHub Desktop provides an intuitive interface for cloning, committing, and pushing. After installing and signing in, configure your identity: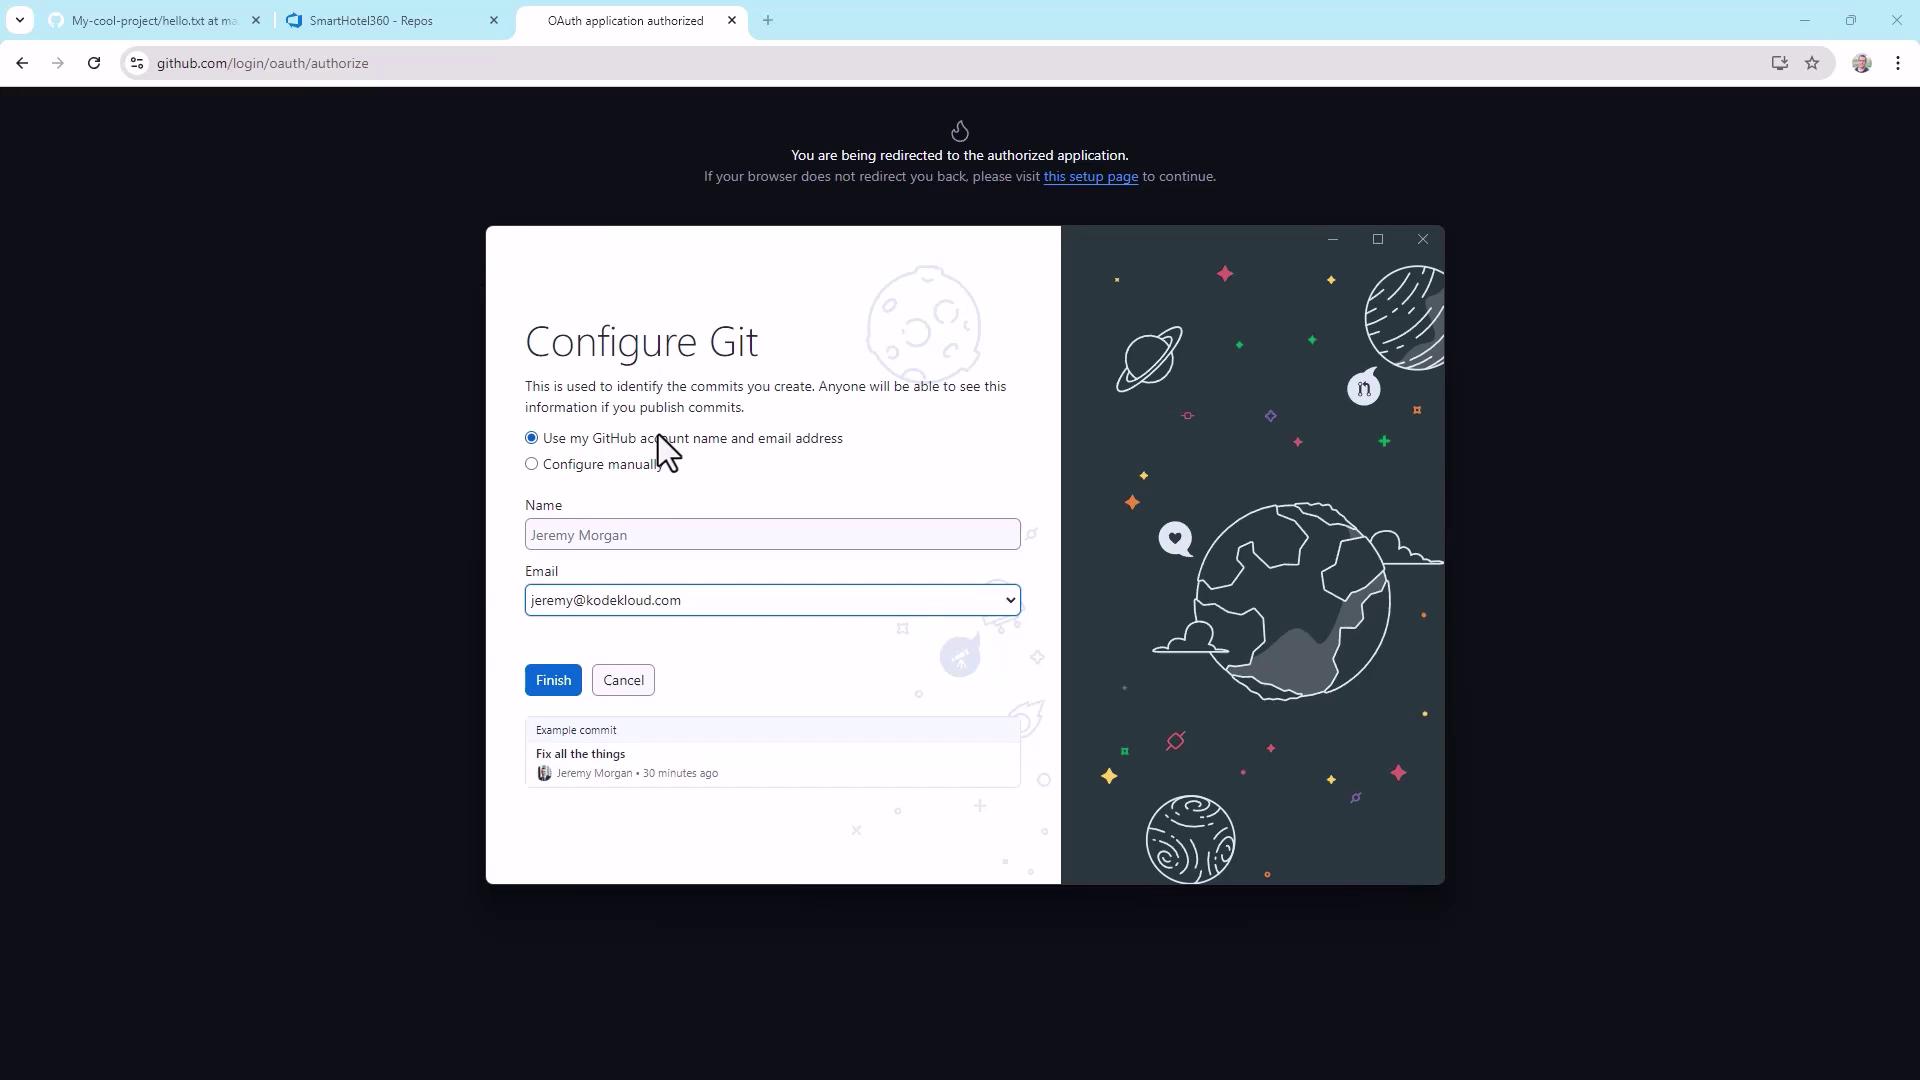
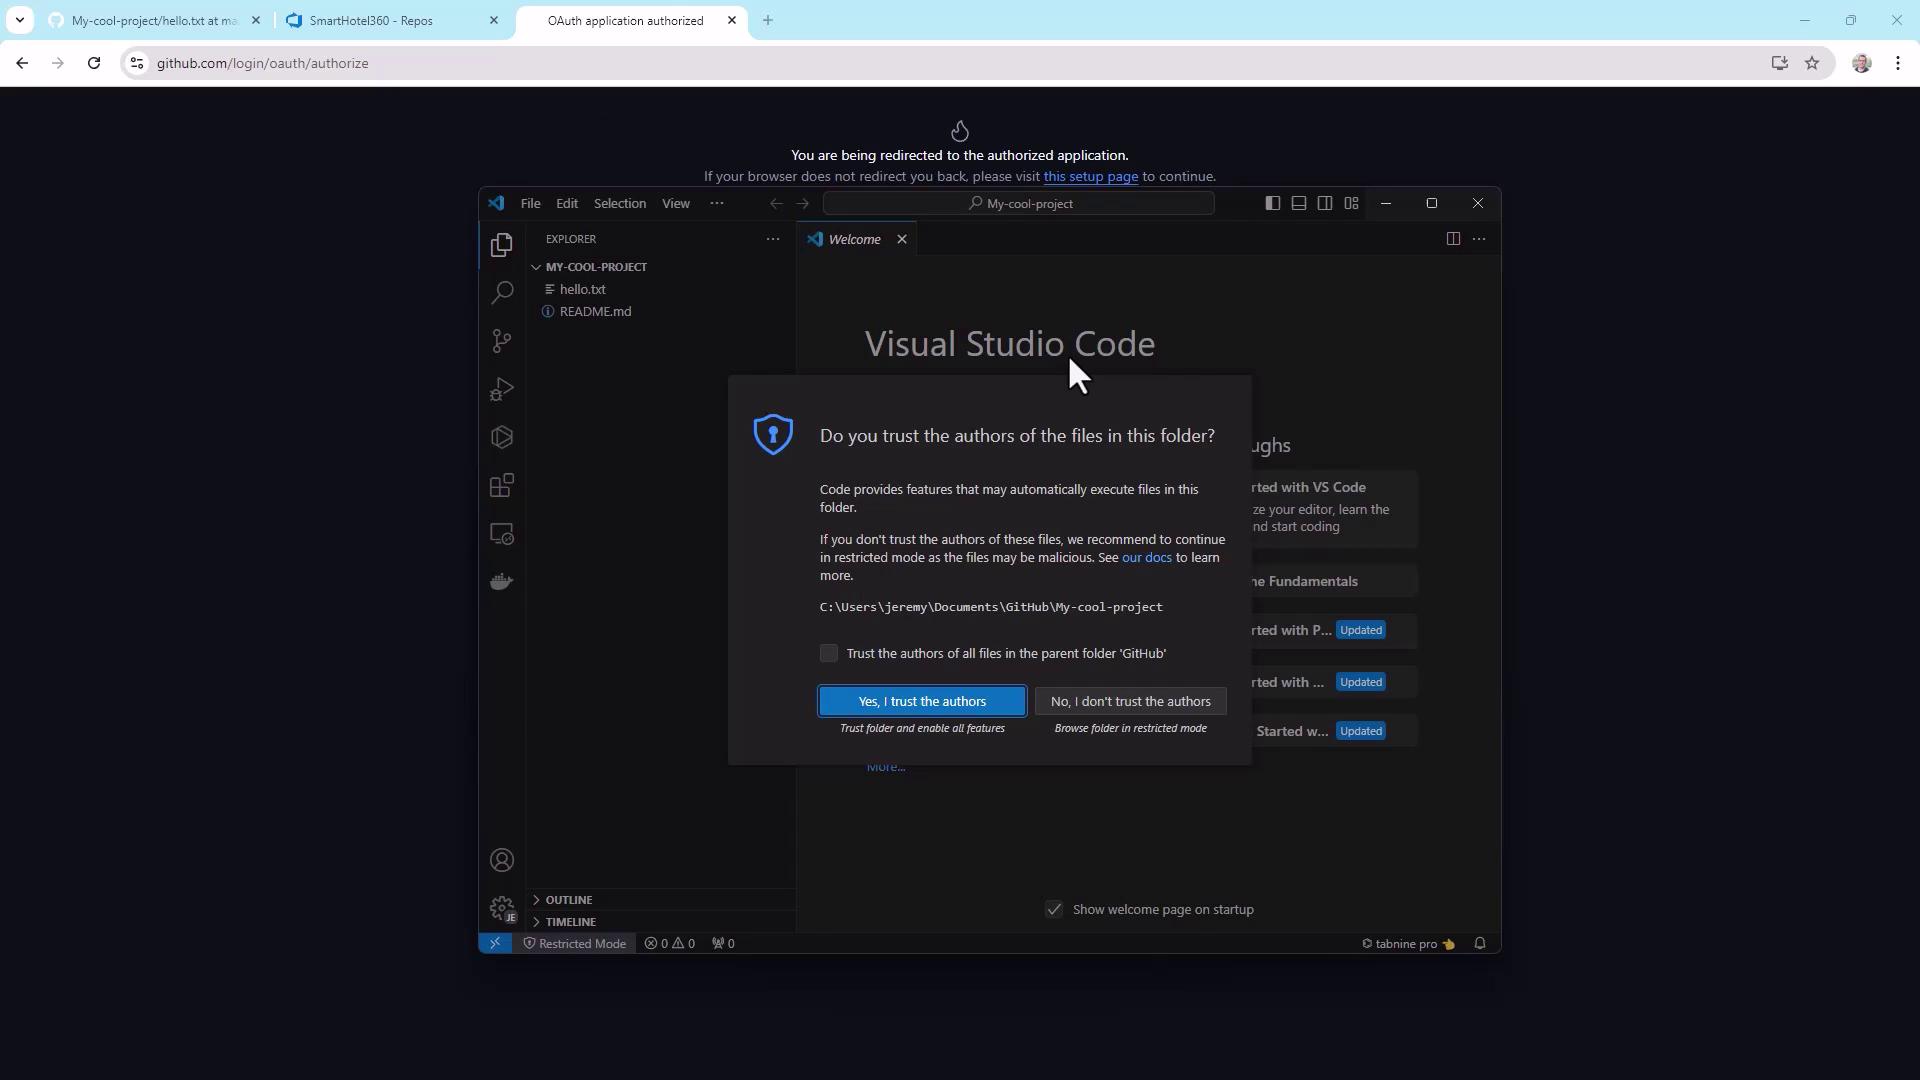
Only trust workspaces you recognize. Untrusted code can run arbitrary scripts on your machine.
Summary
You now know how to:- Configure Git identity
- Initialize, stage, and commit a repository
- Create, switch, and merge branches
- Clone and contribute to remote repositories
- Use GUI tools like VS Code, Visual Studio, and GitHub Desktop