

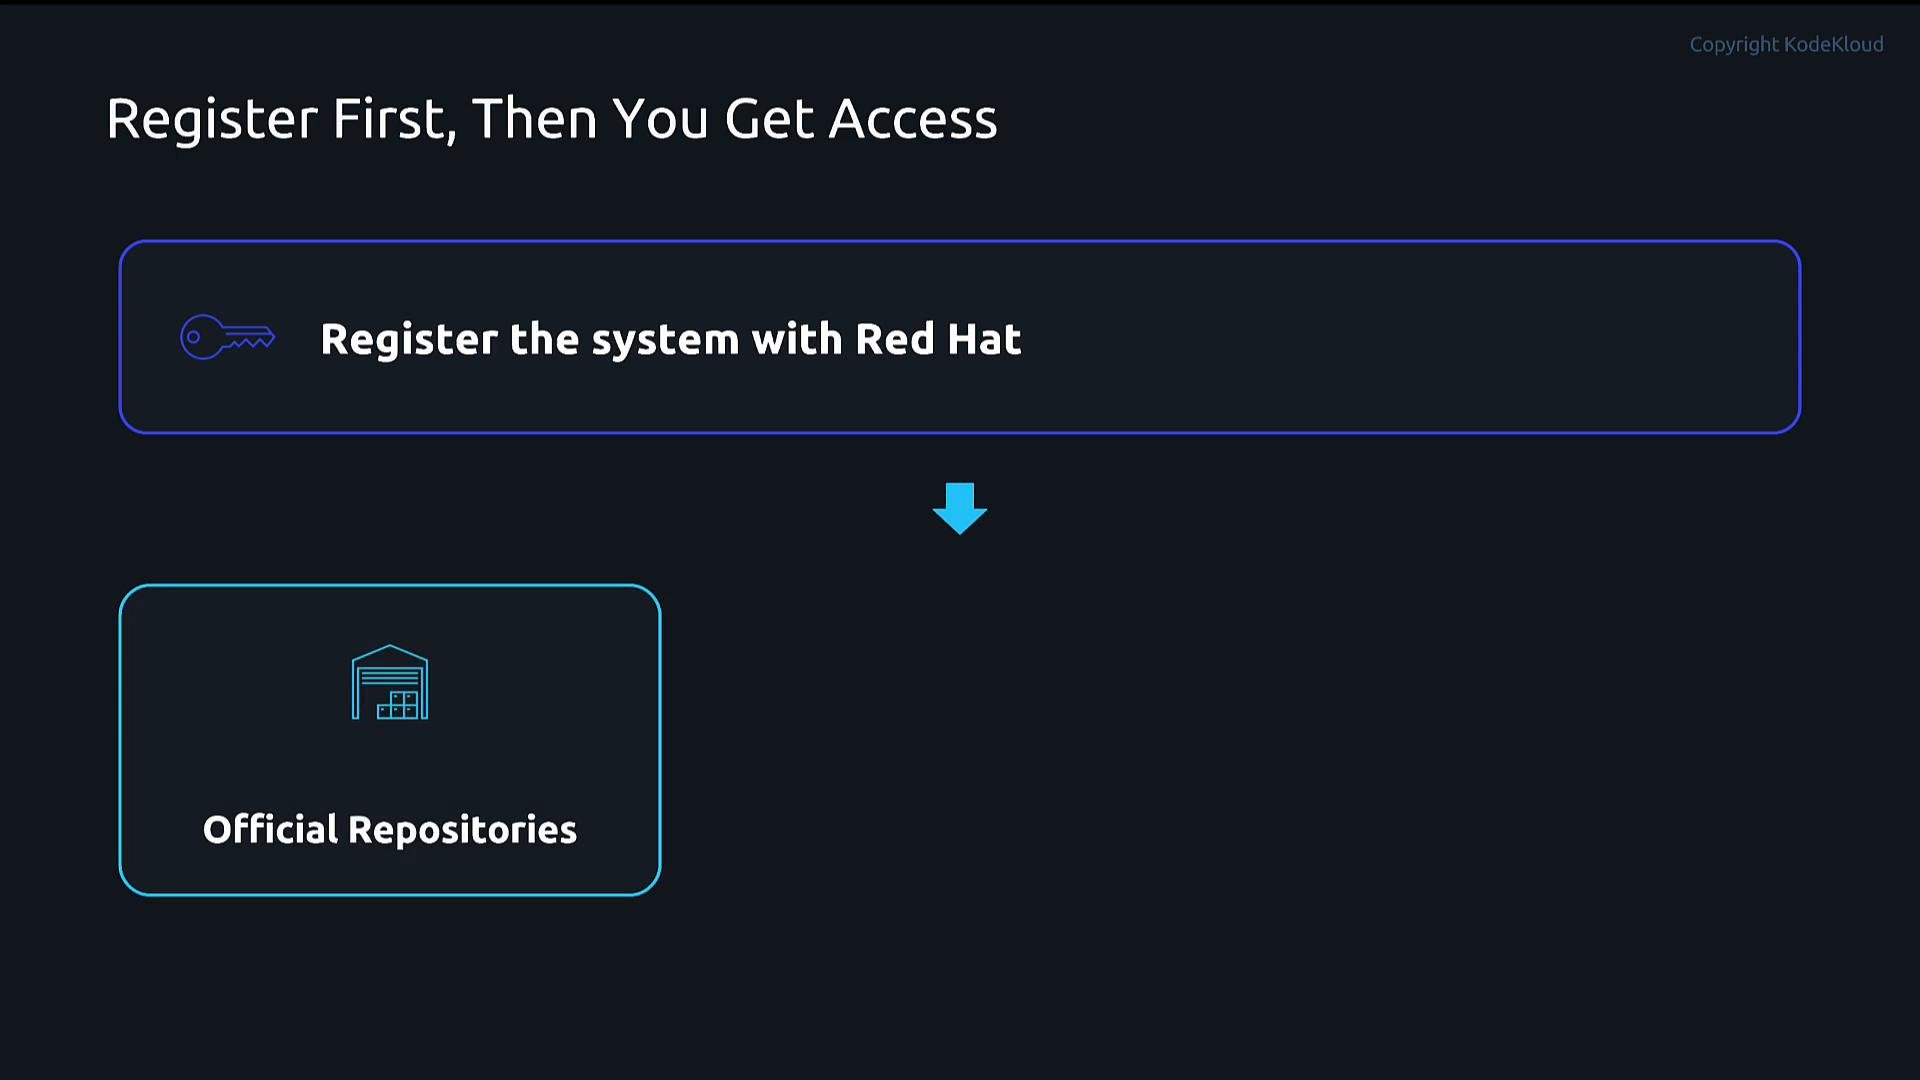
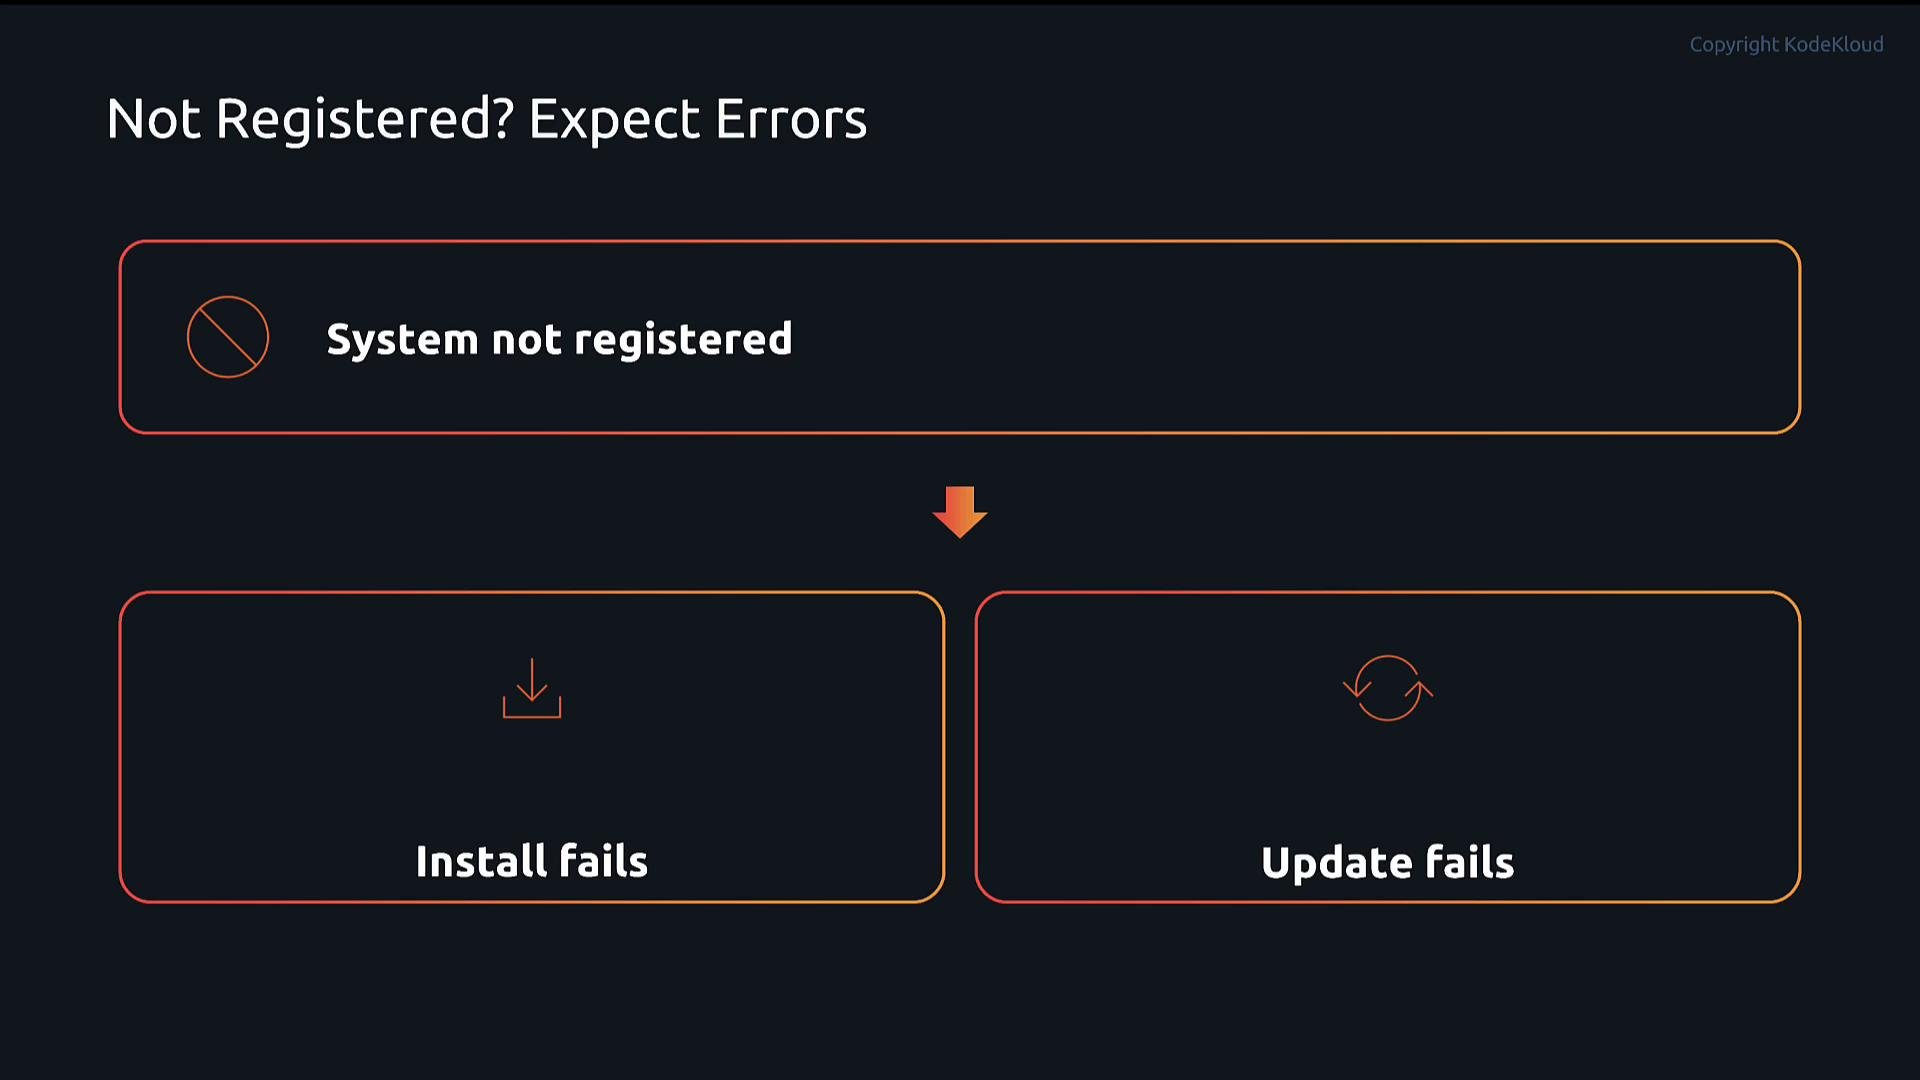
Registering is required to access Red Hat’s official repositories. Without it, DNF cannot retrieve packages from those repositories.
Repository basics
A repository (repo) is a location that stores RPM packages and metadata. Repositories can be:- Official Red Hat repositories (requires subscription/registration).
- Third-party repositories (e.g., Docker, vendor repos).
- Internal/private repositories hosted inside your organization.
/etc/yum.repos.d/ (files ending in .repo) or from files managed by subscription-manager (e.g. /etc/yum.repos.d/redhat.repo).
Common repository commands
- List enabled repositories:
- List enabled repositories with detailed info including base URL:
- List all repositories, including disabled ones:
- Enable/disable repositories with subscription-manager:
- Toggle repositories without editing files using dnf config-manager (provided by
dnf-plugins-core):
Understanding .repo files
Repo definitions use a simple INI-style format. Files belong in /etc/yum.repos.d/ and must end with .repo. A repository stanza looks like:
[repo-id]— short identifier (required)name— human-friendly name (recommended)baseurl— URL or local path where packages/metadata are storedenabled—1(enabled) or0(disabled)gpgcheck—1to verify package signatures (recommended)gpgkey— URL or file path to the signing key
Example
.repo file (Docker CE):
.repo files work is useful even if you primarily use subscription-manager or dnf config-manager.
Demo: create and use a custom repository
The following demo shows how to add a custom repo file, refresh metadata, inspect available packages, and install a package from that repository. Use caution when mixing repositories from different distributions or major releases.Mixing repositories from a different distribution or a different major release (for example, adding Rocky Linux 9 repositories to a RHEL 10 system) can cause dependency conflicts and break package resolution. Use such cross-distro repositories only for isolated testing. Also, setting gpgcheck=0 disables package signature verification and is insecure for production; prefer gpgcheck=1 with a valid gpgkey.
- Create a new repo file:
- Refresh DNF metadata and cache:
makecache DNF downloads repository metadata for enabled repositories — you should see the metadata for rocky-baseos if the baseurl is reachable.
- Verify the repository is active:
- List available packages from the new repository:
- Install a package from the repository:
Notes on repository versions and priorities
- Package versions and release tags (e.g.,
.el9,.el10) will vary depending on repository origin. Mixing repos from different major releases can introduce incompatible packages. - Consider repository priorities or modular filtering if you need to control which repo provides a package on systems with many enabled repositories. RHEL provides tooling and best practices to manage this in production.
Toggling a repository quickly
You can enable or disable repositories without editing files usingdnf config-manager:
Summary
After this lesson you should be able to:- Register a system to access Red Hat repositories.
- List repositories and inspect repository metadata.
- Enable or disable repositories via
subscription-managerordnf config-manager. - Create a
.repofile manually and refresh repository metadata. - List packages in a specific repository and install packages from it.
Links and references
- Red Hat Subscription Manager: https://access.redhat.com/documentation/en-us/red_hat_subscription_management/
- DNF documentation: https://dnf.readthedocs.io/
- RHEL package and repository concepts: https://access.redhat.com/documentation/en-us/red_hat_enterprise_linux/
- dnf-plugins-core (provides
config-manager): install viasudo dnf install -y dnf-plugins-core