

- What niceness means and how the scheduler uses it
- The niceness value range and semantics
- How to view processes and their niceness
- How to change niceness for running and new processes
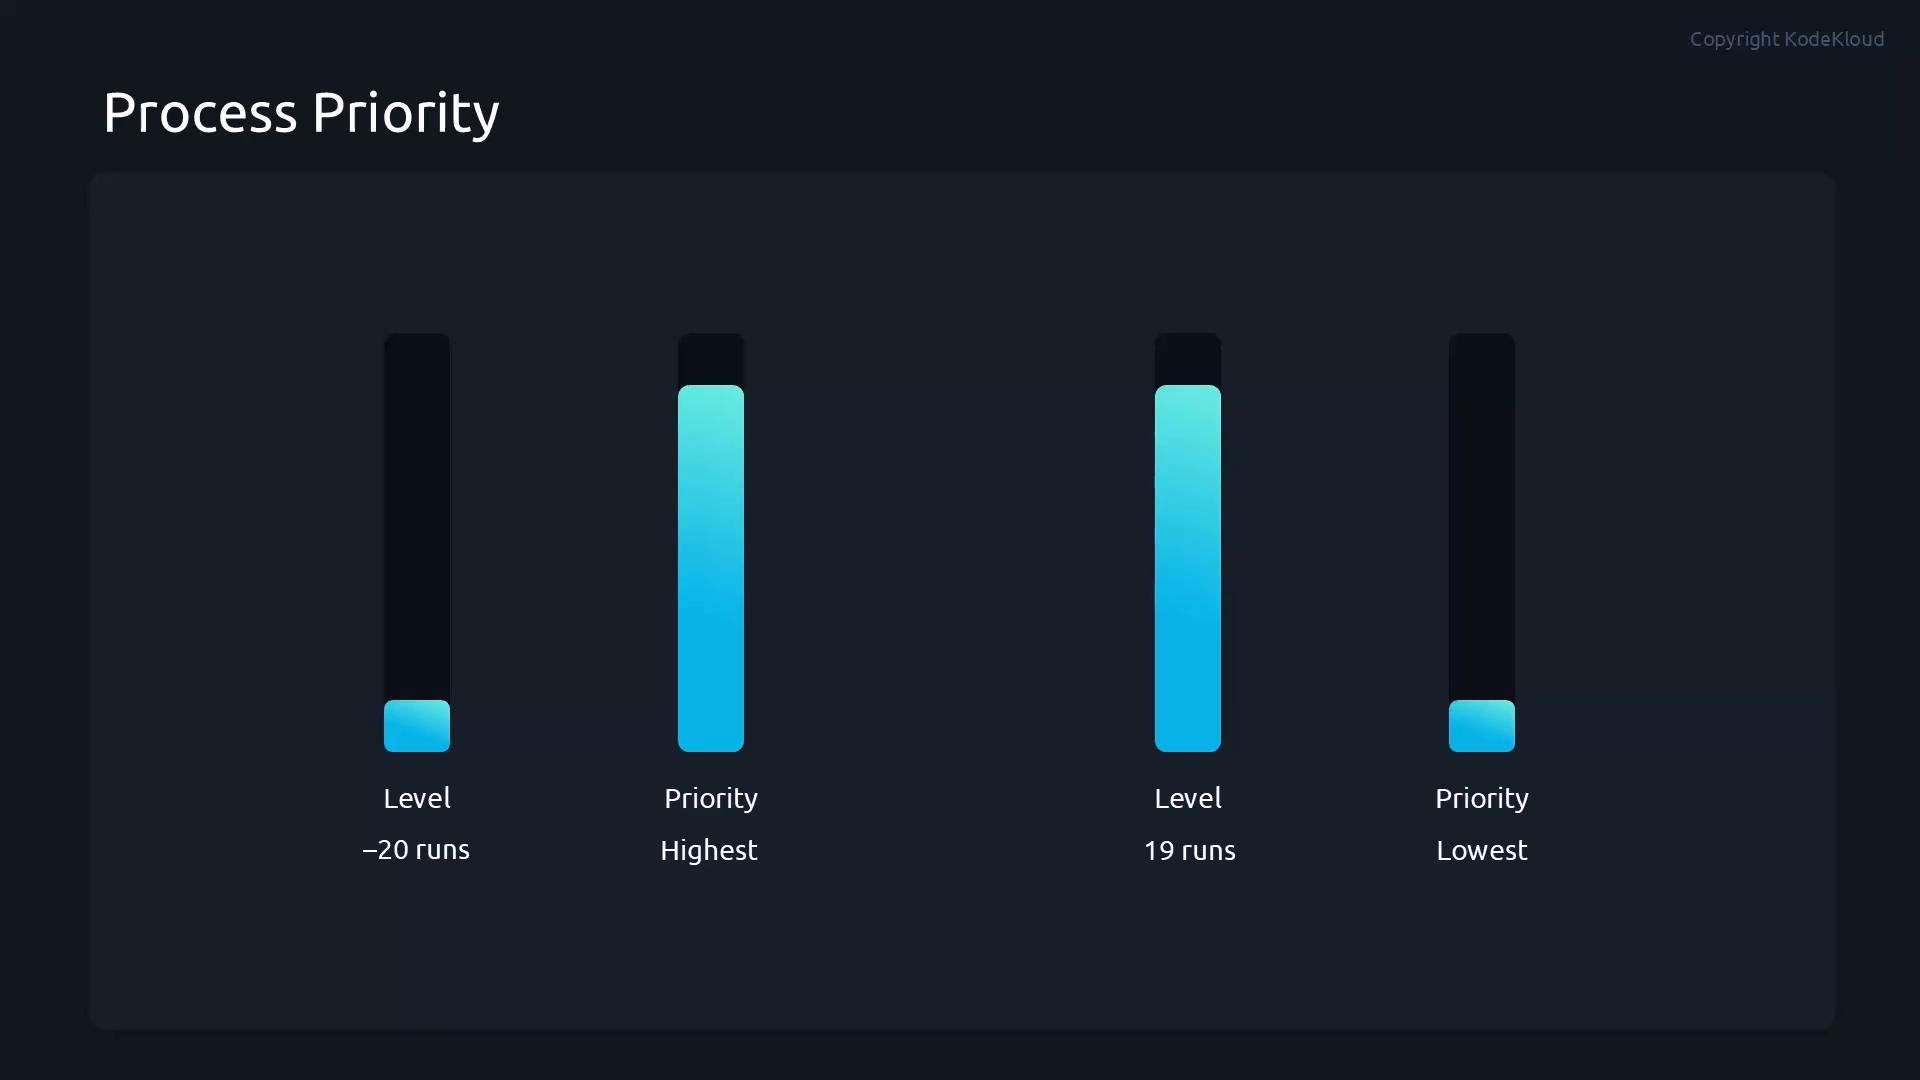
- Lower nice values → higher priority (scheduled more often).
- Highest priority:
-20 - Lowest priority:
19
CAP_SYS_NICE capability) can assign a negative niceness (increase priority) or reduce the niceness of an existing process. Unprivileged users may only increase the niceness of their own processes (make them “nicer” to others), which lowers their priority.
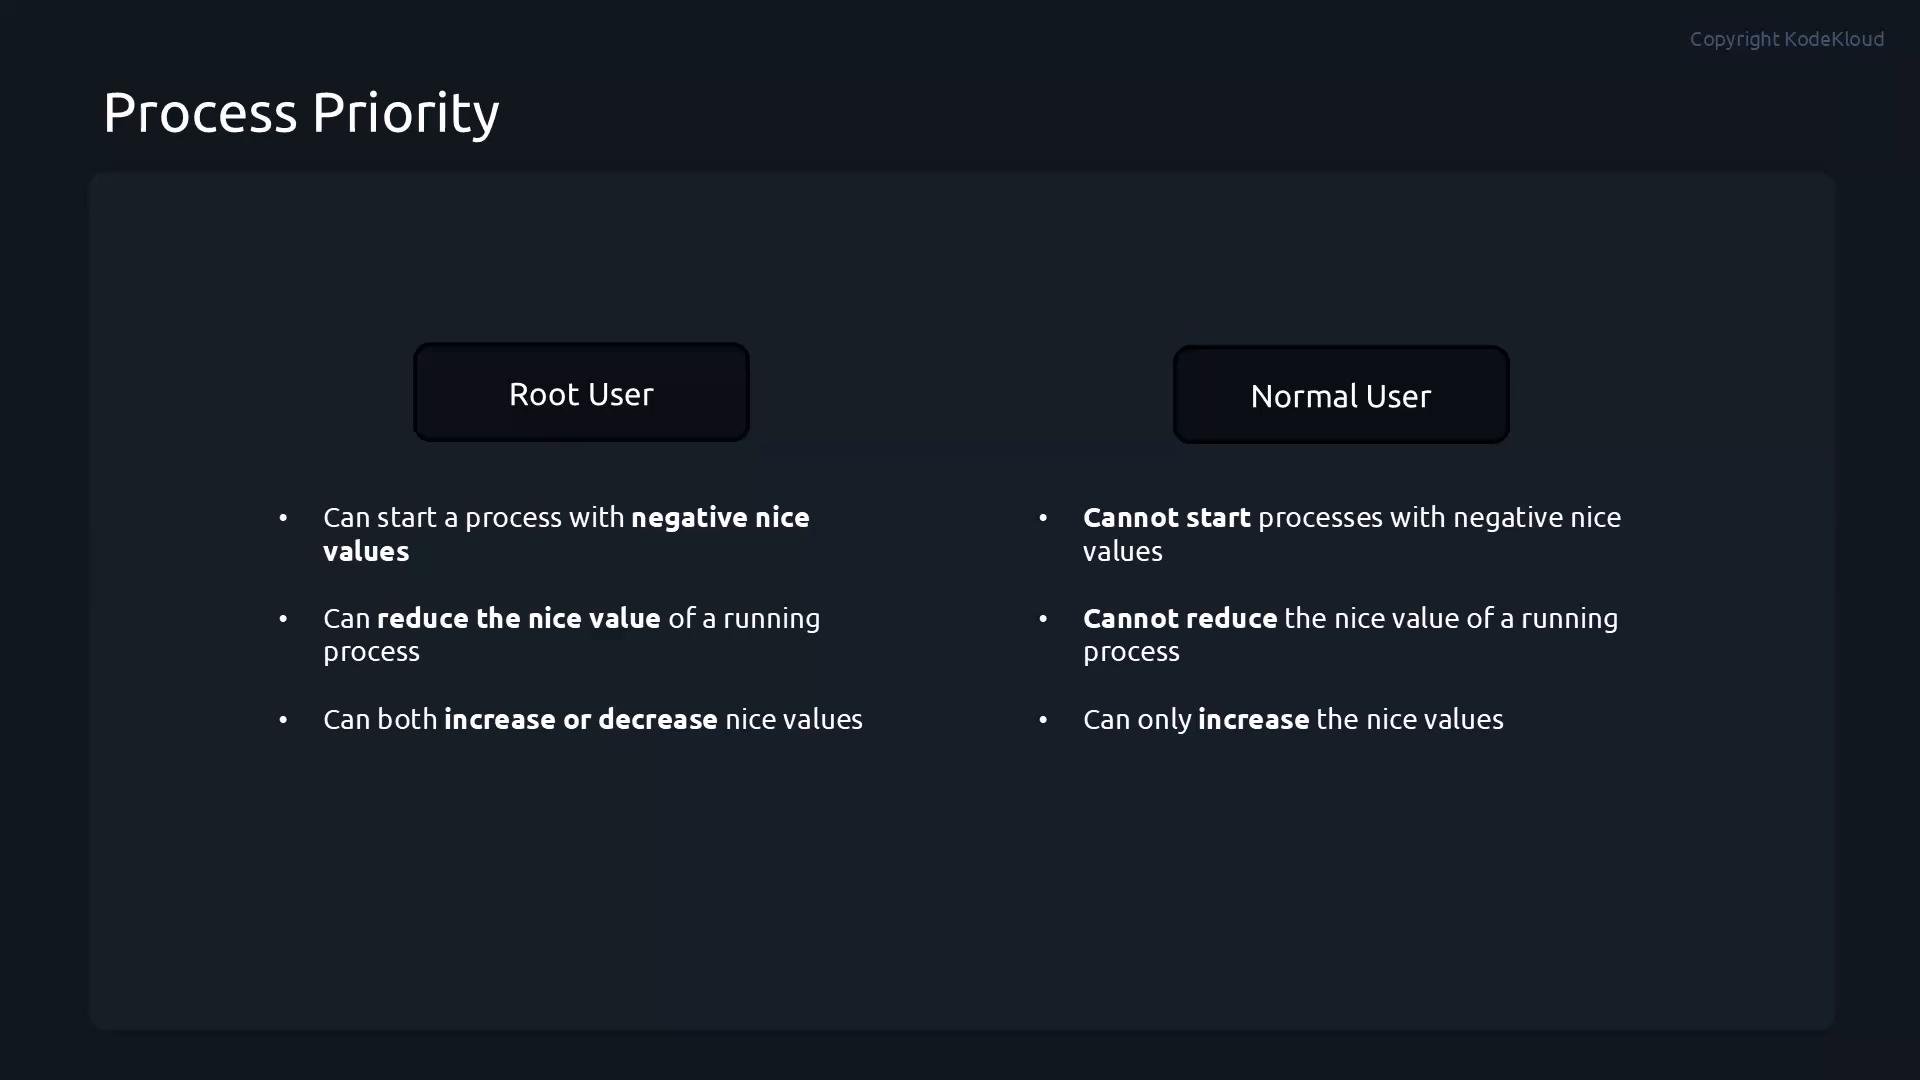
Only root (or a user/process granted the CAP_SYS_NICE capability) can assign negative niceness or make a process less “nice” (i.e., lower the nice value and increase priority). Regular users can only make their own processes nicer (increase the nice value).
top and ps, and change it with renice or by starting a process with nice.
- Start a CPU-intensive process in the background (example uses
sha1sumreading from/dev/zero):
- Inspect processes with
top. Whiletopis running you can pressrto renice a process interactively;topwill prompt for a PID:
- Change niceness using
renice. For example, set PID6258to niceness12:
- Increasing the niceness (higher number) lowers the process priority.
- Decreasing niceness (smaller or negative number) raises priority.
- Start a new process with a specified niceness using
nice -n N. Example: start asleepprocess with niceness14and verify withps:
Niceness levels summary
Best practices and notes
- Use niceness to lower CPU priority for non-critical, CPU-bound background tasks (e.g., backups, batch jobs) so interactive services remain responsive.
- Avoid giving lots of processes negative niceness unless necessary; increasing overall system responsiveness via careful resource planning is preferable.
- Only root (or a process with
CAP_SYS_NICE) can assign negative niceness — consider usingsudoif you must raise priority.
- Niceness ranges from
-20(highest priority) to19(lowest priority). - Lower niceness value means higher CPU scheduling priority.
- Root can set negative niceness or reduce niceness for processes; regular users can only increase niceness of their own processes.