

- initialize block device partitions as Physical Volumes (PVs)
- create and extend a Volume Group (VG)
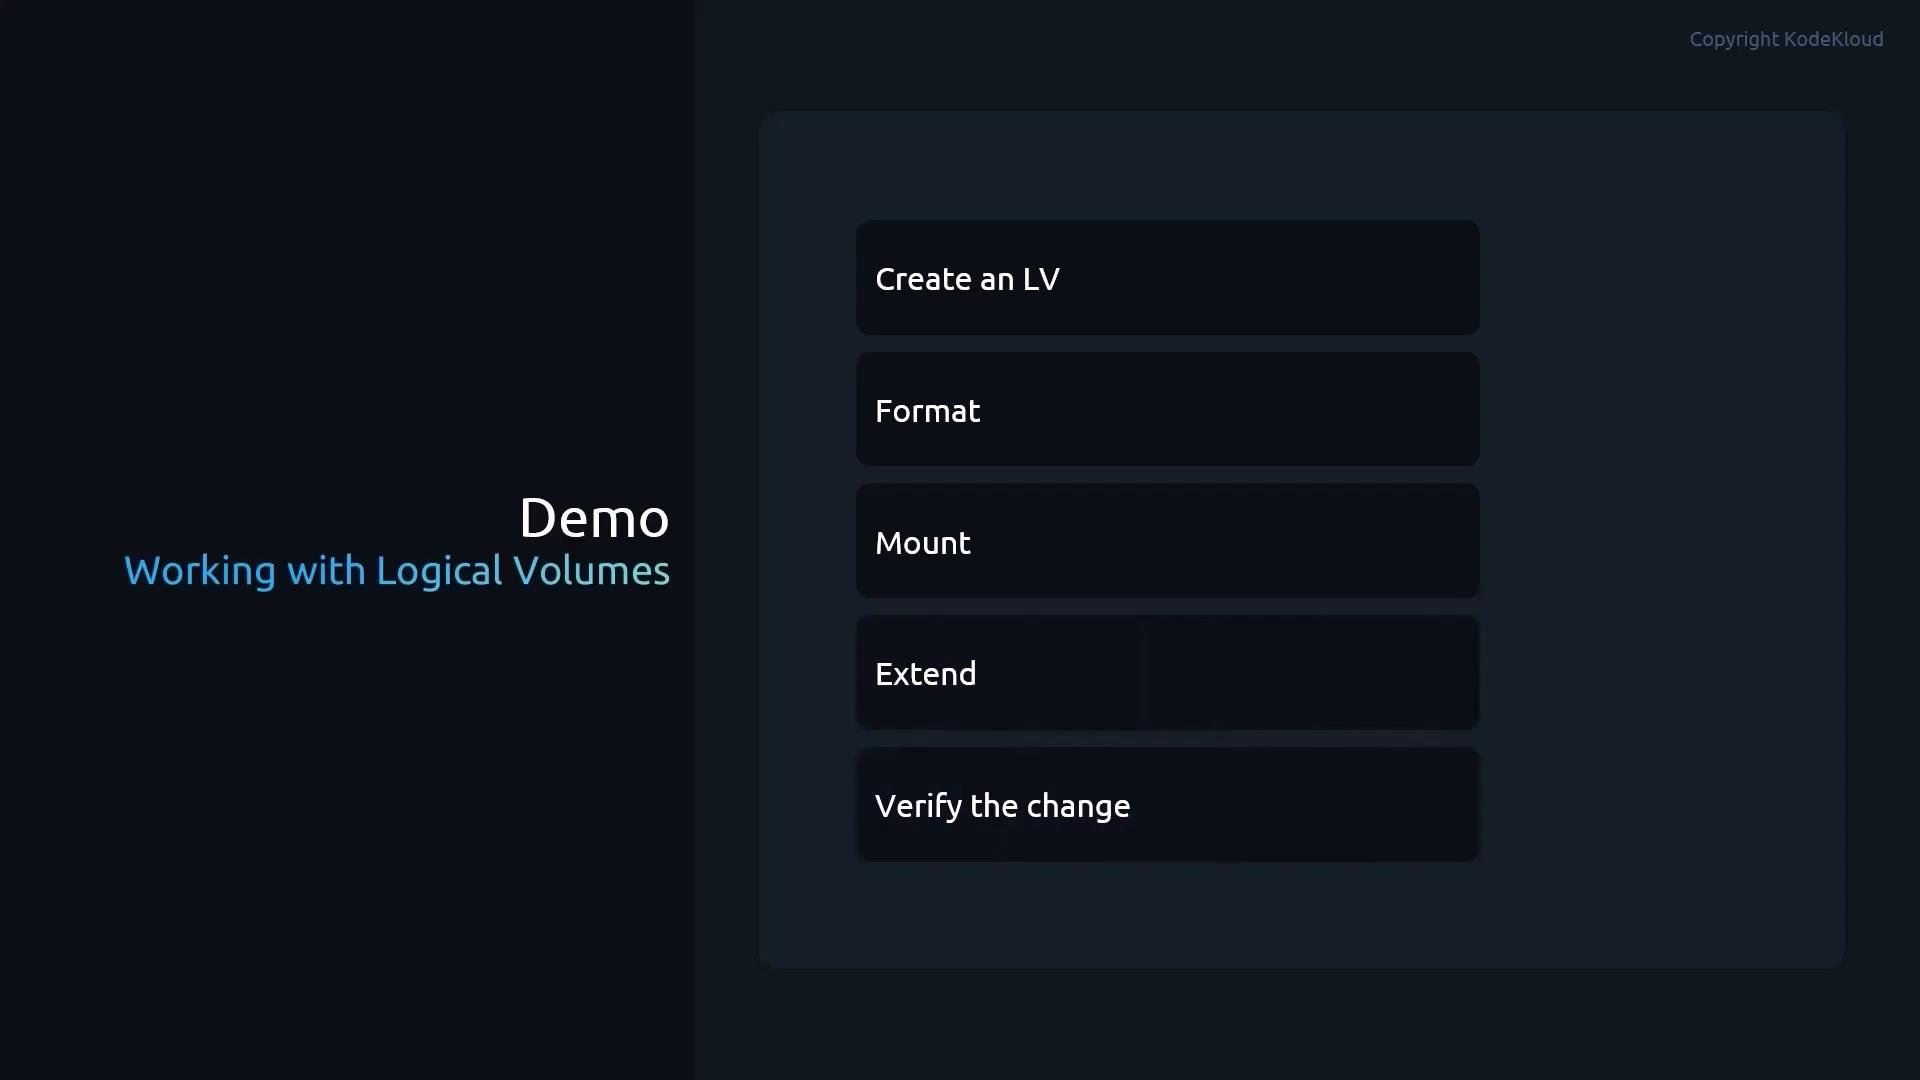
- create, format, mount, and extend a Logical Volume (LV)
- move data off a failing PV
- grow the filesystem to use added space
- make the mount persistent and clean up when finished
This demo assumes root privileges. LVM commands (pvcreate, vgcreate, lvcreate, etc.) require administrative access. If you run into “device busy” errors, ensure the device is not mounted or in use.
Inspect block devices
Start by listing block devices to identify the partitions on
/dev/sdb:
pvcreate to prepare partitions for LVM:
pvdisplay (or pvscan / pvs):
vg1 using one PV (we’ll add more shortly):
vgreduce. Example:
lv1 of 400 MiB in vg1:
lsblk:
lv1 from 400 MiB to 800 MiB:
pvmove:
pvmove, verify the LV no longer uses the old PV:
df to confirm the filesystem still reports the old size:
xfs_growfs and specify the mount point (XFS is grown online while mounted):
xfs_growfs only works on XFS filesystems. For ext3/ext4 use resize2fs. XFS filesystems can be grown but not shrunk; ext3/ext4 can usually be grown and sometimes reduced.blkid and add an /etc/fstab entry to ensure the mount survives reboots:
/etc/fstab fragment (use the UUID you obtained):
- Unmount the filesystem
- If systemd caches fstab, reload the daemon
- Run
mount -ato mount all filesystems from fstab
- prepare partitions as PVs with
pvcreate - create and manage VGs with
vgcreate,vgextend, andvgreduce - create and resize LVs with
lvcreateandlvextend - relocate data away from failing PVs with
pvmove - format and mount LVs, then grow filesystems (
xfs_growfsfor XFS) - persist mounts via
/etc/fstab - and cleanup (remove LV, VG, PV labels)
- LVM documentation: https://linux-lvm.org/
- xfs_growfs man page: https://man7.org/linux/man-pages/man8/xfs_growfs.8.html
- resize2fs man page (ext3/ext4): https://man7.org/linux/man-pages/man8/resize2fs.8.html
- fstab and mount man pages: https://man7.org/linux/man-pages/man5/fstab.5.html and https://man7.org/linux/man-pages/man8/mount.8.html
- blkid man page: https://man7.org/linux/man-pages/man8/blkid.8.html