Introduction
In this guide, you’ll learn how to archive Mocha unit test reports (JUnit XML) using GitHub Actions’upload-artifact action. By the end, you’ll be able to:
- Generate a JUnit-style
test-results.xmllocally with Mocha. - Configure a reusable GitHub Actions workflow.
- Access archived test results directly from the GitHub UI.
Prerequisites
- A GitHub repository with Node.js and Mocha tests.
mocha-junit-reporterinstalled in your project.- A basic GitHub Actions workflow triggering on your desired event (e.g.,
pushorpull_request).
1. Generate JUnit Report Locally
Run your tests with Mocha’s JUnit reporter to producetest-results.xml in the repository root:
Sample test-results.xml
2. Archive the JUnit XML in GitHub Actions
Add an Archive Test Result step to your workflow usingactions/upload-artifact@v3. Below is a sample workflow named archive-unit-tests.yml:
Workflow Steps Breakdown
| Step | Action |
|---|---|
| Checkout Repository | actions/checkout@v4 |
| Setup Node.js | actions/setup-node@v3 with node-version: 18 |
| Install Dependencies | npm install |
| Run Unit Tests | npm test |
| Archive Test Result | actions/upload-artifact@v3 |
The
name field under with: serves as the artifact identifier. The path field should point to your generated test-results.xml.3. View Artifacts in GitHub Actions
After pushing your workflow, open the Actions tab in your repository. You’ll see your workflow run listed with its status: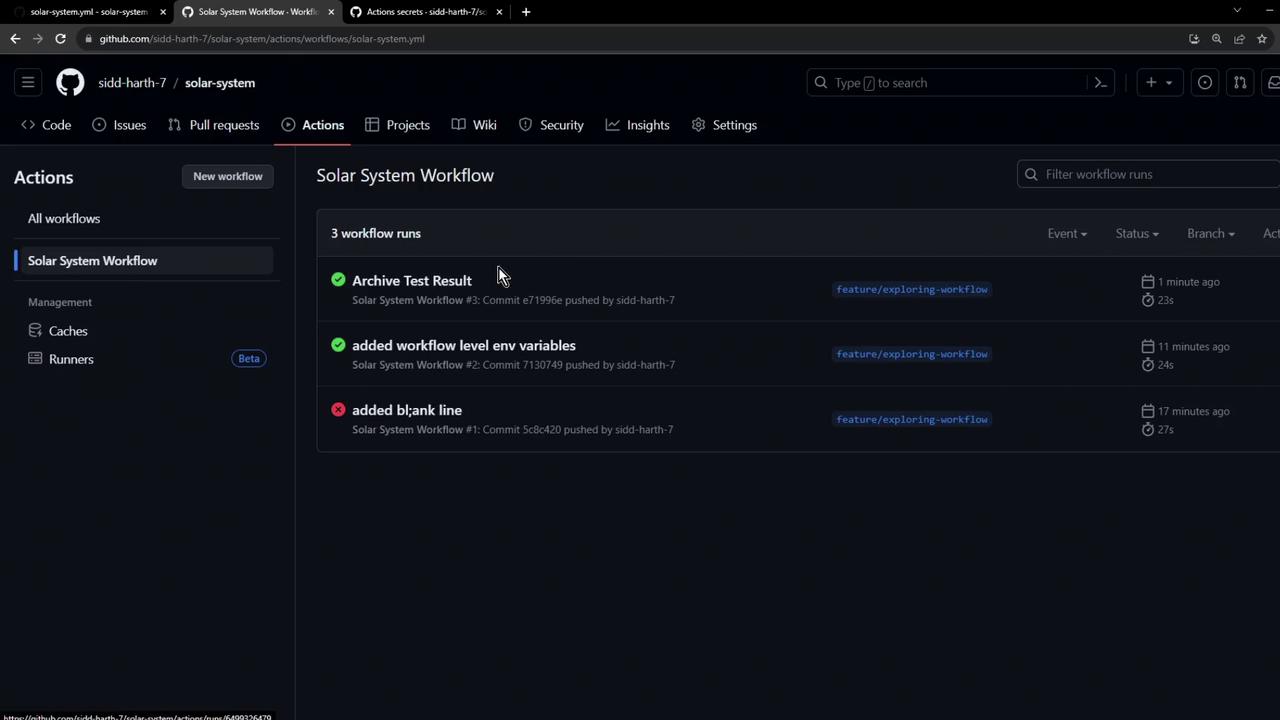
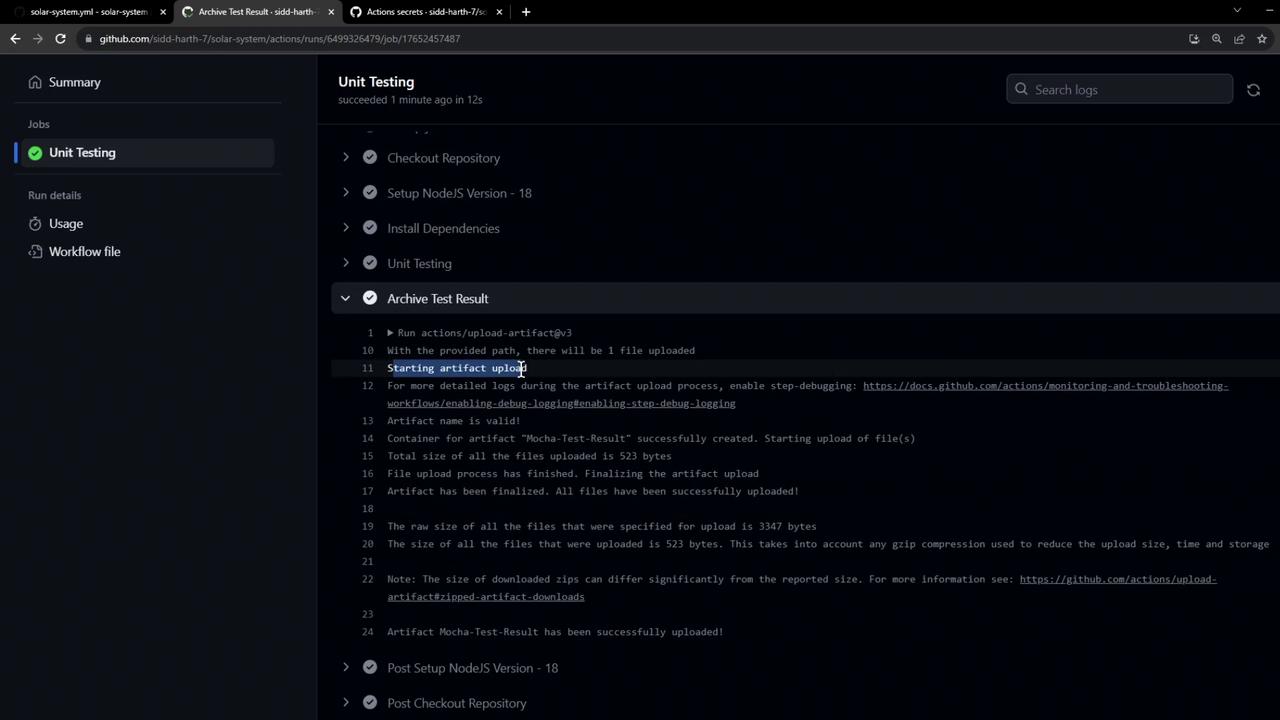
4. Upload Logs
During execution, you’ll observe logs similar to:5. Retention & Download
Artifacts are retained for 90 days by default. You can download or delete them via the workflow summary under your repository’s Actions tab.