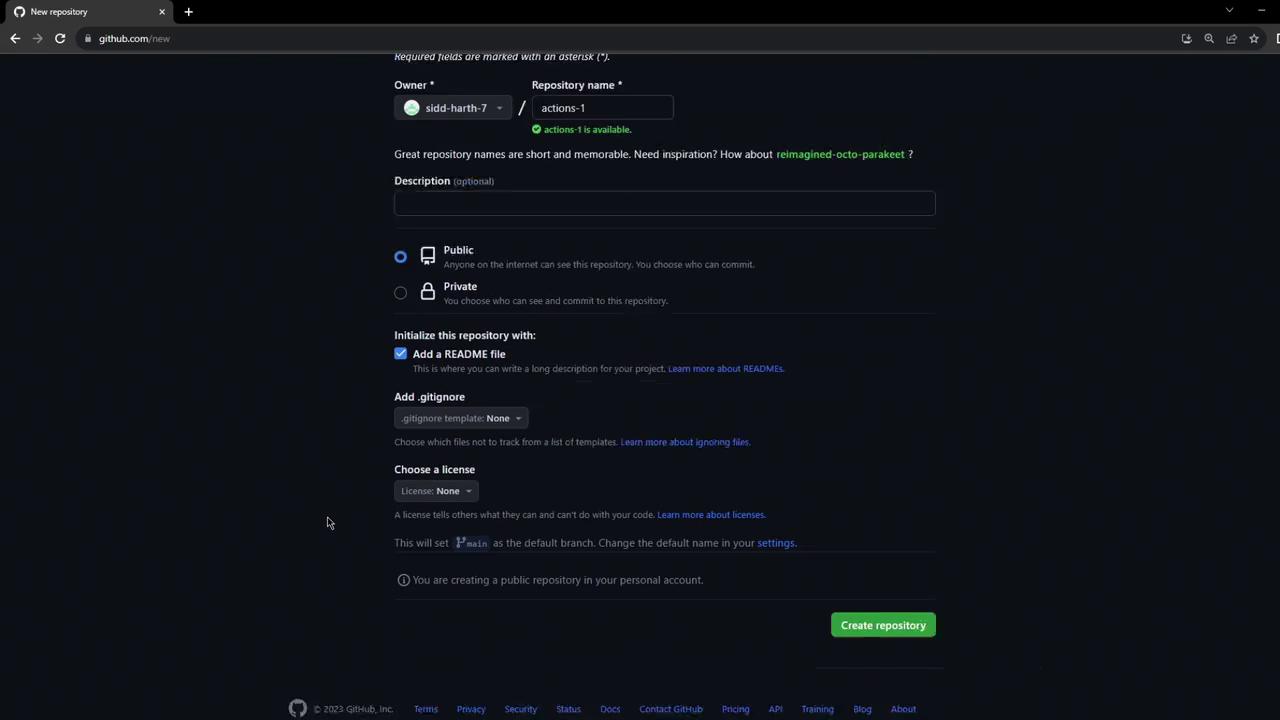
1. Initialize a New Public Repository
- Navigate to GitHub and click New to create a repository.
- Name it
actions-1, set visibility to Public, and Initialize with a README. - Click Create repository.
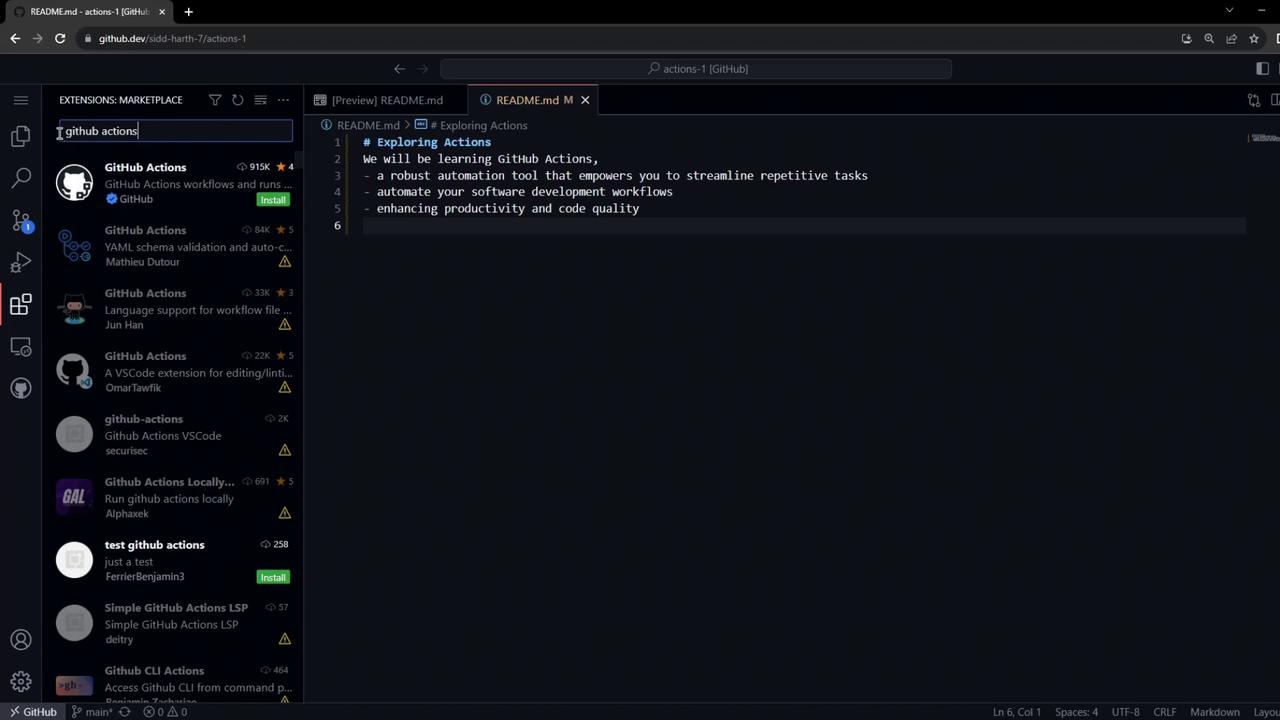
2. Edit in the GitHub.dev Browser IDE
- In your browser’s address bar, replace
github.comwithgithub.devand press Enter. - Wait a few seconds for the VS Code–powered editor to load.
- You can now edit, commit, and push files directly from the web IDE.
Using GitHub.dev gives you instant access to a VS Code–like environment without any local setup.
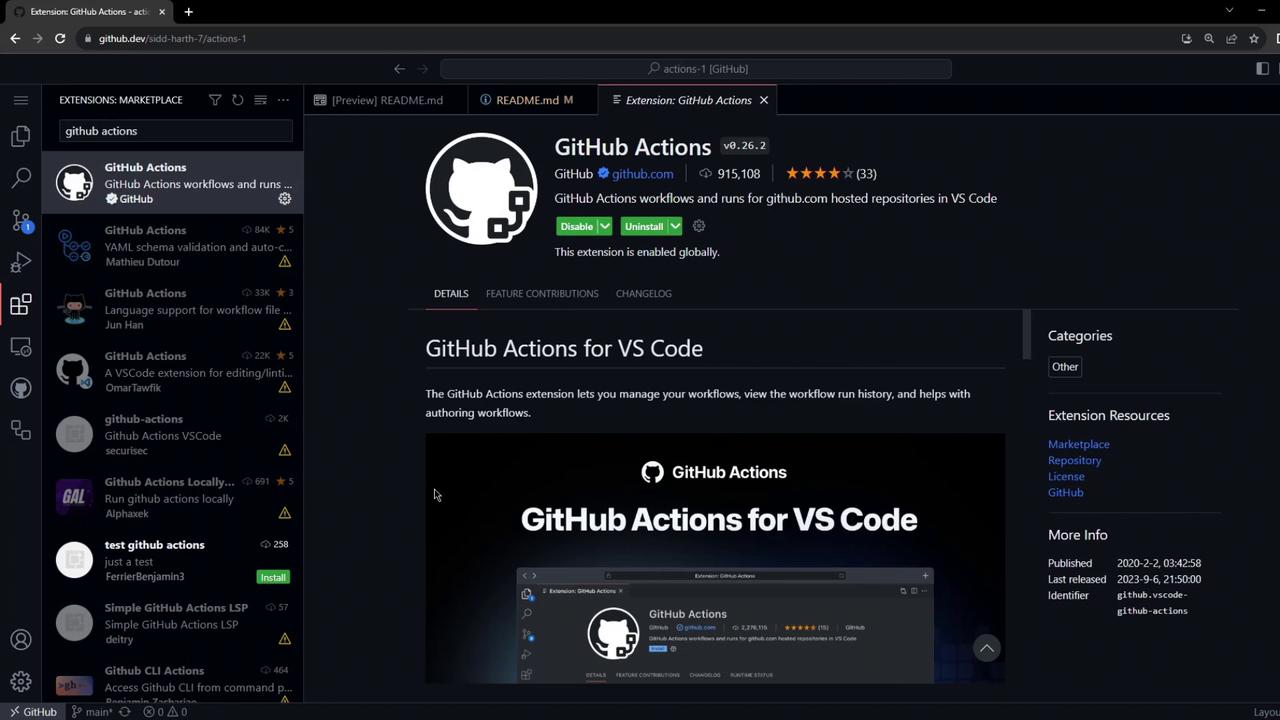
3. Install the GitHub Actions Extension
For syntax highlighting, validation, and IntelliSense in YAML workflows:- Open the Extensions tab in the sidebar.
- Search for GitHub Actions.
- Click Install on the GitHub Actions extension.
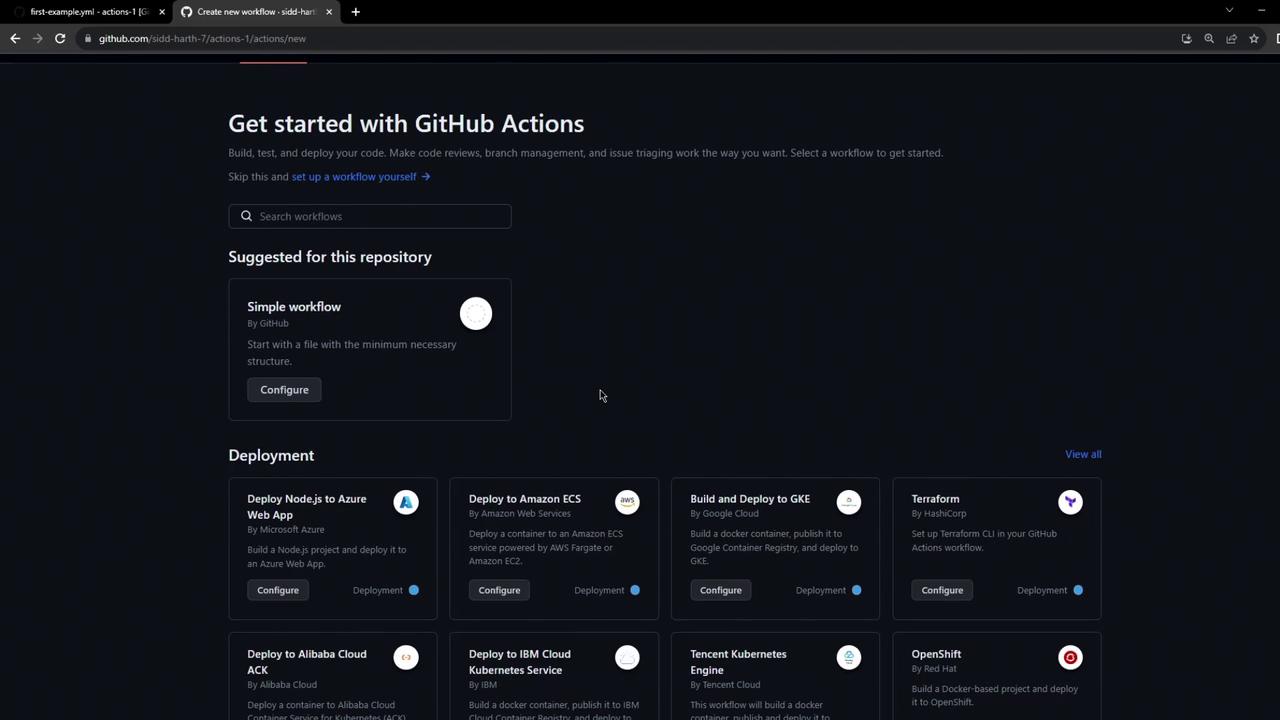
4. Create the Workflow File
- In the file explorer, create a new folder:
.github/workflows/. - Inside it, add
firstexample.yml.

- Paste the following YAML:
YAML is indentation-sensitive. Ensure you use spaces (not tabs) and proper nesting to avoid validation errors like “mapping or sequence required.”
- Commit and push your changes:
5. Observe the Workflow Run
Since the workflow triggers onpush, it runs immediately. Switch back to GitHub.com and click the Actions tab.
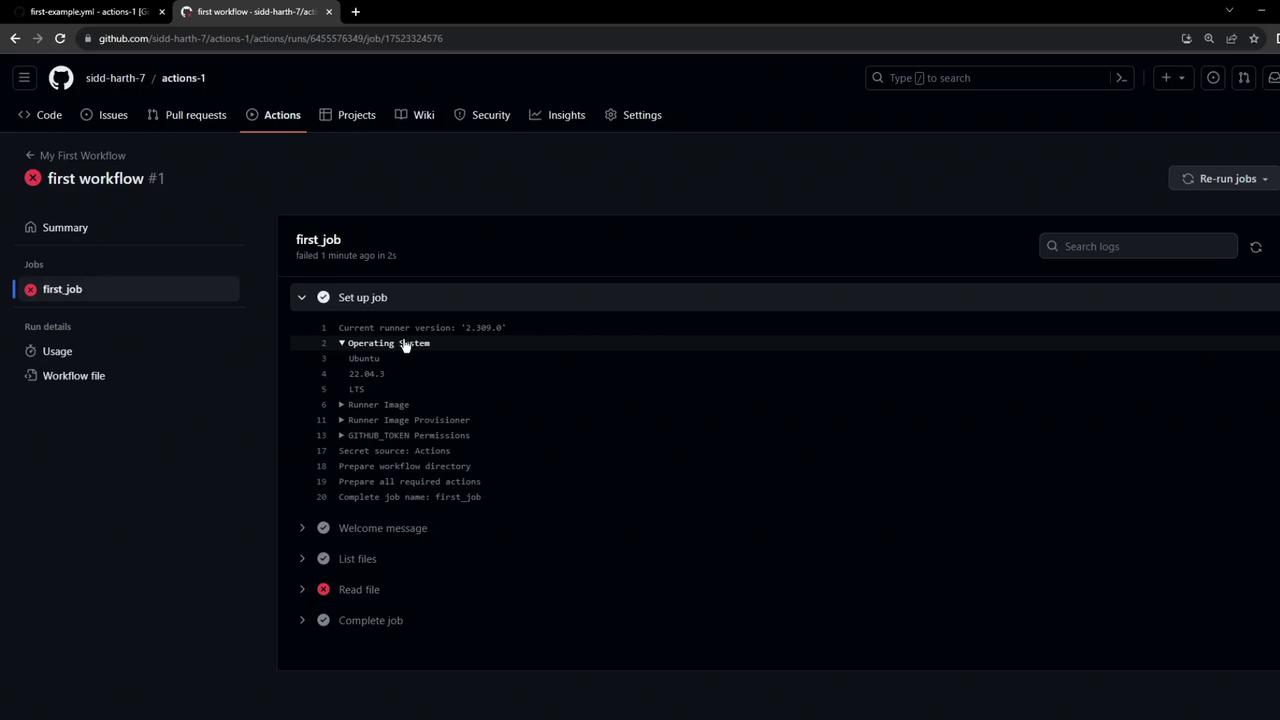
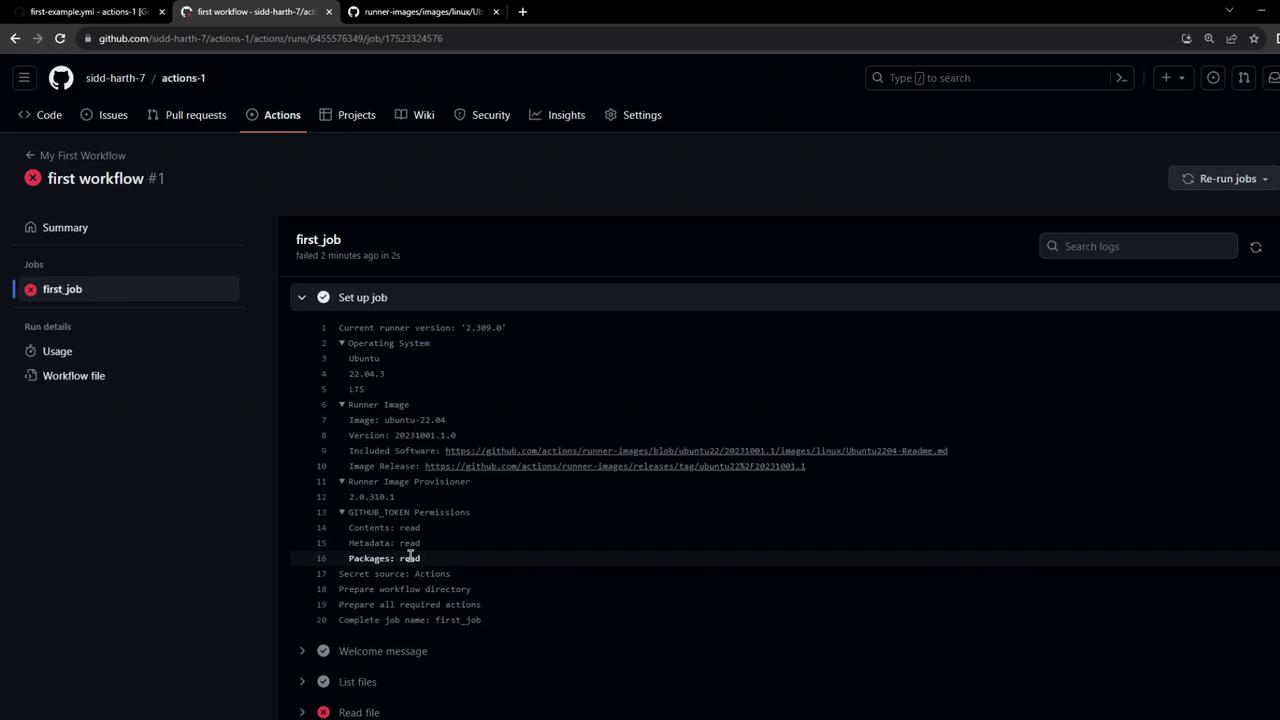
6. Troubleshoot: Missing Checkout Step
You’ll see this error in the logs:Workflow Components Overview
| Keyword | Purpose | Example |
|---|---|---|
name | Friendly workflow name | My First Workflow |
on | Event that triggers the workflow | push, pull_request |
jobs | Collection of tasks | first_job |
runs-on | Defines the runner environment | ubuntu-latest |
steps | Ordered list of actions and commands | actions/checkout@v3, run |