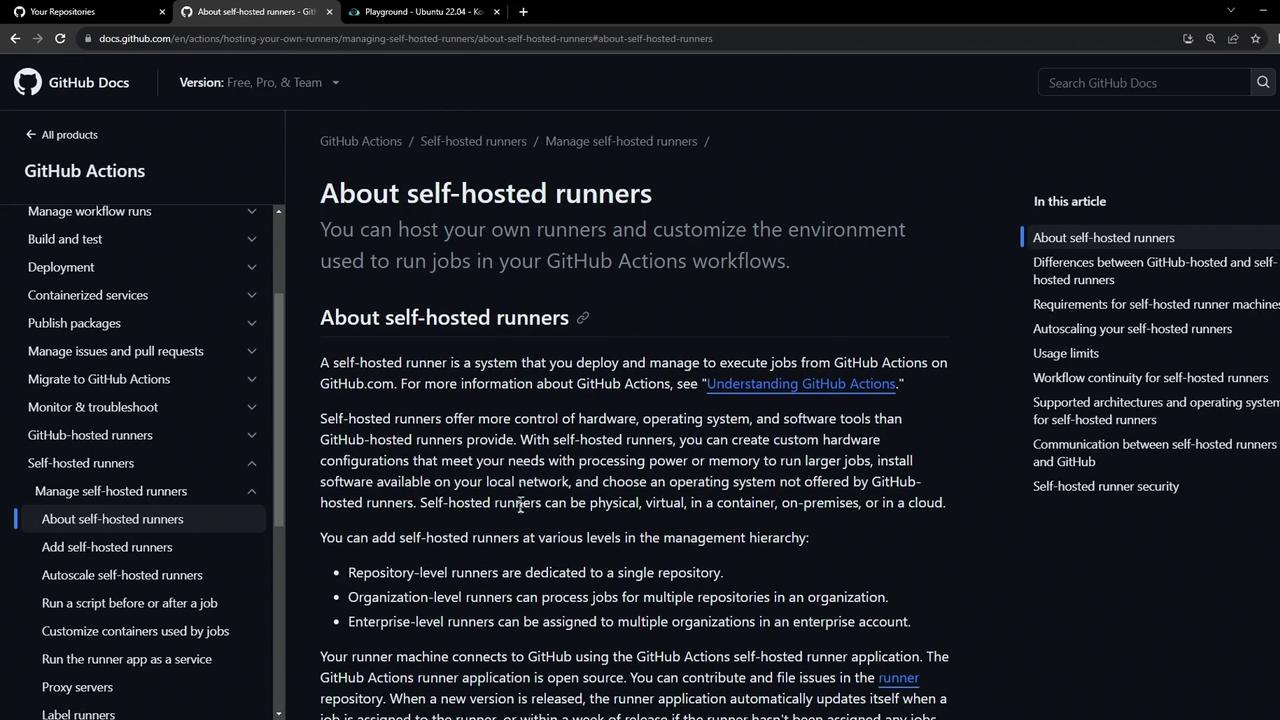
This guide walks you through attaching a self-hosted runner directly to your GitHub repository. While organization- and enterprise-level runners are possible, this tutorial focuses on repository-level setup for Linux. Refer to the official GitHub docs for detailed requirements, auto-scaling, limits, and best practices: Hosting your own runners.
The image shows a GitHub Docs page about self-hosted runners, explaining their use in GitHub Actions workflows. It includes navigation links and a detailed description of self-hosted runners.

1. Add a New Self-Hosted Runner in GitHub

  1. In your repository, go to SettingsActionsRunners.
  2. Click New self-hosted runner.
  3. Select Linux as the OS and x64 as the architecture. GitHub then displays the setup commands.
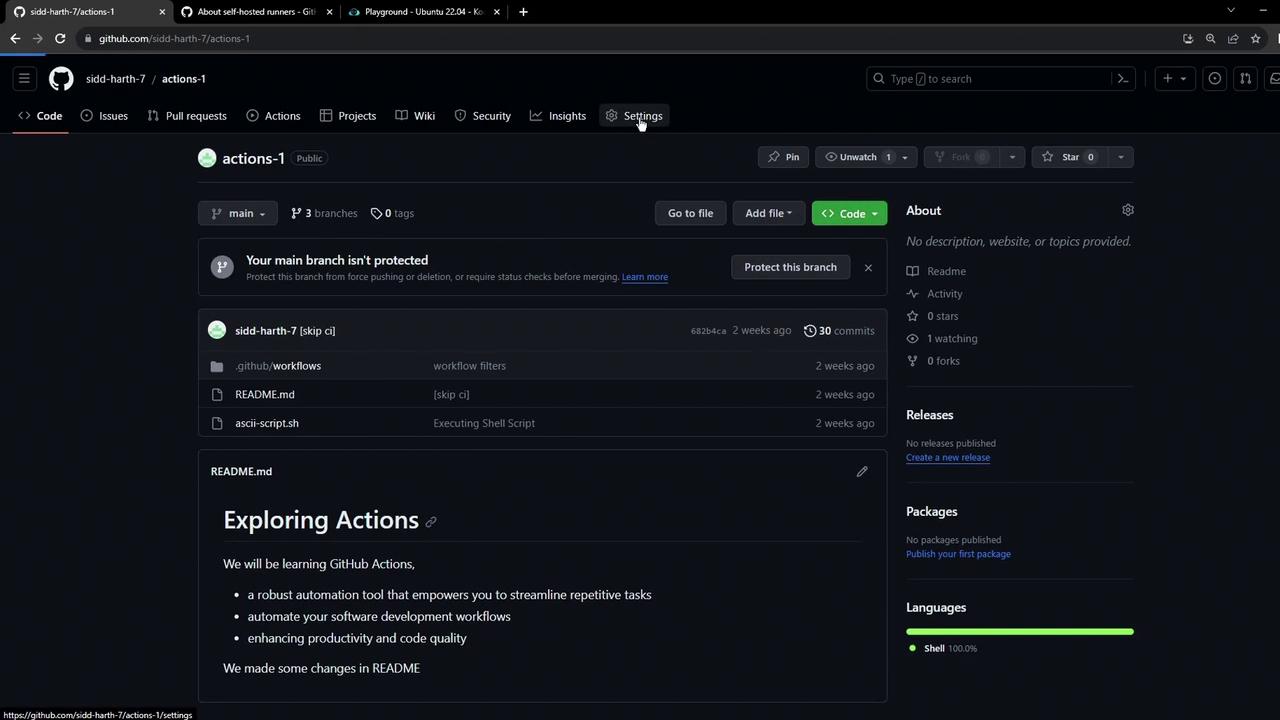
The image shows a GitHub repository page with details about branches, files, and a README section discussing GitHub Actions. The interface includes options for code management and repository settings.

Available Runner Platforms

2. Install the Runner on Your Linux VM

Open a terminal and execute:
Ensure your VM meets the runner requirements: at least 2 CPU cores, 8 GB RAM, and Docker if you plan on containerized jobs.
After extraction, verify the scripts:

3. Configure the Runner

Use the registration token provided in the GitHub UI:
By default, running the runner as root is disabled for security. To override (at your own risk), export:
Follow the interactive prompts:

4. Verify the Runner in GitHub

Return to SettingsActionsRunners and refresh. You should see prod-ubuntu-runner listed (initially offline):
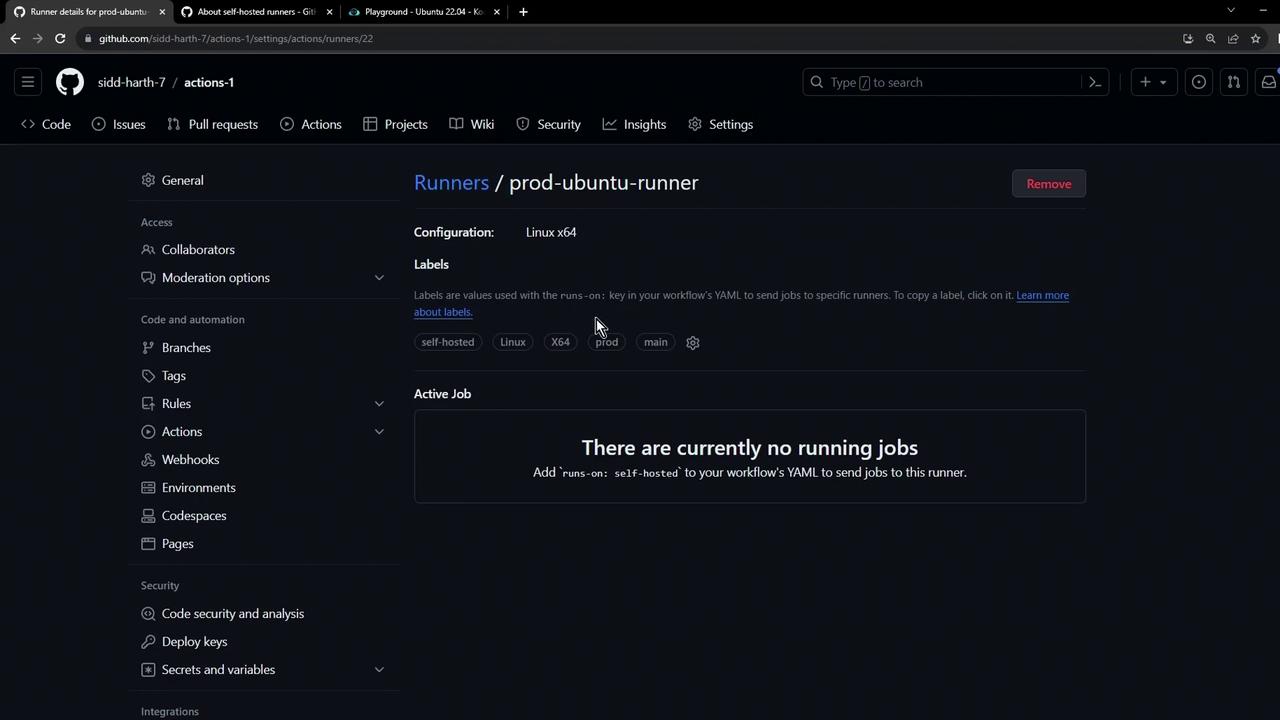
The image shows a GitHub Actions runner configuration page for a "prod-ubuntu-runner" with no active jobs running. It displays labels such as "self-hosted," "Linux," and "X64."

5. Start the Runner

Launch the runner process:
Sample output:
After a moment, refresh the GitHub Runners page—it should display online and idle, ready to accept jobs.

Watch Video