1. Workflow
A workflow is a YAML-defined automation triggered by repository events (such aspush, pull_request, or scheduled events). You store workflows in the .github/workflows directory of your repo.
Workflows must reside in
.github/workflows; files ending with .yml or .yaml will be automatically detected.2. Job
A job is a sequence of steps that run on the same runner. Jobs execute in isolation, so artifacts and environment variables are not shared unless you explicitly pass them.runs-on: Specifies the runner environment (GitHub-hosted or self-hosted).- Jobs can run in parallel by default, or you can enforce a sequence using
needs.
By default, each job runs in a clean VM/container. Use
needs to share artifacts or enforce order.3. Steps
Steps are individual tasks executed within a job. They run sequentially on the job’s runner and support two main modes:- Actions (
uses:) – Reusable extensions from GitHub Marketplace or your own. - Commands (
run:) – Inline shell commands.
Popular Official Actions
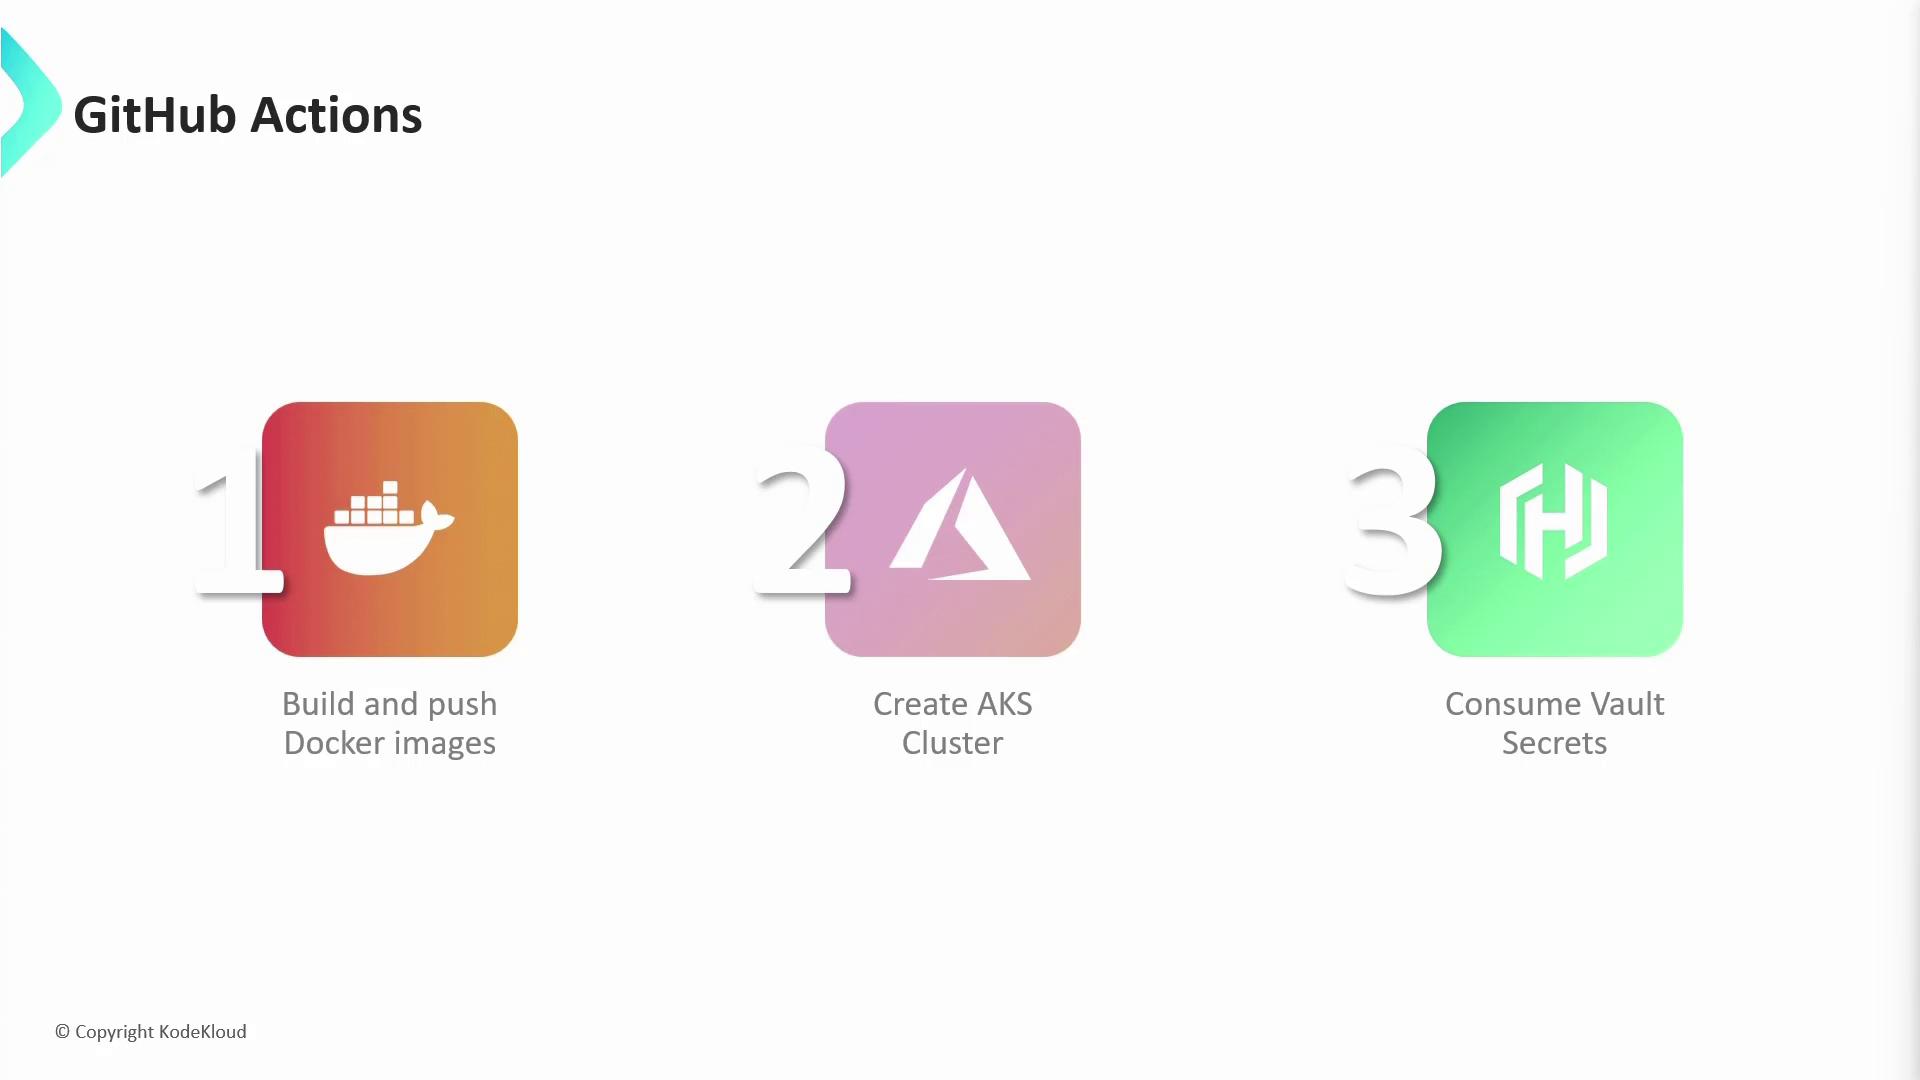
You can extend your workflows with first-party or community actions. Here are a few commonly used ones:- Build and Push Docker Images: Build Docker images and publish to registries.
- Create AKS Cluster: Configure Azure Kubernetes Service context.
- Vault Secrets: Retrieve secrets from HashiCorp Vault.