

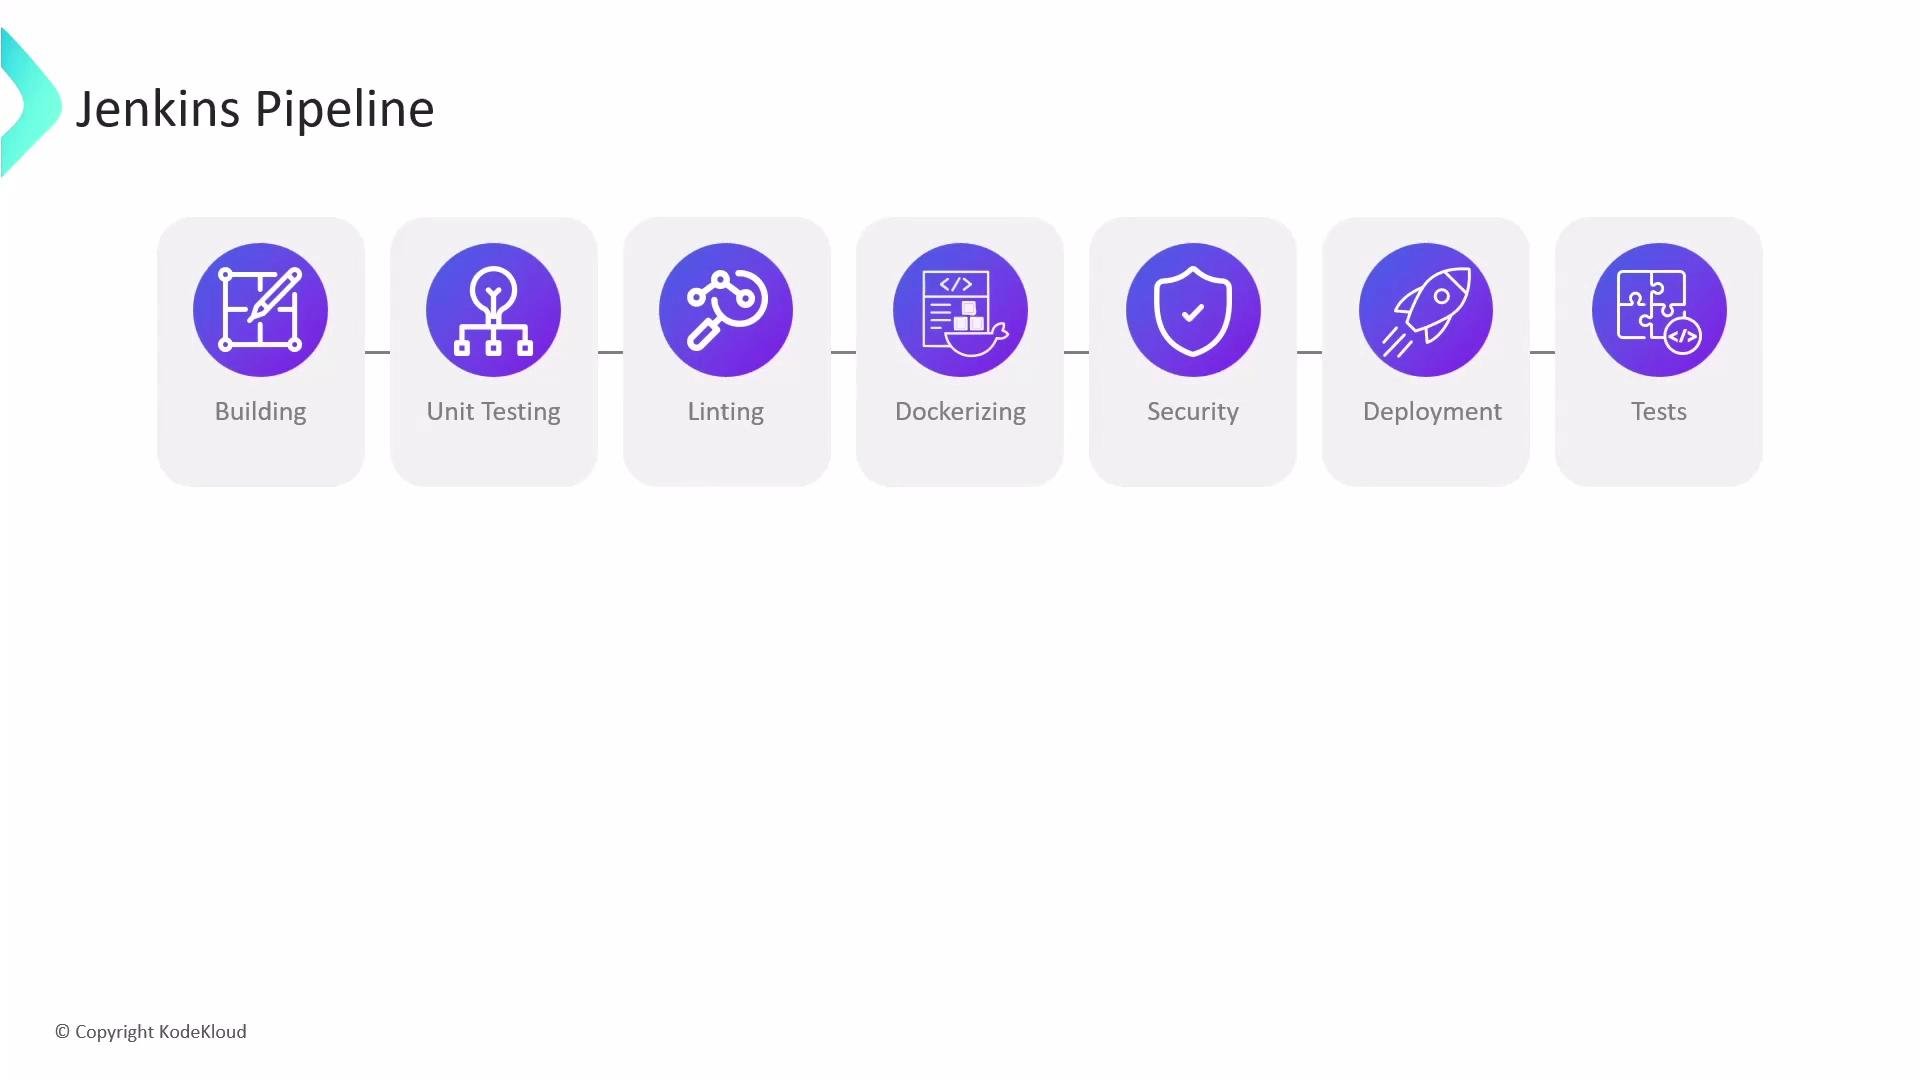
- Stage: a logical grouping of steps (e.g., Build, Test, Deploy).
- Step: an individual command or action executed within a stage.
- Agent: the executor where steps run (for example:
agent any,agent { docker { ... } }). - Parallel: run independent tasks concurrently to reduce overall pipeline duration.
- Jenkinsfile: the repository file that defines the pipeline using a Groovy-based DSL.
agent anyinstructs Jenkins to run the pipeline on any available agent.- Each
stagegroups relatedsteps—thoseshshells could be replaced with plugin-provided steps. - Store this
Jenkinsfilealongside your application code so it is versioned with the project.
- Code-as-configuration: the pipeline lives in your repository and is reviewable.
- Portability: the same script can be run across different environments.
- Extensibility: plugins and shared libraries extend pipeline capabilities.
- Resilience: pipelines are designed to survive controller restarts and support manual approvals and human interactions.
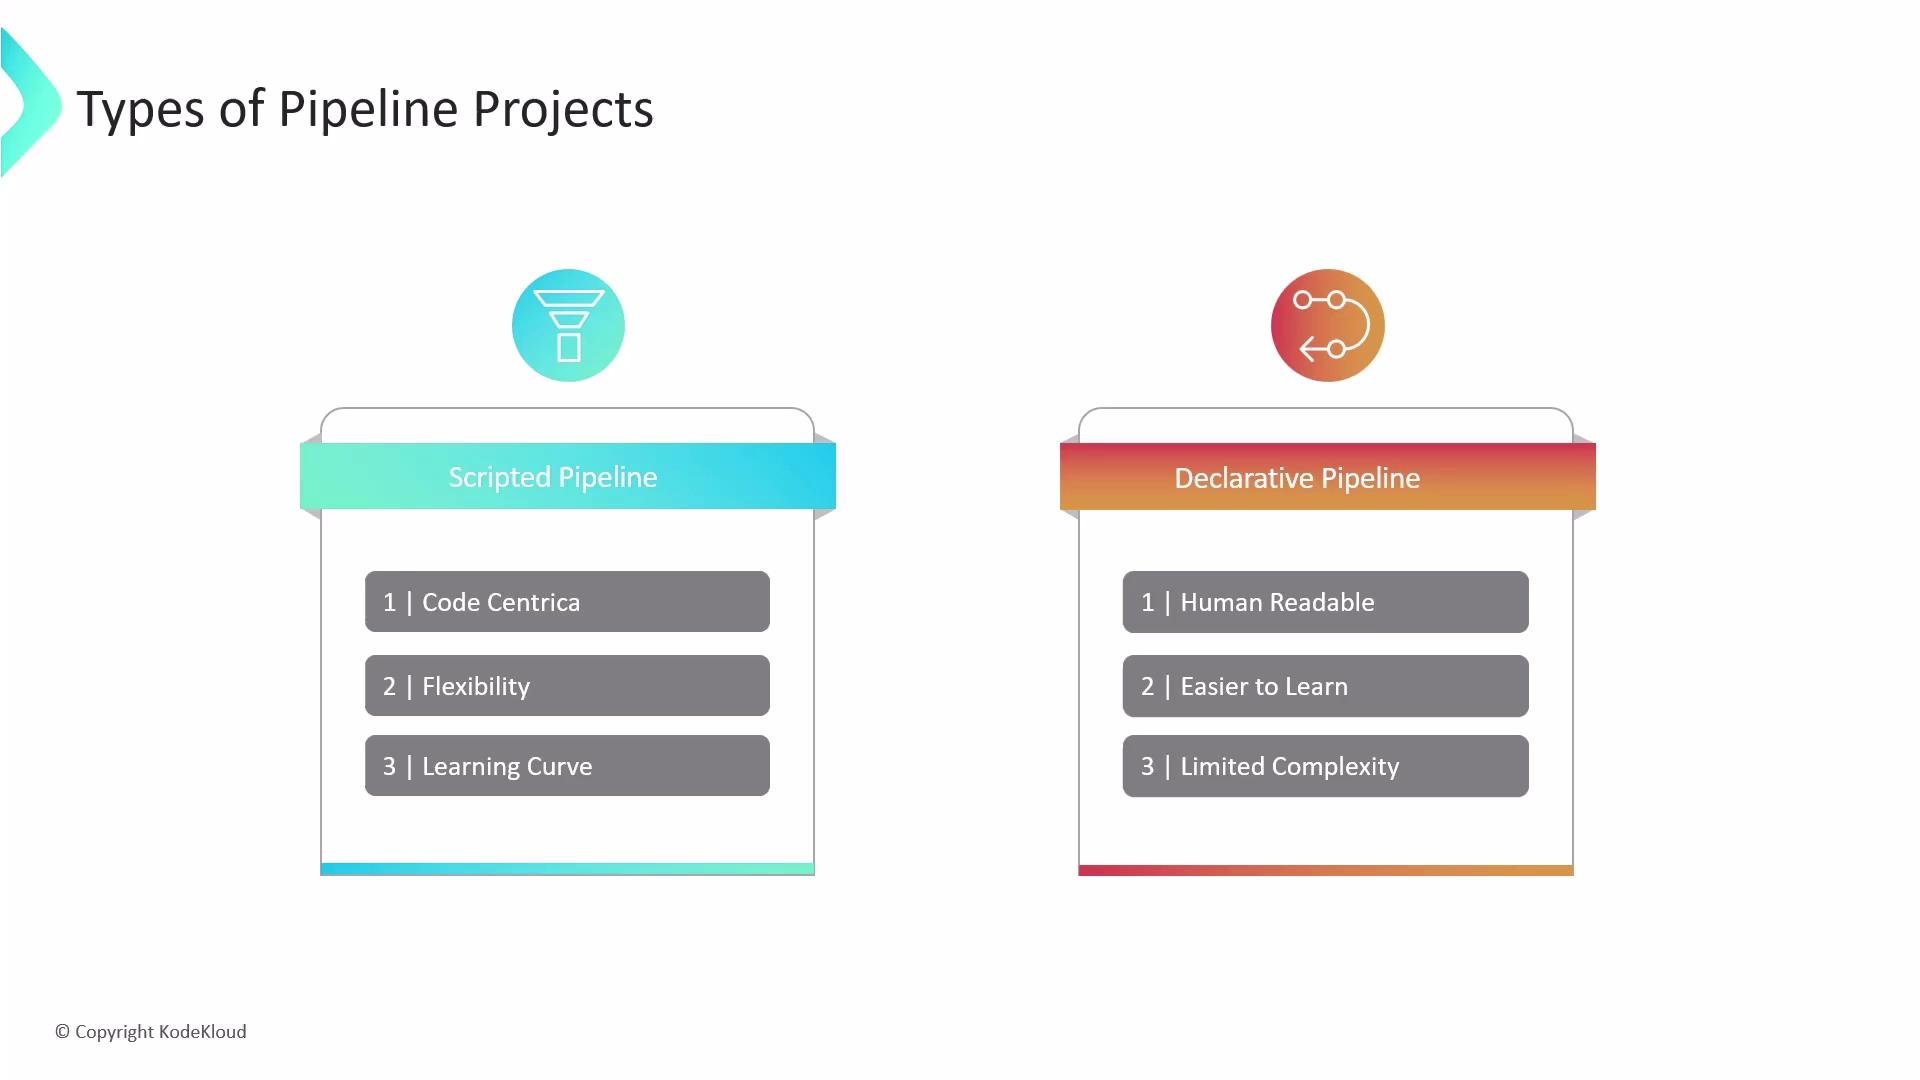
- Scripted Pipeline: code-centric and effectively a Groovy program (often using
node { ... }). Use this for complex conditionals, dynamic stage generation, or other advanced runtime constructs. - Declarative Pipeline: starts with
pipeline { ... }and is intentionally structured for clarity and standardization; best for most teams and simpler CI/CD flows.
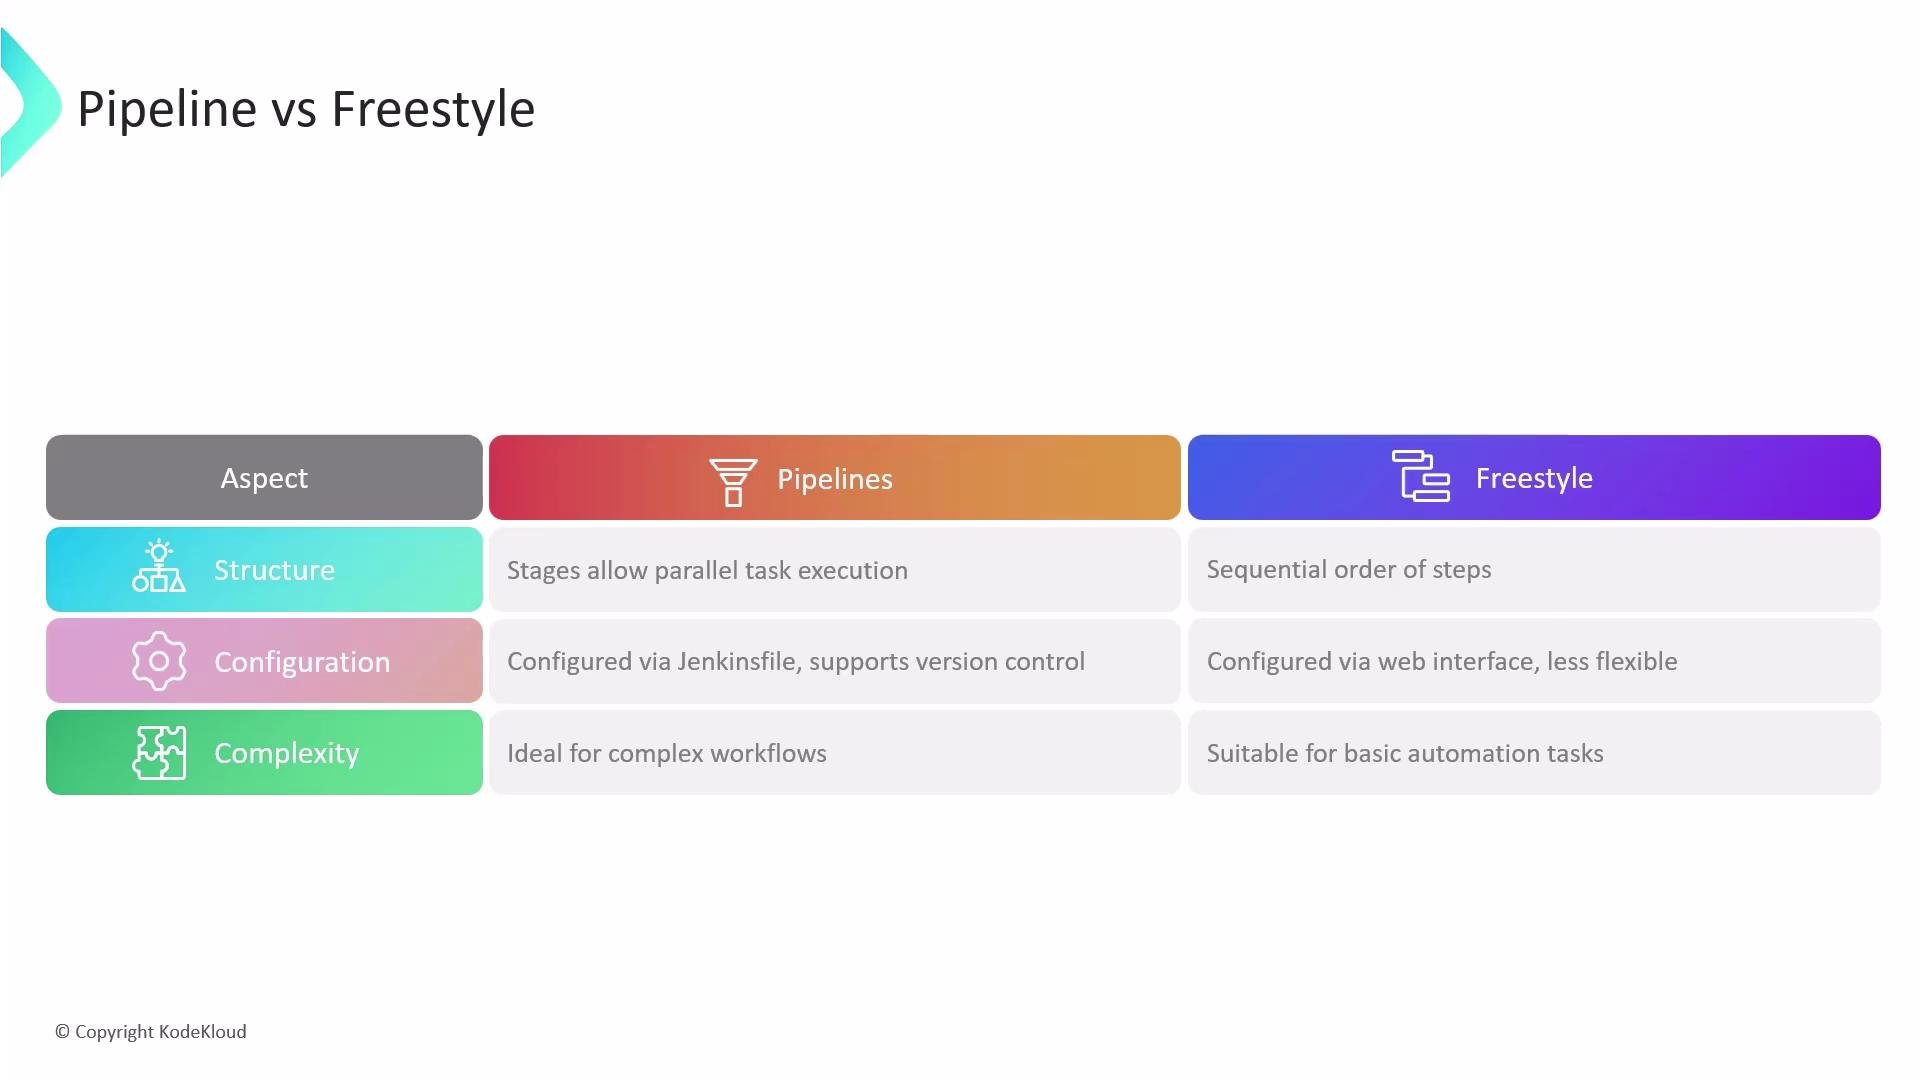
Benefits of using pipelines
- Version-controlled configuration and easier code review
- Resilient execution across controller restarts
- Built-in support for human interactions (approvals, input steps)
- Extensible with plugins and shared libraries
- Better orchestration: parallel stages, conditional logic, forking/joining
Store your Jenkinsfile alongside your application code in the same repository. This enables versioning, code review, and reproducible CI/CD pipelines that travel with your code.
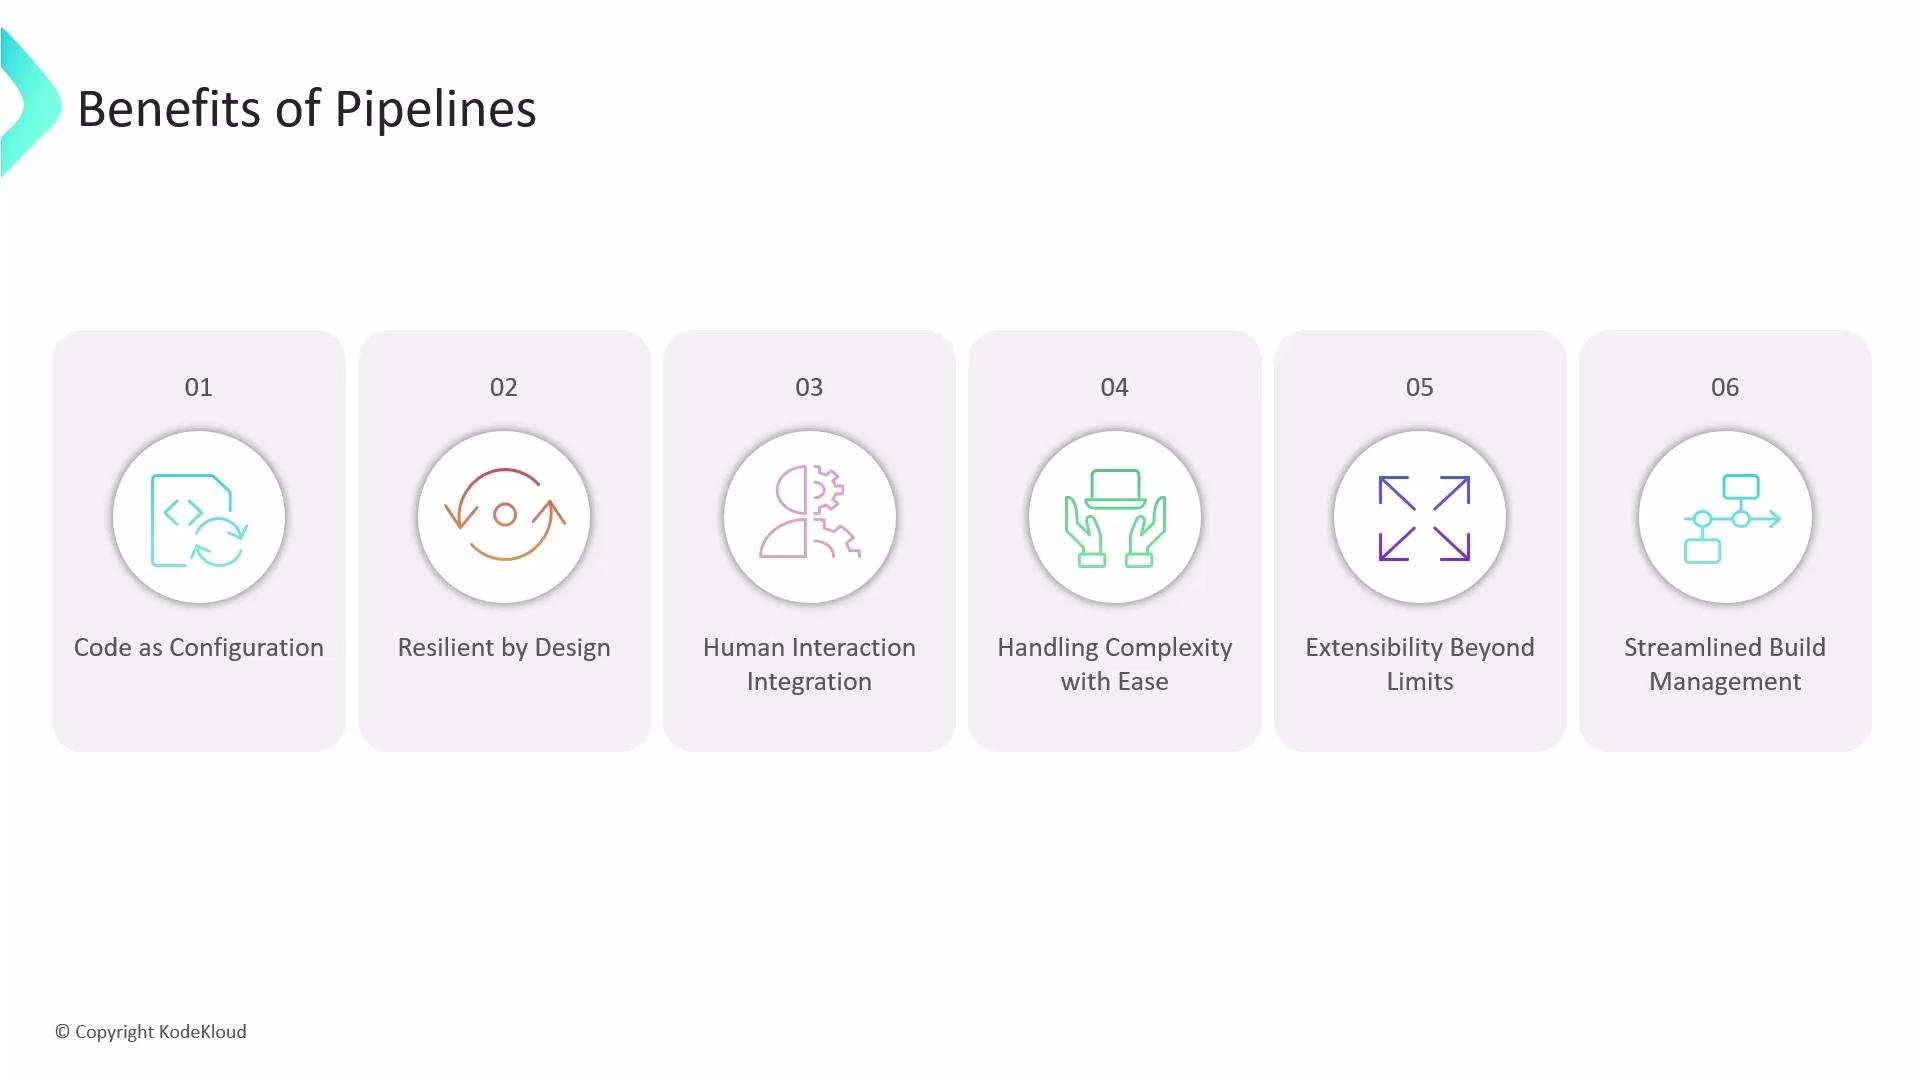
- Start by converting simple Freestyle jobs to small Declarative Jenkinsfiles in the repo.
- Iterate: add stages, split long-running tasks into parallel jobs, and introduce manual approval gates where needed.
- Explore shared libraries to centralize common pipeline logic across projects.
- When you need dynamic behavior or runtime code generation, consider Scripted pipelines or a hybrid approach (Declarative with
script {}blocks).
- Jenkins Pipeline documentation: https://www.jenkins.io/doc/book/pipeline/
- Declarative Pipeline syntax: https://www.jenkins.io/doc/book/pipeline/syntax/
- Shared Libraries: https://www.jenkins.io/doc/book/pipeline/shared-libraries/